Table of Contents
- The Magic of Crafting: More Than Just a Pretty Frame
- Why Christmas Picture Frame Crafts Are Perfect for Kids
- Getting Started: Essential Supplies and Safety Tips
- A Sleigh Full of Ideas: Diverse Christmas Picture Frame Crafts
- Adapting Crafts for Different Ages and Stages
- The I'm the Chef Too! Approach to Hands-On Learning
- Turning Craft Time into Learning Time: STEM & STEAM Connections
- Beyond the Craft: Displaying and Gifting Your Creations
- Making Memories, One Craft at a Time
- Conclusion
- FAQ Section
Do you remember that magical feeling of a crisp winter morning, the scent of pine filling the air, and the anticipation of holiday traditions? For many of us, Christmas is a time rich with sensory experiences and heartwarming memories. But in our increasingly digital world, it’s easy to lose touch with the simple, tangible joys that truly define the season. How often do we find ourselves scrolling through endless feeds, rather than creating something real, something that we can hold, admire, and cherish for years to come?
At I'm the Chef Too!, we believe in the power of hands-on "edutainment" – blending food, STEM, and the arts to spark curiosity and creativity in children. And what better way to embrace this philosophy during the most wonderful time of the year than with engaging Christmas picture frame crafts for kids? These delightful projects offer a perfect antidote to screen time, fostering family bonding, developing crucial skills, and creating beautiful keepsakes that capture the spirit of the holidays. In this comprehensive guide, we'll dive into a sleigh full of diverse craft ideas, explore the incredible educational benefits they offer, and show you how to transform simple materials into treasured holiday decorations and gifts, all while making lasting memories together.
The Magic of Crafting: More Than Just a Pretty Frame
There’s an undeniable charm to handmade items, especially during Christmas. A picture frame crafted by a child’s own hands, adorned with glitter, glue, and a whole lot of love, becomes more than just a holder for a photograph. It transforms into a tangible piece of memory, a snapshot of their creativity, and a testament to time spent together. At I'm the Chef Too!, our mission centers on this very idea: making learning memorable and fun through tangible experiences. Just as our cooking STEM kits turn complex subjects into delicious adventures, crafting a Christmas picture frame turns simple materials into a canvas for imagination and learning.
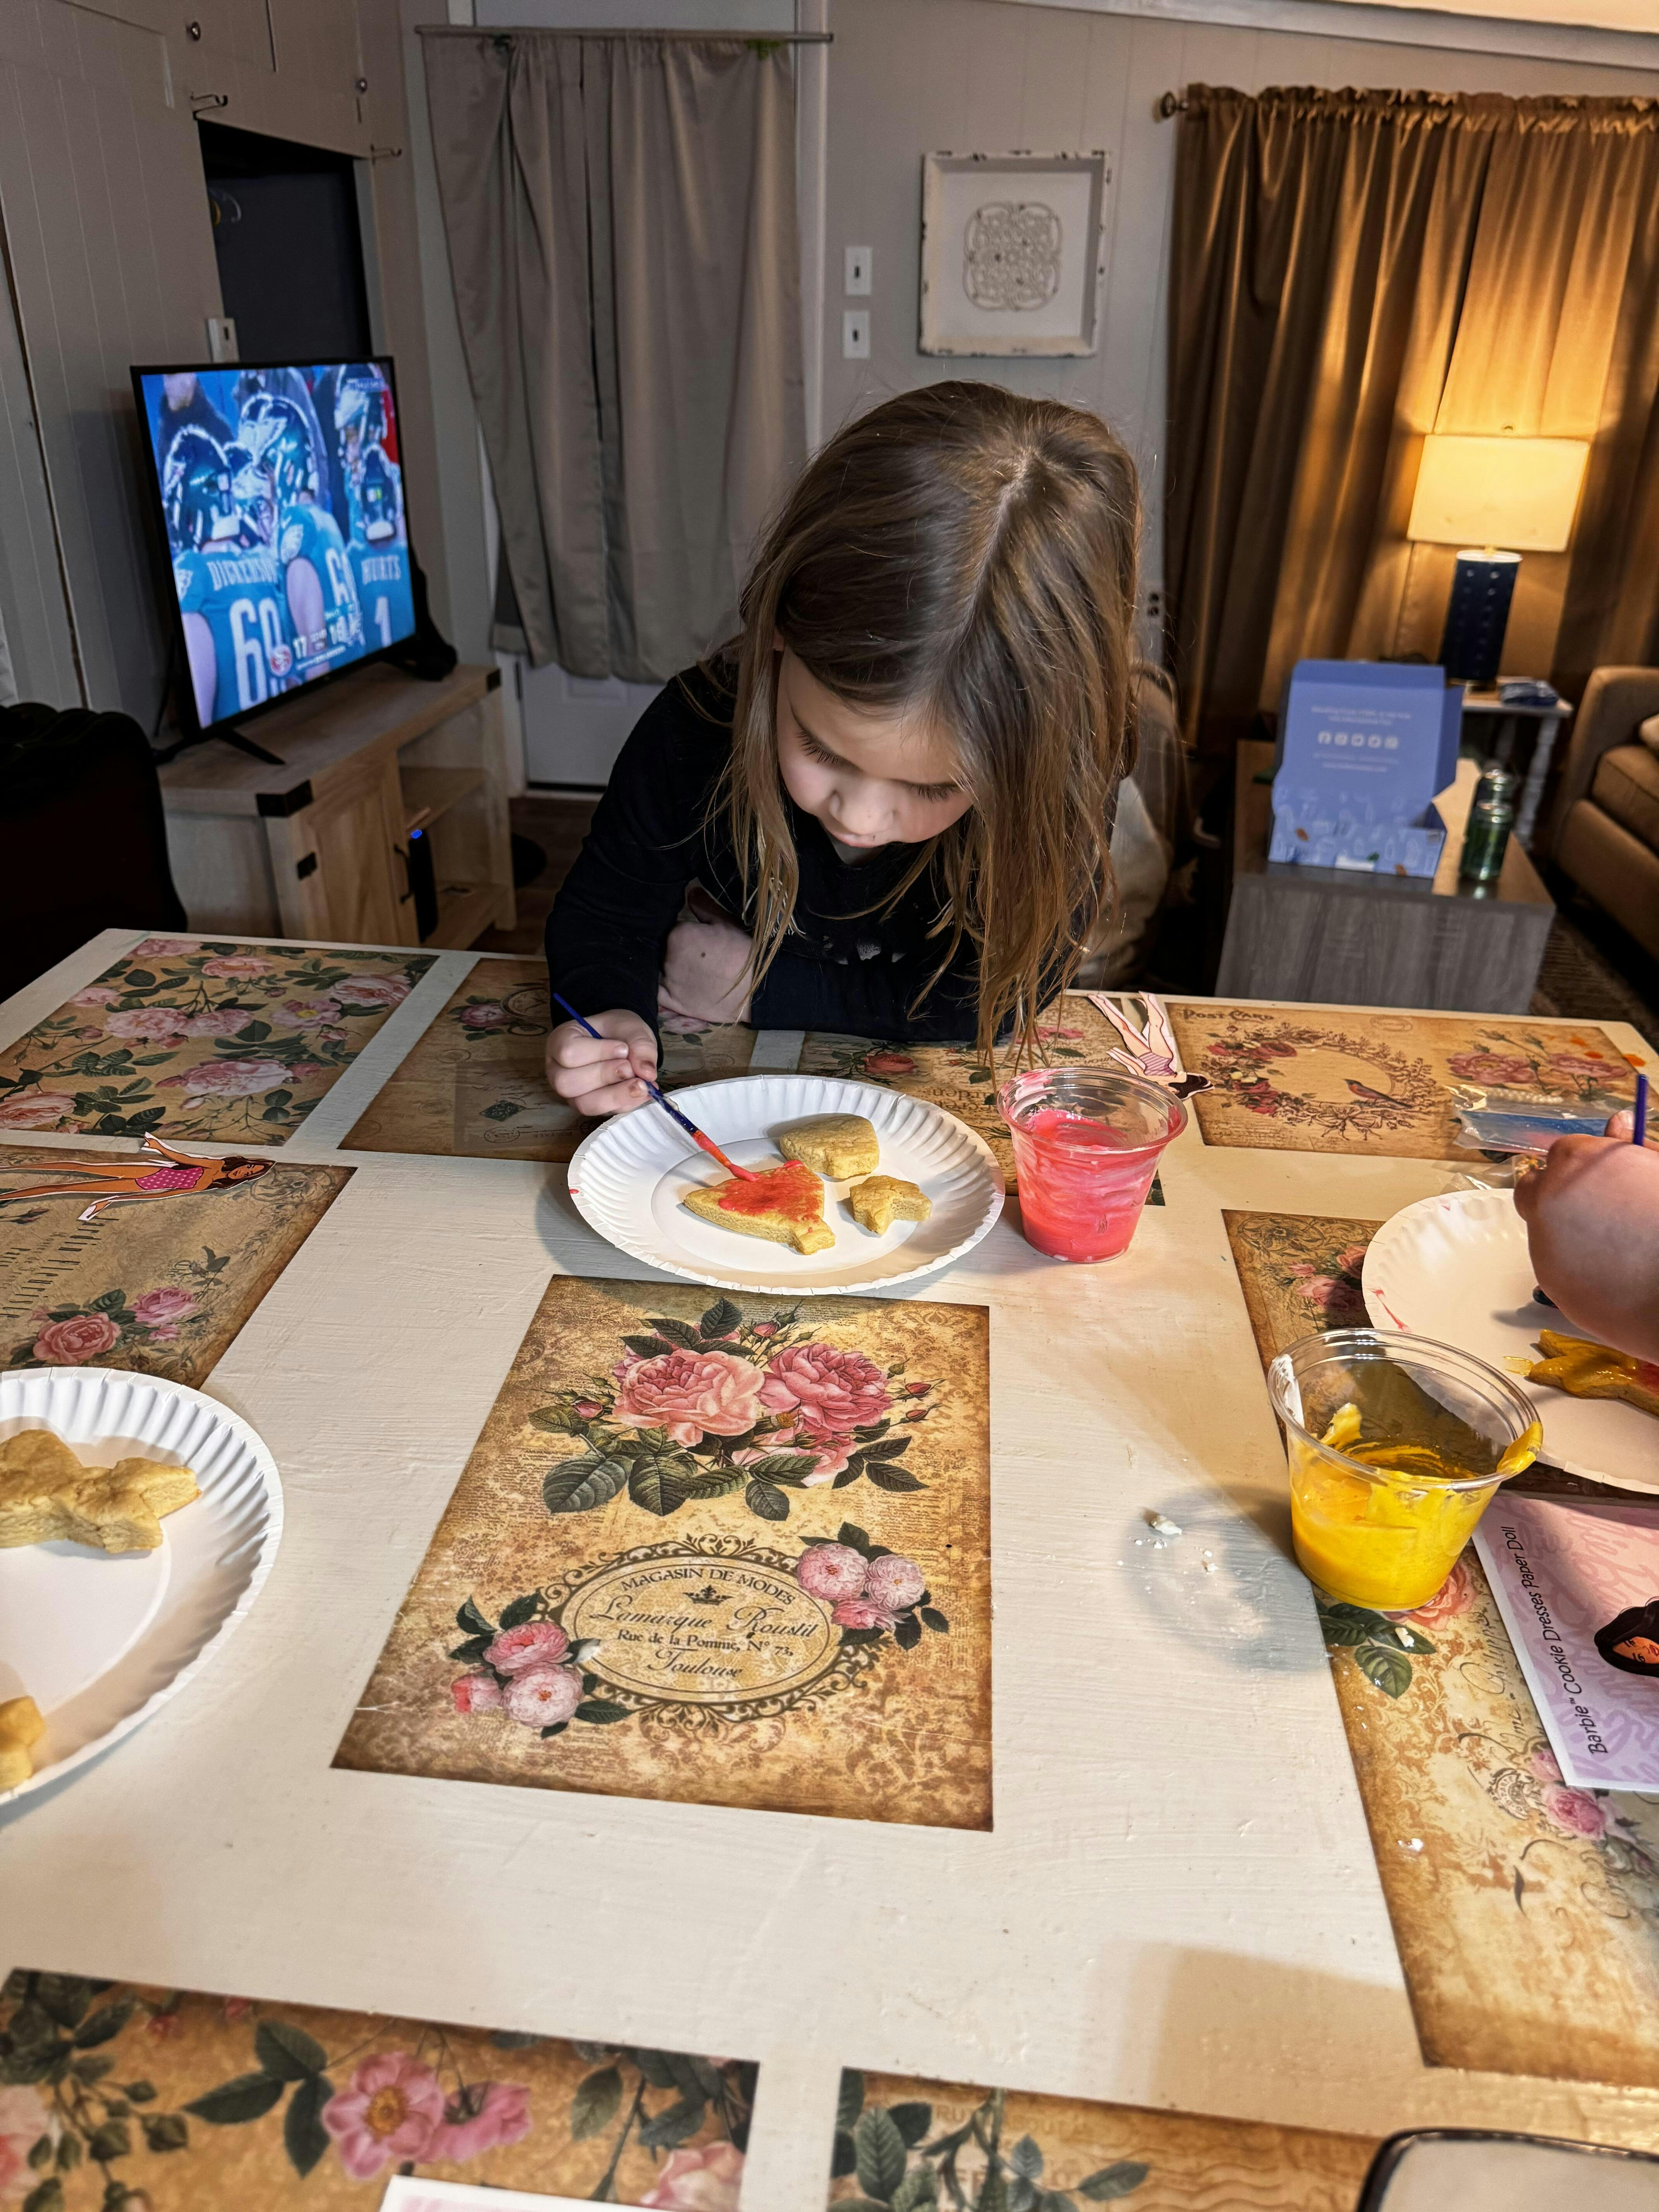
When children engage in crafting, they're not just making something pretty; they're embarking on a journey of discovery. They learn about different textures, experiment with colors, and develop a sense of accomplishment. The process itself is immensely valuable, teaching them patience, perseverance, and the joy of creating something unique. These activities provide a much-needed screen-free alternative, pulling kids away from digital distractions and into a world where their hands and minds are actively engaged. It’s about igniting that spark of curiosity that drives all great learning, whether it’s in the kitchen or at the craft table.
Why Christmas Picture Frame Crafts Are Perfect for Kids
Christmas picture frame crafts offer a plethora of benefits that extend far beyond simply decorating for the holidays. They are a holistic activity that nurtures development in multiple areas, making them an ideal choice for parents and educators looking for enriching experiences.
- Sensory Engagement: From the sticky feel of glue to the rough texture of pinecones or the softness of cotton balls, these crafts engage multiple senses. Children explore the world through touch, sight, and sometimes even smell, which is crucial for early cognitive development and helps solidify learning.
- Fine Motor Skills: The act of picking up small embellishments, carefully squeezing a glue bottle, cutting shapes with scissors, or even just holding a paintbrush, all contribute to the development of fine motor skills. These are essential for tasks like writing, buttoning clothes, and countless other daily activities.
- Creativity & Imagination: A blank frame is an open invitation for imagination. Children get to personalize their frames, choose colors, decide on patterns, and express their unique artistic vision. There's no "right" or "wrong" way to decorate, fostering confidence in their creative choices.
- Problem-Solving: How do you make that twig stick to the cardboard? What happens if you run out of blue glitter? Crafting naturally presents mini-challenges that encourage kids to think critically, experiment with solutions, and adapt their plans. This "design and engineering" aspect, often found in our I'm the Chef Too! cooking kits, is equally present in crafting.
- Emotional Connection: Creating a handmade gift, especially one that holds a cherished photo, instills a sense of pride and love. Kids experience the joy of giving and the satisfaction of knowing they've made something meaningful for someone special. It's a wonderful way to teach empathy and thoughtfulness.
- Family Bonding: Crafting together provides invaluable opportunities for conversation, laughter, and shared experiences. Parents and children can work side-by-side, offering encouragement, sharing ideas, and simply enjoying each other's company. These are the moments that truly build strong family connections.
- Screen-Free Fun: In an age dominated by screens, finding engaging alternatives is paramount. Christmas picture frame crafts offer a refreshing break, drawing children into a tangible world of creation and imaginative play, fostering focus and presence.
Getting Started: Essential Supplies and Safety Tips
Embarking on your Christmas picture frame craft adventure doesn't require a trip to a specialty store for expensive supplies. Many common household items and inexpensive craft staples can be transformed into beautiful holiday creations. Think of it like a fun science experiment where you get to play with different materials!
Basic Craft Kit Essentials:
- Adhesives: Craft glue (PVA glue), glue sticks, glitter glue. For older children and with strict adult supervision, a low-temperature hot glue gun can be incredibly useful for quick adhesion, especially with heavier embellishments.
- Cutting Tools: Kid-safe scissors for younger children, and sharper craft scissors for adults to assist with more intricate cuts.
- Paints & Brushes: Acrylic paints are versatile and come in a wide range of colors. Include various brush sizes for different applications.
- Embellishments: Glitter (biodegradable options are great!), pom-poms, sequins, buttons, beads, felt scraps, googly eyes, cotton balls, pipe cleaners, stickers, festive ribbon, small bells.
- Drawing & Marking: Markers, crayons, colored pencils for adding details.
Choosing a Base Frame:
The foundation of your craft is the picture frame itself. You have many options:
- Plain Wooden Frames: Inexpensive and easy to find at craft stores or even dollar stores. They provide a sturdy base for painting and gluing.
- Cardboard Frames: You can purchase pre-cut cardboard frames or easily cut your own from recycled cardboard boxes. This is a great way to introduce the concept of upcycling!
- Craft Foam Frames: Lightweight, easy to cut, and come in various colors.
- Recycled Frames: Give old frames a new life with paint and decorations. Thrift stores are a treasure trove for these.
Safety First in the Craft Zone:
As mothers and educators ourselves, safety is always a top priority at I'm the Chef Too!. When crafting with children, especially during the festive excitement of Christmas, it's essential to keep a few safety guidelines in mind:
- Adult Supervision is Key: Always supervise children, especially when using scissors, hot glue guns (even low-temp ones), or small embellishments that could be choking hazards for younger kids.
- Non-Toxic Materials: Ensure all paints, glues, and craft supplies are labeled "non-toxic."
- Hot Glue Gun Guidance: If using a hot glue gun, it should be operated only by an adult or an older child under very close supervision. Teach them to keep fingers away from the nozzle and the fresh glue. Silicone finger caps can be a good safety measure.
- Small Parts Awareness: For toddlers and preschoolers, avoid very small beads, buttons, or sequins that could pose a choking risk. Opt for larger embellishments.
- Ventilation: If using spray paints or strong adhesives, ensure good ventilation in the crafting area.
Setting Up Your Craft Station:
Preparation is half the battle, especially with kids!
- Protect Surfaces: Lay down newspaper, old tablecloths, or a craft mat to protect tables from spills and glue.
- Easy Access: Arrange all supplies within easy reach, but organized. Small bowls or containers for different embellishments can prevent everything from becoming a chaotic pile.
- Clean-up Ready: Have wet wipes, paper towels, and a trash can nearby for quick clean-ups.
Want to explore more exciting and convenient ways to engage your children in hands-on learning? Our One-Time Kits offer a fantastic range of individual adventures, providing pre-measured ingredients and specialty supplies for stress-free fun. Browse our complete collection and find the perfect theme for your little learner!
A Sleigh Full of Ideas: Diverse Christmas Picture Frame Crafts
Now for the fun part – let's explore some wonderful Christmas picture frame craft ideas that cater to different ages, skill levels, and material preferences. Each one offers unique opportunities for creativity and learning.
1. Classic & Cozy: Evergreen & Berry Frames
Inspired by the timeless beauty of winter foliage, these frames bring a touch of natural charm indoors. They’re relatively simple to make, making them great for a wide age range.
- Materials: Plain wooden or cardboard frames, thin faux evergreen garland (or real if you want a natural scent for a few days!), small faux berries, tiny pine cones (real or craft store), craft glue or a low-temp hot glue gun (adult use only). Optional: glitter, small jingle bells.
-
Process:
- Start by removing the glass and backing from your frame.
- Carefully glue the evergreen garland around the outer edge of the frame. You can wrap it loosely for a rustic look or more tightly for a defined border. Use small dabs of glue every few inches to secure it.
- Once the garland is in place, begin adding the berries and pine cones. These often come on picks that you can snip apart with wire cutters (adult task). Arrange them in clusters in the corners, or spread them evenly around the frame.
- For an extra festive touch, sprinkle a little glitter over the "foliage" while the glue is still wet, or add tiny jingle bells.
- Educational Angle: This craft touches on design principles like balance and symmetry. Kids learn about different textures (prickly pine, smooth berries) and practice their fine motor skills by placing small items. It can also be a gentle introduction to nature observation, even with faux materials.
- Adaptations: Instead of evergreen, use tinsel garland for a sparkly, retro look. Replace pine cones and berries with mini shiny ornaments, candy canes, or even dried orange slices for a fragrant frame.
2. Sweet Treats: Gingerbread & Candy Frames
Who doesn't love gingerbread houses during Christmas? This craft captures that festive spirit without the sticky mess of real frosting (unless you're cooking with I'm the Chef Too! kits, then delicious mess is part of the fun!).
- Materials: Craft foam frames (brown or white), felt scraps in various colors, pom-poms, buttons, glitter glue, puffy paint, small plastic beads or sequins (ensure they are non-toxic and not mistaken for actual candy).
-
Process:
- Decide on a "gingerbread house" design. Kids can draw windows, doors, and roof patterns onto the foam frame with a marker.
- Cut felt shapes for windows, doors, roof shingles, or candy designs (e.g., swirled lollipops, gumdrops).
- Glue these felt pieces onto the frame.
- Use glitter glue or puffy paint to add "frosting" details – zigzags, dots, swirls – around the edges, windows, and doors.
- Attach pom-poms and buttons as "candies" or festive accents. Let everything dry completely.
- Educational Angle: This craft is fantastic for geometry (identifying and cutting squares, rectangles, triangles), color theory, and sequencing (first glue the house, then the roof, then the candy). It encourages storytelling as kids imagine who might live in their gingerbread house.
- Note on Edible Items: While I'm the Chef Too! specializes in edible creations, for a craft like a picture frame, it's best to use non-edible decorations to avoid any confusion or temptation to taste glues and paints. If your child is eager for edible fun and real gingerbread house adventures, that’s exactly what our culinary STEM kits are designed for!
3. Recycled Wonders: Puzzle Piece Wreath Frames
This ingenious craft turns discarded puzzle pieces into a beautiful, textured Christmas wreath-like frame, perfect for showcasing your commitment to sustainability and creativity.
- Materials: An old puzzle with missing pieces (or a new cheap one!), a plain wooden or cardboard frame, bright green acrylic paint (two shades if possible), craft glue, Mod Podge Sparkle (for extra bling!), felt scraps (green for holly leaves), red pom-poms.
-
Process:
- Paint the entire frame and all the puzzle pieces with green acrylic paint. Use a few coats for good coverage, letting each layer dry. This is a great activity for keeping kids busy!
- Once dry, start gluing the puzzle pieces onto the frame. Begin with a single layer, spreading them randomly across the frame’s surface. Let this layer dry.
- Add a second layer of puzzle pieces, overlapping the first, to create a textured, "wreath-like" effect. This helps fill any gaps. Let dry completely.
- Apply a generous coat of Mod Podge Sparkle over the entire frame and puzzle pieces. This seals the pieces and adds a magical glittery finish.
- Cut holly leaf shapes from green felt. You can use two shades of green for contrast.
- Glue the felt holly leaves in a cluster on one corner of the frame.
- Glue three red pom-poms onto the center of the holly leaves to represent berries.
- Finally, randomly glue smaller, colorful pom-poms onto the puzzle piece surface to act as "ornaments" on your puzzle-wreath.
- Educational Angle: This craft is a fantastic lesson in upcycling and creative problem-solving. Kids learn about texture, layering, and how different materials can be transformed. The painting and gluing also hone fine motor skills and patience.
4. Snowy Scenes: Cotton Ball & Glitter Frames
Create a winter wonderland frame that's soft to the touch and shimmering with frosty magic.
- Materials: Wooden or cardboard frame, cotton balls, craft glue, white or silver glitter, small foam snowflakes, silver or blue ribbon.
-
Process:
- Have children pull apart cotton balls to make them fluffy and cloud-like.
- Apply a thick layer of craft glue to sections of the frame.
- Press the fluffy cotton onto the glue, covering the frame to create a snowy texture.
- While the glue is still wet, liberally sprinkle white or silver glitter over the "snow." Gently shake off excess.
- Once dry, glue on small foam snowflakes for extra embellishment.
- Tie a silver or blue ribbon bow at the top for hanging.
- Educational Angle: This craft focuses heavily on sensory exploration – the soft cotton, the sparkly glitter. It helps children understand and represent seasonal themes, and practice careful application of glue and embellishments.
5. Natural Elements: Twig & Pinecone Frames
For a rustic, earthy Christmas feel, gather treasures from nature and incorporate them into a beautiful frame.
- Materials: Plain wooden frame, small twigs, mini pine cones, dried leaves (e.g., small oak leaves), craft glue or low-temp hot glue (adult use). Optional: small acorns, raffia.
-
Process:
- Begin by arranging twigs around the frame. You can lay them parallel to the frame edges, or crisscross them for a more organic look. Glue them down securely.
- Fill in gaps with smaller twigs, mini pine cones, and dried leaves. Encourage kids to create patterns or clusters.
- If desired, tie a raffia bow to one corner for a natural accent.
- Educational Angle: This is a wonderful craft for connecting with nature. Kids learn about different natural textures and shapes, practice arranging objects, and develop an eye for organic design. It's a great opportunity to discuss local flora during a nature walk to collect materials.
6. Handprint/Fingerprint Frames: A Personal Touch
These frames are not just decorations; they are precious keepsakes, capturing a child’s size and creativity at a specific moment in time. They make incredibly touching gifts for grandparents!
- Materials: Plain wooden or cardboard frame, non-toxic acrylic paints (red, green, white, brown), paintbrushes, black marker, glitter glue.
-
Process:
- Decide on a handprint or fingerprint theme.
- Handprint Santa: Paint the palm white, fingers red, and thumb pink. Press onto the frame, then add details for a face and beard with markers.
- Reindeer Thumbprints: Paint thumbs brown. Press them onto the frame to create reindeer bodies. Add antlers, eyes, and red noses with a marker or small pom-pom.
- Christmas Tree Handprints: Paint the hand green, press onto the frame. Once dry, add fingerprint "ornaments" in colorful paints.
- Once the paint is dry, use a black marker to add eyes, noses, or other details.
- Add glitter glue for sparkle.
- Crucially, write the child’s name and the year on the back (or front!) of the frame to mark the memory.
- Decide on a handprint or fingerprint theme.
- Educational Angle: This craft teaches about body awareness, color mixing, and simple art techniques. It’s also a beautiful way to understand the concept of time and growth, creating a lasting record of tiny hands. Even beloved characters can make learning fun, like when kids make Peppa Pig Muddy Puddle Cookie Pies – embracing the playful mess for a delicious outcome! This frame activity similarly embraces the hands-on fun of paint.
7. Themed Creations: Character & Story Frames
Drawing inspiration from favorite stories, movies, or Christmas characters, these frames allow kids to bring their imaginative worlds to life.
- Materials: Plain frame, colored construction paper, character stickers, themed embellishments (e.g., tiny snowflakes for Frozen, star stickers for a nativity scene), glue, markers.
-
Process:
- Choose a theme (e.g., "The Grinch," "Nutcracker," Santa's Workshop).
- Cut paper shapes or use stickers related to the theme to decorate the frame. For instance, green paper strips and fuzzy pipe cleaners for a Grinch-themed frame, or tiny ballet slippers and soldier cutouts for a Nutcracker frame.
- Use markers to draw details or write themed messages.
- Add glitter, pom-poms, or other embellishments that fit the theme.
- Educational Angle: This craft encourages storytelling, character recognition, and the ability to translate abstract ideas into tangible designs. It boosts creativity and strengthens connections to narratives. Just as our Peppa Pig Muddy Puddle Cookie Pies combine character fun with hands-on cooking, these frames blend beloved themes with creative crafting.
Adapting Crafts for Different Ages and Stages
One of the beautiful things about Christmas picture frame crafts is their versatility. They can be easily adapted to suit various age groups, ensuring everyone from toddlers to pre-teens can participate and feel successful.
-
Toddlers & Preschoolers (Ages 2-5):
- Focus: Sensory exploration, process over product.
- Adaptations: Pre-cut shapes for gluing, large embellishments to minimize choking hazards, finger painting or sponge painting, minimal instructions. Provide plenty of simple, open-ended materials like cotton balls, large pom-poms, and chunky glitter. Adult assistance will be significant, especially with glue.
- Example: A simple frame covered in cotton balls and finger-painted red "berries."
-
Early Elementary (Ages 6-8):
- Focus: Developing fine motor skills, following multi-step instructions, creative expression.
- Adaptations: Introduce kid-safe scissors for cutting simple shapes, encourage pattern creation, allow for more independent design choices. They can manage more types of embellishments and more complex gluing.
- Example: The evergreen and berry frame, or the gingerbread frame with cut-out felt shapes.
-
Older Kids (Ages 9-12+):
- Focus: Intricate designs, planning, problem-solving, mixed media techniques.
- Adaptations: Challenge them with more detailed cutting, mosaic-style arrangements (like the puzzle piece frame), or incorporating mixed media (paint, fabric, natural items). They can safely use a low-temp hot glue gun under supervision and tackle more complex designs. Encourage them to plan their design first.
- Example: The puzzle piece wreath frame, or a sophisticated natural twig and pinecone frame.
The I'm the Chef Too! Approach to Hands-On Learning
At I'm the Chef Too!, our core philosophy resonates deeply with the spirit of hands-on crafting. Our mission is to blend food, STEM, and the arts into one-of-a-kind "edutainment" experiences that ignite curiosity and creativity in children. Just as our kits teach science through delicious baking and engineering through edible constructions, these Christmas picture frame crafts offer similar powerful learning opportunities.
We are committed to providing a screen-free educational alternative, fostering crucial skills like critical thinking, problem-solving, and fine motor development, all while facilitating invaluable family bonding time. Each craft, like each of our culinary adventures, is designed to be tangible and engaging, developed by mothers and educators who understand how children learn best. We believe that learning should be a joyful adventure, whether it's understanding chemical reactions in a cake or the principles of design in a picture frame.
Ready to embark on a new adventure every month, delivered right to your door with free shipping in the US? Join The Chef's Club today! Our flexible 3, 6, and 12-month pre-paid plans are perfect for ongoing enrichment or as a magnificent gift, ensuring a complete, pre-measured, and specialty-supplied experience every time.
Turning Craft Time into Learning Time: STEM & STEAM Connections
It's easy to see crafting as purely an "art" activity, but when viewed through the lens of I'm the Chef Too!'s philosophy, it clearly becomes a powerful STEAM (Science, Technology, Engineering, Art, Math) learning experience.
-
Science:
- Material Properties: Children explore how different glues work (adhesion, drying time), how paints cover surfaces, and the textures of various materials (rough, smooth, sticky).
- Natural Elements: When using twigs, leaves, or pinecones, kids observe natural structures, learn about organic forms, and understand the origins of these items.
-
Technology:
- Tools: Using scissors, glue bottles, and potentially a low-temp hot glue gun (under supervision) introduces children to basic tool handling and understanding their function.
- Design & Iteration: Even in simple crafts, kids are "prototyping" their designs and making small adjustments.
-
Engineering:
- Design & Structure: Children are essentially engineers when they plan how to attach decorations, ensure they stay in place, and balance elements on their frame.
- Problem-Solving: "How do I make this heavy pinecone stick?" or "How can I fit all these stars on my frame?" These questions encourage creative engineering solutions.
-
Art:
- Color Theory: Choosing colors, mixing paints, understanding how different colors create mood.
- Composition & Aesthetics: Arranging elements on the frame, considering balance, focal points, and overall visual appeal.
- Self-Expression: The ultimate artistic benefit, allowing children to express their individuality and creativity.
-
Math:
- Counting & Sorting: Counting embellishments, sorting items by size, color, or shape.
- Geometry: Recognizing and creating shapes (cutting felt rectangles for gingerbread house windows).
- Patterns & Symmetry: Creating repetitive patterns or symmetrical designs on the frame.
- Measurement: Estimating how much garland is needed for a frame, or the size of a photo.
Beyond Christmas frames, our diverse range of One-Time Kits offers continued opportunities to explore various STEM themes, from dinosaur digs to galaxy explorations, all through delicious hands-on activities. They're perfect for discovering new interests and sparking ongoing curiosity!
Beyond the Craft: Displaying and Gifting Your Creations
The joy of crafting doesn't end when the glue dries. Displaying and gifting these handmade Christmas picture frames adds another layer of magic and meaning to the holiday season.
-
Holiday Decor:
- Tree Ornaments: Many of the smaller frames, especially the popsicle stick or cardboard ornament kits, are perfect for hanging on the Christmas tree, adding a deeply personal touch to your holiday decor.
- Mantelpiece & Shelves: Larger frames can adorn a mantelpiece, bookshelf, or entry table, instantly infusing your home with festive cheer and a dash of homemade warmth.
- Wall Art: Create a gallery wall of framed Christmas memories, swapping out photos each year to reflect new adventures.
-
Personalized Gifts:
- There is no gift more thoughtful or heartfelt than one made by hand, especially from a child. These picture frames are ideal for:
- Grandparents: They absolutely adore seeing their grandchildren's creations and a special photo.
- Aunts, Uncles, & Godparents: A unique, personalized gift they'll treasure.
- Teachers: A lovely way to thank educators during the holiday season.
- Friends: A sweet keepsake to exchange during holiday gatherings.
- Gift Wrapping Ideas: Present the frames in simple wrapping paper adorned with a handmade tag by your child, or place them in a clear cellophane bag tied with a festive ribbon to show off the craft immediately.
- There is no gift more thoughtful or heartfelt than one made by hand, especially from a child. These picture frames are ideal for:
Creating these frames can even become a cherished annual tradition, marking the passage of time and the growth of your child’s skills. Imagine looking back years from now at a collection of frames, each reflecting a different Christmas and a different stage of your child's artistic journey. It’s a beautiful way to create lasting memories.
For more lasting memories and delightful adventures delivered monthly, consider a subscription to The Chef's Club. It's the gift that keeps on giving, fostering creativity and learning all year long!
Making Memories, One Craft at a Time
The holiday season is a precious time for creating cherished memories, fostering traditions, and celebrating the magic of childhood. Engaging in Christmas picture frame crafts with your kids offers a unique blend of these elements: hands-on learning, creative expression, meaningful family bonding, and a wonderful screen-free alternative. It’s about more than just the finished product; it's about the laughter, the shared effort, the problem-solving, and the pride in creating something beautiful together.
At I'm the Chef Too!, we wholeheartedly believe in the power of these tangible, imaginative experiences to spark curiosity and build confidence in children. Our mission is to transform learning into an exciting adventure, much like the journey of creating a festive frame. We hope these ideas inspire you to gather your materials, put on some Christmas music, and dive into a world of creativity with your little ones.
Don't let the joy of hands-on "edutainment" end with the holidays! Give the gift of learning that lasts all year with a 12-month subscription to our STEM cooking adventures. Join The Chef's Club and bring a new, exciting experience to your home every month!
Conclusion
As the snowflakes fall and the holiday spirit fills the air, there's no better time to engage in the heartwarming tradition of crafting with your children. Christmas picture frame crafts offer a magical opportunity to combine festive fun with invaluable educational benefits. From developing fine motor skills and sparking creativity to fostering problem-solving and nurturing family bonds, these simple projects create much more than just a decoration – they create lasting memories and tangible keepsakes of a cherished time.
Embrace the joy of hands-on creation and the profound learning that happens when children are actively engaged. At I'm the Chef Too!, we champion these screen-free, "edutainment" experiences, knowing they are instrumental in building curious, confident, and creative young minds. So, pick out a favorite holiday photo, gather your craft supplies, and embark on a wonderful journey of festive frame making.
Ready to continue the adventure of hands-on learning and delicious discoveries all year long? Make this holiday season truly special by giving the gift of ongoing "edutainment." Join The Chef's Club today and get a new, exciting cooking STEM kit delivered to your door every month with free shipping in the US!
FAQ Section
Q: What age are these Christmas picture frame crafts suitable for? A: Many of these crafts are highly adaptable! Toddlers and preschoolers (ages 2-5) can enjoy simple gluing, painting with large brushes, and placing big embellishments with significant adult help. Early elementary children (ages 6-8) can start cutting simple shapes and designing more independently. Older kids (9-12+) can tackle more intricate designs, detailed painting, and even safe use of a low-temp hot glue gun under supervision.
Q: How do I prevent a big mess when crafting with kids? A: Preparation is key! Lay down newspaper, old tablecloths, or a dedicated craft mat to protect your surfaces. Use small containers for embellishments to prevent spills. Have wet wipes and paper towels readily available for quick clean-ups. For very young children, consider doing "one color at a time" or using craft glue sticks which are less messy than liquid glue.
Q: Can I use a hot glue gun with my children for these crafts? A: A low-temperature hot glue gun can be incredibly useful for quick adhesion, especially with heavier items. However, it should only be used by an adult or an older child (typically 8+) under strict, close adult supervision. Teach them safety rules like "keep fingers away from the nozzle" and consider silicone finger protectors. For younger children, stick to craft glue.
Q: What kind of photos should I use in these handmade frames? A: Any favorite photo! Current holiday photos, a classic family portrait, a silly selfie, or even a photo of your child dressed in a festive outfit. Black and white photos can also look striking against colorful frames. The best photos are those that bring joy and capture a special moment. You can even print free holiday-themed printables to put in the frames as placeholder art until the perfect photo comes along.
Q: How do I store these Christmas picture frames after the holidays? A: Once the crafts are completely dry, gently wrap them in tissue paper or bubble wrap to protect the embellishments. Store them in a sturdy box in a cool, dry place, perhaps with your other Christmas decorations. If they are delicate, consider placing them in a separate box to prevent crushing.


")