Table of Contents
- The Magic of Paper Bag Gingerbread Houses: More Than Just a Craft
- Unpacking the Educational Benefits: A STEM & Arts Adventure
- Gather Your Supplies: The Foundation of Your Festive Fun
- Step-by-Step Guide: Crafting Your Paper Bag Gingerbread House
- Creative Twists & Advanced Ideas for Your Gingerbread Village
- Tips for a Smooth Crafting Experience (and Happy Little Chefs!)
- Displaying Your Masterpieces: Beyond the Mantle
- Why Hands-On Learning Matters: The I'm the Chef Too! Philosophy
- Ready for More Adventures? Join The Chef's Club!
- FAQ Section: Your Questions Answered
- Conclusion
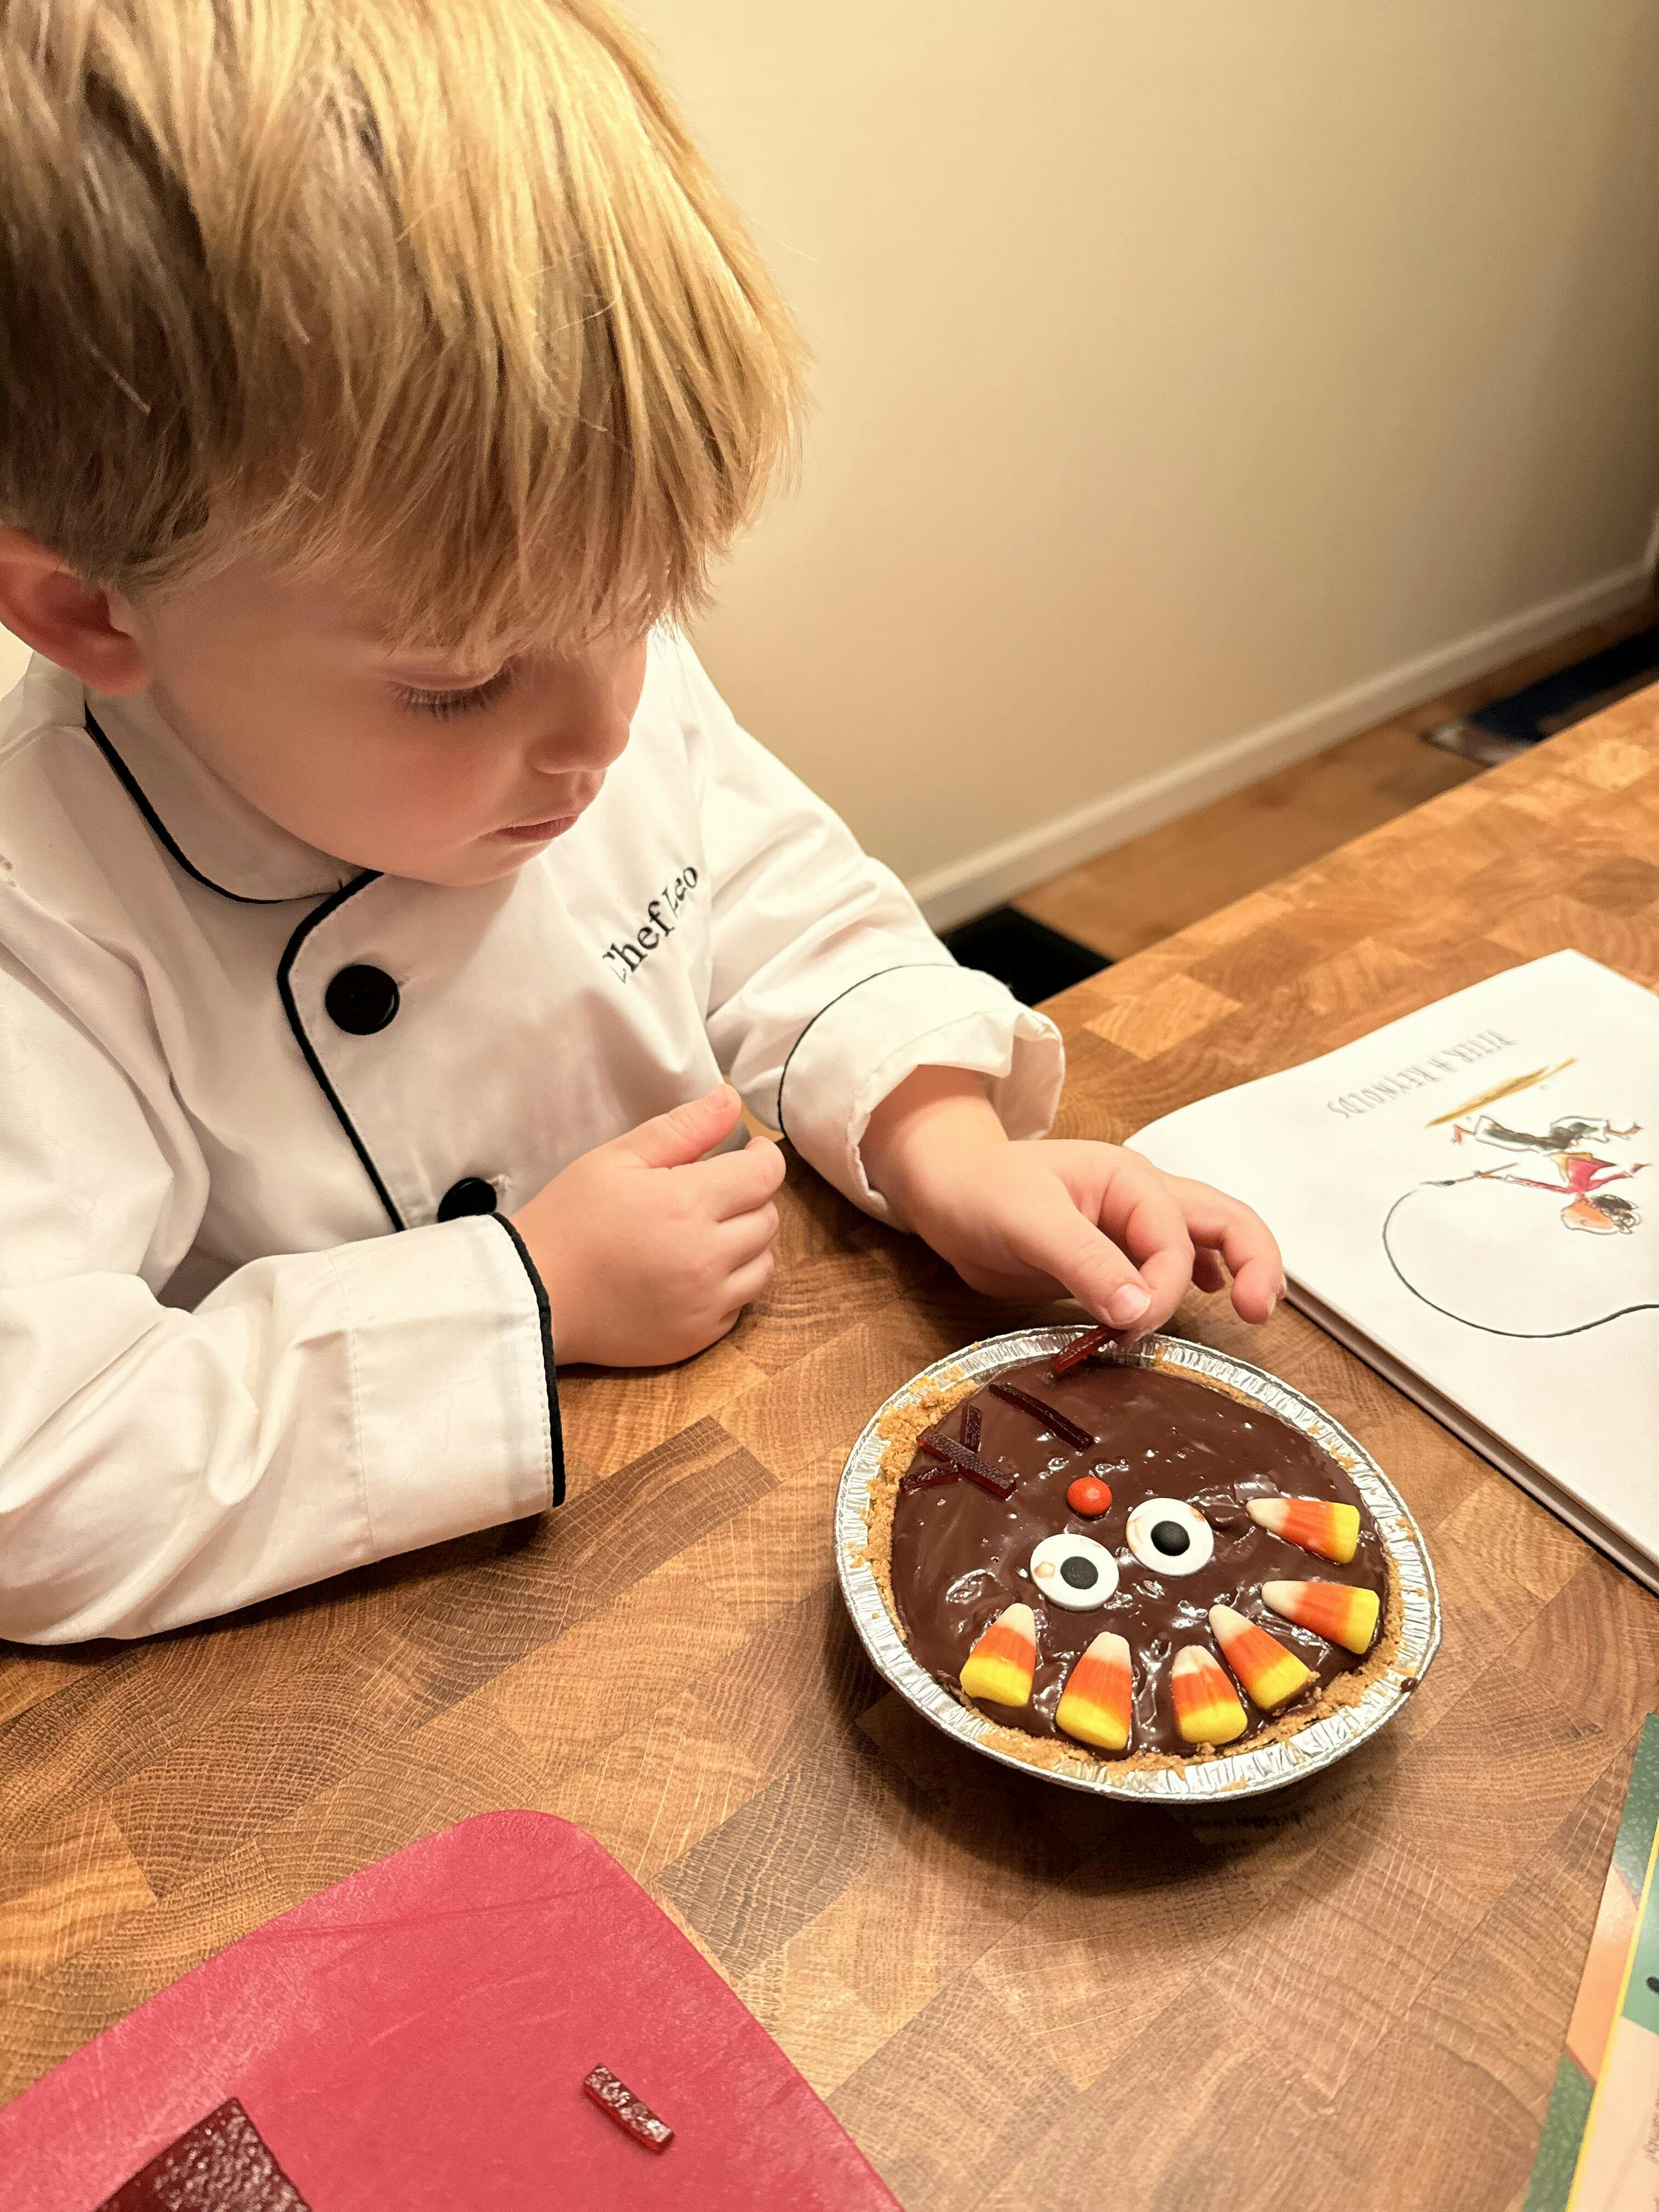
Imagine a quiet afternoon, the scent of hot cocoa wafting through the air, and your child’s eyes sparkling with concentration as they meticulously place a tiny paper gumdrop onto their very own handmade gingerbread house. The holiday season, while undeniably magical, can sometimes feel like a whirlwind of activities and screen time. We’re constantly searching for those moments that truly engage our children, ignite their creativity, and create lasting family memories without the added stress of complex preparations or a sticky cleanup.
Traditional gingerbread houses, while charming, often come with the challenge of delicate baking, intricate assembly, and a sugar rush that can sometimes overshadow the creative process. What if there was a way to capture all the festive spirit, hands-on fun, and imaginative play of building a gingerbread house, but with simpler materials, less mess, and just as much educational value?
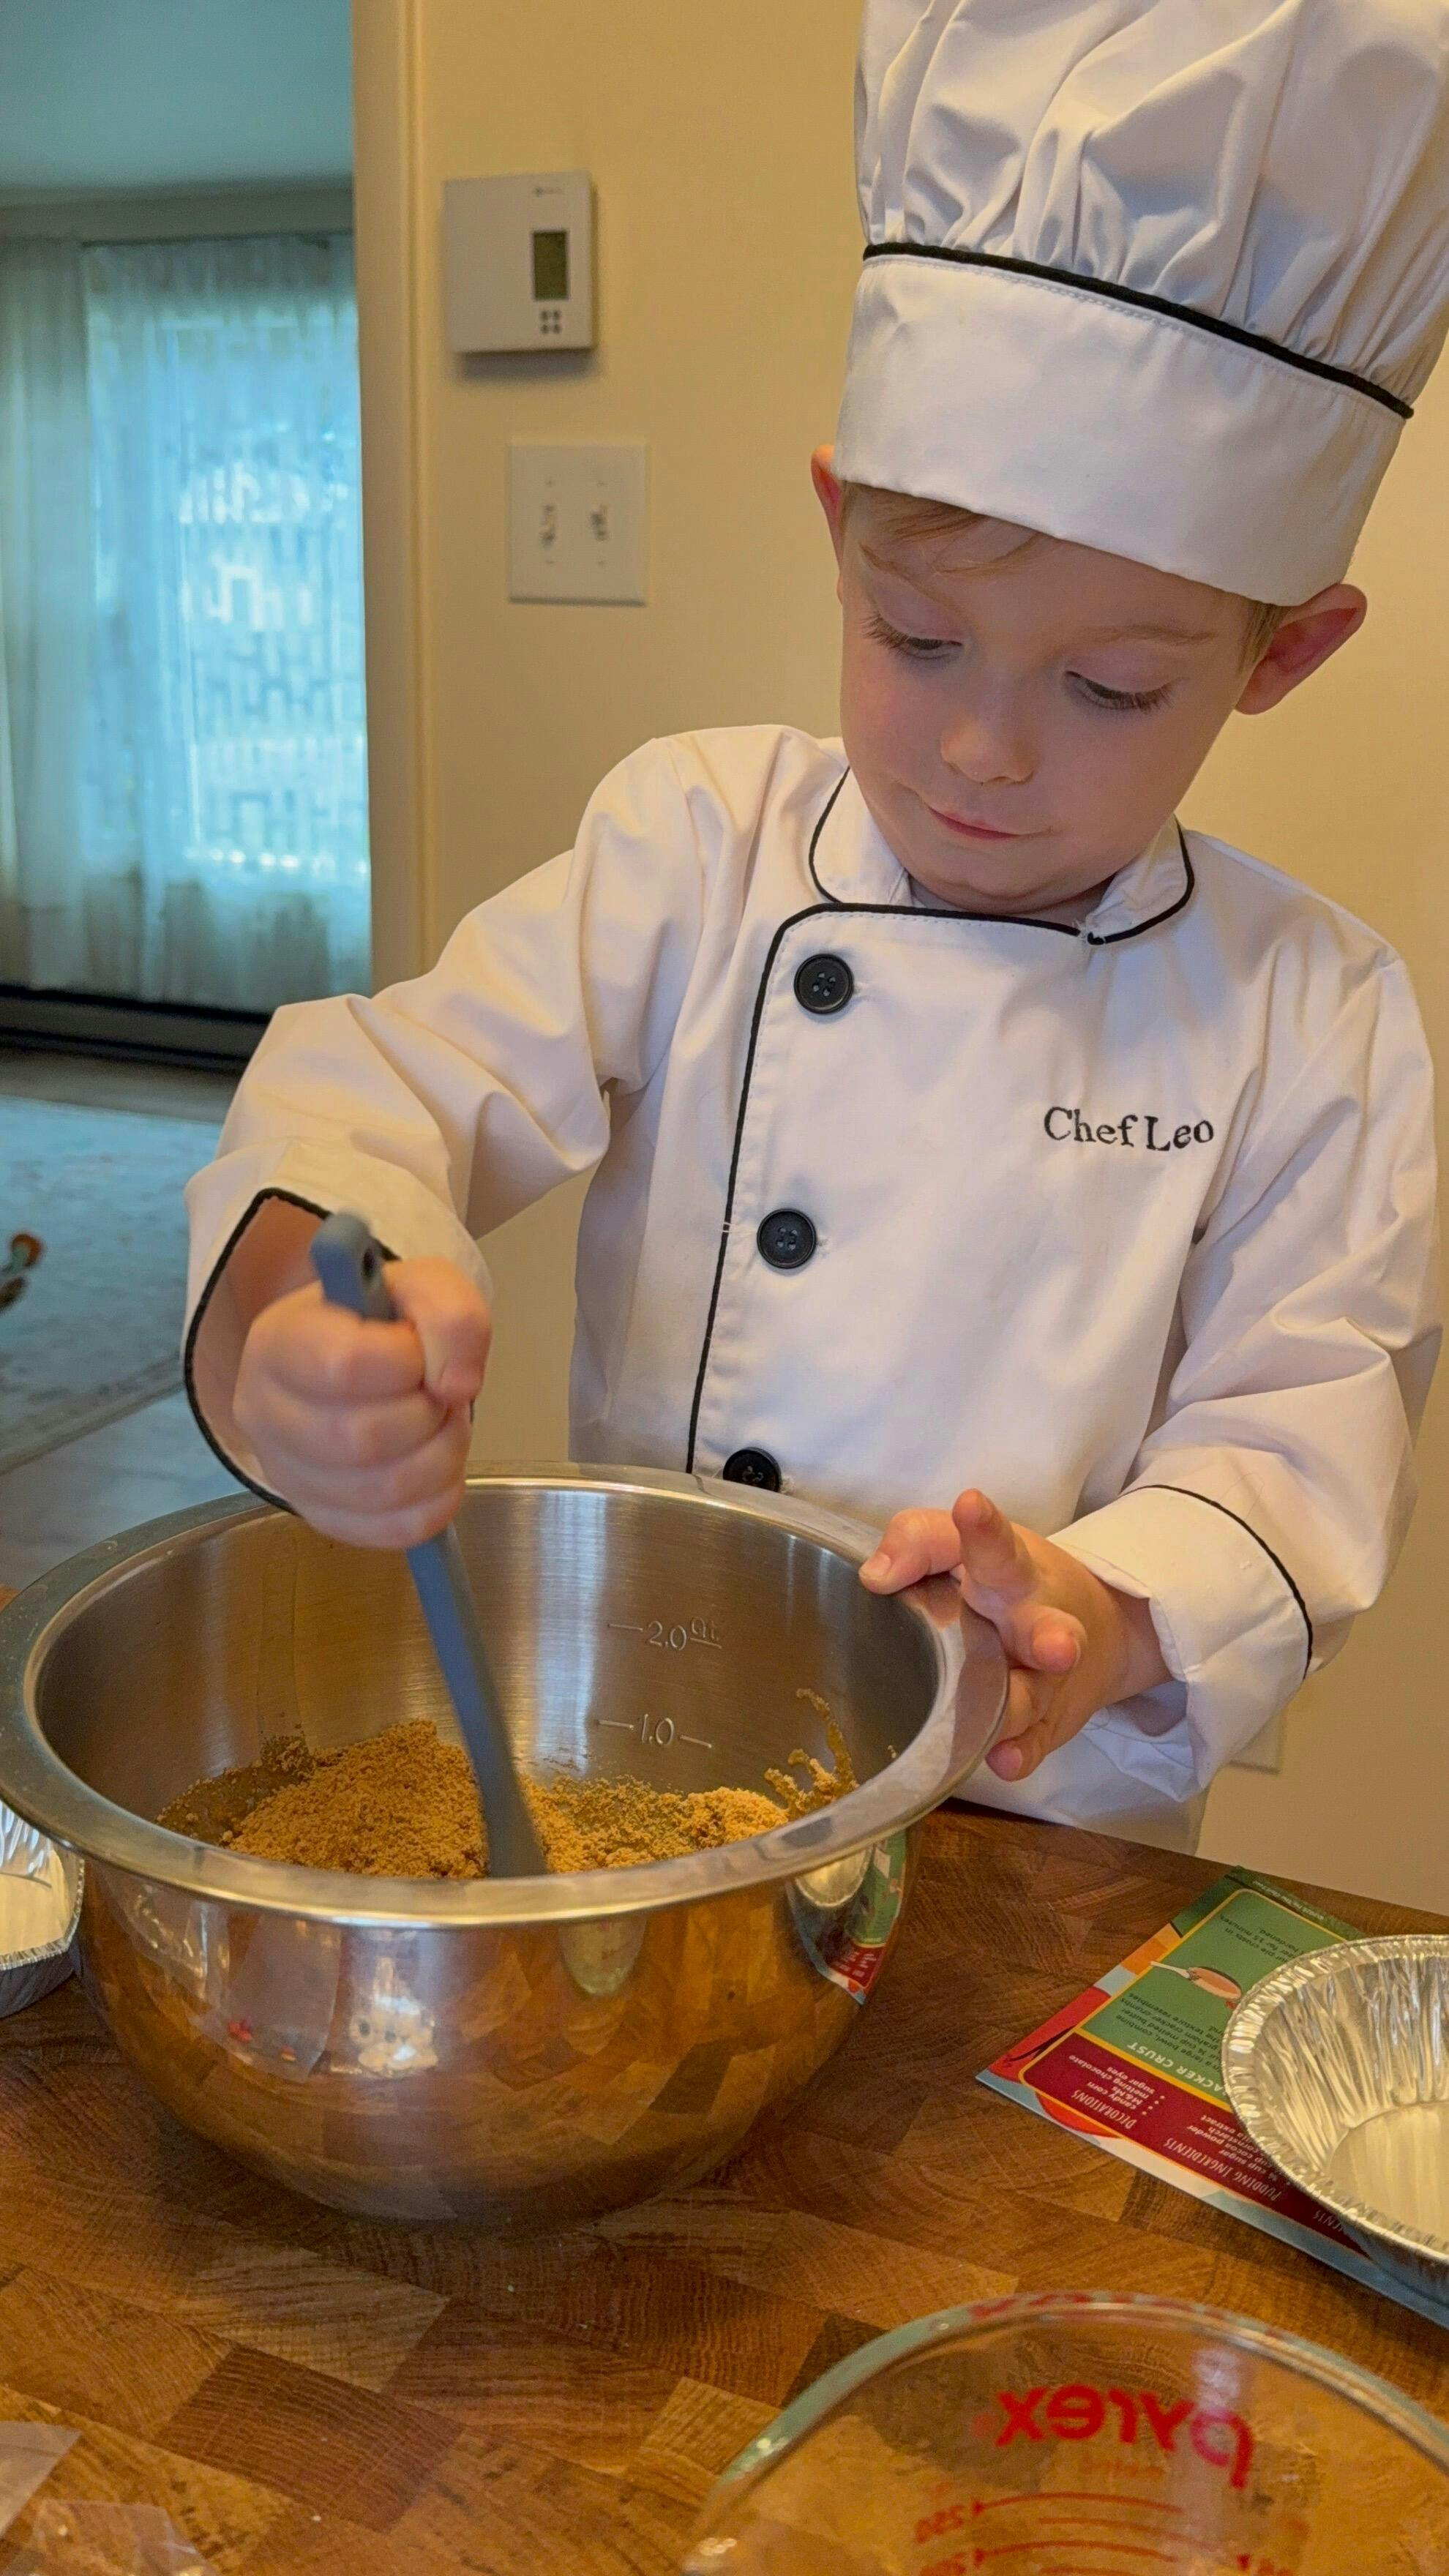
At I'm the Chef Too!, our mission is to blend food, STEM, and the arts into one-of-a-kind "edutainment" experiences, sparking curiosity and creativity in children. We believe learning should be tangible, delightful, and a catalyst for family bonding. That's why we're so excited to share how a humble brown paper bag can transform into a charming gingerbread house, offering a rich tapestry of learning and laughter. This delightful paper bag gingerbread house craft for kids isn't just an activity; it's a gateway to developing fine motor skills, fostering imagination, and building confidence in a wonderfully screen-free way. Let's dive into how this simple craft can become a cherished holiday tradition, inspiring young minds and creating joyful memories, much like the engaging cooking adventures we design.
The Magic of Paper Bag Gingerbread Houses: More Than Just a Craft
When we think of a gingerbread house, a delicious, edible masterpiece often comes to mind. But what if we told you that some of the most profound benefits—the creativity, the planning, the sheer joy of creation—can be achieved with a medium that's far less fragile and much easier to manage? Enter the paper bag gingerbread house. This craft offers an ingenious solution for busy families and educators looking for a festive activity that's big on fun and learning, but low on fuss.
Choosing paper over traditional dough opens up a world of possibilities, especially for younger children. There's no baking involved, which means no waiting for cooling, no sticky fingers from melted candy, and significantly less cleanup. This shift allows the focus to remain purely on the artistic and imaginative aspects of building, decorating, and storytelling. It liberates children to experiment freely, make "mistakes" (which are really just opportunities for creative problem-solving!), and truly own their designs without the pressure of perfect frosting lines or structural integrity.
At I'm the Chef Too!, we wholeheartedly embrace hands-on learning that excites and engages. This paper bag craft embodies our values perfectly. It’s a screen-free alternative that encourages children to connect with physical materials, fostering a sense of accomplishment that comes from bringing an idea to life with their own hands. Just as our cooking STEM kits empower children to learn about chemistry by watching ingredients transform, or explore engineering by building edible structures, the paper bag gingerbread house craft provides a similar tangible experience. It's about empowering children to be the architects of their own festive fun, igniting their curiosity and nurturing their innate creativity.
The simplicity of a paper bag means accessibility. Most homes already have a stash of brown paper bags, making this an incredibly economical and readily available craft. This ease of access ensures that the joy of creating a gingerbread house isn't limited by complex ingredients or specialized tools. It’s a craft that truly invites everyone to the table, from toddlers exploring textures and colors to older children designing intricate details for their festive village.
Moreover, the paper bag gingerbread house isn't just for Christmas. While it shines as a holiday centerpiece, the skills developed are universal. The focus on design, assembly, and decoration transcends seasonal themes, preparing children for other creative projects. And for those moments when you're looking for an ongoing source of exciting, educational activities that blend delicious food with engaging STEM and art concepts, consider joining The Chef's Club. Each month, a new adventure arrives at your door, ready to spark even more curiosity and creativity!
Unpacking the Educational Benefits: A STEM & Arts Adventure
While seemingly simple, the paper bag gingerbread house craft is a powerhouse of developmental opportunities. It’s a prime example of "edutainment" in action, where learning is seamlessly woven into enjoyable play. When children engage in this activity, they're not just making a pretty decoration; they're actively developing a wide array of cognitive, motor, and emotional skills that are crucial for their overall growth.
Fine Motor Skills & Hand-Eye Coordination
Think about all the intricate movements involved: holding scissors and carefully cutting out shapes for windows, doors, and candy decorations; picking up small embellishments like sequins or buttons; delicately applying glue; and using markers or crayons to color within lines. Each of these actions refines fine motor skills, strengthening the small muscles in the hands and fingers. This improved dexterity is essential for tasks like writing, buttoning clothes, and ultimately, more complex crafting or scientific experiments. The coordination between what their eyes see and what their hands do is constantly being honed, improving precision and control.
Creativity & Imagination
This craft is a blank canvas for imagination. Children aren't just following instructions; they're designing. "What kind of roof should my house have?" "Where should the door go?" "Should this be a candy cane forest or a gumdrop path?" They're making choices about color schemes, patterns, and the overall aesthetic of their house. This open-ended approach nurtures creative thinking, encouraging them to envision something unique and then bring it to life. They might even invent stories about who lives in their gingerbread house or what adventures happen there, turning a craft into a storytelling session.
Problem-Solving & Critical Thinking
Crafting inevitably involves mini-challenges. A piece might not fit exactly right, the glue might be too much or too little, or a decoration might fall off. These moments are invaluable for developing problem-solving skills. Children learn to assess the situation ("Why isn't this sticking?"), brainstorm solutions ("Maybe I need more glue, or tape, or a different spot"), and adapt their plans. They're engaging in critical thinking as they evaluate their options and choose the best course of action. This resilience and adaptability are skills that extend far beyond the craft table.
Basic Math Concepts
Without even realizing it, children are exploring foundational math concepts. They might count the "peppermints" they put on the roof, sort their "candy" by shape or color, compare the size of different windows, or consider the spatial relationships of where each element should be placed on the bag. "Is the door centered?" "Are there enough candy canes for both sides?" These are all early explorations into geometry, measurement, and numerical literacy.
Language & Communication
Crafting together naturally sparks conversation. Children might describe their ideas, explain their choices, or ask for help. This active dialogue enhances their vocabulary, strengthens their ability to articulate thoughts, and improves their listening skills as they follow instructions or respond to questions. It’s an excellent opportunity for parents and educators to engage with children, asking open-ended questions like, "Tell me about your house," or "What's your favorite part?"
Sensory Exploration
The tactile experience of crafting is important for sensory development. Children interact with different textures—the smooth paper bag, the stickiness of glue, the resistance of scissors, the feel of markers on paper, or the soft fluff of cotton ball "snow." This sensory engagement helps children process and understand their environment.
Patience & Perseverance
Completing a craft project, especially one with multiple steps, requires patience. Children learn to work through each stage, waiting for glue to dry or carefully cutting out shapes. This process teaches perseverance, the ability to stick with a task even when it's challenging, leading to the immense satisfaction of a finished product.
These educational benefits mirror our unique approach at I'm the Chef Too!. Just like our edible experiments, this craft teaches without feeling like schoolwork. We empower children to explore complex subjects through tangible, hands-on activities. Whether it's the chemistry of making slime or the physics of building a delicious structure, our kits are developed by mothers and educators to ensure every experience sparks joy and meaningful learning. If you're eager to continue fostering these skills in a fun, delicious way, don't forget to explore our full library of STEM cooking adventures available as One-Time Kits. You'll find a perfect adventure for every curious mind!
Gather Your Supplies: The Foundation of Your Festive Fun
One of the greatest appeals of the paper bag gingerbread house craft is its simplicity and reliance on readily available materials. You likely have most of what you need already tucked away in your craft bin or pantry! Gathering supplies can even be part of the fun, turning into a scavenger hunt for your little ones.
Here’s a detailed list of the core supplies, along with some creative alternatives and optional embellishments to spark even more imagination:
Essential Supplies:
- Brown Paper Bags: This is your foundation! Standard lunch-sized paper bags work perfectly, but you can experiment with larger grocery bags for bigger houses, or smaller treat bags for mini versions. The creases and folds of a paper bag naturally lend themselves to architectural shapes.
-
Construction Paper or Cardstock: This will be used for cutting out doors, windows, roof shingles, and various "candy" decorations.
- Tip: Use white or light-colored paper for "icing" details, and a variety of bright colors for candies (red, green, blue, yellow, pink). Cardstock offers more rigidity if you want pieces that stand out.
- Kid-Safe Scissors: Essential for cutting out shapes. Ensure they are appropriate for your child's age and skill level. Adult supervision is always crucial during cutting activities.
-
Glue:
- Glue Sticks: Excellent for young children as they are less messy and dry quickly. Perfect for sticking paper pieces together.
- White School Glue (PVA Glue): Stronger hold for heavier embellishments. A little goes a long way! You can also mix it with a tiny bit of water for a "paintable" glue to apply glitter.
- Tape: Useful for securing folds, especially for the roof, or for quick fixes. Painter's tape or masking tape can also be used to create temporary lines for "icing" before coloring.
-
Drawing & Coloring Tools:
- Markers: Offer vibrant, bold colors for decorating. Permanent markers are great for older kids, while washable markers are ideal for younger ones.
- Crayons & Colored Pencils: Provide a different texture and level of detail. Crayons are good for broad strokes, while colored pencils allow for finer lines.
- White Puffy Paint or Chalk Markers: These are fantastic for creating the look of "icing" or snow! Puffy paint adds a wonderful 3D effect, while chalk markers give a softer, more rustic gingerbread aesthetic. Liquid craft paint in white can also work.
Optional Embellishments for Extra Sparkle and Texture:
- Cotton Balls or White Felt: Perfect for creating fluffy snowdrifts on the roof or around the base.
- Glitter or Glitter Glue: Adds a magical shimmer, especially for "sugar" or "snow."
- Sequins, Buttons, Beads: These can become colorful "gumdrops," "peppermints," or festive ornaments. Always ensure these are used with proper adult supervision, especially with very young children due to choking hazards.
- Fabric Scraps: Small pieces of felt or patterned fabric can add unique textures for doors, windows, or roof details.
- Small Stickers: Holiday-themed stickers (snowflakes, stars, tiny Santas) can be a quick and easy way to decorate.
- Real Candy (for display only): While we recommend paper for most decorations to avoid mess and attract pests, you could temporarily attach a few real gumdrops or mini candy canes with a dot of hot glue (adults only!) for a special display, then remove them afterward. This isn't necessary, but an option for some.
- Old Newspapers or Scrap Paper: You'll need this to stuff the paper bag, helping your gingerbread house stand upright.
Tips for Organizing Your Supplies:
- Create a "Craft Station": Lay out a protective covering (old newspaper, a plastic tablecloth) over your workspace.
- Divide and Conquer: Place different types of supplies in small bowls or containers. This helps children see all their options and keeps things tidy.
- Pre-cut for Younger Kids: If you're crafting with toddlers or preschoolers, consider pre-cutting some of the basic shapes like doors, windows, and simple candy shapes. This allows them to focus on the decorating and gluing, building confidence without the frustration of cutting.
- Lead by Example: Show your child how to use each tool safely and effectively.
Having all your supplies ready before you begin makes the crafting process much smoother and more enjoyable for everyone. It minimizes interruptions and allows for maximum creative flow! And speaking of creative flow, if you're looking for an endless source of unique, screen-free "edutainment," remember that The Chef's Club delivers a new culinary adventure to your door every month, complete with pre-measured dry ingredients and specialty supplies!
Step-by-Step Guide: Crafting Your Paper Bag Gingerbread House
Now that you have all your supplies, let's embark on the fun journey of transforming a simple paper bag into a delightful gingerbread house! Remember, this is a process where creativity flourishes, and every house will be wonderfully unique. Adult supervision is essential throughout these steps, especially when using scissors or glue.
Preparation is Key: Setting the Stage
- Clear Your Workspace: Find a flat, sturdy surface and protect it with old newspapers, a plastic tablecloth, or a craft mat. This makes cleanup much easier.
- Organize Supplies: Lay out all your chosen materials within easy reach. Small containers for little items like sequins or buttons are a lifesaver.
- Download/Draw Templates: Decide if you'll use a printable template for your house parts (roof, door, windows, candy) or if you'll draw them freehand. If using templates, print them on construction paper or cardstock and have your child color and cut them out ahead of time. For younger children, pre-cutting these shapes can make the activity more enjoyable, allowing them to focus on decorating and assembly.
Step 1: Forming the House Base – The Foundation
Your paper bag needs to become a house shape. Here are a couple of popular methods:
-
The Fold-and-Crease Method (Simple):
- Take your brown paper bag and lay it flat.
- Fold the top of the bag down towards the back, about 1-2 inches, creating a flat surface where the roof will eventually sit. Press firmly to create a crease.
- For a more defined peak, you can also fold the top two corners inward (like folding a paper airplane) to meet in the middle of the bag. This creates a triangular roofline. Secure these folds with a small piece of tape or a dot of glue.
-
The Stand-Up Method (for a more sturdy house):
- First, gently open the bag and fill the bottom with a small amount of shredded paper, old newspaper, or even some small rocks (ensuring they won't poke through). This adds weight and helps the house stand upright later. Don't overfill it yet.
- Once partially weighted, you can gently fold the top edges inward, then staple or tape them together to form a triangular roof. This creates a sturdy, box-like base for your house.
Encourage your child to participate in the folding and creasing. This works on bilateral coordination and spatial awareness.
Step 2: Designing the "Icing" and Details – The Gingerbread Look
This is where the magic of the "gingerbread" really comes alive!
-
Outline the Edges: Using white puffy paint, a white chalk marker, or a white crayon, invite your child to draw "icing" lines along the edges of the paper bag. They can outline where the roof meets the walls, the corners of the house, and even draw whimsical swirls and dots.
- Tip for younger kids: You can draw dotted lines for them to trace, or let them experiment freely with lines and shapes.
- Tip for older kids: Challenge them to create intricate patterns, scalloped edges, or geometric designs.
- Add Texture: If using puffy paint, remind them to apply it gently and allow time for it to dry (this can take a few hours, so plan accordingly). This creates a wonderful raised texture that mimics real frosting.
Step 3: Creating Windows and Doors – Welcoming Elements
Now it’s time to add the features that make it a home!
-
Cut or Draw: If using templates, have your child cut out their pre-decorated doors and windows from construction paper. If freehand, they can draw directly onto the bag.
- Variations: Create arched windows, round windows, or multi-paned windows. Design a fancy door with a doorknob, or a simple welcoming entrance.
-
Position and Glue: Help your child decide where to place the door (usually centered at the bottom front) and windows (above the door, or on the sides). Once happy with the placement, use a glue stick or white school glue to firmly attach them.
- Spatial Reasoning: This step helps children think about balance and symmetry, even if their final placement isn't perfectly even.
Step 4: The Sweet Decorations – Candy Land Comes to Life
This is arguably the most exciting part for kids – decorating with "candy"!
-
Paper Candy: Have your child cut out various shapes from colorful construction paper to represent gumdrops, peppermints, candy canes, lollipops, or even gingerbread men/women.
- Tip: Drawing patterns on these cutouts (swirls on peppermints, stripes on candy canes) adds more detail.
-
Embellish Away: Let your child go wild! Encourage them to glue their paper candies onto the roof, around the door, lining the windows, or scattered across the walls. This is also the perfect time to add other embellishments like sequins, buttons (adult supervision!), or glitter.
- Creativity & Choice: Emphasize that there's no right or wrong way to decorate. It's their house, and their choices make it special.
- Nature's Touch: For a natural feel, small twigs can become "trees" or "logs," and dried leaves can be roof shingles.
Step 5: Adding a Personal Touch – Making It Uniquely Theirs
Encourage your child to personalize their house even further.
- They can draw a sign for their house ("Welcome Home," "Santa's Stop," "The Sweet Spot").
- Add a small paper chimney to the roof.
- Draw or glue on small figures of themselves or their imaginary friends peering from the windows.
Step 6: Making It Stand Tall – The Grand Finale
If you didn't fully stuff your bag in Step 1, now's the time!
- Fill the Bag: Gently open the paper bag and stuff it with shredded paper, crumpled newspaper, or paper towels until it feels firm and can stand upright on its own.
- Secure the Roof: If you only folded the top of the bag in Step 1, now is a good time to use a piece of tape or a dot of glue to secure the folded-down flap to the back of the bag, ensuring the roof stays in place. If you stapled it, check that it's secure.
And voilà! Your charming paper bag gingerbread house is complete, ready to be displayed with pride. This delightful paper bag gingerbread house craft for kids is not just an activity, but a tangible expression of creativity and learning.
For more hands-on adventures that bring learning to life, check out our Erupting Volcano Cakes kit, where kids can explore chemical reactions with bubbling deliciousness, or our Galaxy Donut Kit, perfect for an edible journey through astronomy! These kits exemplify our commitment to blending food, STEM, and the arts into unforgettable "edutainment."
Creative Twists & Advanced Ideas for Your Gingerbread Village
Once you've mastered the basic paper bag gingerbread house, the possibilities for creative expansion are endless! This craft is wonderfully adaptable, inviting further exploration and more complex projects that continue to build on those foundational skills.
Themed Houses: Beyond Traditional Gingerbread
Why stop at classic gingerbread? Encourage your child to think outside the box and create themed houses.
- Winter Wonderland: Use lots of white and silver for "icing" and decorations. Add cotton balls for snow, tiny blue sequins for ice, and perhaps a polar bear or snowman peeking out a window.
- Character Homes: Your child's favorite characters can inspire a whole new design! Imagine a house for a brave knight, a whimsical fairy, or even a beloved cartoon character. This kind of imaginative play is fantastic for storytelling and connecting to existing interests. For example, just like kids adore making Peppa Pig Muddy Puddle Cookie Pies with our themed kits, they can design a house specifically for Peppa, complete with muddy puddle decorations!
- Fantasy Castles or Space Stations: With a few extra folds or attached paper tubes, a paper bag can become a turreted castle or a futuristic space station, expanding the architectural possibilities.
Interactive Elements: Bringing Houses to Life
Add small details that make the gingerbread house more engaging.
- Opening Doors: Cut a door on three sides (top and both vertical sides), leaving one vertical side attached. This creates a tiny flap door that can open and close, perfect for imaginative play with small toy figures.
- Tiny Inhabitants: Draw small stick figures or print tiny cutouts of gingerbread people or animals to "live" inside or outside the house.
- Nighttime Glow: Carefully cut out small holes for windows and place a battery-operated tea light inside the stuffed bag for a soft, inviting glow (always use adult supervision and ensure the light is not hot).
Building a Gingerbread Village: A Community of Creativity
Instead of just one house, why not create an entire gingerbread village? This is a fantastic group activity, perfect for siblings, playdates, or even a classroom setting.
- Connect Them: Place multiple houses together on a large piece of cardboard or a sheet.
- Add Scenery: Create paper trees (green construction paper folded and cut), fences (strips of white paper), and paths (brown paper strips). Use cotton batting or white craft paper for a snowy ground.
- Vary Sizes: Encourage children to make houses of different sizes using various paper bags to add depth and interest to the village. Some can be small cottages, others grander estates.
- Storytelling Village: Once the village is complete, it becomes a backdrop for imaginative play and storytelling. "What's happening in the baker's house today?" "Who's visiting the candy cane cottage?"
Beyond the Bag: Expanding to Other Materials
While paper bags are our focus, the spirit of creating a gingerbread house can extend to other recyclable materials. Cardboard boxes of various sizes can be used for larger, sturdier structures, allowing for even more intricate details and durability. This encourages children to see everyday objects as potential creative resources, a core tenet of our I'm the Chef Too! philosophy – transforming simple items into extraordinary learning experiences. Just as our Erupting Volcano Cakes kit brings geology to life through edible science, building with different materials allows children to explore engineering and design in a playful, tangible way.
The Ultimate Gift Bag Idea: Crafting with a Purpose
One of the most charming and practical applications for your finished paper bag gingerbread houses is to use them as unique gift bags! This adds a deeply personal and handmade touch to any holiday present.
- Stuff with Goodies: Once decorated, carefully fill the house with small toys, candies, or homemade treats.
- Seal with Care: You can either gently fold the roof closed and secure it with a festive ribbon, or use a piece of tape on the back.
- Personalized Tag: Add a handmade gift tag with a message from your child.
This dual purpose—craft and gift wrap—elevates the activity, giving children a sense of purpose and pride in their creation, knowing it will bring joy to someone else.
These creative twists not only extend the fun but also deepen the educational impact. They encourage children to think creatively, plan multi-step projects, and collaborate. Just like our STEM cooking kits, which often involve multiple steps and encourage innovative thinking, this craft allows for layers of engagement. If you're looking for more ways to keep those creative juices flowing, explore our entire collection of diverse and exciting One-Time Kits in our shop. There's always a new adventure waiting!
Tips for a Smooth Crafting Experience (and Happy Little Chefs!)
Creating a paper bag gingerbread house is meant to be a joyful, low-stress activity. To ensure everyone has a fantastic time and that the experience is truly enriching, we've gathered some expert tips from our experience developing hands-on, engaging activities for children at I'm the Chef Too!.
Embrace the Mess (Within Reason!)
Crafting inevitably involves a bit of mess, especially with glue, glitter, or markers. Instead of stressing about it, prepare for it. Lay down newspapers, an old tablecloth, or a washable mat. Have wipes or a damp cloth ready for quick cleanups. Frame the mess as part of the creative process—it shows that real work and exploration are happening! We often tell children in our kits that spills are just "scientific discoveries" waiting to happen.
Focus on the Process, Not Perfection
This is perhaps the most crucial tip. The goal of this craft is not to create a perfectly symmetrical, professional-looking gingerbread house. The goal is for your child to engage, explore, imagine, and build confidence. Celebrate their effort, their unique design choices, and their journey through the steps. If a window is crooked, or the "icing" is wavy, acknowledge it as part of their artistic expression. Praise their choices and the hard work they put in, rather than focusing on a flawless outcome. This fosters a love for learning and encourages them to try new things without fear of failure.
Age-Appropriate Tasks: Tailoring for Every Child
Adjust the complexity of the craft to your child's developmental stage.
- Toddlers (1-3 years): Focus on sensory exploration and very simple actions. They can enjoy coloring pre-cut shapes, sticking large stickers, or smearing glue on paper (with supervision!). You do most of the cutting and complex assembly.
- Preschoolers (3-5 years): They can start practicing with safety scissors (thick lines, simple shapes), glue sticks, and decorating with markers or large cutouts. Encourage them to choose colors and placements.
- Young School-Aged Children (5-8 years): They can handle more intricate cutting, apply glue more precisely, and design more detailed decorations. Introduce concepts like symmetry or creating patterns.
- Older Children (8+ years): Challenge them with more complex designs, freehand drawing of details, creating a whole village, or adding interactive elements. They can even help younger siblings.
Safety First: Our Constant Priority
Always keep safety in mind.
- Scissors: Ensure children use age-appropriate safety scissors. Provide direct supervision, especially with younger children.
- Glue: Remind children not to ingest glue. Ensure adequate ventilation if using stronger adhesives.
- Small Parts: If using beads, sequins, or small buttons, be mindful of choking hazards for very young children. These items are best for older kids or used under very close supervision.
- Hot Glue (Adults Only!): If you decide to use a hot glue gun for more secure attachments (e.g., if adding real candy for display), this should only be handled by an adult.
Encourage Storytelling and Dialogue
Throughout the crafting process, engage your child with open-ended questions: "What kind of candy is this?" "Who lives in your house?" "What adventures will happen here?" This not only enhances their language skills but also sparks their imagination and helps them connect more deeply with their creation. It's a beautiful way to encourage communication and understand their inner world.
Prioritize Family Bonding Time
At its heart, this craft, much like our cooking kits, is about creating shared experiences. It’s an opportunity to sit down together, disconnect from screens, and truly connect. These moments of focused, creative interaction build strong family bonds and create cherished memories that last far longer than any physical craft. We, at I'm the Chef Too!, are committed to providing screen-free educational alternatives that bring families closer.
By keeping these tips in mind, you can transform a simple craft into an unforgettable experience of learning, growth, and joy for your children. Ready to bring more of these engaging, screen-free "edutainment" experiences into your home? Join The Chef's Club today and get a new adventure delivered to your door every month with free shipping in the US! It's the perfect way to spark ongoing curiosity and creativity.
Displaying Your Masterpieces: Beyond the Mantle
After all the creative effort, the paper bag gingerbread house craft for kids deserves to be proudly displayed! These charming creations can add a festive touch to any room, and seeing their work showcased boosts a child's self-esteem and sense of accomplishment. Here are some delightful ideas for featuring your homemade gingerbread houses:
- A Festive Mantle or Bookshelf Display: This is the classic spot! Arrange a collection of houses (especially if you made a village) on a mantlepiece, bookshelf, or sideboard. Add some cotton ball snow, fairy lights, or small pinecones to complete the scene.
- Window Displays: Place the houses on a windowsill. If you've added battery-operated tea lights inside, they will cast a warm, inviting glow, visible from both inside and out.
- Table Centerpieces: A cluster of paper bag gingerbread houses makes an adorable centerpiece for your dining table, especially during holiday meals.
- Gingerbread House Garland: If you've made smaller houses, you can string them together with ribbon or twine to create a unique garland. Punch two holes at the top of each house and thread them onto a festive ribbon. This looks charming draped across a doorway, over a window, or along a child's bed frame.
- Classroom or Homeschool Decor: For educators or homeschool groups, a "gingerbread village" created by students can become a wonderful collaborative display, celebrating each child's contribution.
- Thoughtful Gifts or Gift Bags: As we discussed, these houses make incredibly personal gift bags for small presents. Imagine the joy of receiving a gift wrapped in a child's handmade gingerbread house! They can also be standalone gifts for grandparents, teachers, or friends.
- Props for Imaginative Play: Don't underestimate the power of these houses as props for ongoing imaginative play. Children can arrange and rearrange them, creating scenarios for their toys or dolls, continuing the storytelling long after the crafting is done. This extends the life and value of the craft significantly.
The way we display children's art communicates its value. By giving their paper bag gingerbread houses a prominent place, we're showing them that their creativity is cherished and celebrated.
Why Hands-On Learning Matters: The I'm the Chef Too! Philosophy
The paper bag gingerbread house craft is a perfect illustration of what we believe in at I'm the Chef Too!: the profound power of hands-on learning. In a world increasingly dominated by screens, we champion the tactile, the tangible, and the truly interactive experience. Our mission is to blend food, STEM, and the arts into one-of-a-kind "edutainment" experiences that ignite curiosity and creativity in children, foster family bonding, and provide a meaningful, screen-free educational alternative.
Think about the sheer joy and concentration a child exhibits when engaging directly with materials—cutting paper, mixing colors, or carefully gluing a tiny "gumdrop." This direct engagement stimulates multiple senses, builds neural connections, and helps abstract concepts become concrete. It’s a stark contrast to passive screen consumption, which, while having its place, often lacks the depth of sensory and motor involvement that hands-on activities provide.
Our unique approach at I'm the Chef Too! focuses on teaching complex subjects through tangible, hands-on, and delicious cooking adventures. We understand that kids learn best by doing, by experimenting, and by tasting! Whether it's exploring the science behind baking, the math of measuring ingredients, or the artistry of decorating, our kits make learning an adventure. We don't just send ingredients; we send an entire educational experience, developed by mothers and educators who understand how children learn and play.
Just like the simplicity and educational richness of the paper bag gingerbread house, our kits are designed to be accessible and engaging. We aim to make learning about everything from geological formations (with our Erupting Volcano Cakes kit, for instance) to astronomical wonders (like the Galaxy Donut Kit) an exciting, memorable journey. This isn't about guaranteeing your child will become a top scientist, but about fostering a lifelong love for learning, building confidence in their abilities, developing key skills, and creating joyful family memories that will last a lifetime.
When children are actively involved in the creation process, they develop critical thinking skills, problem-solving abilities, fine motor control, and a strong sense of accomplishment. They learn perseverance and the satisfaction of seeing a project through from start to finish. These are invaluable life skills that traditional academic settings often struggle to replicate without a hands-on component.
If the joy and learning spurred by this paper bag gingerbread house craft for kids resonates with your family, you'll love what we offer. We provide a fantastic range of individual kits that cover various themes and educational concepts. Why not explore our full library of adventure kits available for a single purchase? Browse our complete collection of one-time kits and find the perfect theme for your little learner!
Ready for More Adventures? Join The Chef's Club!
We hope this deep dive into the enchanting world of the paper bag gingerbread house craft has inspired you to embark on a festive, fun, and educational journey with your children. It's a testament to how simple materials can spark immense creativity and learning.
If you've enjoyed the idea of blending hands-on creativity with developmental growth and screen-free family fun, then you're going to love what we do every single month at I'm the Chef Too!. We believe that the joy of learning should be a continuous adventure, delivered right to your doorstep.
Imagine the excitement when a brand new, themed "edutainment" kit arrives, ready to transform your kitchen into a science lab, an art studio, or an archaeological dig site—all while making delicious treats! Our Chef's Club subscription is designed specifically for families like yours, who crave engaging, educational, and convenient activities.
Here’s why The Chef's Club is the perfect next step for your little learners:
- Unrivaled Convenience: Say goodbye to endless searching for craft ideas and ingredient lists. A new, unique adventure is delivered to your door every month, complete with pre-measured dry ingredients and specialty supplies.
- Unbox the Excitement: Each kit is a complete experience, thoughtfully curated by mothers and educators to spark curiosity and creativity.
- Flexibility for Your Family: Choose from our flexible 3, 6, and 12-month pre-paid plans, perfect for ongoing enrichment or as a magnificent gift that keeps on giving.
- Exceptional Value: Every box is packed with educational content, hands-on fun, and delicious outcomes, ensuring maximum value for your investment in your child's learning journey.
- Free Shipping: Enjoy free shipping on every box in the US, making it even easier to bring these amazing adventures home.
Don't let the holiday magic end! Keep the spirit of discovery alive all year long. Ready for a new adventure every month? Join The Chef's Club today and let us continue to spark curiosity, foster creativity, and facilitate unforgettable family bonding moments!
FAQ Section: Your Questions Answered
We understand you might have some questions about making your paper bag gingerbread house craft. Here are answers to some of the most common inquiries to help ensure your crafting experience is smooth and successful!
What age is this craft best for?
This craft is incredibly versatile and can be adapted for a wide range of ages, from toddlers to older children.
- Toddlers (1-3 years): Focus on coloring pre-cut shapes and sticking large pieces with adult help for cutting and assembly.
- Preschoolers (3-5 years): They can do simple cutting with safety scissors, glue with glue sticks, and make their own decorating choices.
- Young School-Aged Children (5-8 years): Can handle more intricate cutting, detailed decorating, and take on more steps independently.
- Older Children (8+ years): Can design more complex houses, create a whole village, or incorporate advanced elements like opening doors.
Adult supervision is always recommended, especially when using scissors or small embellishments.
What kind of paper bag should I use?
Standard brown paper lunch bags (like the ones used for packed lunches) are ideal. They are the perfect size, easy to fold, and the brown color naturally resembles gingerbread. Larger grocery bags can be used for bigger, sturdier houses, while smaller gift bags or treat bags can make miniature versions.
How can I make the house stand up?
The easiest way to make your paper bag gingerbread house stand upright is to stuff it. Gently open the bag and fill the bottom with crumpled newspaper, shredded paper, paper towels, or even a few small rocks. This adds weight and stability. Once stuffed, you can secure the roof by folding it down and taping or gluing it to the back of the bag.
Can I use real candy for decoration?
While paper cutouts are recommended to avoid stickiness, potential pests, and to make the craft last longer, you can use real candy for decoration if the house is strictly for display and you plan to dispose of it after a short period. If you choose to use real candy, we strongly advise an adult to attach it using a small dot of hot glue for a secure hold. Always supervise children around real candy, especially if it's meant for decoration and not consumption.
How long does this craft take?
The time commitment can vary based on the child's age and the level of detail.
- Simple Version (pre-cut shapes, minimal embellishments): 30-60 minutes.
- Detailed Version (freehand cutting, intricate decorating, multiple houses): 1-3 hours, potentially spread over two sessions (e.g., decorating one day, assembling and adding final touches the next). Remember to factor in drying time if using liquid glue or puffy paint.
What if my child isn't good at cutting?
That's perfectly okay! The goal is participation and fun. For younger children or those still developing their fine motor skills, you can:
- Pre-cut all the shapes for them so they can focus on coloring and gluing.
- Draw thick, bold lines for them to cut along, providing an easier guide.
- Focus on "ripping" activities instead of cutting for very young children, which also builds hand strength.
- Allow them to draw directly onto the bag instead of cutting out separate pieces.
The most important thing is to celebrate their effort and creativity, no matter the outcome!
Conclusion
The humble paper bag, often overlooked, holds incredible potential for sparking imagination and learning. The paper bag gingerbread house craft for kids is a testament to this, offering a delightfully simple, screen-free activity that brings joy, creativity, and a wealth of developmental benefits to children and families alike. From refining fine motor skills and nurturing problem-solving abilities to fostering imagination and encouraging heartfelt communication, this craft embodies the spirit of hands-on learning that we champion at I'm the Chef Too!. It’s about more than just making a festive decoration; it’s about creating cherished memories, building confidence, and fostering a lifelong love for learning through tangible, engaging experiences.
We believe that every moment spent creating, exploring, and discovering together is an investment in your child's future, strengthening family bonds and providing a meaningful alternative to passive entertainment. So, gather your supplies, embrace the joyful mess, and embark on a crafting adventure that will fill your home with holiday cheer and the warmth of shared experiences.
And if you’re eager to continue these exciting journeys of "edutainment" and delicious discovery, we invite you to experience the magic of I'm the Chef Too! year-round. Don't let the fun and learning stop here. Join The Chef's Club today for ongoing adventures that blend food, STEM, and the arts, delivered conveniently to your door every month. Give the gift of learning that lasts all year, and let's continue to spark curiosity and creativity together!


")