Building Wonder: Your Ultimate Rainbow Bridge STEM Activity Guide

Table of Contents
- Introduction
- The Magic of a Rainbow Bridge STEM Activity
- Understanding the Fundamentals of Bridges
- Designing Your Rainbow Bridge STEM Challenge
- Materials for Your Colorful Construction
- Step-by-Step Rainbow Bridge Building Ideas (with STEM Principles)
- Testing and Iterating: The Heart of STEM
- Extending the Rainbow Bridge STEM Activity
- Beyond the Bridge: The Broader Benefits of Hands-On STEM
- Join the Adventure with I'm the Chef Too!
- FAQ Section
- Conclusion
Have you ever watched a child’s eyes light up with pure, unadulterated joy as they witness something truly amazing? Perhaps it’s the way vibrant colors arc across the sky after a rain shower, or the quiet focus as they construct a magnificent tower out of building blocks. Imagine combining that colorful wonder with the thrill of engineering and discovery. That’s the magic of a rainbow bridge STEM activity. It’s not just about building something pretty; it's about laying the foundation for critical thinking, problem-solving, and a lifelong love for learning, all wrapped up in a visually captivating challenge.
Here at I'm the Chef Too!, our mission is to blend food, STEM, and the arts into one-of-a-kind "edutainment" experiences. We believe that the most profound learning happens when children are actively engaged, hands-on, and having fun. A rainbow bridge STEM activity perfectly embodies this philosophy, offering a tangible, engaging way to explore fundamental principles of science, technology, engineering, and mathematics. In this comprehensive guide, we'll dive deep into why these activities are so beneficial, how to set them up for success, and provide a wealth of ideas to inspire your little engineers to build the strongest, most vibrant bridges imaginable.
Introduction
Picture this: A sneaky leprechaun is on the loose, guarding a pot of gold at the end of a shimmering rainbow. But wait – there's a chasm! How will the leprechaun cross to hide the treasure? This imaginative scenario sets the perfect stage for a captivating rainbow bridge STEM activity. More than just a whimsical craft, this challenge transforms playtime into a powerful learning experience.
This blog post will be your ultimate resource for designing and executing incredible rainbow bridge STEM activities. We'll explore the core concepts of bridge engineering, delve into various materials and techniques to build sturdy structures, and provide practical tips for fostering a true engineering mindset in children. Our goal is to equip parents and educators with the knowledge and inspiration to create enriching, screen-free educational alternatives that spark curiosity, encourage creativity, and facilitate unforgettable family bonding. Get ready to transform everyday materials into extraordinary learning opportunities and watch your children's confidence soar as they become master bridge builders!
The Magic of a Rainbow Bridge STEM Activity
The allure of the rainbow is universal, symbolizing hope, beauty, and often, a hidden pot of gold. When we combine this natural wonder with the principles of STEM, we create an irresistible invitation for children to learn and explore. A rainbow bridge STEM activity isn't just a seasonal craft, though it's perfect for spring themes or St. Patrick's Day. It's a gateway to understanding real-world concepts through imaginative play.
Why Rainbows? Adding a Splash of Art and Whimsy
The vibrant colors of the rainbow immediately capture a child's attention. Incorporating the ROY G BIV sequence (Red, Orange, Yellow, Green, Blue, Indigo, Violet) into the bridge-building process adds an artistic dimension, transforming a technical challenge into a visually stunning creation. This blend of logic and aesthetics highlights the "A" in STEAM (Science, Technology, Engineering, Arts, Mathematics), demonstrating how creativity and design are integral to innovation. Children can experiment with color patterns, material choices, and embellishments, making each bridge unique. This artistic freedom ensures that even children who might initially be intimidated by "science" or "engineering" are drawn into the activity through their love for color and expression. It taps into their natural inclination to create something beautiful, making the learning process feel less like a lesson and more like a joyful exploration.
Why Bridges? Connecting Concepts to Real-World Engineering
Bridges are fascinating structures that we encounter every day, often without a second thought. They are marvels of engineering, designed to overcome obstacles and connect two points. By focusing on bridge building, children engage with fundamental engineering principles such as:
- Structural Integrity: What makes something strong and stable?
- Weight Distribution: How can a structure support a load without collapsing?
- Material Properties: How do different materials (paper, craft sticks, pipe cleaners) behave under stress?
- Design and Iteration: How do engineers plan, build, test, and improve their designs?
A rainbow bridge STEM activity provides a simplified, safe environment for children to experiment with these complex ideas. They get to be the engineers, grappling with real-world problems on a smaller scale, and seeing the direct results of their design choices. This hands-on experience is far more impactful than simply reading about bridges in a book. It’s about active discovery, where mistakes are celebrated as learning opportunities, and persistence leads to tangible success.
What is STEM and Why is It Important for Kids?
STEM stands for Science, Technology, Engineering, and Mathematics. These four fields are interconnected and crucial for understanding the world around us and for driving future innovation.
- Science: Children observe, ask questions, and form hypotheses about how things work. Why does the bridge bend? What happens if I use more material?
- Technology: They use tools (scissors, rulers, glue) and simple machines (levers, inclined planes implicitly in bridge design) to construct their designs.
- Engineering: This is the core of the activity – designing, building, and testing solutions to a problem (e.g., how to span a gap and hold weight).
- Mathematics: Children measure, count materials, compare lengths, and track how much weight their bridge can hold. They might even graph their results!
Engaging in STEM activities from a young age helps children develop:
- Critical Thinking Skills: Analyzing problems and devising solutions.
- Problem-Solving Abilities: Overcoming challenges and adapting designs.
- Creativity and Innovation: Thinking outside the box to find unique solutions.
- Collaboration and Communication: Working with others and explaining their ideas.
- Resilience: Learning from failures and trying again.
At I'm the Chef Too!, we wholeheartedly believe in the power of hands-on learning. Our unique approach, developed by mothers and educators, ensures that complex subjects are taught through tangible, hands-on, and often delicious cooking adventures. A rainbow bridge STEM activity fits perfectly into our philosophy of sparking curiosity and fostering a love for learning in a fun, engaging, and screen-free way. Ready for a new adventure every month that perfectly blends learning and delicious fun? Join The Chef's Club and enjoy free shipping on every box!
Understanding the Fundamentals of Bridges
Before embarking on the exciting rainbow bridge STEM activity, it's incredibly helpful for children to grasp some basic concepts about what makes a bridge strong. This isn't about memorizing physics equations, but rather understanding intuitive ideas about forces and structures through observation and simple explanations.
What Makes a Bridge Strong? Forces in Action: Compression and Tension
The strength of any bridge lies in how it manages two primary forces: compression and tension.
- Compression: Think of pushing something together, squeezing it. When you press down on a spring, you are compressing it. In a bridge, compression pushes parts of the structure together. Materials that are good at resisting compression tend to be stiff and can handle being squished.
- Tension: This is the opposite of compression; it’s a pulling or stretching force. Imagine a rope in a tug-of-war – it's under tension. In a bridge, tension pulls parts of the structure apart. Materials good at resisting tension are flexible but strong, like cables.
Different bridge designs utilize these forces in various ways to distribute the load (the weight on the bridge) efficiently to its supports. When children build, they'll instinctively be dealing with these forces, even if they don't use the technical terms. For instance, when a paper bridge sags, it's because the top is under compression and the bottom under tension, and one or both aren't strong enough to resist these forces. Explaining these concepts simply can help them understand why certain design choices make a difference.
Basic Bridge Types for Kids
While there are many complex bridge designs in the world, focusing on a few fundamental types can give children a great starting point for their rainbow bridge STEM activity:
1. Beam Bridge: The Simplest Span
- Concept: A simple, horizontal beam supported by piers or abutments at each end. Think of a flat plank crossing a ditch.
- How it works: When weight is placed on a beam bridge, the top of the beam is compressed, and the bottom is stretched (tension). The supports bear the direct downward load.
-
Why it's useful for a
rainbow bridge STEM activity: It’s the easiest to construct, making it a great starting point for younger children. They can experiment with different materials for the "beam" and various ways to strengthen it.
2. Arch Bridge: The Natural Arc
- Concept: A bridge that uses a curved structure (an arch) to support the deck from below or above. Think of a Roman aqueduct or a rainbow's natural shape!
- How it works: The curved arch is incredibly efficient at transferring all the downward weight (compression) outwards and downwards to its supports (abutments) on either side. Because the force is spread out, the arch itself is primarily under compression, making it very strong.
-
Why it's useful for a
rainbow bridge STEM activity: This design naturally lends itself to the "rainbow" theme due to its inherent curve. It introduces the concept of distributing forces laterally, making it a more advanced but highly rewarding challenge.
3. Truss Bridge: The Power of Triangles
- Concept: A bridge that uses a series of interconnected triangles (a "truss") to distribute loads across large spans. You often see these as railroad bridges or in large overhead structures.
- How it works: Triangles are inherently stable shapes. By arranging many triangles into a truss, the forces of compression and tension are spread across many small sections, allowing the bridge to be lightweight yet incredibly strong for its span.
-
Why it's useful for a
rainbow bridge STEM activity: This introduces children to the idea of structural efficiency. They can see how repeating a simple strong shape can create a complex, robust structure. It encourages precise construction and understanding of how individual components contribute to overall strength.
Choosing the right bridge type for your rainbow bridge STEM activity will depend on the age and skill level of the children. Starting simple and gradually introducing more complex designs allows for progressive learning and skill development. Regardless of the type chosen, the goal is always the same: to build a bridge that can safely carry its intended load across a given span. This hands-on exploration of engineering principles is exactly what our I'm the Chef Too! kits aim for, turning abstract concepts into delicious, tangible fun! Interested in more hands-on fun? Browse our complete collection of one-time kits!
Designing Your Rainbow Bridge STEM Challenge
Every great engineering feat begins with a plan, and a rainbow bridge STEM activity is no different! Guiding children through the engineering design process empowers them to think like real engineers, fostering problem-solving skills and a methodical approach to challenges.
The Engineering Design Process: A Framework for Innovation
The engineering design process isn't a rigid, linear set of steps but rather a flexible framework that engineers use to solve problems and create solutions. For kids, it can be simplified into these key stages:
-
Ask: What is the problem we need to solve? What are the constraints?
- For a rainbow bridge: "We need to build a rainbow-colored bridge that can span a gap (e.g., 8 inches) and hold a specific weight (e.g., 20 pennies)."
- Constraints: What materials can we use? How much time do we have? Does it have to be rainbow colors?
-
Imagine: Brainstorm possible solutions! Encourage wild ideas – no idea is too silly at this stage.
- Brainstorming for rainbow bridges: "Could we roll paper into tubes? What if we fold the paper? How about using popsicle sticks like a ladder? What colors will we use?"
- This is a fantastic opportunity for children to draw their ideas, individually or as a group.
-
Plan: Choose the best idea (or combine several) and draw a detailed plan. What materials will we need? What steps will we take?
- Planning the rainbow bridge: "We'll use paper, and we'll fold it accordion-style for the bridge deck. We'll make two rolled paper tubes for supports. We need red, orange, yellow, green, blue, and purple paper strips."
- This stage is crucial for developing foresight and organization.
-
Create: Build the bridge according to the plan. This is where the hands-on fun truly begins!
- Building the rainbow bridge: Children cut, fold, glue, tape, and connect their chosen materials, bringing their blueprint to life. Adult supervision is always key during this hands-on phase, especially with tools like scissors or glue guns.
-
Test: Put the bridge to the test! Does it meet the criteria? How much weight can it hold?
- Testing the rainbow bridge: Carefully place the bridge over the gap. Gently add pennies or other small weights, one by one, until the bridge sags or collapses. Record the maximum weight it held.
-
Improve: Based on the test results, what can be done to make the bridge stronger or better? Go back to the "Imagine" or "Plan" stage and iterate.
- Improving the rainbow bridge: "It collapsed at 15 pennies. Maybe if we roll the paper tubes tighter, they'll be stronger. Or what if we add more support beams underneath?"
- This step teaches resilience and the iterative nature of design – engineers rarely get it perfect on the first try!
Setting Up the Challenge: Goals and Parameters
Clearly defined goals and parameters help children focus their efforts. When setting up your rainbow bridge STEM activity:
- Define the "Gap": How wide does the bridge need to be? (e.g., the distance between two books, two chairs, or marks on a table).
- Define the "Load": What will the bridge need to hold? (e.g., pennies, small toy cars, blocks, or a small cup to hold items). Specifying a clear target weight (e.g., "enough to hold 50 pennies") provides a measurable goal.
- Material Constraints (Optional but Recommended): You might limit the number of materials (e.g., "only 5 pieces of paper and 10 pipe cleaners") to encourage efficiency and creative problem-solving. This forces children to think about how to maximize the strength of limited resources.
- Time Limits (Optional): For older children, a time limit can add an element of challenge and encourage quick decision-making.
- Rainbow Colors Requirement: Emphasize that the final bridge should visibly incorporate rainbow colors (Red, Orange, Yellow, Green, Blue, Indigo, Violet). This reinforces the "rainbow" theme and adds an artistic constraint.
Encouraging Creativity and Problem-Solving
While the engineering design process provides structure, it's vital to leave room for children's unique ideas.
- Open-Ended Questions: Instead of giving direct instructions, ask questions like "What do you think would happen if...?" or "How could we make this stronger?"
- Embrace "Failure": Reframe collapsed bridges or unsuccessful attempts as valuable learning opportunities. "That didn't work this time, but what did we learn from it?" This builds resilience and a growth mindset.
- Collaborative Learning: Encourage children to work together, share ideas, and help each other troubleshoot.
- Show, Don't Just Tell: Demonstrate how certain techniques (like rolling paper tightly) can increase strength, then let them experiment.
Importance of Documentation
Even simple documentation can enhance the learning experience. Encourage children to:
- Sketch their designs: Before building, let them draw their ideas. This helps them visualize and plan.
- Record results: How much weight did their bridge hold? What worked well? What could be improved? Simple charts or tally marks are perfect for this.
- Take photos: A visual journal of their process and final product is rewarding.
By following this design process, children don’t just build a bridge; they learn how to learn from experience, becoming resourceful and confident problem-solvers. This hands-on, iterative approach is central to the "edutainment" philosophy we champion at I'm the Chef Too!, where every project is an adventure in discovery. Ready for adventures delivered right to your door? Join The Chef's Club for monthly STEM cooking fun!
Materials for Your Colorful Construction
One of the best things about a rainbow bridge STEM activity is that you don't need fancy, expensive supplies. Many of the most effective materials are likely already in your home, classroom, or recycling bin! The key is to think about their properties and how they can be manipulated to create strong structures.
Common Household and Craft Items: Your Building Blocks
These are the go-to items for any bridge-building challenge:
- Paper: Construction paper (great for colors!), cardstock, plain printer paper, newspaper, magazine pages. Paper is versatile and can be strengthened in many ways.
- Craft Sticks (Popsicle Sticks): Excellent for beam and truss structures due to their rigidity. They can be layered for added strength.
-
Pipe Cleaners: Flexible yet sturdy enough to hold shapes, great for creating arches or connecting components. The different colors are a natural fit for a
rainbow bridge STEM activity. - Cardboard: Cereal boxes, tissue boxes, paper towel tubes, toilet paper rolls – these provide thicker, more rigid components.
- Recycled Goods: Clean plastic bottles, tin cans (with smooth edges!), old CDs, bubble wrap, packing peanuts – encourage children to see potential in discarded items.
Connectors: The Glue that Holds it All Together
Choosing the right connector is crucial for the bridge's stability.
-
Glue:
- School Glue: Best for paper and lighter materials. Requires drying time, which teaches patience.
- Hot Glue Gun: (Adult supervision REQUIRED!) Provides instant strong bonds, ideal for craft sticks or cardboard.
- Glue Sticks: Good for basic paper adhesion, especially for younger kids.
- Tape: Masking tape, clear tape, colorful craft tape. Tape offers immediate adhesion and can be used to reinforce connections or create hinge points.
- Paper Clips: Can act as temporary fasteners, hinges, or even small connecting rods.
- Staplers: Offer strong, quick connections for paper and thin cardboard.
- Playdough/Clay: Excellent for anchoring supports, forming connections, or creating bases for more flexible materials like pipe cleaners. It's especially good for younger children who are still developing fine motor skills.
- Toothpicks: Can be used with playdough or even stuck into some denser materials for internal reinforcement.
Decorative Elements: Adding the Rainbow Sparkle
Once the structural integrity is addressed, it’s time to make it look like a rainbow!
- Markers, Crayons, Colored Pencils: To add color to plain paper or other materials.
- Paint: For a more vibrant, opaque finish.
- Glitter, Stickers, Sequins: For extra sparkle and fun, especially if the bridge is designed to attract a mythical leprechaun!
- Small Themed Items: Shamrocks, gold coins (pennies work great as substitutes!), small toy figures.
Testing Materials: The "Load"
You'll need something to test the strength of your bridge.
- Pennies: A classic choice, as they are uniform in weight and easy to count.
- Small Plastic Cups: Can be placed on the bridge and filled with pennies or other small items.
- Small Blocks or Marbles: Any uniform, heavy items will do.
- Small Toy Cars or Action Figures: Makes the test more relatable and fun for children.
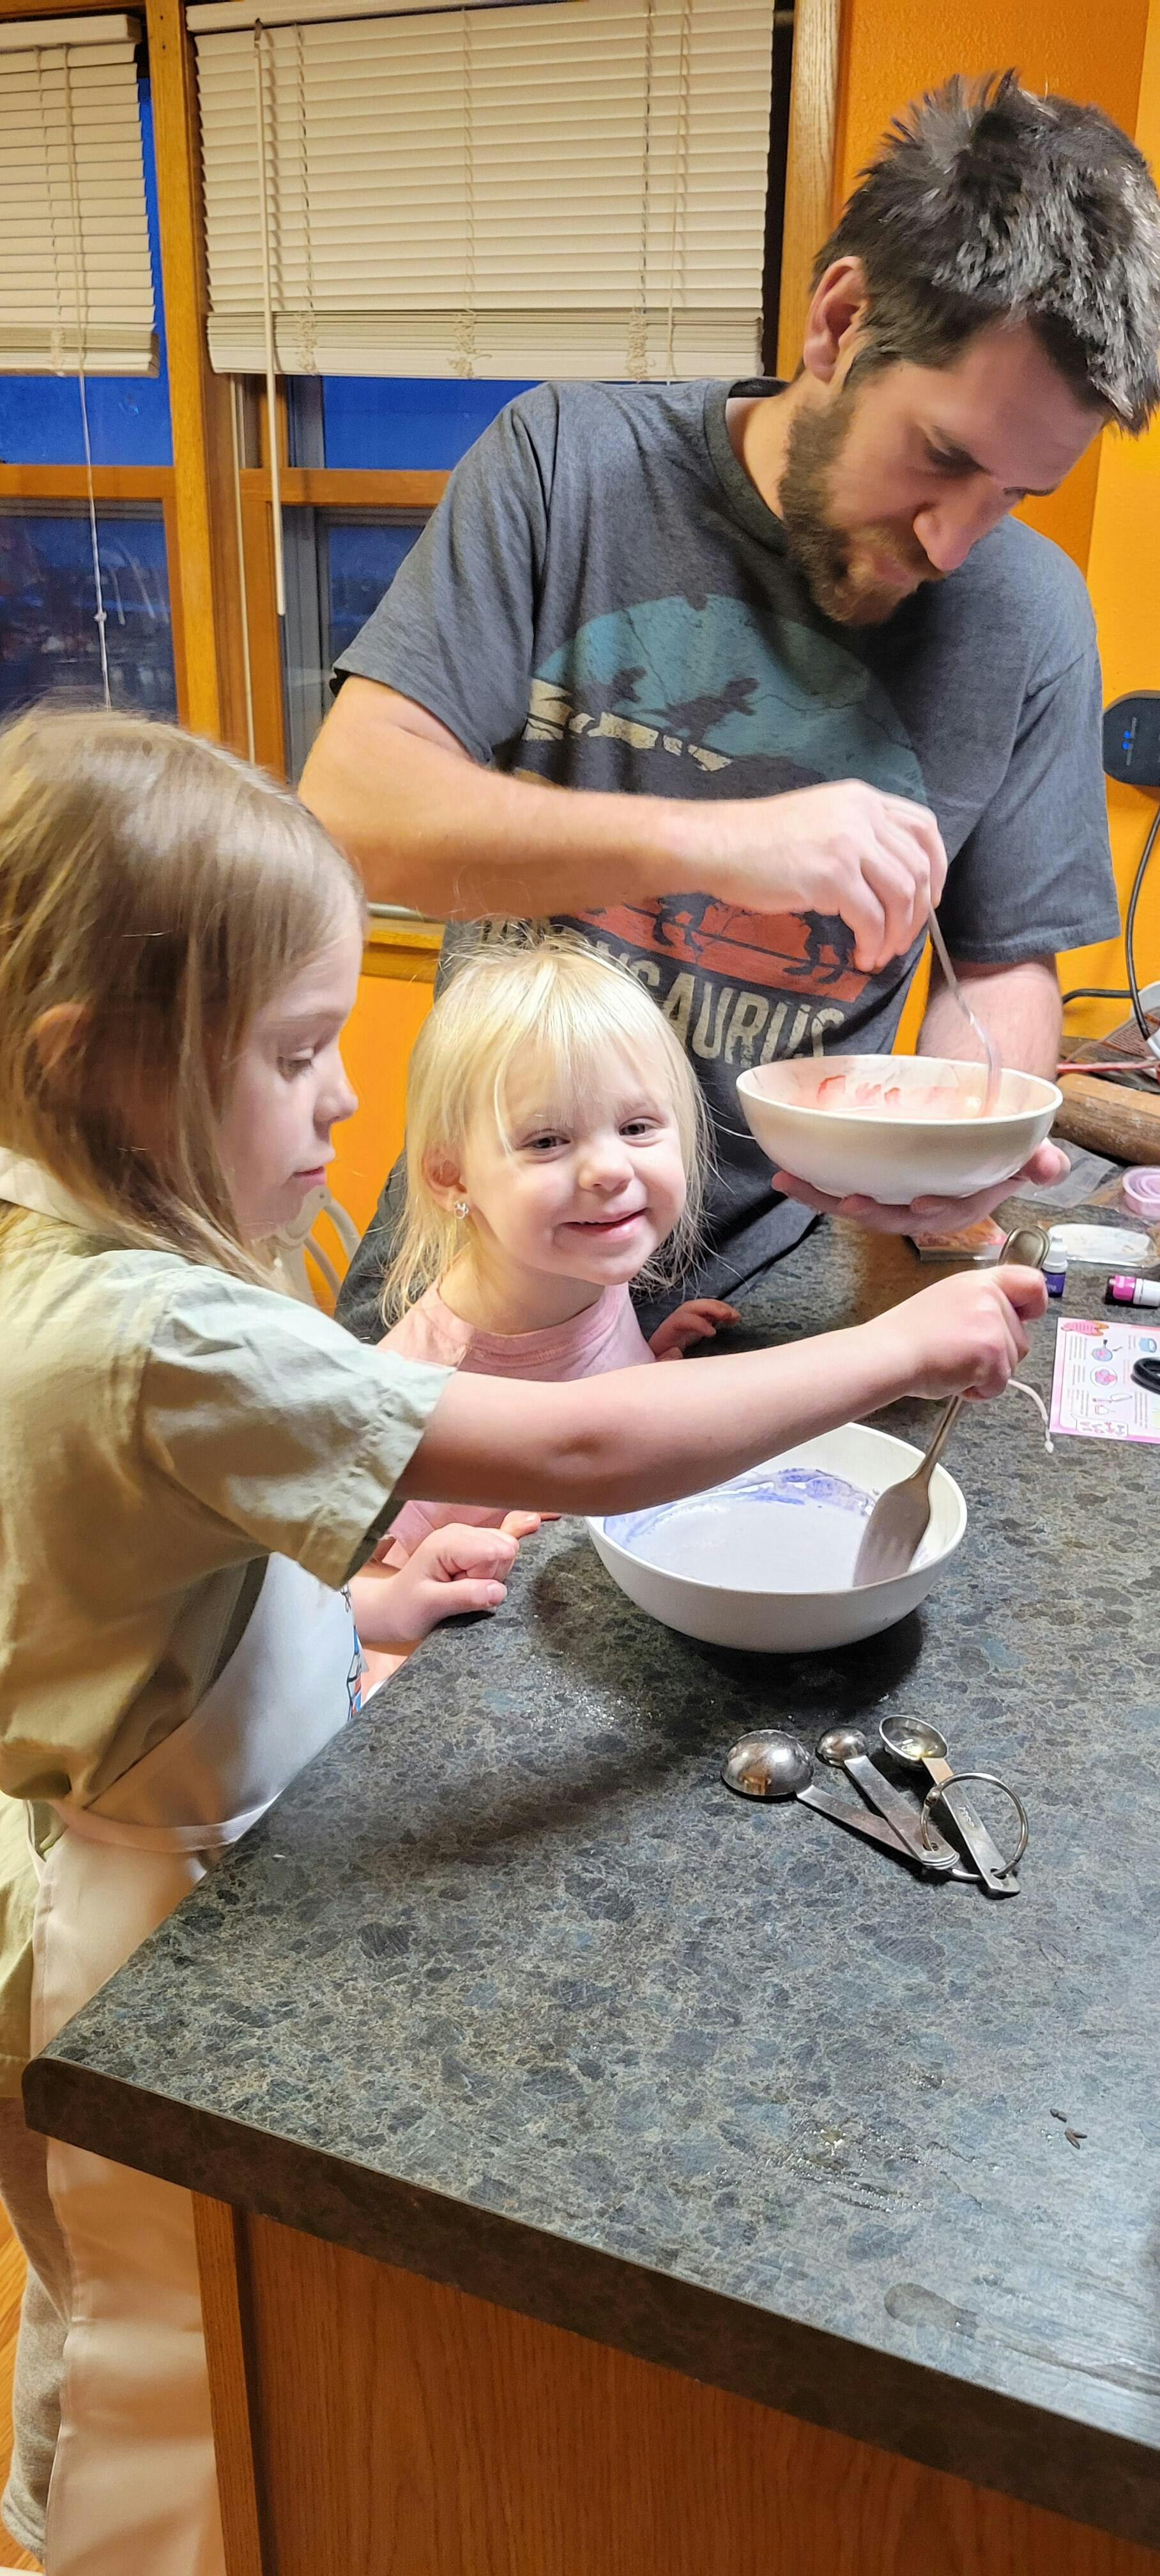
At I'm the Chef Too!, we understand the importance of having the right tools and ingredients. That's why our monthly Chef's Club boxes arrive with pre-measured dry ingredients and specialty supplies, ready for an adventure. You won't have to scramble for obscure items – everything is conveniently packaged, allowing you to focus on the fun and learning! Discover the convenience and value of The Chef's Club subscription today!
Step-by-Step Rainbow Bridge Building Ideas (with STEM Principles)
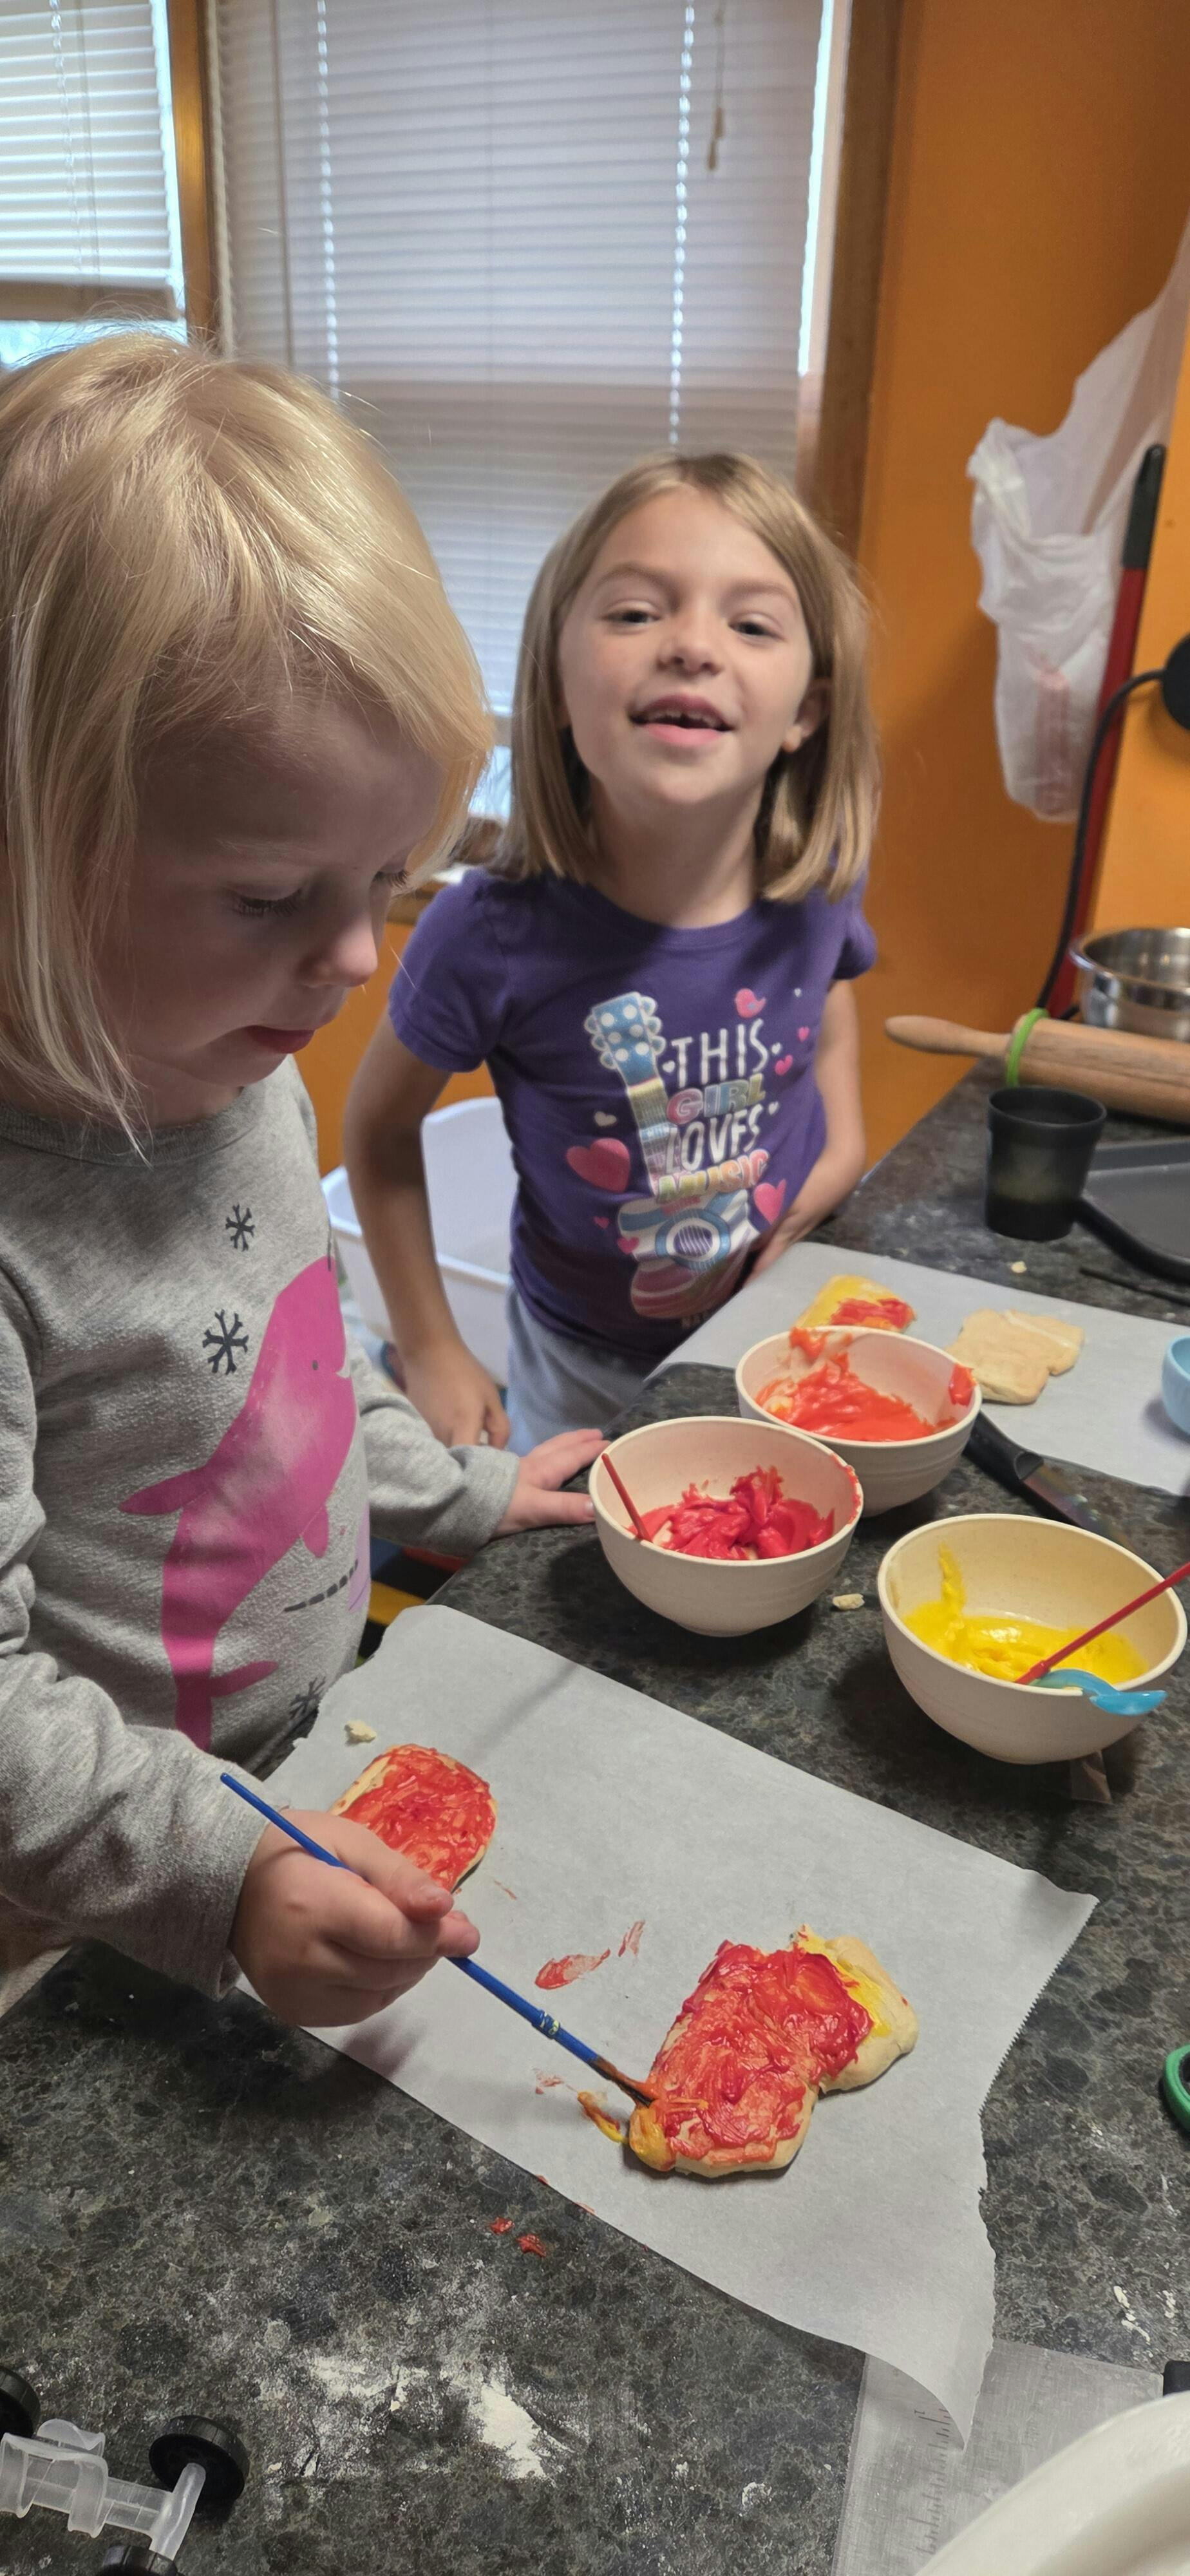
Now that we understand the basics of bridge design and have gathered our colorful materials, let's dive into some specific rainbow bridge STEM activity ideas. Remember, adult supervision is always recommended, especially when using scissors, tape dispensers, or glue. These activities encourage experimentation and highlight different STEM principles.
Paper Powerhouse Bridges: Mastering Material Strength
Paper might seem flimsy, but with clever engineering, it can become surprisingly strong. This section focuses on techniques to make paper formidable.
Techniques to Strengthen Paper:
-
Folding It: Folding paper creates creases that act as tiny beams, increasing rigidity. Think of a fan or an accordion fold. More folds mean more strength.
- Tip: Scoring the paper (running a ruler along the fold line) before folding creates sharper, stronger folds.
- Rolling It: Rolling paper into a tube (cylinder) shape makes it incredibly strong. The layers reinforce each other, distributing forces around the circumference rather than just along a flat plane. Tighter rolls are stronger.
- Stacking It: Simply stacking multiple layers of paper together makes it thicker and more resistant to bending.
- Weaving It: Crossing strips of paper over and under each other interlocks the material, allowing all pieces to work together to distribute stress.
- Twisting It: Rolling a piece of paper into a long stick and then twisting it creates a spiral, essentially stacking numerous small folds on top of each other, adding rigidity.
- Crumpling It: Crumpling paper into a ball or other irregular shape increases its surface area and internal structure, making it more resistant to compression than a flat sheet. Connecting crumpled pieces can mimic a stone arch.
Activity 1: The Simple Folded Beam Rainbow Bridge
- Concept: This activity demonstrates the strength gained through folding and is a great starting point for younger children.
- Materials: Rainbow-colored construction paper (or white paper and markers), scissors, tape or glue.
-
How-to:
- Cut several strips of rainbow-colored paper (e.g., 2 inches wide by 10 inches long). You'll need at least one strip for each color you want in your rainbow.
- For each strip, try different folding techniques:
- Accordion Fold: Fold a strip back and forth like an accordion.
- V-Fold/U-Fold: Fold a strip lengthwise into a 'V' or 'U' shape.
- Multi-Fold Beam: Fold a strip lengthwise into thirds or quarters to create a thicker beam.
- Choose your strongest folded strips to be the "deck" of your bridge. Arrange them side by side in rainbow order.
- Create two support pillars by folding larger pieces of paper into thick squares or cylinders.
- Tape or glue the rainbow-folded strips onto the supports to create a beam bridge.
- STEM Principle: Understanding how folding increases structural rigidity and distributing weight over a wider surface.
- Testing: Place the bridge over a gap and add pennies to see how much weight it can hold. Encourage children to compare the strength of different folding methods.
Activity 2: Rolled Tube Arch Rainbow Bridge
- Concept: This activity introduces the incredible strength of cylindrical shapes and the concept of an arch.
- Materials: Rainbow-colored construction paper, tape, scissors, (optional: rulers, pencils).
-
How-to:
- Cut full sheets of rainbow-colored paper lengthwise into halves or thirds.
- Tightly roll each piece of paper into a long, thin tube. Secure the end with tape. Make sure you have at least one tube for each rainbow color.
- Arrange the tubes in rainbow order. For an arch bridge, you can either:
- Single Arch: Gently bend the entire rainbow of tubes to form a single large arch, taping them together at the top and base.
- Individual Arches: Create smaller arches with each colored tube, then connect them side-by-side to form a wider rainbow bridge.
- Create bases for your arch by using playdough or by rolling thicker, shorter paper tubes.
- Carefully place your arch bridge across a gap, ensuring the ends are firmly supported.
- STEM Principle: The power of the arch to distribute compression forces outwards to the supports, and the strength gained by rolling flat paper into a cylinder.
- Testing: Test the arch's ability to hold weight in the center. Notice how the arch tries to push outwards at its base, demonstrating compression.
Activity 3: Woven Paper Truss Rainbow Bridge
- Concept: Demonstrates the strength of interlocking elements and the efficiency of a truss structure. This is slightly more advanced.
- Materials: Rainbow-colored construction paper (cut into uniform strips), scissors, tape or glue.
-
How-to:
- Cut many long, thin strips of paper in various rainbow colors.
- Fold each strip lengthwise multiple times to create stiff, narrow beams.
- Create triangular "truss" shapes by taping or gluing the ends of three folded strips together.
- Connect these triangular trusses together in a repeating pattern to form the sides of your bridge (like a series of 'M' or 'W' shapes). Use different rainbow colors for different parts of the truss.
- Connect the two truss sides with horizontal rainbow-colored strips to form the bridge deck.
- Ensure the structure is stable and can stand freely over a gap.
- STEM Principle: The geometric stability of triangles and how they distribute forces efficiently throughout a structure, allowing for a lighter yet strong design.
- Testing: Observe how the forces are distributed across the triangular elements when weight is added.
Craft Stick Creations: Sturdy and Simple
Craft sticks are fantastic for building sturdy, rigid structures, perfect for a rainbow bridge STEM activity.
Activity: Popsicle Stick Rainbow Truss Bridge
- Concept: Reinforces the strength of triangles in a practical, hands-on way.
- Materials: Rainbow-colored craft sticks (or plain sticks colored with markers/paint), school glue or hot glue (adult supervision required for hot glue!).
-
How-to:
- Sort your craft sticks by color.
- Build several triangular shapes by gluing three craft sticks together at their ends. Try to use one color per triangle or mix colors to create a rainbow effect within the trusses.
- Once the triangles are dry, connect them together in a linear fashion to form the "trusses" of your bridge. You can create a side view where the trusses form a series of "N" or "K" shapes, connecting them at the joints.
- Build two identical truss sides.
- Connect these two truss sides with horizontal craft sticks (the bridge deck) arranged in rainbow order.
- Allow ample drying time for the glue before testing.
- STEM Principle: Reinforces the concept of a truss and how distributing load across a network of stable triangles creates immense strength with relatively few materials. It also introduces the importance of strong joints.
Pipe Cleaner & Playdough Arches: Flexible Foundations
This method is great for younger children or for a quick, engaging rainbow bridge STEM activity that focuses on the arch shape.
Activity: Flexible Rainbow Arch Challenge
- Concept: Explores the flexibility of pipe cleaners and how playdough can be used as a stable base for structural support.
- Materials: Rainbow-colored pipe cleaners (at least 10-15), a small container of playdough, a mini cup (your "pot of gold"), pennies for testing.
-
How-to:
- Take pipe cleaners and gently bend them into arc shapes. You can twist multiple pipe cleaners together for added thickness and stability for each color.
- Arrange the colored pipe cleaner arcs in rainbow order, side-by-side.
- Use small balls of playdough to anchor the ends of your rainbow arcs. Press the ends firmly into the playdough to create stable "abutments."
- Ensure your rainbow arch stands independently over a small gap (e.g., between two small books).
- Carefully place the mini cup (your "pot of gold") on top of the highest point of the arch.
- STEM Principle: Understanding how an arch distributes weight and the role of stable bases. Children will also explore how to manipulate flexible materials to create a rigid structure. They can experiment with how many pipe cleaners they need to twist together to support more weight.
- Testing: Slowly add pennies one by one into the mini cup until the arch sags or collapses. Count the pennies to see how strong their rainbow arch is!
These hands-on activities, whether building a bridge that makes our Erupting Volcano Cakes bubble over or a structure that supports our Galaxy Donut Kit, offer practical lessons in engineering. For ongoing adventures delivered to your door with all the pre-measured dry ingredients and specialty supplies, our Chef's Club subscription is the perfect solution. It's a convenient, flexible, and value-packed way to ensure continuous screen-free educational fun! Join The Chef's Club today!
Testing and Iterating: The Heart of STEM
Building the rainbow bridge is only half the fun! The true learning, the core of a rainbow bridge STEM activity, lies in the testing and iteration phases. This is where hypotheses are proven or disproven, and critical thinking truly comes alive.
Why Testing Matters: Data, Observation, and Weaknesses
Testing isn't about proving success; it's about gathering information. When children test their rainbow bridges, they are:
- Collecting Data: How much weight did it hold? Where did it break? This quantitative and qualitative data is invaluable for understanding structural performance.
- Making Observations: They watch closely to see where the stress points are, where the bridge sags, bends, or buckles first. This helps them identify weak links in their design.
- Understanding Strengths and Weaknesses: A bridge that holds a few pennies is a success, but seeing how it fails helps them understand why it wasn't stronger. Did a joint come loose? Did a beam bend? Was the foundation unstable?
Encourage children to record their findings. A simple chart can work wonders:
| Attempt # | Bridge Design Type | Materials Used | Weight Held (Pennies/Items) | Observations (What happened? Where did it fail?) | Ideas for Improvement |
|---|---|---|---|---|---|
| 1 | Folded Beam | Paper, Tape | 12 pennies | Sagged in the middle, tape peeled off. | Add more folds, use stronger tape. |
| 2 | Rolled Arch | Paper, Playdough | 25 pennies | Arch flattened, playdough moved. | Roll tubes tighter, use more playdough for base. |
This systematic approach teaches scientific method and engineering principles in a very tangible way.
The "Improve" Step: Redesigning for Greater Strength and Efficiency
The "Improve" step is often the most insightful part of the entire rainbow bridge STEM activity. It’s where children apply their observations and data to refine their design.
- Analyzing Results: Discuss why the bridge failed. Was it the material? The connection? The overall design?
- Brainstorming Solutions: "If the paper beam sagged, how can we make it stiffer? If the arch flattened, how can we make it hold its shape better?"
-
Making Adjustments: This might involve:
- Adding Reinforcement: Doubling up on materials, adding more supports.
- Changing Connections: Using more tape, stronger glue, or different fasteners.
- Modifying the Shape: Trying a different bridge type, or altering the dimensions of existing components (e.g., wider base for an arch, taller trusses).
- Optimizing Material Use: Finding ways to get more strength from less material.
- Repeat the Cycle: Once improvements are made, test again! The iterative process of testing and improving is what engineers do constantly. This cycle reinforces that learning is a continuous process.
Failure is a Learning Opportunity
It’s crucial to foster an environment where "failure" isn't seen as a negative outcome but as a vital part of the learning process.
- Positive Framing: Instead of "Your bridge failed," say "Your bridge showed us where we can make it even stronger!"
- Learning from Mistakes: Emphasize that every collapse or wobble provides valuable information for the next attempt. Thomas Edison famously said, "I have not failed. I've just found 10,000 ways that won't work." This mindset is essential for innovation.
- Celebrating Effort: Acknowledge the effort and thought that went into the initial design, regardless of the test outcome.
Discussion Points: What Worked, What Didn't, Why?
Facilitate a discussion after each test and iteration. Ask open-ended questions:
- "What was the strongest part of your bridge?"
- "What was the weakest part, and why do you think it broke there?"
- "If you were to build this bridge again, what would you do differently?"
- "Did you notice how the forces (pushing/pulling) affected different parts of your bridge?"
- "How did using rainbow colors affect your design choices?"
These discussions deepen understanding, encourage metacognition (thinking about one's own thinking), and help children articulate their learning. The testing and iteration phase transforms a simple building activity into a rigorous, yet joyful, scientific and engineering exploration. It's this hands-on discovery and iterative improvement that builds true understanding and confidence, much like the process our own mothers and educators follow when developing each unique kit at I'm the Chef Too! Our commitment is to providing engaging, practical, and truly educational "edutainment" experiences for every child. For enriching activities that extend beyond the kitchen, consider exploring our flexible School & Group Programs, available with or without food components.
Extending the Rainbow Bridge STEM Activity
A rainbow bridge STEM activity doesn't have to end once the first strong bridge is built. There are countless ways to extend the learning, deepen the understanding, and continue the fun, connecting the core concepts to broader scientific and artistic themes.
Varying Materials and Tools
Once children are comfortable with basic paper or craft stick bridges, challenge them to experiment with new materials:
- Found Objects: How about building a rainbow bridge using only items from a recycling bin? (e.g., plastic bottles, cardboard tubes, egg cartons, old newspapers). This encourages resourceful thinking.
- Natural Materials: Can they build a small rainbow-colored bridge (perhaps dyed popsicle sticks or painted pebbles) using sticks, stones, or leaves from nature? This connects them to environmental awareness.
- Different Connectors: Experiment with alternatives to glue or tape, like string, rubber bands, interlocking notches, or even just gravity (for arch bridges that stand without adhesive).
This exploration of materials helps children understand the properties of different substances and how they can be best utilized in engineering.
Different Challenges
Modify the parameters of the challenge to increase complexity:
- Longer Span: Increase the gap the bridge needs to cross. This demands more robust designs and a deeper understanding of force distribution.
- Heavier Load: Challenge them to build a bridge that can hold increasingly heavy objects, perhaps even small weights.
- Dynamic Load: Instead of just static weight, can the bridge withstand a moving object, like a small toy car rolling across it? This introduces concepts of kinetic energy and vibration.
- Environmental Factors: What if the "river" underneath is "windy" (use a fan) or the "terrain" is uneven? This encourages adaptation and problem-solving in varied conditions.
- Specific Bridge Types: Explicitly challenge them to build a particular type of bridge (e.g., "Build an arch bridge that can hold 100 pennies and is rainbow-colored").
Integrating Art (STEAM – Adding the A)
Since it's a rainbow bridge STEM activity, the "Art" component (making it STEAM) is inherently strong, but you can emphasize it further:
- Color Theory: Discuss how primary colors mix to create secondary colors, or the order of the rainbow (ROY G BIV). Can they create a bridge that transitions smoothly from one color to the next?
- Texture and Form: Explore how different materials feel and look. How does the choice of material affect the bridge's aesthetic?
- Storytelling: Encourage children to create a story around their bridge. Who uses it? Where does it go? What adventures happen on it? This boosts imaginative play and language skills.
- Themed Embellishments: For a St. Patrick's Day theme, add shamrocks, leprechaun figures, or a pot of gold at the end. For a spring theme, decorate with flowers or butterflies.
Connecting to Real-World Bridges and Other Rainbow-Themed STEM
Broaden the scope by linking the activity to larger contexts:
- Research Famous Bridges: Look up pictures and facts about famous bridges like the Golden Gate Bridge (suspension), the Sydney Harbour Bridge (arch), or iconic truss bridges. Discuss what type they are and why they were built that way.
- Bridge in Your Community: Point out local bridges. What kind of bridges are they? What purpose do they serve?
-
Other Rainbow STEM Activities: Extend the rainbow theme beyond bridges.
- Rainbow Crystals: Explore supersaturation and crystal formation.
- Rainbow Slime or Oobleck: Investigate non-Newtonian fluids and polymer chemistry.
- Rainbow Density Tower: Learn about liquid density by layering different colored liquids.
- Rainbow Walking Water: Observe capillary action and color mixing.
At I'm the Chef Too!, our "edutainment" philosophy is all about creating these rich, cross-curricular connections. We believe learning should be an adventure that incorporates science, technology, engineering, art, and math in a truly unique way. Our kits are designed to spark curiosity and creativity, encouraging children to explore diverse topics through the engaging medium of food. We're proud that our hands-on adventures, developed by mothers and educators, offer a delightful screen-free alternative that fosters a love for discovery. For those looking to bring engaging STEM experiences to a larger group, our School & Group Programs offer flexible options, with or without food components, perfect for classrooms, camps, or homeschool co-ops.
Beyond the Bridge: The Broader Benefits of Hands-On STEM
While the immediate goal of a rainbow bridge STEM activity is to build a strong, colorful structure, the benefits extend far beyond the completed project. These hands-on experiences cultivate a wide range of essential skills and positive dispositions that will serve children well throughout their lives.
Developing Critical Thinking and Problem-Solving Skills
Every wobble, every sag, and every collapse of a bridge presents a problem to be solved. Children are constantly asking themselves:
- "Why isn't this working?"
- "What do I need to change?"
- "What's the best way to use these materials?" This isn't rote memorization; it's active, dynamic thought. They learn to analyze, hypothesize, test, and adapt, building a foundational understanding of how to approach challenges logically and creatively. These are skills that transfer directly to academic subjects, future careers, and everyday life.
Fostering Creativity and Imagination
The "rainbow" aspect of this STEM activity is a natural catalyst for creativity. Children aren't just following instructions; they're designing, choosing colors, deciding on embellishments, and often inventing new ways to use materials. They imagine scenarios for their bridge – who will cross it? What will it carry? This imaginative play is crucial for cognitive development, helping them think abstractly and envision possibilities. The artistic freedom within the STEM framework ensures that both their analytical and creative brains are fully engaged.
Building Confidence Through Achievement
There's something incredibly empowering about bringing an idea to life with your own hands. When a child's rainbow bridge successfully spans a gap or holds a surprising amount of weight, the sense of accomplishment is immense. They see tangible proof of their efforts, their ingenuity, and their perseverance. This builds self-efficacy – the belief in one's own ability to succeed – which is a cornerstone of a healthy self-esteem and a motivation to tackle future challenges. Even a bridge that "fails" can build confidence when the child understands why it failed and plans improvements.
Encouraging Collaboration and Communication
Many STEM activities, including building a rainbow bridge, are fantastic opportunities for teamwork. Whether working with a sibling, a friend, or a parent, children learn to:
- Share ideas: Articulating their plans and listening to others.
- Negotiate: Finding common ground when different ideas arise.
- Divide tasks: Understanding how to work efficiently as a group.
- Provide constructive feedback: Learning how to explain what worked or didn't work in a helpful way. These communication and collaboration skills are vital for success in school, in the workplace, and in all relationships.
Providing a Screen-Free Learning Alternative
In an increasingly digital world, hands-on, unplugged activities are more important than ever. A rainbow bridge STEM activity offers a compelling alternative to screen time, engaging children in a way that stimulates their senses, fine motor skills, and direct interaction with the physical world. It encourages them to move, manipulate, and experience cause and effect in a tangible way, fostering a deeper, more embodied understanding of concepts.
Facilitating Family Bonding
Perhaps one of the most heartwarming benefits of a rainbow bridge STEM activity is the opportunity for quality family time. Working together on a project, sharing laughs, brainstorming solutions, and celebrating successes creates lasting memories. Parents and children learn from each other, discovering new strengths and enjoying the shared experience of creation and discovery. It's an investment in both learning and relationships.
At I'm the Chef Too!, we are committed to providing experiences that foster these very benefits. Our "edutainment" kits, developed by mothers and educators, are designed to be a joyous blend of food, STEM, and the arts, promoting family bonding and offering a delightful screen-free educational alternative. We believe every child deserves the chance to explore, create, and discover the wonder of learning through delicious, tangible adventures. Not ready to subscribe just yet? No problem! You can still spark curiosity and creativity by exploring our full library of adventure kits. Browse our complete collection of one-time kits and find the perfect theme for your little learner!
Join the Adventure with I'm the Chef Too!
The journey of discovery and creativity doesn't have to end with your first rainbow bridge STEM activity. Imagine a continuous stream of engaging, educational, and delicious adventures delivered right to your doorstep, sparking joy and learning month after month.
That’s exactly what you get with The Chef's Club subscription from I'm the Chef Too!. We pour our passion for "edutainment" into every single box, ensuring that each experience is a perfect blend of food, STEM, and the arts. Our unique approach means children dive into complex subjects through tangible, hands-on cooking adventures, all developed by dedicated mothers and educators who understand how kids learn best.
Forget the hassle of searching for obscure ingredients or gathering specialty supplies. With The Chef's Club, a new adventure is delivered to your door every month with free shipping in the US. Each box is a complete experience, containing pre-measured dry ingredients and specialty supplies, ready for your child to transform into a scientific masterpiece or an artistic delight. It's the ultimate convenience for busy parents and a fantastic way to keep the learning fun going all year long.
We offer flexible subscription plans, including 3, 6, and 12-month pre-paid options, perfect for gifting a continuous stream of educational fun or ensuring long-term enrichment for your own family. It’s an investment in curiosity, creativity, and the joy of family bonding, all while providing a refreshing, screen-free alternative to everyday entertainment.
Don't let the learning stop at just one amazing project. Give the gift of discovery that truly lasts. Ready to bring ongoing culinary and scientific adventures home? Join The Chef's Club and unlock a world of delicious "edutainment" today!
FAQ Section
Q1: What age group is a rainbow bridge STEM activity suitable for? A1: A rainbow bridge STEM activity can be adapted for a wide range of ages, generally from preschool through elementary school (ages 3-10). For younger children, focus on simple beam or arch bridges with easy-to-handle materials like paper and playdough. For older children, introduce more complex designs like truss bridges, challenge them with limited materials, or require specific weight capacities. The key is to adjust the complexity of the design and the materials used to match their developmental stage and fine motor skills.
Q2: What are the main STEM concepts taught through building a rainbow bridge? A2: Building a rainbow bridge primarily teaches concepts in Engineering (design, construction, problem-solving, iterative improvement), Science (forces like compression and tension, material properties), and Mathematics (measurement, counting, data collection, geometry of shapes like triangles and arches). The "rainbow" aspect naturally integrates Art, making it a fantastic STEAM activity.
Q3: What if my child's rainbow bridge collapses immediately? Is that a "failure"? A3: Absolutely not! In STEM, "failure" is a powerful learning opportunity. If a bridge collapses, it provides immediate feedback on what didn't work. Encourage your child to observe why it collapsed (e.g., weak joints, material bending, insufficient supports). Use this as a starting point for discussion: "What can we learn from this? How can we make it stronger next time?" This iterative process of testing and improving is fundamental to engineering and builds resilience.
Q4: How can I make this activity more challenging for older kids? A4: For older children, you can increase the challenge by:
- Increasing the span: Make the gap wider.
- Setting a higher weight goal: Require the bridge to hold more pennies or heavier objects.
- Limiting materials: Provide fewer materials or only specific types to encourage creative solutions.
- Introducing specific bridge types: Challenge them to build a specific type (e.g., only an arch bridge or only a truss bridge).
- Adding design constraints: For instance, the bridge must be removable, or fit into a specific space.
- Requiring detailed plans: Ask them to sketch out their design and list materials before building.
Q5: What are some good materials to start with for a beginner rainbow bridge STEM activity? A5: For beginners, simple and readily available materials are best. We recommend:
- Paper or cardstock: Easy to cut, fold, and roll. Rainbow-colored paper is perfect!
- Craft sticks (popsicle sticks): Rigid and easy to glue.
- Pipe cleaners: Flexible, colorful, and good for forming arcs.
- Playdough: Excellent for creating stable bases or connecting pieces.
- Connectors: School glue, masking tape, or clear tape. These materials allow for safe and accessible experimentation without requiring specialized tools.
Q6: How does I'm the Chef Too! incorporate STEM and learning into its activities? A6: At I'm the Chef Too!, our mission is to make learning fun and tangible by blending food, STEM, and the arts. Our unique "edutainment" kits, developed by mothers and educators, teach complex subjects like chemistry (e.g., the science of baking), physics (e.g., properties of ingredients), engineering (e.g., building edible structures), and math (e.g., measuring ingredients) through hands-on cooking adventures. We provide all the pre-measured dry ingredients and specialty supplies, making it convenient for families to enjoy screen-free, educational experiences that spark curiosity and creativity.
Conclusion
A rainbow bridge STEM activity offers a vibrant, engaging, and profoundly educational experience for children of all ages. It's a powerful way to introduce fundamental concepts in engineering, physics, and mathematics, all while fostering creativity, problem-solving skills, and resilience. By transforming everyday materials into exciting challenges, we empower children to think like innovators, embrace discovery, and learn that even seemingly simple items can be transformed into structures of incredible strength and beauty. The joy of building something with their own hands, seeing their ideas come to life, and learning from every attempt is an invaluable part of their growth.
At I'm the Chef Too!, we are dedicated to providing these kinds of enriching "edutainment" experiences, blending the magic of food with the power of STEM and the arts. Our expertly designed kits encourage hands-on exploration, spark imagination, and create cherished family memories, all without the need for screens. We believe in nurturing curious minds and fostering a lifelong love for learning, one delicious, educational adventure at a time.
Ready to bring the joy of discovery and delicious learning to your home every month? Don't miss out on the continuous fun and educational growth. Join The Chef's Club today and enjoy free shipping on every box, bringing new adventures straight to your door!