Table of Contents
- Introduction
- The Science of the Sip: Why Mocktails are STEM Activities
- Getting Started: The Junior Mixologist’s Toolkit
- Layered Wonders: Teaching Density Through Color
- The Chemistry of Fizz: Exploring Carbonation
- Color-Changing Magic: PH and Natural Pigments
- Earth Science in a Glass: Volcanoes and Space
- International Flavors: A Cultural Exploration
- The Art of Presentation: Garnishing Like a Pro
- Educator’s Corner: Using Drinks in the Classroom
- Tips for a Mess-Managed Experience
- Conclusion
- FAQ
Introduction
We have all been there—a family celebration is in full swing, the adults are clinking "fancy" glasses, and a curious child looks up from their standard juice box with a single question: "Can I have a special drink, too?" This moment is about more than just a beverage; it is an invitation for inclusion and a perfect opportunity for a hands-on learning adventure. Making "mocktails" or specialty drinks with children is one of the easiest ways to bridge the gap between a fun kitchen activity and a real-world science experiment.
At I'm the Chef Too!, we believe that the kitchen is the ultimate laboratory where food, STEM, and the arts collide. Teaching children how to craft their own alcohol-free drinks introduces them to concepts like liquid density, chemical reactions, and flavor balancing. This guide provides 15 creative drink recipes non alcoholic for kids that turn your kitchen counter into a mixology station. Whether you are a parent looking for a screen-free weekend project or an educator searching for a tasty way to teach measurement, these recipes offer a delicious path to discovery. For more ideas that connect cooking with science, explore our guide to STEM cooking for kids.
Our goal is to help you create joyful memories while sneaking in a little extra education. By the end of this article, you will have a full menu of drinks that look like works of art and taste like a celebration. We will explore how different ingredients interact and why certain liquids sink while others float, all while keeping the process simple and mess-managed.
The Science of the Sip: Why Mocktails are STEM Activities
When you think of STEM, you might think of robots or chemistry sets, but a glass of fizzy fruit punch is just as educational. Every drink is a mixture, and every mixture tells a story about how molecules interact. When children measure out syrups and juices, they are practicing precision and learning about ratios. These are fundamental skills that translate directly from the kitchen to the classroom.
One of the most exciting concepts to explore through drink recipes non alcoholic for kids is liquid density. You may have noticed that in some fancy drinks, the colors stay separated in beautiful layers. This is not magic; it is physics. Heavier liquids, which usually have more sugar, settle at the bottom, while lighter liquids stay on top. By experimenting with the order in which ingredients are poured, children can visualize how different substances have different weights.
Carbonation is another "bubbly" topic for young scientists. The fizz in a soda or sparkling water is actually carbon dioxide gas trapped in the liquid. When we add different ingredients to a carbonated base, we can observe how the gas reacts. This tactile experience helps children understand states of matter—moving from solid ice to liquid juice to gaseous bubbles—all in a single serving. For more hands-on ideas, browse these delicious kids STEM projects in the kitchen.
What Kids Learn Through Drink Making
- Measurement and Fractions: Following a recipe requires careful counting and measuring of ounces, tablespoons, and cups.
- Chemistry: Observing how acids (like lemon juice) and bases interact or how carbonation behaves.
- Physics: Understanding density and how layering works through "Specific Gravity."
- Sensory Science: Exploring how smell affects taste and how the brain perceives "sweet" versus "sour."
- Fine Motor Skills: The act of pouring, stirring, and garnishing builds hand-eye coordination.
Key Takeaway: Every ingredient in a mocktail serves a purpose, allowing children to act as little chemists who get to drink their results.
Getting Started: The Junior Mixologist’s Toolkit
Before jumping into the recipes, it helps to have a few basic tools on hand. You do not need professional bar equipment to make these drinks successful. In fact, using household items can make the learning feel more accessible. Framing the activity as a "lab session" makes it even more engaging for kids who love to experiment. Families looking for more structured hands-on activities can join The Chef's Club for a new adventure every month.
Essential Supplies for Kids' Drinks:
- Clear Glassware or Plastic Cups: Clear containers are a must so children can see the layers and colors they are creating.
- Measuring Spoons and Cups: Use these to talk about the math behind the recipe.
- Long Spoons: These are perfect for gentle stirring and teaching kids how to reach the bottom of a tall glass.
- Fun Straws and Garnishes: This is the "Arts" part of STEAM. Let them decorate their creations with fruit slices, herbs, or colorful straws.
- Ice: Experiment with different shapes, such as crushed ice, cubes, or even frozen fruit "ice" balls.
Safety First: Always ensure that an adult is present to supervise the use of any tools. If a recipe requires slicing fruit, that is a great moment for a "teachable moment" about kitchen safety. Frame the experience as a partnership where you handle the sharp tools and they handle the "chemistry" of mixing and pouring.
Layered Wonders: Teaching Density Through Color
The most visually stunning drink recipes non alcoholic for kids are often the layered ones. These are perfect for teaching the concept of density. The rule of thumb is simple: the more sugar a liquid has, the heavier it is. To get distinct layers, you must pour the heaviest liquid first and the lightest liquid last. You can also browse one-time STEM cooking kits for more themed kitchen experiments.
1. The Sunrise Sparkler
This drink mimics the beautiful colors of a morning sky. It uses the weight of grenadine (a pomegranate-flavored syrup) to create a "sunset" effect at the bottom of the glass.
- Step 1: Fill a tall glass with ice.
- Step 2: Pour in 4 ounces of orange juice.
- Step 3: Slowly pour 1 tablespoon of grenadine down the side of the glass.
- Step 4: Watch as the red syrup sinks straight to the bottom, creating a gradient.
- Step 5: Top with a splash of sparkling water for some "clouds."
The Learning Moment: Ask your child why the red syrup didn't mix with the orange juice immediately. Explain that the sugar in the grenadine makes it "heavier" than the juice, so it pushes its way to the bottom.
2. The Ocean Layer Cake
This drink uses different types of blue and clear liquids to create an "underwater" look. It is a fantastic way to talk about the ocean zones—from the dark deep sea to the light surface.
- Step 1: Start with a base of blue sports drink (high sugar version) at the bottom.
- Step 2: Carefully layer a "zero sugar" lemon-lime soda on top by pouring it over the back of a spoon.
- Step 3: Add a few drops of blue food coloring to the top layer for a lighter blue shade.
- Step 4: Garnish with a Swedish Fish or a gummy shark.
The Learning Moment: By pouring the soda over the back of a spoon, you slow down the liquid's velocity. This prevents the layers from mixing too quickly, allowing the different densities to remain separate.
3. The Traffic Light Sipper
This recipe challenges kids to stack three distinct colors: red, orange, and green. It requires patience and a steady hand.
- Step 1: Use fruit punch for the red bottom layer.
- Step 2: Use orange juice for the middle layer.
- Step 3: Use a green-colored sparkling water or a mix of lime juice and water for the top.
- Step 4: Check the sugar content on the labels together to predict which will be the heaviest!
Bottom line: Layered drinks are the perfect visual aid for teaching liquid density and the importance of pouring speed.
The Chemistry of Fizz: Exploring Carbonation
Carbonation is a source of endless fascination for children. The "popping" sensation on the tongue and the visible bubbles rising to the top are great jumping-off points for discussing gas and pressure. These drink recipes non alcoholic for kids focus on the "fizz factor." Educators planning a similar activity for a classroom or group can explore school and group programmes for additional hands-on learning opportunities.
4. The Fizzy Fruit Explosion
This is a classic punch style that demonstrates how carbon dioxide stays "hidden" in a liquid until it is poured out.
- Step 1: Combine equal parts of pineapple juice and cranberry juice in a pitcher.
- Step 2: Right before serving, add cold ginger ale or sparkling cider.
- Step 3: Observe the bubbles forming at the surface.
- Step 4: Add frozen berries to the glass. Watch how the bubbles "hitch a ride" on the fruit, sometimes making the berries dance or float.
5. Creamy Dreamy Soda
Commonly known as an "Italian Cream Soda," this recipe explores how dairy interacts with carbonation. It creates a frothy, foam-like texture that is a hit at parties.
- Step 1: Fill a glass with ice and add 2 tablespoons of flavored syrup (like strawberry or vanilla).
- Step 2: Fill the glass 3/4 full with club soda.
- Step 3: Add 1 tablespoon of heavy cream or half-and-half on top.
- Step 4: Watch the "cloud" effect as the cream slowly swirls down into the fizzy water.
The Learning Moment: Talk about "emulsification" and how the bubbles in the soda help suspend the fat molecules in the cream, creating that velvety texture. This is a similar principle to what we explore in our more advanced baking kits where we look at how different ingredients bind together.
6. The Classic Shirley Temple (With a Twist)
The most famous of all drink recipes non alcoholic for kids, the Shirley Temple is a lesson in balance.
- Step 1: Mix ginger ale with a squeeze of fresh lime juice.
- Step 2: Add a splash of grenadine.
- Step 3: Garnish with plenty of maraschino cherries.
- Step 4: To make it a "science twist," try using a spicy ginger beer instead of ginger ale. Ask your child to describe the difference in "heat" or "tingle" on their tongue.
Quick Answer: Non-alcoholic drinks for kids, often called mocktails, are beverages made from juices, sodas, syrups, and garnishes that mimic the look of adult cocktails but are 100% kid-safe. They are excellent for teaching measurement, density, and sensory science in the kitchen.
Color-Changing Magic: PH and Natural Pigments
One of the most popular STEM trends in the kitchen involves using "magic" ingredients that change color based on their acidity. This is a brilliant way to introduce the concept of the pH scale.
7. The Chameleon Lemonade
This drink uses Butterfly Pea Flower tea, which is naturally bright blue. When it meets an acid (like lemon juice), it turns purple or pink.
- Step 1: Brew a cup of Butterfly Pea Flower tea and let it cool. This is your "blue base."
- Step 2: Fill a glass with ice and pour in the blue tea.
- Step 3: In a separate small container, have your child squeeze a fresh lemon.
- Step 4: Slowly pour the lemon juice into the blue tea.
- Step 5: Watch the "magic" as the drink instantly shifts from deep blue to vibrant violet.
The Science: Butterfly Pea Flower contains pigments called anthocyanins. These pigments are sensitive to pH levels. Adding lemon juice increases the acidity, which changes the molecular structure of the pigment and shifts the color we see. This is exactly the kind of "edutainment" we love to share—where the result is both visually stunning and scientifically accurate.
8. The Pink Power Refresher
This recipe uses red cabbage water as a natural pH indicator. While it sounds unusual, the resulting lemonade is delicious and bright pink!
- Step 1: Boil red cabbage in water until the water turns dark purple. (Don't worry, the taste will be masked!)
- Step 2: Mix the purple cabbage water with a bit of sugar or honey to make a syrup.
- Step 3: Add this "syrup" to a glass of plain water and ice.
- Step 4: Stir in lemon juice or lime juice and watch the purple turn into a brilliant pink.
Key Takeaway: Using natural ingredients to change the color of a drink is a safe, edible way to demonstrate chemistry and the pH scale to young learners.
Earth Science in a Glass: Volcanoes and Space
At I'm the Chef Too!, we often use food to explore the wonders of our planet and the universe. You can bring those same themes into your drink recipes non alcoholic for kids by using textures and garnishes that evoke the natural world. For a food-based chemical reaction that complements the volcano theme, try the Erupting Volcano Cakes Kit.
9. The Erupting Lava Flow
This drink is a fantastic companion to our Erupting Volcano Cakes kit. It uses the "fizz" of a reaction to mimic a volcanic eruption.
- Step 1: Blend strawberries and a little honey into a thick red puree (this is your "lava").
- Step 2: Pour the puree into the bottom of a glass.
- Step 3: In a separate cup, mix pineapple juice and coconut milk.
- Step 4: Pour the yellow mixture over the red "lava."
- Step 5: For the "eruption," drop in a small scoop of vanilla ice cream or a "fizzy" tablet (like an antacid tablet, with adult supervision only for the visual effect, or use a splash of very bubbly soda).
10. Galaxy Glitter Lemonade
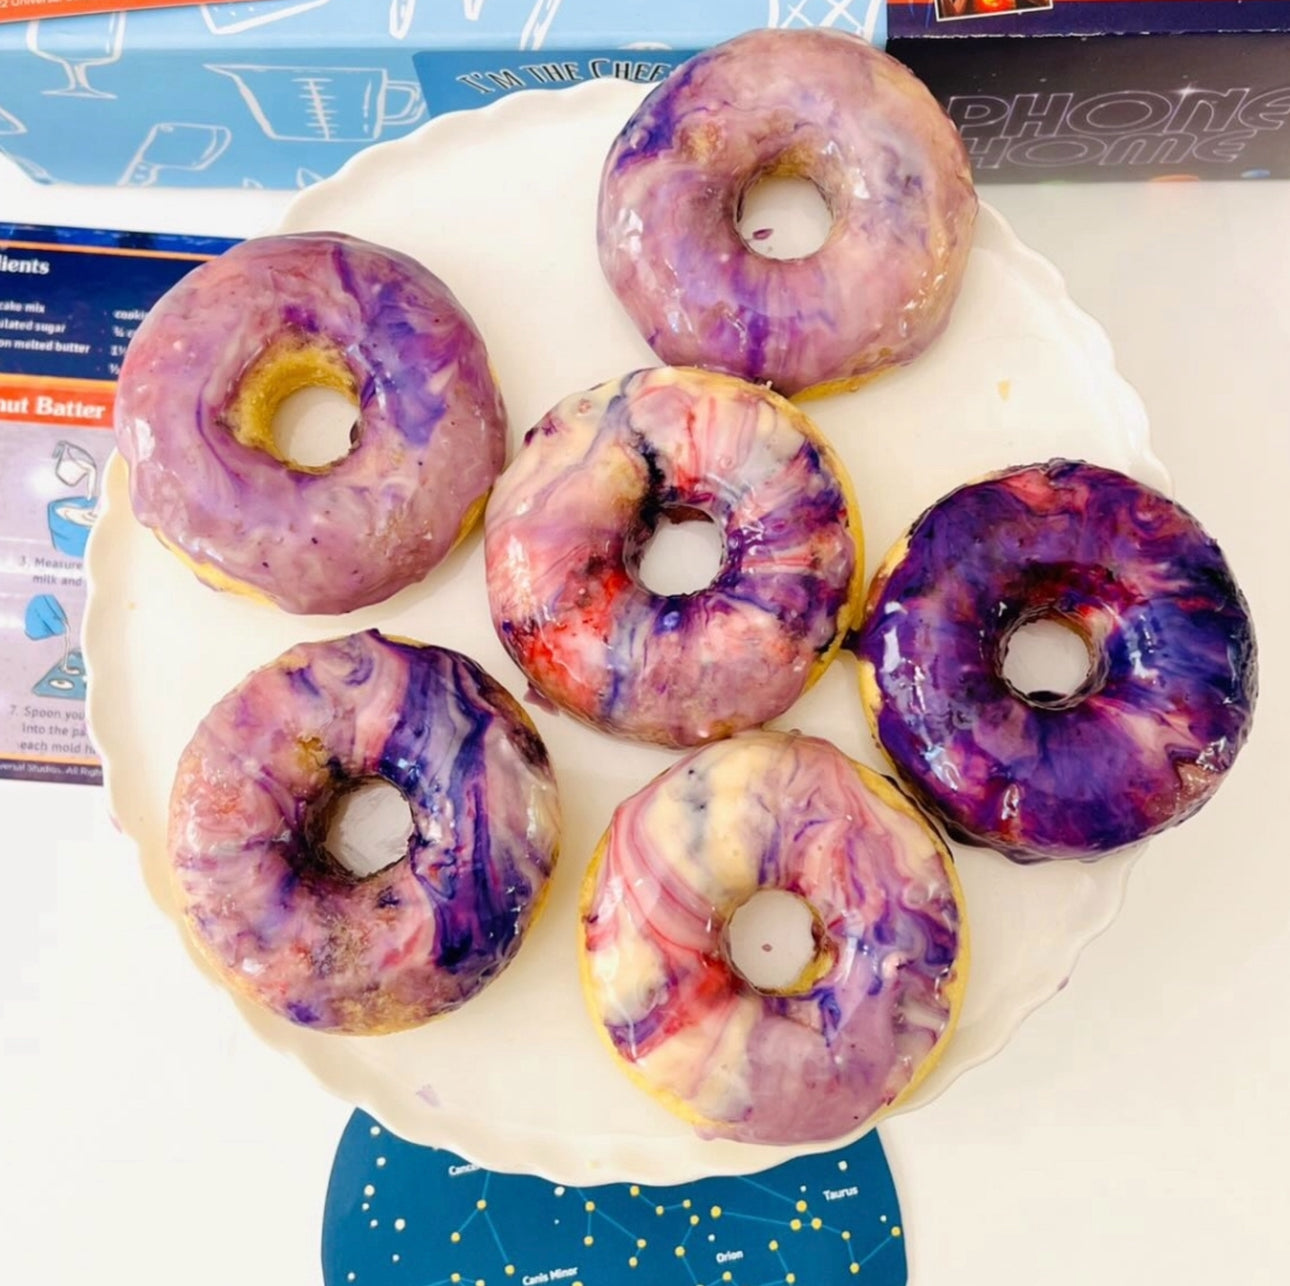
If your child is fascinated by the stars, this drink brings the cosmos to the kitchen. It is inspired by the same wonder found in our Galaxy Donut Kit.
- Step 1: Make a batch of lemonade and tint it dark purple or blue using food coloring or the Butterfly Pea Flower tea mentioned earlier.
- Step 2: Add "edible glitter" or luster dust (available in the baking aisle).
- Step 3: Stir the drink in a circular motion. The glitter will swirl like a distant nebula.
- Step 4: Add star-shaped pieces of melon or starfruit as "constellations."
The Learning Moment: Use this time to talk about what makes up a galaxy—gas, dust, and millions of stars. The swirling glitter is a great representation of how galaxies are shaped by gravity and rotation.
11. Wild Turtle Slushie
This green, refreshing drink is perfect for fans of our Wild Turtle Whoopie Pies. It focuses on the colors and textures of a forest or swamp.
- Step 1: Blend 2 cups of frozen honeydew melon or green grapes with a splash of lime juice.
- Step 2: Add a few mint leaves for a "leafy" look and a fresh scent.
- Step 3: Serve the slushie and top it with a few "turtle eggs" (green grapes or melon balls).
- Step 4: Discuss how animals use camouflage in the wild to blend into green environments like the one in their glass.
Bottom line: Themed drinks allow children to use their imagination and connect what they are drinking to broader scientific concepts like geology, astronomy, and biology.
International Flavors: A Cultural Exploration
Cooking is a window into the world. By trying drink recipes non alcoholic for kids from different cultures, you can teach geography and social studies alongside STEM. Families who enjoy combining food with hands-on learning can find more ideas in these cooking-based STEM activities.
12. The Tropical Mango Lassi
This traditional Indian drink is a lesson in texture and fermentation (if using yogurt with active cultures).
- Step 1: Combine 1 cup of plain yogurt, 1 cup of chopped mango, and a dash of cardamom in a blender.
- Step 2: Add a little honey or maple syrup for sweetness.
- Step 3: Blend until smooth and creamy.
- Step 4: Discuss where mangoes grow and how different climates produce different types of fruits.
13. Virgin Piña Colada (The Island Vacation)
This Caribbean-inspired drink is all about the "emulsion" of coconut and pineapple.
- Step 1: Blend 1 part cream of coconut with 2 parts pineapple juice and plenty of ice.
- Step 2: Pour into a glass and garnish with a pineapple wedge and a paper umbrella.
- Step 3: Talk about the "Art" of the garnish. Why do we associate certain decorations with specific places in the world?
14. Mexican Horchata (Kid-Friendly Version)
This rice-based drink is a great way to talk about how we can get "milk" from grains and nuts.
- Step 1: Soak 1 cup of white rice in water overnight with a cinnamon stick.
- Step 2: Blend the rice and water until smooth, then strain through a fine-mesh sieve or cheesecloth.
- Step 3: Stir in a little sugar and vanilla. Serve over ice.
- Step 4: Explain the process of "straining" and how we can separate solids from liquids to create a smooth texture.
15. The British Garden Cooler
Inspired by the flavors of an English garden, this drink uses cucumber and mint.
- Step 1: Muddle (crush) a few slices of cucumber and mint leaves at the bottom of a glass.
- Step 2: Fill with ice and top with elderflower pressé or a mix of white grape juice and sparkling water.
- Step 3: This is a "sophisticated" flavor profile that introduces kids to savory-sweet combinations.
Bottom line: Exploring global drink recipes broadens a child's palate and their understanding of how different cultures use local ingredients.
The Art of Presentation: Garnishing Like a Pro
The "A" in STEAM stands for Arts, and when it comes to drink recipes non alcoholic for kids, presentation is everything. This is where children can let their creativity run wild. A garnish isn't just decoration; it’s an opportunity to practice fine motor skills and explore color theory. For more ideas that combine creativity with learning, read about hands-on STEM learning for kids.
Creative Garnish Ideas:
- Fruit Kebabs: Threading grapes, berries, and melon onto a skewer requires focus and hand-eye coordination.
- Salt or Sugar Rims: Dip the rim of the glass in water or honey, then into colored sugar. This adds a "sparkle" and a burst of flavor.
- Herb Bouquets: Using mint, rosemary, or basil introduces new scents and teaches kids about the aromatic properties of plants.
- Ice Art: Freeze small pieces of fruit or edible flowers inside ice cubes. As the ice melts, the "art" is released into the drink.
The Psychology of Color: Ask your child how the color of a drink makes them feel. Does a bright yellow drink feel "happy" or "sour"? Does a blue drink feel "cool"? This is a great way to introduce the basics of color theory and how artists use color to evoke emotion.
Educator’s Corner: Using Drinks in the Classroom
For teachers and homeschoolers, drink recipes non alcoholic for kids are a treasure trove of curriculum-aligned activities. You can easily turn a Friday afternoon treat into a comprehensive lesson plan. Educators can also explore engaging STEM classroom projects for additional ways to connect kitchen experiments with classroom learning.
Math Connection: Have students double or triple a recipe. This requires them to multiply fractions and understand volume. For older children, you can introduce "ratios"—for example, a 2:1 ratio of juice to soda.
Literacy Connection: Ask students to write a "Review" of their drink. Have them use descriptive adjectives to explain the taste, texture, and appearance. They can even create a "Marketing Pitch" for their new beverage invention.
Scientific Method: Treat each drink as an experiment. Start with a hypothesis: "I think the blue juice will float on the red juice." Then, perform the experiment and record the results. If it didn't work, ask "Why?" and try a different variable (like adding more sugar to the bottom layer).
Key Takeaway: Kitchen-based learning makes abstract concepts like ratios and pH levels tangible and memorable for students of all ages.
Tips for a Mess-Managed Experience
We know that "kids" and "liquids" can sometimes equal "mess." However, with a few proactive steps, you can keep the cleanup minimal and the fun at a maximum.
- Work on a Tray: Have each child assemble their drink on a rimmed baking sheet. This catches any overflows or spills before they hit the floor.
- Use Squeeze Bottles: For syrups or thick juices, squeeze bottles offer much better control than pouring from a large carton.
- Pre-Measure Ingredients: If you are working with a group, pre-measure the liquids into small cups. This prevents accidental "over-pouring" and keeps the science accurate.
- Keep Rags Handy: Make "clean as you go" part of the process. This teaches responsibility and keeps the workspace safe.
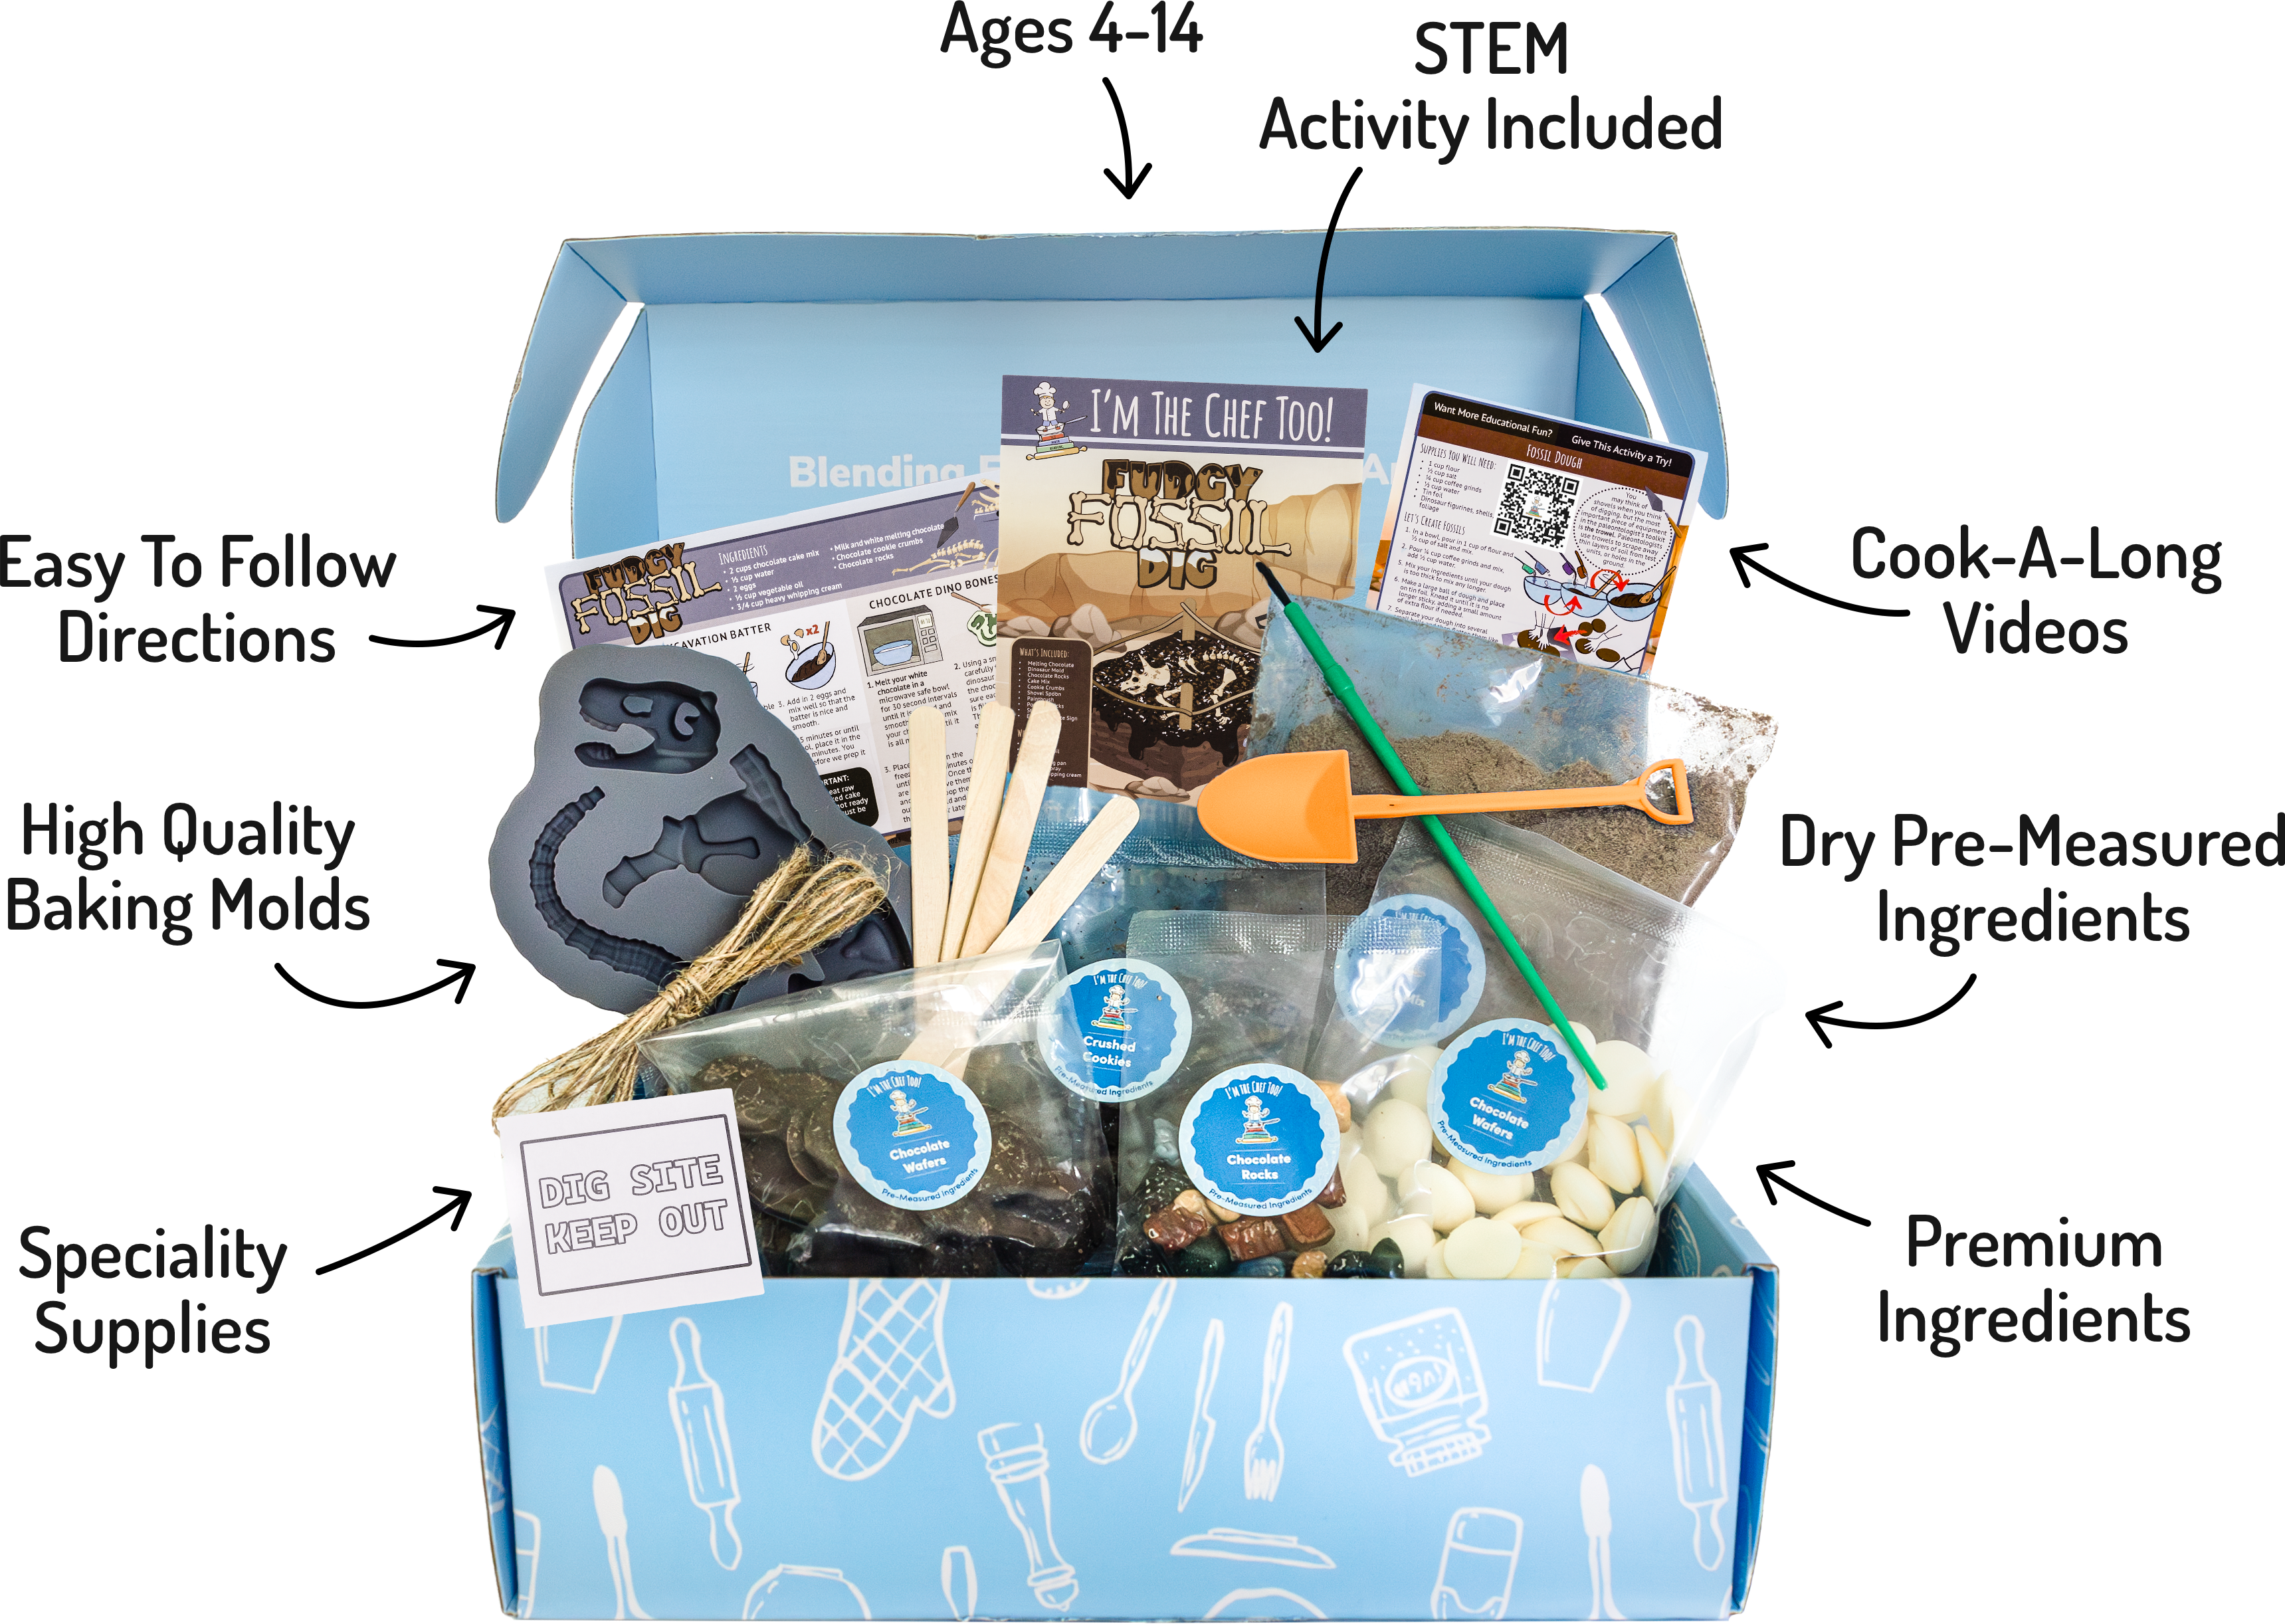
At I'm the Chef Too!, we design our kits to be as mess-managed as possible, providing pre-measured ingredients so you can focus on the learning and the bonding. Applying these same principles to your mocktail station will make the experience much more enjoyable for everyone involved.
Conclusion
Creating drink recipes non alcoholic for kids is about so much more than just a tasty treat. It is a chance to step away from the screen, put on a lab coat (or an apron!), and explore the incredible world of science through taste and sight. From the physics of density in a layered sunrise drink to the chemical reactions in a color-changing lemonade, every sip is a lesson waiting to happen.
We believe that when you blend food, STEM, and the arts, you create an environment where curiosity thrives and confidence grows. These moments in the kitchen—measuring, stirring, and decorating together—are the building blocks of lifelong memories and a love for learning. Whether you are celebrating a special occasion or just making a regular Tuesday feel a bit more magical, these recipes are a wonderful way to engage your child's mind and palate.
If you are looking for more ways to bring this "edutainment" into your home, consider joining The Chef's Club. Our mission is to make learning delicious and hands-on, providing families with everything they need to embark on a new adventure every month.
Next Steps to Try:
- Pick one recipe: Start with the Sunrise Sparkler to practice density.
- Host a "Taste Test": Make three different drinks and have the family vote on their favorite.
- Experiment: Try changing one ingredient in a recipe to see how it affects the color or fizz.
- Explore further: Check out The Chef's Club subscription for monthly cooking STEM adventures.
"The kitchen is a place where science becomes edible and art becomes delicious."
FAQ
What are some low-sugar options for kid-friendly drinks?
You can reduce sugar by using sparkling water as a base instead of soda and opting for 100% fruit juices without added sweeteners. Freshly muddled fruit, like berries or watermelon, adds natural sweetness and flavor without the need for heavy syrups.
How do I make layers stay separate in a drink?
The secret to layering is density and speed. Always pour the liquid with the highest sugar content first, then slowly pour the next liquid over the back of a spoon to break its fall. This prevents the two liquids from mixing and keeps the layers distinct.
Can I use these recipes for a large group or party?
Absolutely! Most of these recipes can be "batched" by multiplying the ingredients. For a party, set up a "Build Your Own Mocktail" station where kids can choose their base, their "science" add-in (like lemon juice for color change), and their garnishes.
What is the best age to start making mocktails with kids?
Children as young as 3 or 4 can help with simple pouring and garnishing under close supervision. Older children (ages 7-12) can take more of a lead role, handling the measuring, mixing, and even explaining the STEM concepts behind each drink to their friends and family.