Table of Contents
- Introduction to the Roaring World of Volcanoes
- Why Volcano STEM Projects Are the Best Educational Eruptions
- The Science Behind the Spew: Baking Soda & Vinegar Explained
- Beyond the Classic: Creative Volcano STEM Projects for Every Age
- Designing Your Volcano STEM Project: A Step-by-Step Guide
- Taking Learning Further with I'm the Chef Too!
- Frequently Asked Questions About Volcano STEM Projects
- Conclusion: Ignite Curiosity with Explosive Fun!
Imagine the thrill in a child's eyes as a miniature mountain begins to rumble, then erupt with foamy, colorful "lava." It’s not just a mess to clean up; it's a moment of pure scientific wonder, a tangible lesson in cause and effect, and an unforgettable memory. Volcano STEM projects are more than just a classic kitchen experiment; they are a gateway to understanding geology, chemistry, and engineering, all while sparking boundless curiosity and creative thinking in young minds.
At I'm the Chef Too!, we believe that the most profound learning happens when it's engaging, hands-on, and delightfully delicious. Our mission is to seamlessly blend food, STEM, and the arts into one-of-a-kind "edutainment" experiences, transforming complex subjects into tangible, exciting adventures. We are dedicated to creating screen-free educational alternatives that spark curiosity and creativity, fostering not just knowledge but also invaluable family bonding. This post isn't just about making a volcano erupt; it's about igniting a lifelong love for learning through the magic of volcano STEM projects, offering practical advice, creative ideas, and exploring how these activities build essential skills in children of all ages.
Introduction to the Roaring World of Volcanoes
Have you ever wondered what makes a volcano roar to life, spewing hot ash and molten rock? For children, this natural phenomenon is often a source of immense fascination, blending danger, power, and incredible geological forces. This fascination provides a perfect launchpad for some truly spectacular STEM (Science, Technology, Engineering, and Mathematics) learning. Forget dusty textbooks and lectures; we're talking about hands-on, explosive fun that teaches fundamental scientific principles without kids even realizing they're learning!
In this comprehensive guide, we'll dive deep into the exciting world of volcano STEM projects. We'll explore the underlying science that makes these experiments so captivating, provide a wealth of creative ideas for eruptions both big and small, and discuss how these activities nurture critical thinking, problem-solving, and creativity. From the classic baking soda and vinegar eruption to more intricate multi-layered models and even edible volcanic creations, we'll equip you with everything you need to transform your home into a dynamic learning laboratory. Get ready to embark on an adventure where science literally bubbles over, showing your young learners that STEM is not only approachable but incredibly exciting!
Why Volcano STEM Projects Are the Best Educational Eruptions
Volcano STEM projects are truly a powerhouse of learning disguised as pure fun. They embody the core philosophy we champion at I'm the Chef Too!: blending multiple disciplines into a cohesive, engaging experience. These aren't just one-off experiments; they're opportunities to engage children on multiple levels, fostering a holistic approach to education.
Unpacking the "STEM" in Volcanoes
Let's break down how these projects touch upon each facet of STEM:
- Science (S): This is the most obvious component. Children learn about chemical reactions (acid-base reactions between baking soda and vinegar), gas production (carbon dioxide), pressure, density, and even geology (volcano types, plate tectonics, rock formation). They observe, hypothesize, and analyze, engaging in the scientific method in its purest form.
- Technology (T): While not immediately apparent in a simple baking soda volcano, children engage with technology when they research different volcano types online, watch videos of real eruptions, or use measuring tools to ensure precise ingredient ratios for optimal explosions. They might even use digital timers to compare eruption durations.
- Engineering (E): Building the volcano structure itself is a fantastic engineering challenge. Kids consider stability, design, materials (clay, paper-mâché, dirt, even snow!), and the conduit for the "lava." They learn about structural integrity, problem-solving when their design doesn't quite work, and iterative improvement as they refine their models for better eruptions.
- Mathematics (M): Measuring ingredients (cups, teaspoons, milliliters), timing eruptions, comparing volumes of "lava," counting layers in a model, or even scaling up an experiment involves practical application of mathematical concepts. This helps demystify math, showing its real-world relevance.
Beyond STEM: Adding the "A" for STEAM
At I'm the Chef Too!, we recognize the immense value of integrating the arts into learning, transforming STEM into STEAM. Volcano projects are a perfect example of this:
- Arts (A): The artistic possibilities are endless! Painting the volcano model, choosing colors for the "lava," creating a realistic landscape around it, or even designing the "creatures" that live near the volcano all engage artistic expression. This creative outlet enhances engagement and allows children to personalize their learning experience, fostering imagination and fine motor skills.
Key Skills Developed Through Volcanic Adventures
Beyond academic knowledge, volcano STEM projects are fantastic for nurturing crucial developmental skills:
- Critical Thinking and Problem-Solving: "What happens if we add more baking soda?" "How can we make the eruption last longer?" These questions encourage children to think critically and devise solutions.
- Observation Skills: Children learn to pay close attention to details – the fizzing, the color changes, the force of the eruption – sharpening their ability to gather information.
- Fine Motor Skills: Measuring, stirring, sculpting the volcano structure, and carefully pouring ingredients all help develop dexterity and hand-eye coordination.
- Patience and Persistence: Some projects, like paper-mâché volcanoes, require time and effort, teaching children the value of seeing a task through to completion.
- Communication: Explaining their hypotheses, observations, and conclusions to you or their peers strengthens their verbal communication skills.
- Confidence Building: Successfully conducting an experiment, especially one with such a dramatic outcome, provides a huge boost to a child's confidence and self-efficacy.
- Family Bonding & Screen-Free Fun: In today's digital age, finding engaging, screen-free activities that bring families together is more important than ever. Volcano STEM projects offer a fantastic opportunity for parents and children to collaborate, learn, and create lasting memories side-by-side. This shared experience deepens connections and reinforces the idea that learning can be a joyful, communal activity.
These enriching experiences are exactly what we aim for with every I'm the Chef Too! kit. We strive to provide hands-on adventures that go beyond simple entertainment, sparking genuine curiosity and nurturing a love for learning that extends far beyond the kitchen. Ready to dive into more hands-on fun that nurtures these skills month after month? Join The Chef's Club today and enjoy a new STEM cooking adventure delivered right to your door with free shipping!
The Science Behind the Spew: Baking Soda & Vinegar Explained
The classic baking soda and vinegar volcano is a spectacular demonstration of chemistry in action, yet it uses two incredibly common household ingredients. Understanding why it erupts deepens the learning and transforms a simple "wow" moment into a profound scientific insight.
The Acid-Base Reaction
At its core, the eruption is an acid-base chemical reaction.
- Baking Soda (Sodium Bicarbonate): This is a base. Its chemical formula is NaHCO₃.
- Vinegar (Acetic Acid): This is an acid, typically a dilute solution of acetic acid (CH₃COOH) in water.
When baking soda and vinegar mix, the acetic acid (from the vinegar) reacts with the sodium bicarbonate (baking soda). This reaction produces three things:
- Water (H₂O)
- Sodium Acetate (CH₃COONa) – a salt that stays dissolved in the water.
- Carbon Dioxide Gas (CO₂) – this is the star of the show!
The chemical equation looks something like this: CH₃COOH (aq) + NaHCO₃ (s) → CH₃COONa (aq) + H₂O (l) + CO₂ (g)
The Role of Carbon Dioxide Gas and Pressure
The carbon dioxide gas is what causes the spectacular eruption. Here’s how:
- Gas Production: As soon as the baking soda and vinegar mix, carbon dioxide gas starts to form rapidly.
- Pressure Buildup: In a confined space, like the inside of a volcano model or a bottle, this gas has nowhere to go. It quickly builds up pressure.
- The Eruption: When the pressure inside the volcano model becomes too great, the gas forces its way out through the opening (the "crater"), pushing the liquid (water, vinegar, food coloring, and often dish soap) along with it, creating the dramatic "lava flow."
Dish Soap: The Secret to Foamy "Lava"
Many volcano experiments add a squirt of dish soap, and for good reason! Dish soap contains surfactants that attract the carbon dioxide gas bubbles. Instead of the gas simply escaping into the air as tiny, invisible bubbles, the soap traps the gas, creating a profusion of larger, more stable, and incredibly foamy bubbles. This dramatically enhances the visual effect of the "lava," making it look thicker and more realistic. It also makes the eruption last longer and flow more dramatically.
Connecting to Real Volcanoes
While our baking soda volcanoes don't involve molten rock, the underlying principle of gas and pressure is surprisingly similar to real volcanic eruptions. In real volcanoes, magma deep within the Earth contains dissolved gases. As this magma rises towards the surface, the pressure on it decreases, allowing these gases to expand rapidly. If the gas can't escape slowly, it builds up immense pressure, eventually leading to a violent eruption that expels ash, gas, and lava. This connection allows children to grasp complex geological concepts through a simple, safe, and exciting experiment.
Understanding this science transforms a fun activity into a profound learning experience, perfectly aligning with our commitment at I'm the Chef Too! to make learning both accessible and deeply insightful.
Beyond the Classic: Creative Volcano STEM Projects for Every Age
While the classic baking soda and vinegar volcano is a fantastic starting point, the world of volcano STEM projects is vast and full of creative possibilities. We can adapt, expand, and innovate to keep the learning fresh and exciting, catering to different age groups and learning styles.
The Classic Baking Soda Volcano: Elevated!
Let's start with the familiar, but enhance it for maximum impact and learning.
- Basic Setup: You'll need an empty plastic bottle (a water bottle or a 2-liter soda bottle, depending on desired size), baking soda, vinegar, dish soap, and red/orange food coloring. Place the bottle on a tray or cookie sheet for easy cleanup.
-
Building the Mountain:
- Play-Doh/Clay: For younger kids, molding a volcano around the bottle with play-doh or soft clay is quick, easy, and allows for immediate eruption. This is great for developing fine motor skills and creativity.
- Dirt/Sand: Take it outside! Bury a cup or bottle in a sandbox or a patch of dirt and mold the "mountain" from natural materials. This adds a sensory element and minimal cleanup. Kids can even add pebbles or sticks to create a mini-landscape.
- Papier-Mâché: For older kids and a more durable, paintable model, papier-mâché is excellent. It requires patience and planning (drying time!), but the result is a fantastic, reusable volcano. Use a balloon or crumbled paper as a base, then apply strips of newspaper soaked in a flour-water paste.
- Foil Volcano: A quicker alternative to papier-mâché for a sturdy structure is aluminum foil. Shape it around a bottle to create a crinkled, metallic volcano. This is surprisingly stable and can be decorated afterwards.
- Snow Volcano: On a snowy day, build a volcano right in the snow, using a cup in the center for your reaction. Adding blue food coloring to the "lava" creates an icy, unique effect!
-
Eruption Time & Observation:
- Place your volcano structure on a large baking sheet or outdoors.
- Add a few tablespoons of baking soda into the bottle/cup.
- In a separate cup, mix about a cup of vinegar with a good squirt of dish soap and several drops of red or orange food coloring.
- Pour the vinegar mixture into the baking soda. Stand back and watch the show!
- STEM Connection: Discuss how the shape of the volcano (engineering) affects the flow of the lava. Does a wider base make it more stable? Does a narrower crater make the lava shoot higher?
- Our Edible Twist: At I'm the Chef Too!, we love to make learning delicious! Imagine making a volcano that doesn't just erupt, but is also a treat to eat. Our Erupting Volcano Cakes Kit is a prime example, teaching kids about chemical reactions as their delicious cakes bubble over with edible "lava." It’s the perfect blend of science and culinary fun!
Edible Volcanoes: Learning You Can Taste!
Making edible volcano STEM projects is a fantastic way to engage the senses and connect learning to a joyful experience.
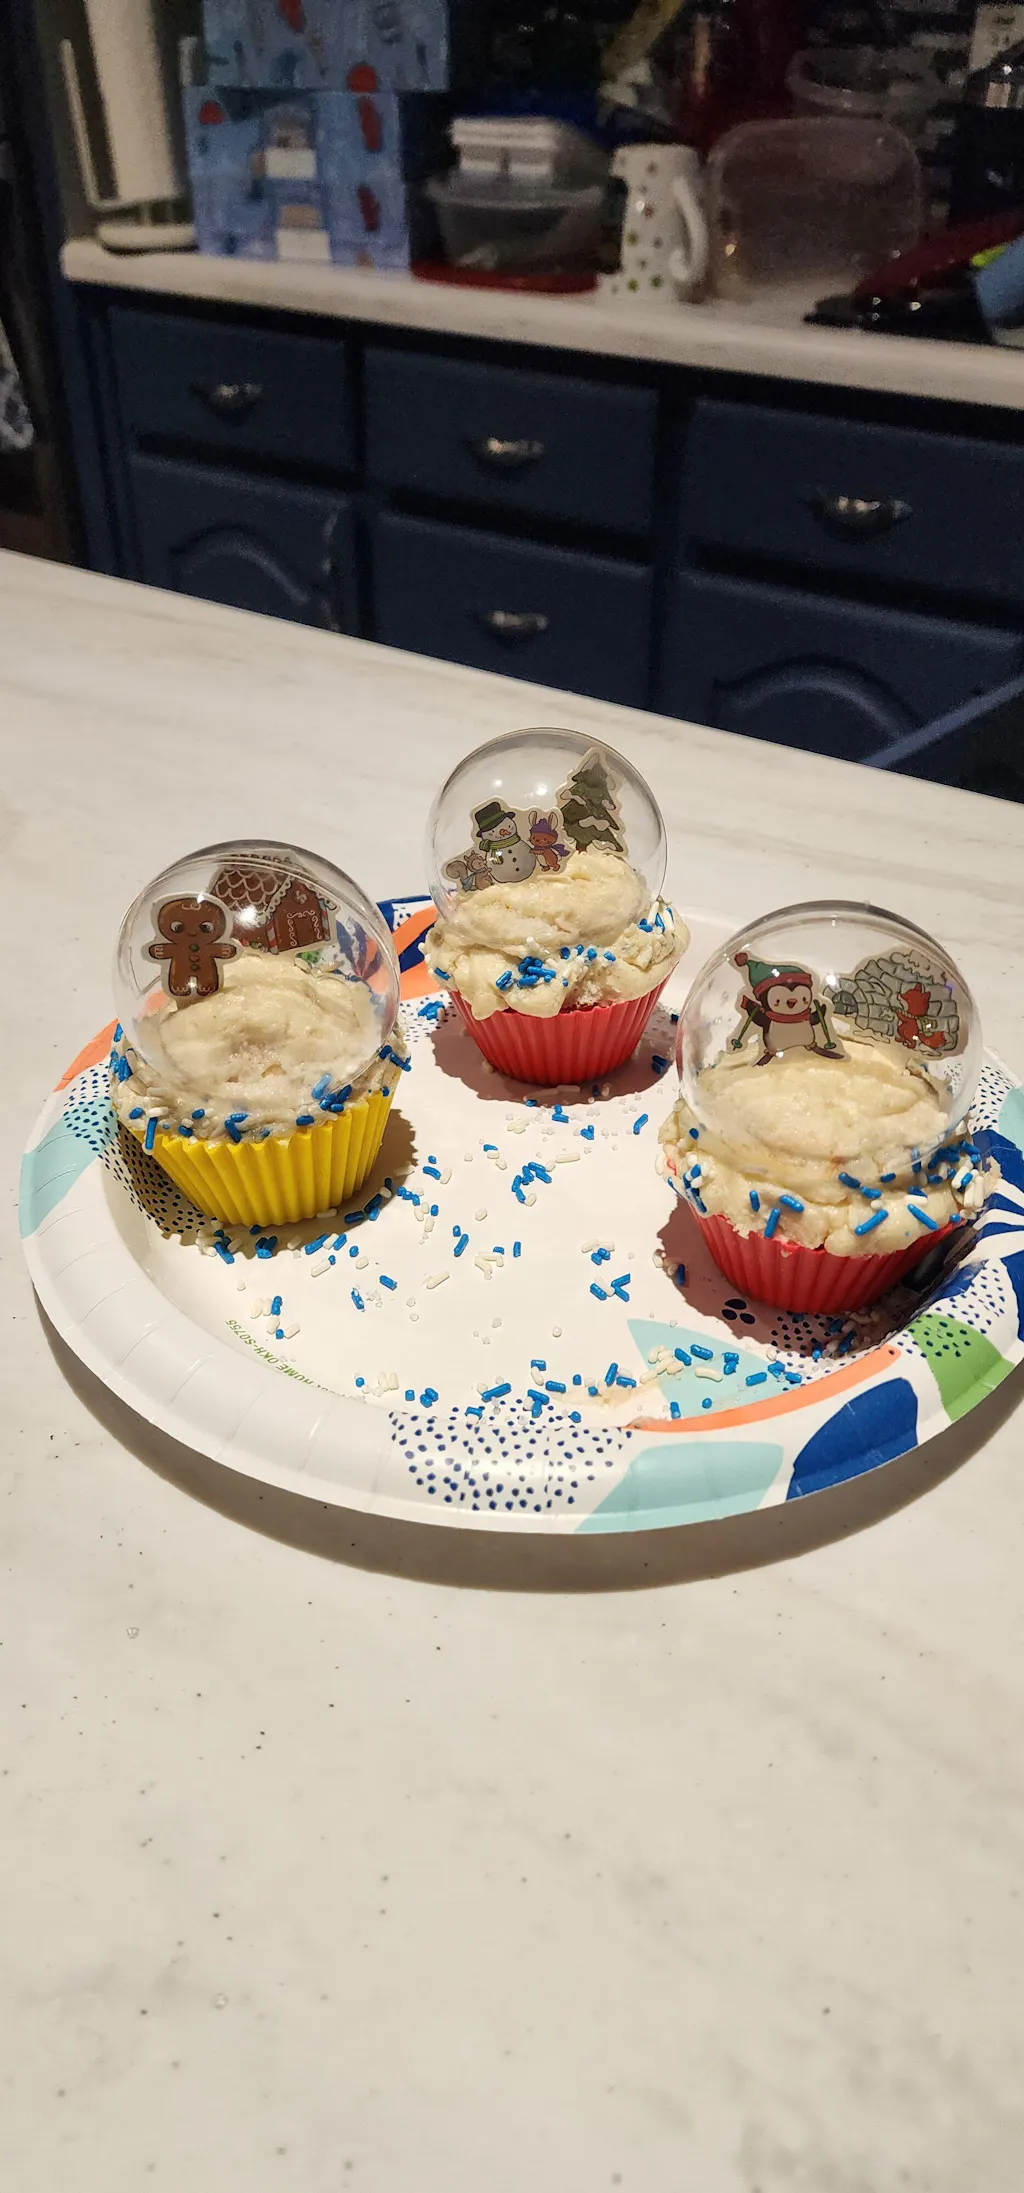
- Cake or Cupcake Volcanoes: Bake a large round cake and shape it into a volcano, or use individual cupcakes. For the "lava," use frosting mixed with red food coloring, or for an edible eruption, create a well in the center of the cake/cupcake. Fill with baking soda and then pour in a colorful, edible acid like lemon juice or citric acid solution for a fizzy, tasty reaction! You can even make a delicious chocolate lava cake and discuss how real lava flows.
- Cookie Volcanoes: Shape cookie dough into small volcanoes, bake them, and then use frosting for "lava." Or, make cookie cups, fill them with baking soda, and add a few drops of colored lemon juice for a mini-eruption.
- Gelatin Volcanoes: Create a wobbly, colorful volcano using layers of gelatin. While not erupting in the traditional sense, it's a great way to visualize layers of the Earth and different magma chambers.
- STEM Connection: This introduces concepts of edible chemistry and the properties of different food ingredients. Plus, it's a direct link to the hands-on, delicious adventures found in our I'm the Chef Too! kits, where every box is a complete experience, containing pre-measured dry ingredients and specialty supplies for stress-free fun.
Multi-Layered Volcano Investigation: Beyond the Surface
Inspired by geologists who study the Earth's layers, this project adds depth to your volcano exploration.
- Concept: Build a volcano with distinct internal layers using different colored play-doh or soft clay around a central bottle/cup. After the eruption, kids can "dissect" their volcano model (like a NASA scientist!) to see the layers and understand how they interact with the "magma chamber."
- Materials: 3 or more colors of play-doh/clay, a paper cup or bottle, baking soda, vinegar, food coloring.
-
Process:
- Mold one color of play-doh around the base of your cup/bottle.
- Add a second color, then a third, building up the volcano's conical shape.
- After the eruption, carefully slice open the play-doh volcano to reveal the "strata."
- STEM Connection: This teaches about geology, stratification, and the idea of Earth's internal structure. It encourages investigative thinking and visual learning.
Alternative Eruptions: Beyond Baking Soda
Volcano-like phenomena aren't limited to baking soda and vinegar!
-
Elephant Toothpaste Volcano: For a truly foamy and impressive (though more advanced) eruption, try elephant toothpaste. This uses hydrogen peroxide (caution: use appropriate strength for kids' experiments and adult supervision is essential, eye protection is a must!), dry yeast, and dish soap. The yeast acts as a catalyst, rapidly breaking down the hydrogen peroxide into water and oxygen gas, creating a massive amount of foam that resembles a giant tube of toothpaste.
- STEM Connection: Introduces catalysts, decomposition reactions, and the rapid production of oxygen gas.
-
Underwater Volcano: This experiment focuses on density and heat transfer. Fill a small bottle with warm, red-colored water. Fill a clear tub with cold water. Slowly lower the warm water bottle into the cold water. The warm, less dense red water will rise out of the bottle, creating an "underwater eruption."
- STEM Connection: Teaches about convection currents, density, and temperature's effect on fluid movement.
-
DIY Lava Lamp: While not an eruption, a homemade lava lamp beautifully demonstrates density and chemical reactions. Use a clear jar, water, cooking oil, food coloring, and an Alka-Seltzer tablet. The oil and water separate due to density differences, and the Alka-Seltzer tablet reacts with water to produce carbon dioxide, which carries colored water bubbles up through the oil.
- STEM Connection: Explores immiscibility, density, and gas production in a captivating visual.
Artistic Volcanoes: Adding STEAM to the Mix
Bring in the "A" for Arts to make volcano projects even more vibrant!
- Painted Volcanoes: Before the eruption, paint the baking soda "mountain" with watercolors or food coloring mixed with water. As the vinegar (or lemon juice for a softer reaction) is added, the colors will swirl and melt, creating a beautiful, dissolving art piece.
- Glitter Volcano: Add fine glitter to your baking soda, or directly to the vinegar mixture. The eruption will be a shimmering, sparkly spectacle, adding an extra layer of magic and visual appeal.
-
Glow-in-the-Dark Volcano: This one is truly captivating! Mix tonic water with your vinegar (you might need a bit more vinegar as tonic water dilutes it) and add baking soda. Then, move to a dark room and shine a black light on your eruption. The quinine in tonic water will fluoresce, making your lava glow!
- STEM Connection: This introduces the concept of fluorescence, different light spectrums, and how certain chemicals react to UV light.
Minimal Mess Volcanoes: Fun Without the Fuss
Worried about the cleanup? These options help contain the excitement!
- Volcano in a Bag: This clever trick simulates an eruption without the overflow. In a sturdy Ziploc bag, add blobs of different colored paint. Then add baking soda and a separate blob of vinegar. Seal the bag tightly and squish it. The reaction happens inside, showing color mixing and gas production without a single spill.
-
Citrus Volcanoes: Cut a lemon or orange in half. Scoop out a bit of the fruit to make a small well. Add baking soda to the well, then squish the fruit to release its natural acidic juice, or pour a little extra lemon juice on top. The reaction is contained within the fruit itself, making cleanup a breeze.
- STEM Connection: Explores natural acids, pH, and localized chemical reactions.
These diverse volcano STEM projects offer endless ways to explore science, creativity, and critical thinking. Whether you're looking for a quick activity or a multi-day project, there's a volcanic adventure waiting. For ongoing, expertly designed educational fun delivered right to your door, remember to Join The Chef's Club! Our monthly boxes make it incredibly easy to bring these enriching experiences into your home.
Designing Your Volcano STEM Project: A Step-by-Step Guide
Embarking on a volcano STEM project is an exciting journey that begins with a little planning and ends with a spectacular eruption. Here’s a step-by-step guide to help you orchestrate a successful, educational, and fun experience.
1. Planning & Preparation: The Foundation of Fun
Before the "lava" starts flowing, a little foresight goes a long way.
-
Consider Age and Skill Level:
- Toddlers & Preschoolers: Focus on simple, quick eruptions. Play-doh volcanoes, citrus volcanoes, or outdoor sand volcanoes are perfect. Emphasize sensory exploration (squishing clay, watching colors mix).
- Elementary Schoolers: They can handle more complex builds like papier-mâché or dirt volcanoes. Introduce basic scientific vocabulary (acid, base, gas, pressure) and encourage hypothesis formation ("What do you think will happen if...?").
- Older Kids: Challenge them with elephant toothpaste, multi-layered models, or designing experiments to test variables (e.g., how much baking soda produces the biggest eruption?). Introduce more complex chemistry or geology concepts.
-
Gathering Your Materials:
- The Reaction Core: Baking soda and vinegar are your staples. Don't forget dish soap for foamy lava!
- The Volcano Structure: An empty plastic bottle or cup is crucial for the reaction chamber. For the mountain, consider play-doh, modeling clay, dirt, sand, newspaper for papier-mâché, aluminum foil, or even snow.
- Color & Flair: Food coloring (red, orange, yellow are classic!), glitter, paint, markers, or tonic water for glow-in-the-dark effects.
- Safety & Cleanup: A large tray, cookie sheet, or old tablecloth is essential for containing messes. Paper towels are a must. Safety goggles are always recommended, especially for experiments involving hydrogen peroxide or stronger reactions.
- Convenience at Your Fingertips: For those times when you want all the fun without the scavenger hunt for ingredients, our I'm the Chef Too! kits come with pre-measured dry ingredients and specialty supplies, making preparation a breeze. Just add a few fresh items and you're ready to create!
2. The Building Phase: Engineering Your Eruption
This is where creativity and engineering skills truly shine.
-
Choose Your Mountain Material: Select the material best suited for your child's age and the desired level of complexity.
- Sculpting: If using play-doh, clay, dirt, or sand, help your child mold the material around the central bottle/cup. Emphasize making a stable base and a clear opening at the top.
- Layering: For multi-layered volcanoes, apply different colors of clay in distinct bands around the bottle, discussing how real Earth layers are formed over time.
- Constructing: For papier-mâché or foil, guide your child in building the structure, ensuring the bottle is well-integrated and the "crater" remains open for the eruption.
- Decoration & Embellishment: Let imaginations run wild! Paint the volcano, add small plastic trees or toy dinosaurs, create a "lava flow" pathway. This integrates the "Arts" into your STEM project beautifully.
3. The Eruption & Observation: Moments of Awe and Inquiry
This is the payoff! But it's also a prime opportunity for scientific inquiry.
- Setting the Stage: Move your volcano to its designated "eruption zone" – outdoors or on a large, protected surface.
-
The Formula for Fun:
- Carefully add baking soda into the central chamber of your volcano.
- In a separate container, prepare your "lava" mixture: vinegar, dish soap, and food coloring. Stir gently.
- The Moment of Truth! Pour the liquid mixture into the volcano's opening.
-
Guided Observation:
- What do you see? Encourage children to describe the foam, colors, and how high it goes.
- What do you hear? Listen for the fizzing sound.
- What do you feel? Sometimes you can feel the slight warmth of the reaction or the pressure.
- Timing: Use a stopwatch to time how long the eruption lasts.
- Variables: "What if we try adding more baking soda next time? Or less vinegar? How might that change the eruption?" This is the essence of experimentation and hypothesis testing.
4. Discussion & Deeper Learning: Solidifying the Concepts
The learning doesn't stop when the fizzing subsides.
- Review the Science: Talk about the chemical reaction, the gas (carbon dioxide) that's created, and how it builds pressure to make the "lava" erupt. Connect it back to real volcanoes.
- Geology Insights: Discuss different types of volcanoes (shield, stratovolcano), how tectonic plates move, and the Earth's layers. Use diagrams or videos to enhance understanding.
- Engineering Reflections: "What worked well with our volcano design? What could we improve next time to make it even better or more stable?"
- Math in Action: "How many spoonfuls of baking soda did we use? How does that compare to the amount of vinegar?" "Our eruption lasted for 30 seconds, how could we make it last for a full minute?"
- Encourage Questions: Foster a curious mindset by welcoming all questions, no matter how simple or complex. If you don't know the answer, look it up together! This models lifelong learning.
By following these steps, you're not just creating a memorable moment; you're building a foundation for scientific inquiry, creative expression, and critical thinking. And for continuous opportunities to explore, learn, and bond, remember that a new adventure is delivered to your door every month with free shipping in the US when you Join The Chef's Club! We handle the planning so you can focus on the fun and learning.
Taking Learning Further with I'm the Chef Too!
At I'm the Chef Too!, our commitment extends far beyond a single blog post. We are passionate about making STEM education accessible, engaging, and utterly delicious for children everywhere. Our unique approach, developed by mothers and educators, blends culinary arts with core scientific principles, proving that learning can be both profound and incredibly fun. We believe in sparking curiosity, building confidence, and facilitating invaluable family bonding through hands-on, screen-free experiences.
Volcano STEM projects are just one example of how everyday activities can be transformed into extraordinary learning opportunities. Imagine exploring gravity and chemical reactions while making "astronaut" ice cream, or delving into geology by creating edible rock candy formations. These are the kinds of rich, multi-sensory experiences we deliver.
We offer a convenient and flexible way to keep the educational adventures coming, month after month. Our signature Chef's Club subscription brings expertly curated STEM cooking kits right to your doorstep, each one a complete experience designed to teach complex subjects through tangible, delicious projects. With pre-measured dry ingredients and specialty supplies included, we take the hassle out of preparation, letting you focus on the joy of discovery with your child.
- Convenience: A new, exciting adventure is delivered to your door every month with free shipping in the US. No more last-minute grocery runs or searching for obscure supplies!
- Flexibility: Choose from our 3, 6, and 12-month pre-paid plans, perfect for gifting the gift of learning that lasts all year or ensuring continuous enrichment for your own family.
- Value: Each box is a complete experience, bursting with creativity, learning, and deliciousness. We provide everything you need (minus a few fresh ingredients) to create edible masterpieces while exploring fascinating STEM and art concepts.
For example, while you might be fascinated by erupting volcanoes, our kits dive into a myriad of other scientific wonders. Explore astronomy by creating your own edible solar system with our Galaxy Donut Kit, or discover the principles of paleontology with our "Fudgy Fossil Dig" where kids excavate edible dinosaur bones. Every kit is a unique journey designed to inspire and educate.
We don't promise your child will become a top scientist overnight, but we do guarantee a process that fosters a love for learning, builds confidence through successful creation, develops key skills, and creates joyful, lasting family memories. Our approach is about nurturing inquisitive minds and building a positive relationship with education.
Ready to embark on a continuous journey of discovery and deliciousness? Join The Chef's Club today and unlock a world where food, STEM, and the arts collide in the most delightful way!
Frequently Asked Questions About Volcano STEM Projects
You've got questions, we've got answers! Here are some common inquiries parents and educators have about diving into volcano STEM projects.
Q1: What is the ideal age range for volcano STEM projects?
A1: Volcano STEM projects are incredibly versatile and can be adapted for almost any age!
- Toddlers & Preschoolers (2-5 years): Focus on sensory exploration and simple cause-and-effect. Play-doh volcanoes, citrus volcanoes, or outdoor sand volcanoes with minimal ingredients are perfect. Adult supervision is crucial for safety and engagement.
- Elementary Schoolers (6-10 years): This is a prime age for classic baking soda and vinegar volcanoes, papier-mâché models, and testing simple variables. Introduce basic scientific terms and encourage them to form hypotheses.
- Older Kids & Tweens (11+ years): They can tackle more complex experiments like elephant toothpaste, multi-layered geological models, or designing their own controlled experiments to explore different factors (e.g., varying ingredient amounts, different acids). They can also delve deeper into the geological context of real volcanoes.
Q2: How messy are these projects, and how can I minimize the cleanup?
A2: Many volcano STEM projects can indeed be messy, but that's often part of the fun! Here's how to manage it:
- Outdoor is Best: Whenever possible, conduct eruptions outside on grass, pavement, or in a sandbox.
- Containment is Key: If indoors, use a large baking sheet with raised edges, an old plastic tablecloth, or a designated "science zone" that's easy to wipe down. A large plastic bin or tub can also work as a mobile containment unit.
- Newspaper/Towels: Lay down plenty of old newspapers or paper towels under and around your work area.
- Mess-Free Alternatives: Consider "volcano in a bag" or citrus volcanoes for truly minimal mess, or explore density experiments like the underwater volcano or DIY lava lamp that don't involve "lava" flowing over.
- Pre-Measured Kits: Our I'm the Chef Too! kits help by providing pre-measured dry ingredients, reducing spills during the setup phase.
Q3: What are the most important safety precautions for volcano experiments?
A3: Safety first, always! Adult supervision is paramount for all science experiments with children.
- Eye Protection: Always wear safety goggles, especially when using substances like hydrogen peroxide (for elephant toothpaste) or if there's any chance of splashes.
- Non-Toxic Ingredients: Stick to food-safe ingredients like baking soda, vinegar, dish soap, and food coloring for most classic volcano projects.
- Ventilation: If experimenting indoors, ensure good ventilation, especially when dealing with any strong-smelling substances.
- No Ingestion: Even if ingredients are food-safe, instruct children not to taste or eat the experimental mixture.
- Allergies: Be mindful of any food allergies if using edible components.
Q4: Can I reuse the volcano model, or is it a one-time use?
A4: It depends on the materials you use for your volcano structure:
- Reusable: Papier-mâché, clay, or play-doh volcanoes (if kept dry) are generally reusable for multiple eruptions. Simply rinse out the central bottle/cup and let it dry.
- One-Time Use/Disposable: Dirt, sand, or snow volcanoes are usually one-time use as they are integrated with the environment. Edible volcanoes (cakes, cookies) are, of course, designed to be enjoyed after the experiment!
Q5: What if I don't have all the specific ingredients listed for a project? Can I substitute?
A5: Many volcano STEM projects are flexible!
- Baking Soda & Vinegar: These are the core for most classic eruptions and are hard to substitute directly for the same fizz. However, other acids like lemon juice, citric acid, or even diet soda can react with baking soda to varying degrees.
- Food Coloring: Any liquid food coloring works. You can even experiment with natural colorants like beet juice for red or turmeric for yellow, though results may vary.
- Dish Soap: Most liquid dish soaps work well to create foam.
- Volcano Structure: Be creative! Almost anything can form the "mountain" around your reaction chamber – repurposed cardboard, plastic containers, even an inverted funnel.
- Convenience: For maximum convenience and guaranteed results, our I'm the Chef Too! subscription boxes are designed to provide all the unique or specialty dry ingredients you need, taking the guesswork out of substitutions.
Q6: How can I make the learning "stick" after the eruption is over?
A6: Making the learning memorable is key to long-term engagement!
- Discussion: Ask open-ended questions like "What did you observe?" "Why do you think that happened?" "What did we learn?"
- Record Observations: Encourage kids to draw what they saw, write down their hypotheses, or even create a video log of their experiment.
- Connect to Real World: Show videos of real volcanoes, look at maps of volcanic regions, or read books about geology.
- Repeat & Vary: Encourage experimentation by changing one variable at a time (e.g., more baking soda, colder vinegar).
- Extend Learning: If they loved the chemical reaction, explore other acid-base experiments. If geology sparked their interest, try a fossil dig or a rock identification activity. Remember, the journey of discovery is ongoing, and our monthly boxes provide new themes to keep that spark alive!
Conclusion: Ignite Curiosity with Explosive Fun!
Volcano STEM projects offer an unparalleled opportunity to bring science to life in a way that is both educational and exhilarating. From the simple fizz of baking soda and vinegar to intricate multi-layered models and glowing eruptions, these activities ignite curiosity, foster critical thinking, and provide invaluable hands-on learning experiences. We've seen how they weave together science, technology, engineering, art, and mathematics, building not just knowledge but also essential life skills like patience, problem-solving, and confidence. Most importantly, they create moments of shared wonder and joy, turning screen time into quality family time.
At I'm the Chef Too!, we are committed to providing these very experiences. Our mission is to transform complex educational concepts into exciting, tangible, and delicious adventures that children adore. We believe in the power of hands-on "edutainment" to spark a lifelong love for learning, developed by mothers and educators who understand what truly captivates young minds.
Don't let the fun stop here. Imagine a new adventure arriving at your doorstep every month, complete with pre-measured ingredients and specialty supplies, ready to spark another incredible learning journey. Ready to keep the curiosity bubbling and the creativity flowing? Make learning an ongoing adventure for your child. Join The Chef's Club today and get ready for a year of delicious discoveries and explosive STEM fun, delivered with free shipping!