Table of Contents
- Introduction
- The Enchantment of Rainbows: Science in Every Color
- Why Rainbow Science is a Perfect Fit for Young Minds
- Essential Preparations for Your Rainbow Lab
- Spectacular Rainbow Science Experiments for Kids
- Tips for Success in Your Rainbow Lab
- Conclusion
- FAQ Section
Imagine the gasp of delight from your child as colors explode, liquids defy gravity, or crystals sparkle with every hue of the rainbow. There's something truly magical about rainbows that captures the imagination, from the arc in the sky after a rain shower to the vibrant spectrum dancing through a prism. But what if we told you that this magic isn't just for nature to create? What if you could harness the power of a rainbow right in your own kitchen or classroom, transforming everyday materials into extraordinary learning opportunities?
Introduction
In a world increasingly dominated by screens, finding engaging, educational, and genuinely fun activities for children can feel like a quest for hidden treasure. That's where the captivating world of rainbow science experiments comes in. More than just pretty displays, these colorful explorations are powerful gateways to understanding fundamental scientific principles, from chemistry and physics to biology and engineering. At I'm the Chef Too!, our mission is to blend food, STEM, and the arts into one-of-a-kind "edutainment" experiences that do exactly that. We believe in sparking curiosity and creativity in children, facilitating family bonding, and providing a screen-free educational alternative that makes learning an adventure.
This blog post is your comprehensive guide to bringing the wonder of the rainbow into your home or educational setting. We'll delve into a variety of exciting rainbow science experiments, explain the "why" behind the "what," and offer practical tips for making these activities successful and impactful. You'll discover how easy it is to teach complex subjects through tangible, hands-on, and often delicious cooking adventures developed by mothers and educators. Get ready to transform your space into a vibrant laboratory where learning is always colorful and fun. This post will guide you through a captivating journey into rainbow science experiments for kids, revealing how these colorful activities are more than just fun – they are powerful tools for fostering a love for learning, building confidence, developing key skills, and creating joyful family memories.
The Enchantment of Rainbows: Science in Every Color
Before we dive into the hands-on fun, let's take a moment to appreciate the science of a natural rainbow. A rainbow is not just a beautiful arc of color; it's a stunning display of light physics in action. When sunlight (which appears white) passes through tiny water droplets in the atmosphere, these droplets act like miniature prisms. Each droplet bends, or refracts, the light. Because different wavelengths of light bend at slightly different angles, the white light is separated into its constituent colors: red, orange, yellow, green, blue, indigo, and violet – the visible spectrum. This phenomenon, known as dispersion, is a core concept that many of our rainbow experiments will touch upon, making abstract ideas tangible and exciting for young learners.
The magic of these colors isn't just for outdoor viewing; it's a perfect springboard for indoor scientific exploration. Children are naturally drawn to bright colors, and harnessing this innate fascination allows us to introduce complex scientific concepts in an approachable and memorable way. Through these experiments, kids won't just see colors; they'll manipulate them, mix them, and understand the principles that govern their behavior.
Why Rainbow Science is a Perfect Fit for Young Minds
Engaging children in STEM (Science, Technology, Engineering, and Mathematics) activities from an early age is crucial for developing critical thinking, problem-solving skills, and a lifelong love for learning. Rainbow science experiments, in particular, offer a unique blend of accessibility, visual appeal, and profound educational value. They bridge the gap between abstract scientific theories and concrete, observable phenomena.
At I'm the Chef Too!, we wholeheartedly embrace this approach. Our philosophy is rooted in the belief that children learn best by doing, experiencing, and tasting. When we blend food, STEM, and the arts, we create multi-sensory experiences that are not only deeply educational but also incredibly fun. Rainbow experiments align perfectly with our mission to provide "edutainment" that captivates young imaginations. They offer:
- Hands-On Learning: Children are active participants, not passive observers. This fosters a deeper understanding and retention of concepts.
- Visual Engagement: The vibrant colors immediately grab attention and make complex ideas like density, chemical reactions, or light refraction easier to visualize.
- Multi-Disciplinary Exploration: Many rainbow experiments naturally incorporate elements of chemistry (mixing ingredients), physics (light, density), and even art (color theory).
- Skill Development: Beyond scientific knowledge, these activities enhance fine motor skills, observation, prediction, hypothesis testing, and communication.
- Family Bonding: These experiments provide wonderful opportunities for parents and children to learn and discover together, creating shared memories and strengthening family connections in a screen-free environment.
These engaging activities don't promise to turn your child into a Nobel laureate overnight, but they certainly lay the groundwork for a genuine love of discovery. They build confidence in their ability to understand the world around them and encourage a curious mindset that will serve them well in all aspects of life. Ready to embark on a journey of colorful discovery? If you're looking for continuous inspiration and new adventures delivered right to your door, consider joining The Chef's Club. Each month, we send a complete "edutainment" experience designed by mothers and educators, perfect for fostering that love of learning.
Essential Preparations for Your Rainbow Lab
Before you dive into the colorful chaos (the good kind!), a little preparation goes a long way. Safety and a clear workspace are paramount, especially when working with younger children.
Safety First:
- Adult Supervision: All experiments require adult supervision, especially those involving heat, sharp objects, or potentially irritating chemicals (even household ones like vinegar or baking soda).
- Protective Gear: Consider child-sized safety goggles, particularly for fizzing or erupting experiments. An old apron or shirt can protect clothes from food coloring stains.
- Food Safety (for edible experiments): If your experiment involves ingredients that might be tasted, ensure they are handled hygienically and that children wash their hands thoroughly before and after.
Setting Up Your Workspace:
- Designated Area: Choose a space that is easy to clean, such as a kitchen counter, a sturdy table with a plastic tablecloth, or even outdoors.
- Tray or Pan: Placing all your experiment materials on a large tray, baking sheet, or plastic tub can contain spills and make cleanup much easier.
- Gather Materials: Read through the experiment instructions completely and gather all necessary materials before you start. This prevents mid-experiment scrambling.
- Mindset: Approach these activities with an open mind and a sense of wonder. Embrace the mess, encourage questions, and remember that the process of discovery is more important than a perfect outcome.
Spectacular Rainbow Science Experiments for Kids
Now, let's explore some fantastic rainbow science experiments that you can try at home, complete with scientific explanations and tips for engaging your budding scientists.
1. The "Walking Water" Rainbow: Capillary Action in Action
This classic experiment is mesmerizing and beautifully demonstrates the principles of capillary action and color mixing. It requires patience, but the results are incredibly rewarding.
The Science: This experiment showcases capillary action, the ability of a liquid to flow in narrow spaces against the force of gravity. This happens due to two main forces: cohesion (water molecules sticking to each other) and adhesion (water molecules sticking to the paper towel fibers). As the water adheres to the paper towel, it pulls other water molecules along due to cohesion, causing the colored water to "walk" up and across into the empty cups. When two primary colors meet, they mix to form a secondary color.
Materials:
- 7 clear cups or small jars
- Water
- Red, yellow, and blue liquid food coloring
- 6 strips of paper towel (about 1 inch wide and long enough to reach from the bottom of one cup to the bottom of the next)
- Spoon for stirring
Instructions:
- Arrange your 7 cups in a circle or a straight line.
- Fill cups 1, 3, 5, and 7 about three-quarters full with water. Leave cups 2, 4, and 6 empty.
- Add about 6-8 drops of red food coloring to cups 1 and 7. Stir gently.
- Add about 6-8 drops of yellow food coloring to cup 3. Stir gently.
- Add about 6-8 drops of blue food coloring to cup 5. Stir gently. You now have your primary colors.
- Fold each paper towel strip in half lengthwise to make it sturdier.
- Place one end of a paper towel strip into cup 1 (red water) and the other end into cup 2 (empty).
- Continue this pattern: cup 2 to cup 3 (yellow), cup 3 to cup 4 (empty), cup 4 to cup 5 (blue), cup 5 to cup 6 (empty), and cup 6 to cup 7 (red).
- Now, the waiting game begins! Observe what happens over the next few hours.
What to Observe and Discuss:
- Prediction: Before you start, ask your child to predict what will happen. "Do you think the water will move?" "What colors do you think will appear in the empty cups?"
- Capillary Action: Point out how the water slowly creeps up the paper towel. Explain that this is how plants drink water from the soil!
- Color Mixing: Watch as the primary colors travel into the empty cups and mix to form secondary colors (orange, green, and purple). Discuss primary and secondary colors.
- Time: Emphasize that some scientific processes take time, building patience and observational skills.
For families eager to explore a wide range of captivating activities without committing to a subscription, we invite you to Browse our complete collection of one-time kits. You'll find a perfect adventure for every little learner!
2. Fizzy, Foamy Rainbows: A Chemical Reaction Extravaganza
This experiment is a classic for a reason: it's incredibly fun, visually stunning, and introduces children to basic chemistry in a memorable way. The "eruption" never fails to delight!
The Science: This is a classic acid-base chemical reaction. Baking soda (sodium bicarbonate) is a base, and vinegar (acetic acid) is an acid. When they mix, they react vigorously, producing carbon dioxide gas. This gas creates the fizzing and bubbling effect, carrying the colored liquid upwards in a foamy "eruption." It's a fantastic introduction to how different substances can react to create entirely new ones.
Materials:
- Small containers or cups (e.g., shot glasses, muffin tin slots, or small bowls)
- Baking soda
- White vinegar
- Liquid food coloring (red, orange, yellow, green, blue, purple)
- A tray or baking dish to contain the mess
- Droppers or small spoons
Instructions:
- Place your small containers on a tray to catch any overflow.
- Put a tablespoon or two of baking soda into each container.
- Add a few drops of different food coloring to each container, aiming for a rainbow spectrum across your containers.
- Optionally, gently mix the food coloring into the baking soda using a spoon.
- Now for the fun part! Slowly pour or use a dropper to add vinegar into each cup of colored baking soda.
- Watch the colorful, fizzy eruptions!
What to Observe and Discuss:
- Prediction: "What do you think will happen when we add the vinegar?"
- Chemical Reaction: Explain that the fizzing is a sign of a chemical reaction, creating a new gas (carbon dioxide).
- Gas Production: Point out the bubbles and ask where they came from. You can even try lighting a match near the fizz (carefully, under strict adult supervision) after the reaction has mostly subsided to show how carbon dioxide extinguishes a flame.
- Color Mixing (Optional): If you use primary colors in adjacent cups and let the fizz overflow, you might see them mix to create secondary colors on the tray.
This kind of exciting chemical reaction is exactly what we love to explore at I'm the Chef Too!. In our Erupting Volcano Cakes Kit, kids get to experience a similar fizzy reaction that makes their delicious volcano cakes bubble over, combining science with a yummy treat!
3. Density Rainbows: Layering Liquids Like Magic
This experiment is a visually stunning demonstration of liquid density, showing how different liquids can stack on top of each other based on their weight.
The Science: Density is a measure of how much "stuff" is packed into a given volume. In simpler terms, it's how heavy something is for its size. In this experiment, we create liquids with different densities by dissolving varying amounts of sugar in water. The more sugar you dissolve, the denser (and heavier) the solution becomes. When carefully layered, the densest liquid sinks to the bottom, and progressively less dense liquids float on top, creating a beautiful rainbow effect.
Materials:
- 5-6 clear, tall glasses or test tubes
- Water
- Sugar
- Liquid food coloring (red, orange, yellow, green, blue, purple)
- Spoons for stirring
- A measuring cup and spoons
- A dropper or pipette (essential for careful layering)
Instructions:
- Label your glasses or prepare them in order. You'll need one for each color of the rainbow, plus an extra for plain water.
-
Make your sugar solutions:
- Purple (most dense): 1/4 cup warm water + 4 tablespoons sugar. Stir until dissolved. Add purple food coloring.
- Blue: 1/4 cup warm water + 3 tablespoons sugar. Stir until dissolved. Add blue food coloring.
- Green: 1/4 cup warm water + 2 tablespoons sugar. Stir until dissolved. Add green food coloring.
- Yellow: 1/4 cup warm water + 1 tablespoon sugar. Stir until dissolved. Add yellow food coloring.
- Orange: 1/4 cup warm water + 1/2 tablespoon sugar. Stir until dissolved. Add orange food coloring.
- Red (least dense): 1/4 cup warm water + no sugar. Add red food coloring.
- Let all the solutions cool to room temperature. This is important as temperature affects density.
- Pour the purple solution (most dense) into your serving glass/test tube, filling about 1/5 of the way.
- Now, the key is careful layering. Slowly add the blue solution by dribbling it down the side of the glass using a dropper or by pouring it over the back of a spoon held just above the purple layer.
- Repeat this process with the green, yellow, orange, and finally red solutions, always layering carefully to avoid mixing.
- Observe your beautiful liquid rainbow!
What to Observe and Discuss:
- Prediction: "Which color do you think will go to the bottom? Why?"
- Density: Explain that some liquids are "heavier" (denser) than others, even if they look the same. The sugar adds weight without significantly increasing volume.
- Layering: Discuss how careful pouring allows the liquids to stack without mixing, highlighting the importance of precision in science.
- Real-world examples: Talk about how this concept applies to oil and water, or even how different layers form in Earth's atmosphere or oceans.
This experiment beautifully illustrates how even simple kitchen ingredients can unlock profound scientific concepts. It’s exactly the kind of hands-on, tangible learning that we champion at I'm the Chef Too! If you’re captivated by the idea of making science delicious, you might love our Galaxy Donut Kit where kids explore astronomy by creating their own edible solar system.
4. Growing a Rainbow with Markers: Chromatography Fun
This simple yet effective experiment uses everyday markers and paper to reveal the hidden colors within.
The Science: This activity demonstrates chromatography, a scientific technique used to separate mixtures. In this case, we're separating the pigments (colors) that make up a black or dark-colored marker ink. The water acts as a "solvent" that travels up the porous paper (the "stationary phase") through capillary action. As the water moves, it carries the ink pigments with it. Different pigments have different sizes and different affinities for the paper and the water, causing them to travel at different speeds and separate, revealing the individual colors that were originally mixed to create the ink.
Materials:
- Coffee filters or strips of paper towel
- Washable markers (especially black, brown, purple, or dark green)
- Clear cups or jars
- Water
- Pencils or craft sticks
- Tape
Instructions:
- Draw a thick line with a dark washable marker (e.g., black) about 1 inch from the bottom edge of a coffee filter or paper towel strip.
- If using a coffee filter, you can cut it into a rectangular strip. If using a paper towel, ensure it's long enough to reach into the water and hang over a pencil.
- Pour about 1/2 inch of water into a clear cup.
- Tape the top of your paper strip to a pencil or craft stick.
- Place the pencil across the top of the cup so that the bottom edge of the paper strip (below the marker line) is submerged in the water, but the marker line itself remains above the water level. It's crucial that the water doesn't directly touch the ink line at the start.
- Watch as the water travels up the paper, passing through the marker line and separating the colors into a beautiful "rainbow"!
What to Observe and Discuss:
- Prediction: "What do you think will happen to the marker line?" "Do you think black is just one color?"
- Separation: Point out how the black line is no longer just black, but has separated into different shades and colors.
- Chromatography: Explain that this process is used by scientists to separate mixtures in many fields, from forensic science to medicine.
- Variations: Try different colored markers (some may contain unexpected blends!) and different types of paper to see if the results vary.
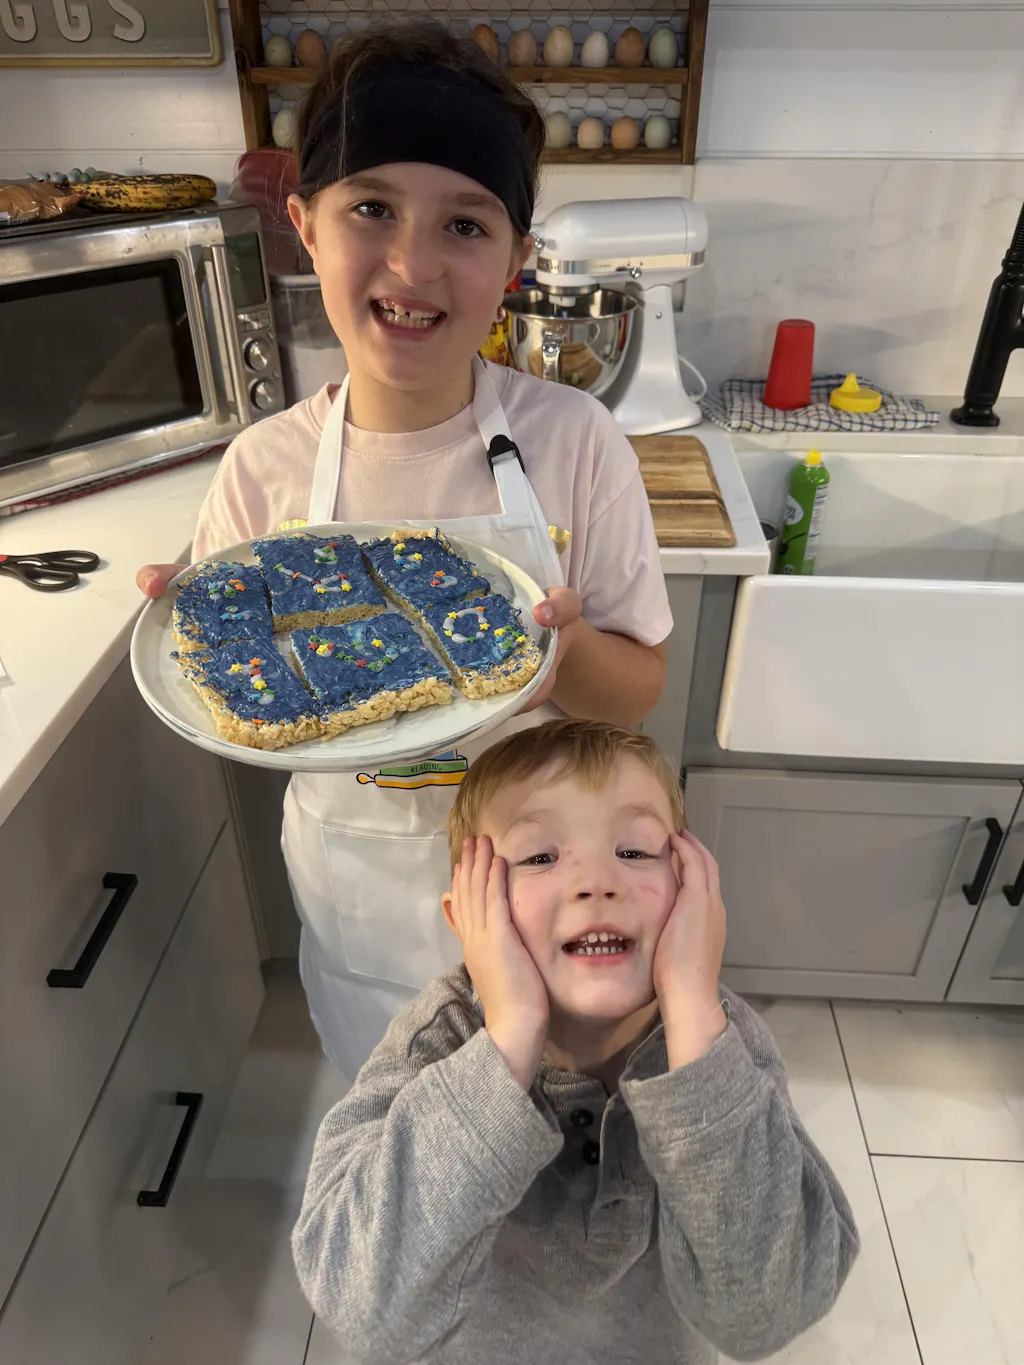
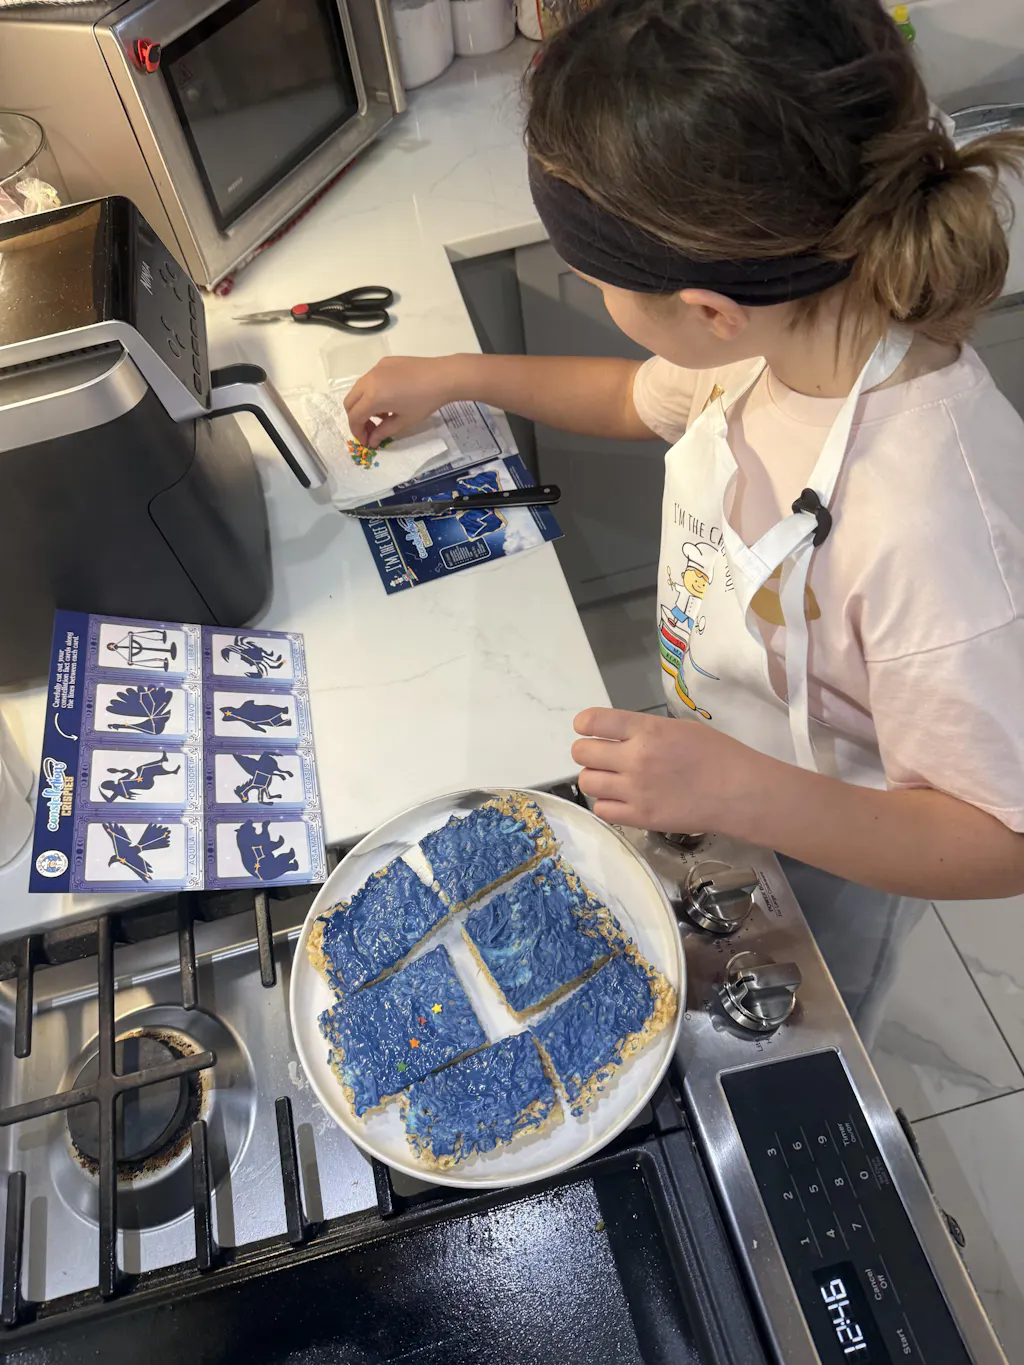
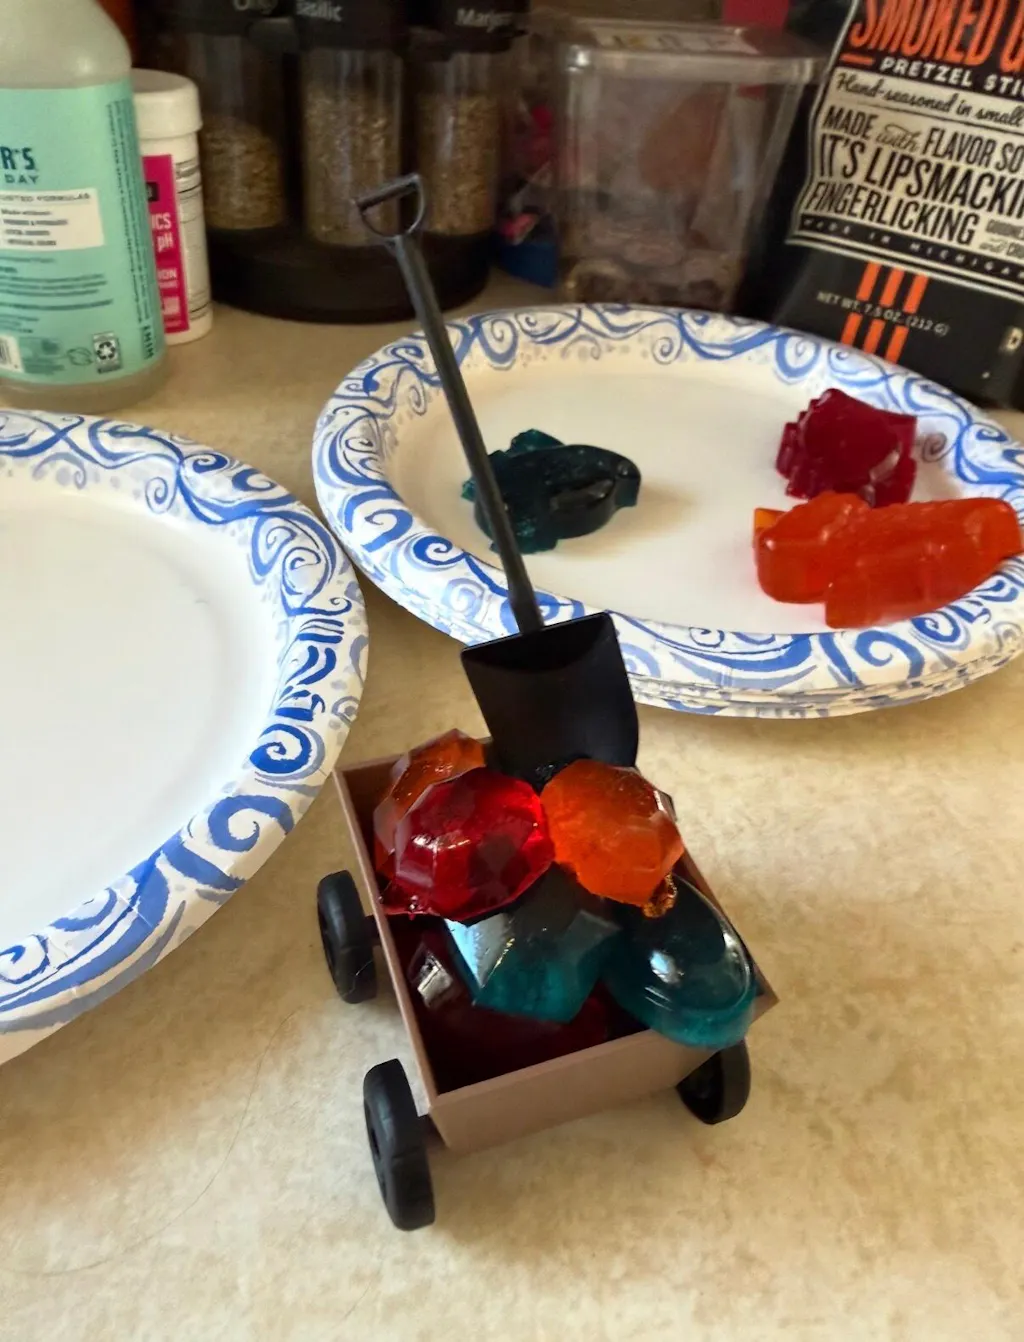
5. Edible Rainbow Creations: Culinary Chemistry & Art
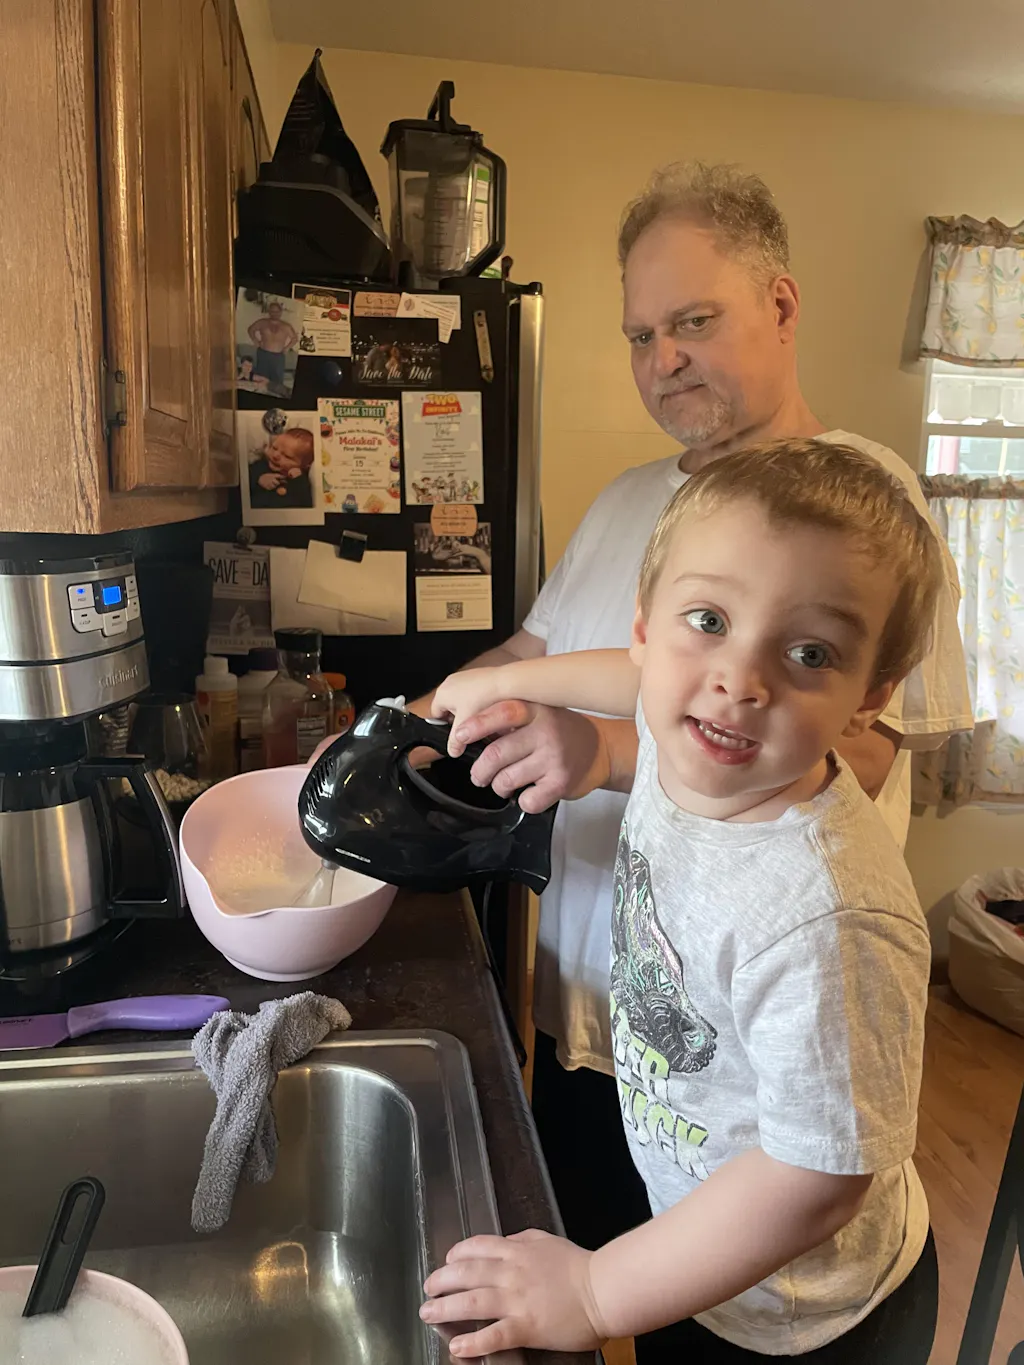
One of the most exciting ways to engage children in rainbow science is to make it edible! At I'm the Chef Too!, we specialize in this "edutainment" approach, turning scientific principles into delicious, hands-on cooking adventures. Making edible rainbows allows children to engage their senses of taste, smell, and touch, alongside sight, creating a truly memorable learning experience.
The Science: Edible rainbow projects often involve basic chemistry (e.g., how ingredients react when mixed or heated), physical changes (like melting chocolate or kneading dough), and color theory (mixing primary food colors to create secondary hues). When we bake, we're engaging in a complex series of chemical reactions, from the leavening agents creating gas to the Maillard reaction browning our treats.
Materials (General for Edible Rainbows):
- Various food ingredients (e.g., sugar, flour, butter, eggs, milk)
- Liquid food coloring (gel colors provide richer hues)
- Mixing bowls, spoons, spatulas
- Baking sheets, cookie cutters, or molds
- A recipe for rainbow cookies, cupcakes, layered parfaits, or colored pasta.
Instructions (Example: Rainbow Layered Parfaits):
- Prepare base: Make a simple vanilla yogurt, pudding, or cream cheese mixture. Divide it into several bowls.
- Coloring: Add different food colorings to each bowl, aiming for a rainbow spectrum (red, orange, yellow, green, blue, purple).
- Layering: In clear glasses or jars, carefully layer the colored mixtures. Start with purple, then blue, green, yellow, orange, and finally red on top. You can use a spoon or a piping bag for more precision.
- Optional additions: Add fruit slices of corresponding colors for extra flavor and visual appeal, or sprinkle with rainbow sprinkles.
- Enjoy! Discuss the colors, the taste, and the simple layering (which also relates to density concepts).
What to Observe and Discuss:
- Color Theory: "What happens when we mix red and yellow food coloring?"
- Phases of Matter: "What happens to butter when it melts?" "How does dough change when we bake it?"
- Sensory Exploration: "How do the different colors smell or taste?"
- Patience and Precision: Emphasize that following a recipe (like a scientific procedure) leads to the best results.
Our specially designed kits take the guesswork out of these adventures. Imagine creating an edible solar system with our Galaxy Donut Kit, where children learn about planets while decorating delicious treats. Or, for a charming, character-themed culinary adventure, even beloved characters can make learning fun, like when kids make Peppa Pig Muddy Puddle Cookie Pies, transforming simple ingredients into a delightful story. These experiences are crafted to be both educational and truly enjoyable, fostering a love for learning through tangible, delicious results.
6. Light, Prisms, and DIY Spectroscopes: Unlocking the Spectrum
This group of experiments delves directly into the physics of light, recreating the natural phenomenon of a rainbow.
The Science: These activities demonstrate light refraction and dispersion. A prism works by bending light. Because each color (wavelength) of light bends at a slightly different angle, a prism separates white light into its component colors, creating a spectrum – a rainbow. A spectroscope is an instrument that allows us to see this spectrum more clearly, enabling the study of light's properties. An old CD or DVD can act as a diffraction grating, splitting light into its spectrum.
Materials (Prism/CD):
- A glass prism (inexpensive ones are available online)
- A flashlight or direct sunlight
- An old CD or DVD (not one you care about!)
- A white surface (paper or wall)
Instructions (Prism):
- Find a sunny spot or dim a room and use a flashlight.
- Hold the prism in the path of the light.
- Adjust the angle of the prism until you see a rainbow spectrum projected onto a white surface.
Instructions (CD/DVD):
- Hold the CD/DVD under a light source (a bare light bulb works well, or sunlight).
- Angle the CD/DVD until you see iridescent, rainbow-like patterns reflecting off its surface. The grooves on the CD act like a diffraction grating, splitting the light.
Instructions (DIY Spectroscope):
- Materials: Empty toilet paper roll, old CD/DVD, scissors, tape, cardboard square, craft knife (adult use only).
-
Steps:
- Cut a small, narrow slit (about 1mm wide, 1 inch long) in the middle of one end of the toilet paper roll.
- Cut a circular piece of cardboard slightly larger than the end of the roll. Cut a small rectangular window (about 1 inch by 1/2 inch) in this cardboard.
- Carefully cut a piece from your old CD/DVD to fit over the rectangular window. Tape it securely, ensuring the "rainbow" side of the CD piece faces outwards.
- Attach the cardboard circle with the CD piece to the other end of the toilet paper roll with tape, aligning the CD piece over the end.
- Look through the slit end towards a light source (not directly at the sun!) while holding the CD end up. You should see the light source's spectrum.
What to Observe and Discuss:
- Light as a Mix of Colors: "Did you know white light is made of all these colors?"
- Refraction/Dispersion: Explain how the prism/CD bends and separates the light.
- Order of Colors: Note that the colors always appear in the same order (ROYGBIV).
- Real-world Connections: Discuss how natural rainbows are formed by sunlight passing through raindrops, which act like tiny prisms.
7. Rainbow Slime & Oobleck: Non-Newtonian Wonders
These sensory experiments offer a fascinating look into materials that defy simple classification, combining the allure of rainbows with surprising physical properties.
The Science: Both slime and Oobleck are non-Newtonian fluids. This means they don't follow Newton's law of viscosity (how easily a fluid flows). Their viscosity changes depending on the stress or force applied to them.
- Oobleck: A mixture of cornstarch and water. When gently handled, it flows like a liquid. But when squeezed or hit quickly, it behaves like a solid. This is because the cornstarch particles become entangled under pressure, temporarily resisting flow.
- Slime: Typically made with a polymer (like PVA glue) and a cross-linker (like borax or liquid starch). The cross-linker connects the polymer chains, creating a more viscous, stretchy, and pliable material.
Materials (Oobleck):
- Cornstarch
- Water
- Liquid food coloring
- Bowls for mixing
- Tray or plastic mat for play
Instructions (Oobleck):
- In a bowl, mix two parts cornstarch with one part water. Start with 1 cup cornstarch and 1/2 cup water, adjusting as needed.
- Divide the Oobleck into several smaller bowls.
- Add different food colorings to each bowl and mix to create a rainbow of colors.
- Combine the colored Oobleck on a tray for a mesmerizing, tactile rainbow experience.
Materials (Rainbow Slime - Borax-free recipe suggested for safety):
- Clear school glue (PVA glue)
- Liquid starch or contact lens solution + baking soda
- Liquid food coloring
- Mixing bowls
- Measuring cups and spoons
Instructions (Rainbow Slime - using contact lens solution):
- In separate bowls, pour about 1/2 cup of clear glue.
- Add a few drops of different food coloring to each bowl (red, orange, yellow, green, blue, purple). Mix well.
- Add 1/2 teaspoon of baking soda to each colored glue mixture and stir until dissolved.
- Gradually add contact lens solution (containing boric acid) to each bowl, stirring constantly. Start with 1 tablespoon and add more drop by drop, kneading as it thickens, until the slime forms and is no longer sticky.
- Once you have several colorful slimes, layer them in a clear container or gently twist them together for a rainbow effect.
What to Observe and Discuss:
- States of Matter: "Is it a liquid or a solid?" (For Oobleck, the answer is "both!" depending on how you treat it).
- Viscosity: Discuss how thick or thin a liquid is and how pressure changes Oobleck's viscosity.
- Polymers (for Slime): Briefly explain that glue is a polymer (long chains of molecules) and how the activator links them together.
- Sensory Play: This is also a fantastic sensory activity, promoting fine motor skills and exploration.
These immersive, hands-on experiences are what we strive for with all our kits. They offer a tangible way to connect with scientific concepts. For more creative and educational activities that spark curiosity, remember you can always explore our full library of adventure kits available for a single purchase in our shop. Browse our complete collection of one-time kits and find the perfect theme for your little learner!
8. Rainbow Crystals: Growing Geological Art
Growing crystals is a captivating process that introduces children to supersaturation, crystallization, and the beauty of natural structures. Adding rainbow colors makes it even more magical.
The Science: This experiment demonstrates the principles of solubility and crystallization. When you dissolve a substance (like borax or sugar) in hot water, you can often dissolve more than you could in cold water. This creates a supersaturated solution. As the solution cools, the dissolved substance becomes less soluble and starts to come out of the solution, forming crystals around a nucleation site (like a pipe cleaner). The food coloring gets incorporated into the growing crystal lattice.
Materials:
- Borax (found in the laundry aisle – adult supervision is crucial, do not ingest) OR sugar (for edible crystals)
- Hot water
- Jars or wide-mouthed containers
- Pipe cleaners
- String
- Pencils or craft sticks
- Liquid food coloring
Instructions (Borax Crystals - Adult Supervision ESSENTIAL):
- Twist pipe cleaners into rainbow shapes (e.g., spirals, individual colored segments, or a full rainbow arc).
- Tie a piece of string to each pipe cleaner shape and attach the other end to a pencil. This will allow the shape to hang in the solution without touching the bottom or sides.
- Boil water. For every cup of boiling water, stir in 3-4 tablespoons of borax until it completely dissolves (this creates a supersaturated solution).
- Pour the hot borax solution into your jars.
- Add different food colorings to each jar of solution if you want individual colored crystals, or hang your rainbow-shaped pipe cleaner into one large jar of clear solution if you want white crystals that pick up colors from the pipe cleaner itself.
- Carefully lower the pipe cleaner shapes into the solution, ensuring they are fully submerged but not touching the bottom or sides of the jar.
- Let the jars sit undisturbed overnight (or for several hours). As the solution cools, crystals will begin to form.
- The next day, carefully remove your beautiful rainbow crystals!
What to Observe and Discuss:
- Dissolving: "What happens to the borax (or sugar) when it goes into the hot water?"
- Crystallization: "Where did these crystals come from?" Explain that as the water cools, it can't hold as much borax, so the borax molecules link together to form crystals.
- Crystal Shapes: Observe the geometric shapes of the crystals.
- Patience: Emphasize that natural processes take time.
For an ongoing journey of scientific discovery and creative cooking, we invite you to experience the convenience and joy of The Chef's Club. A new adventure is delivered to your door every month with free shipping in the US, offering continuous hands-on "edutainment" and family bonding.
Tips for Success in Your Rainbow Lab
To make your rainbow science experiments as educational and enjoyable as possible, keep these tips in mind:
- Embrace the Mess: Science can be messy! Lay down newspaper, a plastic tablecloth, or work in an area easy to clean. View spills as learning opportunities (e.g., "How can we clean this up?").
- Encourage Questions and Predictions: Before, during, and after the experiment, ask open-ended questions. "What do you think will happen?" "Why do you think it happened that way?" "What if we tried...?" This fosters critical thinking and curiosity.
- Let Them Lead (Safely): Where appropriate, allow children to measure, pour, and mix. This hands-on involvement builds confidence and ownership. Always ensure activities are conducted with an implicit understanding of adult supervision and safety.
- Document the Journey: Take photos, have children draw what they observe, or keep a simple "science journal." This helps reinforce learning and creates a record of their discoveries.
- Connect to the Real World: Help children see how these scientific principles apply beyond the experiment. "Where else do we see rainbows?" "How does capillary action help plants?"
- Don't Over-Explain: Present scientific concepts in age-appropriate language. Focus on the observable phenomena and spark their natural curiosity rather than lecturing with complex jargon.
- It's Okay if It Doesn't Work "Perfectly": Sometimes experiments don't go as planned, and that's okay! It's an opportunity to troubleshoot, hypothesize why it didn't work, and try again. Resilience and problem-solving are key scientific skills.
- Make it a Family Affair: These activities are perfect for involving the whole family. Learning together strengthens bonds and creates lasting memories. This aligns perfectly with our values at I'm the Chef Too!, where our unique approach to "edutainment" is developed by mothers and educators to facilitate family bonding through screen-free, hands-on cooking adventures.
- Extend the Learning: After an experiment, read books about rainbows, colors, or the specific scientific principle explored. Watch a documentary, or look for related concepts in everyday life.
Remember, the goal is not just to teach facts, but to foster a love for learning, build confidence, and develop key skills that will serve children throughout their lives. Every experiment, every colorful explosion, every "aha!" moment contributes to this larger journey of discovery.
Conclusion
The world is a magnificent laboratory, and few phenomena are as universally captivating as the rainbow. By engaging children in vibrant rainbow science experiments, we're not just providing a screen-free alternative; we're opening doors to critical thinking, fostering a deep love for STEM, and creating joyful, memorable moments of family bonding. From the magic of walking water to the fizzing delight of chemical reactions and the layered beauty of density, these activities transform everyday ingredients into extraordinary learning tools.
At I'm the Chef Too!, we are committed to making science and learning accessible, engaging, and delicious for every child. Our unique "edutainment" experiences, developed by mothers and educators, seamlessly blend food, STEM, and the arts, proving that learning can be both profound and incredibly fun. We believe in sparking curiosity and creativity, providing hands-on adventures that go beyond the textbook and into the heart of discovery.
Don't let the learning stop here! Imagine the excitement of a new, themed adventure delivered to your doorstep every single month, complete with pre-measured dry ingredients and specialty supplies, ready to spark the next wave of "edutainment." Ready for a new adventure every month? Join The Chef's Club today and enjoy free shipping on every box. Give the gift of learning that lasts all year with our flexible 3, 6, and 12-month pre-paid plans, perfect for continuous enrichment and unforgettable family fun!
FAQ Section
Q1: What age group are rainbow science experiments best for? A1: Many rainbow science experiments are highly adaptable and suitable for a wide range of ages, generally from preschoolers (3-4 years old) up through elementary school (10-12 years old). For younger children, focus on the sensory experience, color recognition, and basic observations. For older children, delve deeper into the scientific explanations, encourage predictions, and allow them more independence in setting up and conducting the experiments. Adult supervision is always recommended.
Q2: Are these experiments safe for young children? A2: Most of the experiments listed use common household items that are generally safe. However, adult supervision is crucial. Ensure children do not ingest non-edible experiment materials (like borax for crystals, or Oobleck/slime unless specifically made with edible ingredients). For experiments involving chemical reactions (like baking soda and vinegar) or hot water, take extra precautions and consider protective eyewear. Always review the specific materials and instructions for each experiment for any potential hazards.
Q3: How can I make these experiments more educational for my child? A3: To maximize educational value:
- Ask open-ended questions: "What do you think will happen?" "Why do you think that occurred?" "What would happen if...?"
- Encourage predictions and observations: Have them draw or write down what they expect and what they actually see.
- Explain the "why": Use simple, age-appropriate language to describe the scientific principles (e.g., capillary action, density, chemical reactions).
- Connect to the real world: Point out how these principles apply in nature or daily life.
- Research together: Look up facts about rainbows or the specific scientific concept after the experiment.
Q4: What if an experiment doesn't work as expected? A4: Don't worry! Science often involves trial and error. If an experiment doesn't work perfectly, it's an excellent learning opportunity.
- Troubleshoot: Discuss with your child what might have gone wrong. Were the measurements correct? Was the temperature right? Did we miss a step?
- Hypothesize: Encourage them to suggest reasons for the unexpected outcome.
- Try again: Often, a slight adjustment can lead to success, teaching resilience and problem-solving.
Q5: How can I minimize the mess from these colorful experiments? A5: While embracing a little mess is part of the fun, you can take steps to contain it:
- Work on a tray or in a baking dish: This helps contain spills.
- Use a plastic tablecloth or old newspapers: Protects your surfaces.
- Wear old clothes or aprons: Especially for experiments with food coloring.
- Have paper towels or rags handy: For quick clean-ups.
- Work outdoors: When weather permits, taking experiments outside can be a great way to let children explore freely without worrying about indoor messes.
Q6: Are there any specific I'm the Chef Too! kits that focus on rainbow science? A6: While we have many kits that feature vibrant colors and teach scientific principles through culinary arts, our kits often blend multiple STEM concepts. For example, our Erupting Volcano Cakes Kit involves a chemical reaction, and our Galaxy Donut Kit explores astronomy with colorful, edible creations. Many of our kits involve color mixing as part of the decorating or baking process, tying in art with science. Browse our complete collection of one-time kits to find a variety of "edutainment" adventures that incorporate exciting visual elements and scientific learning.
Q7: How do I get my child interested in science experiments if they're usually screen-focused? A7:
- Start with highly visual and active experiments: Rainbows are inherently appealing. Fizzy reactions or walking water experiments often grab attention quickly.
- Make it relatable: Connect the science to things they already love, like their favorite foods, characters (e.g., Peppa Pig Muddy Puddle Cookie Pies), or natural phenomena.
- Let them choose: Give them a few options and let them pick which experiment sounds most exciting.
- Involve them in the setup: Even simple tasks like gathering materials can build excitement.
- Keep it short and sweet initially: Don't force long sessions. Short, impactful experiments can be more effective.
- Emphasize fun over strict learning: Frame it as play and discovery. Remember, our goal at I'm the Chef Too! is to provide a screen-free educational alternative that blends food, STEM, and the arts into one-of-a-kind "edutainment" experiences, specifically designed to captivate and engage.