Table of Contents
- Introduction
- The Roaring Benefits of Crafting for Kids
- Fascinating Cheetah Facts to Inspire Your Crafts
- Crafting Your Cheetah: A Safari of Creativity
- Setting Up Your Crafting Safari Zone
- Integrating Learning Beyond the Craft
- Beyond the Individual Craft: Group and Classroom Adventures
- Troubleshooting Common Crafting Challenges
- The I'm the Chef Too! Philosophy: Cultivating Lifelong Learners
- Conclusion
- FAQ: Your Cheetah Crafting Questions Answered
Imagine a streak of golden fur, black spots blurring as it races across the savanna, a creature of unparalleled grace and speed. That's the cheetah! These magnificent big cats captivate children's imaginations with their unique patterns and incredible agility. But beyond their breathtaking speed, cheetahs offer a fantastic gateway into discussions about nature, conservation, and the sheer wonder of the animal kingdom. What better way to explore this fascinating feline than through the magic of hands-on crafting?
Introduction
In a world increasingly dominated by screens, finding engaging, educational activities that spark genuine curiosity can feel like a challenge. Yet, the simple act of creating something with our hands offers profound benefits, especially for young minds. This blog post isn't just a collection of fun activities; it's an invitation to embark on a safari of imagination, focusing on delightful and educational cheetah crafts for kids. We'll delve into why these crafts are so much more than just pretty pictures, exploring how they foster crucial developmental skills, ignite a passion for learning, and provide invaluable screen-free family time. From simple paper creations to more intricate recycled art, we'll guide you through a variety of projects perfect for aspiring wildlife enthusiasts and little artists alike. Get ready to unleash your creativity, learn amazing facts about cheetahs, and make memories that will last a lifetime, all while building a foundation for future exploration, much like the exciting discoveries found in every Chef's Club subscription box.
The Roaring Benefits of Crafting for Kids
Before we dive into the spots and stripes, let's take a moment to appreciate the incredible value that crafting brings to children's development. At I'm the Chef Too!, our mission is to blend food, STEM, and the arts into one-of-a-kind "edutainment" experiences, and crafting perfectly aligns with this philosophy. It's all about hands-on learning, sparking curiosity, and fostering creativity – often without children even realizing how much they're learning!
Fine Motor Skill Development
Think about all the actions involved in crafting: cutting with scissors, gluing small pieces, drawing delicate lines, painting with precision. Each of these actions hones a child's fine motor skills, which are essential for tasks like writing, buttoning clothes, and even eating. The more practice they get, the stronger and more coordinated their small hand muscles become.
Cognitive Growth and Problem-Solving
Crafting isn't just about following instructions; it's an exercise in problem-solving. What happens if the glue doesn't stick? How can we make the spots look more realistic? What color should we use for the eyes? These questions encourage critical thinking and adaptability. Children learn to plan, execute, and troubleshoot, developing their cognitive abilities in a fun, tangible way.
Sparking Creativity and Imagination
A blank sheet of paper or a pile of craft supplies is a canvas for imagination. Cheetah crafts, in particular, allow children to envision the animal in different settings, expressions, or even fantastical scenarios. This freedom to create fosters imaginative play, storytelling, and self-expression, nurturing the artistic spirit within every child.
Early STEM Connections
While traditionally viewed as an art form, crafting can be surprisingly rich in STEM principles. Understanding how glue works (adhesion), the properties of different materials (cardboard vs. paper), or even the geometry of shapes used to construct a cheetah (circles for spots, triangles for ears) all lay groundwork for scientific and mathematical thinking. Just like how we teach chemistry through baking delicious treats in our kits, simple crafts can introduce foundational STEM concepts.
Patience, Persistence, and Pride
Some crafts require time and dedication. Learning to wait for glue to dry, carefully completing a complex step, and not giving up when something doesn't look "perfect" initially, all build patience and persistence. The immense pride a child feels when they hold up their completed cheetah creation, knowing they made it with their own hands, is a powerful boost to their self-esteem and confidence.
Family Bonding and Screen-Free Fun
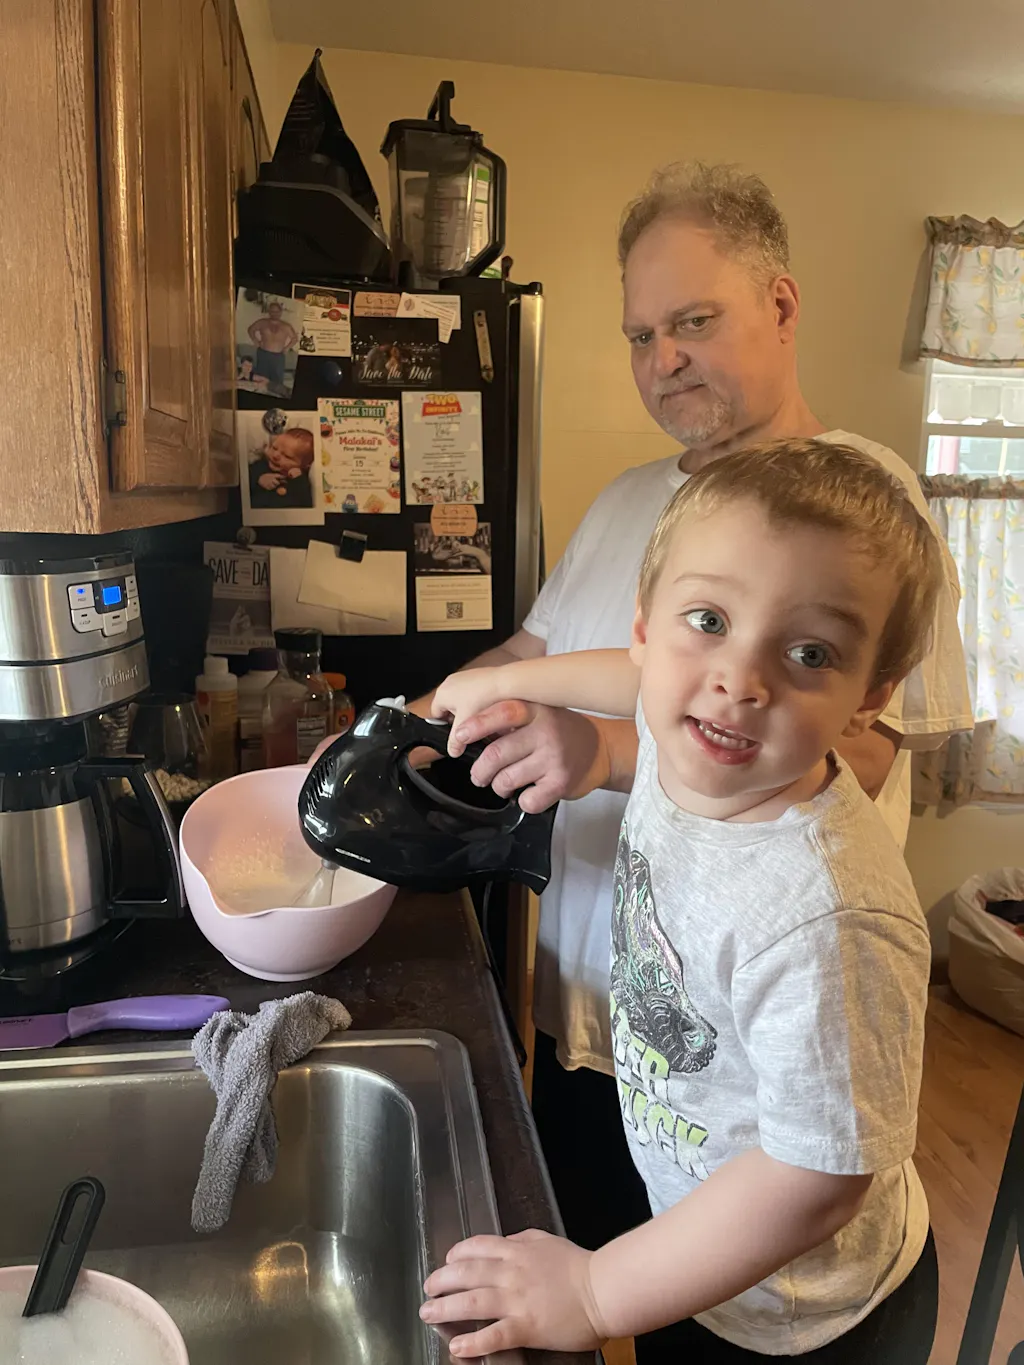
In our busy lives, dedicated screen-free time can be a precious commodity. Crafting together provides an opportunity for meaningful interaction, shared laughter, and collaborative creation. It's a chance to connect, chat, and make memories that extend far beyond the finished craft itself. This focus on family bonding and unplugged learning is at the heart of what we do at I'm the Chef Too!, providing enriching experiences that bring families closer.
Ready to embark on more hands-on adventures that blend learning and fun? Explore our full library of unique STEM cooking adventures by visiting our main shop collection. You might find the perfect theme for your little learner, whether they love space, dinosaurs, or fantastical creatures! Browse our complete collection of one-time kits.
Fascinating Cheetah Facts to Inspire Your Crafts
Before grabbing our supplies, let's learn a little more about the amazing animal that will be our muse. Sharing these facts while crafting can turn a simple art project into a multidisciplinary learning experience!
- Lightning Speed: Cheetahs are the fastest land animals, capable of reaching speeds of up to 70 miles per hour (113 kilometers per hour) in short bursts. Imagine making your craft look like it's zooming!
- Unique Spot Pattern: No two cheetahs have the exact same spot pattern, just like human fingerprints. This is a perfect opportunity to encourage unique designs in your crafts.
- Tear Marks: Cheetahs have distinctive black "tear marks" running from the inside corner of their eyes down to the sides of their noses. These help to absorb sunlight and reduce glare, acting like natural sunglasses!
- Non-Retractable Claws: Unlike most cats, a cheetah's claws are semi-retractable, meaning they're always partially exposed, providing extra grip like running spikes on a track shoe.
- Habitat: Cheetahs primarily live in the grasslands and savannas of Africa and a small part of Iran. Discussing their home can lead to conversations about ecosystems and conservation.
- Diet: They are carnivores and mostly hunt small to medium-sized prey like gazelles, impalas, and hares.
These incredible facts not only make cheetahs even more awe-inspiring but also provide fantastic inspiration for detailing and storytelling within your craft projects.
Crafting Your Cheetah: A Safari of Creativity
Now, let's get to the fun part! Here are several engaging cheetah crafts for kids, ranging from simple to slightly more involved, perfect for various ages and skill levels. Remember, adult supervision is always recommended, especially when using scissors or hot glue.
1. Recycled Cardboard Cheetahs: Building a 3D Friend
Using recycled cardboard is a fantastic way to teach about sustainability while creating a robust, stand-alone craft. This project encourages planning and spatial reasoning.
Materials You'll Need:
- Scrap cardboard (corrugated cardboard works best for stability)
- Scissors (child-safe scissors for kids, adult scissors for thicker cuts)
- Craft paint (yellow, orange, black, white)
- Paintbrushes
- Hot glue gun (for adult use) or strong craft glue
- 1 yellow pipe cleaner (for the tail)
- Black marker (for details)
Step-by-Step Safari Guide:
- Sketching the Body: On a piece of cardboard, draw the outline of a cheetah's body. Think of an elongated oval shape with a slightly raised back. You'll also need two U-shaped pieces for the legs (these will be slot-in legs, so make sure the top of the 'U' is wide enough to support the body). If you're making multiple cheetahs, consider drawing a few leg pieces.
- Coloring the Foundation: Using yellow craft paint (perhaps with a touch of orange for a "mustard" yellow, if desired), paint the main body and the leg pieces. Paint one side, let it dry completely, then paint the other. This ensures a consistent, vibrant color. This is a great step for kids to take ownership of!
-
Adding the Signature Spots: Once the yellow is dry, it's time for the iconic cheetah spots! Using black paint, create irregular, solid black spots all over the cheetah's body and legs.
- Pro-Tip: For younger children, you can use cotton swabs or even their fingertips dipped in black paint to make spots. This is excellent for fine motor control and sensory exploration.
- Tear Marks & Facial Details: Don't forget the distinctive black tear marks running from the inner corner of the eyes down the nose. Add a small black nose, a mouth, and an ear outline. A white stripe on the belly can add a nice touch.
- Tail Time: Take your yellow pipe cleaner and add some black spots to it with paint or a marker. This will be your cheetah's flexible, spotted tail.
-
Assembly (Adult Step for Hot Glue): Once all paint is dry, carefully cut out your cheetah body and leg pieces. Cut a small incision (a slit) in the middle of each U-shaped leg piece. This slit will allow the legs to slide onto the body.
- Creating the Stance: Cut two corresponding slits on the underside of the cheetah body where the legs will attach. Slide the legs into these slits. You might need a dab of hot glue (applied by an adult) to secure them firmly, especially if the cardboard is thin.
- Attaching the Tail: Puncture a small hole at the back of the cheetah body (the wire of the pipe cleaner should pierce corrugated cardboard nicely). Insert the pipe cleaner tail and, if necessary, add a dot of hot glue to secure it.
- Bring it to Life: Your 3D cardboard cheetah is ready! Encourage kids to give their cheetah a name and create a little savanna environment for it to "live" in.
2. Paper Bag Puppet Cheetah: A Roaring Storyteller
Paper bag puppets are fantastic for imaginative play and storytelling. They are relatively simple to make and instantly transform into characters for endless adventures.
Materials You'll Need:
- Brown paper bag (lunch bag size)
- Colored cardstock or construction paper (yellow/orange, black, white)
- Scissors
- Craft glue stick or liquid glue
- Black marker
- Optional: Cheetah template (you can freehand or search for simple templates online)
Step-by-Step Safari Guide:
- Prep the Bag: Lay your paper bag flat with the bottom flap facing up. This flap will become the cheetah's head.
-
Head & Face Pieces:
- Cut an oval or rounded rectangle from yellow/orange paper for the face, sized to fit the paper bag flap.
- Cut two smaller, rounded triangles for the outer ears (yellow/orange).
- Cut two even smaller inner ear shapes (black or a contrasting color).
- Cut a small black nose and draw a mouth underneath.
- Cut two white circles for eyes and draw black pupils.
-
Body Pieces:
- Cut a larger yellow/orange piece for the body, sized to cover the main part of the paper bag below the flap.
- Cut a long, curved tail from yellow/orange paper.
-
Assemble the Face:
- Glue the yellow/orange face piece onto the flap of the paper bag.
- Glue the white eyes onto the face, then add the nose and drawn mouth.
- Glue the smaller inner ear pieces onto the larger outer ear pieces, then glue the complete ears to the top corners of the head flap.
- Use the black marker to draw tear marks from the eyes down the nose and add some spots around the face.
-
Assemble the Body:
- Glue the yellow/orange body piece onto the main flat part of the paper bag.
- Use the black marker to draw cheetah spots all over the body.
- Attach the Tail: Glue the spotted tail to the back of the paper bag, behind the body section.
- Puppet Show Time! Once dry, your cheetah puppet is ready to tell stories, re-enact savanna adventures, or even join in a conversation about cheetah conservation.
3. Cheetah Rock Painting: Spotted Garden Art
Rock painting is a delightful activity that combines art with nature. These little spotted rocks can decorate a garden, a room, or be given as thoughtful gifts.
Materials You'll Need:
- Smooth, clean rocks (various sizes)
- Acrylic craft paints (yellow/gold, black, white, orange/brown)
- Paintbrushes (fine-tipped for spots)
- Clear sealant spray or varnish (optional, for outdoor display)
Step-by-Step Safari Guide:
- Rock Prep: Ensure your rocks are clean and dry. A quick wash and air dry usually do the trick.
- Base Coat: Paint each rock with a base coat of yellow or golden-orange acrylic paint. You might need two coats for opaque coverage. Let dry completely between coats.
-
Spot On! Once the base is dry, use a fine-tipped paintbrush and black paint to create the cheetah's signature spots. Remember, cheetah spots are irregular and solid.
- Creative Variation: You can also add some white or light-yellow patches for the belly area before adding black spots for more detail.
- Add Details (Optional): For larger rocks, you might want to paint a small cheetah face, including the tear marks.
- Seal the Deal: If you plan to place your painted rocks outdoors, once the paint is completely dry (give it at least 24 hours), spray them with a clear sealant or brush on some varnish. This protects the paint from the elements.
4. Toilet Paper Roll Cheetahs: Upcycled Cuties
Transforming everyday household items into art is a powerful lesson in creativity and resourcefulness. Toilet paper rolls are perfect for creating upright animal figures.
Materials You'll Need:
- Empty toilet paper rolls
- Yellow or orange construction paper (or paint)
- Black marker
- Scissors
- Craft glue
- Googly eyes (optional)
Step-by-Step Safari Guide:
- Cover or Paint: If using construction paper, cut a rectangle to fit around the toilet paper roll and glue it on. If painting, paint the roll yellow/orange and let it dry.
- Ears: Cut two small, rounded triangles from yellow/orange paper for ears. Make a small tab at the bottom of each ear, fold it, and glue the ears to the inside top edge of the roll.
- Facial Features: Draw a small black nose and mouth onto the front of the roll. Glue on googly eyes, or draw eyes with the black marker. Add the tear marks and a few spots to the face.
- Spots, Spots, Spots: Use the black marker to draw irregular cheetah spots all over the body of the toilet paper roll.
- Tail: Cut a long, thin strip of yellow/orange paper, curl it slightly around a pencil, add some black spots, and glue it to the back of the roll.
- Legs (Optional): You can either draw legs onto the bottom of the roll or cut four small yellow/orange rectangles, draw black paws, and glue them protruding slightly from the bottom of the roll.
5. Cheetah Mask or Headband: Become the Fastest Cat!
Kids love to pretend, and a craft that they can wear takes imaginative play to a whole new level.
Materials You'll Need:
- Yellow or orange cardstock or construction paper
- Black marker
- Scissors
- Craft glue or stapler
- Elastic string or additional paper strips (for headband)
- Hole punch (if using elastic)
Step-by-Step Safari Guide:
- Mask Template: Draw a cheetah mask shape on cardstock, ensuring it's wide enough to cover the child's eyes and forehead. Include two pointed ears at the top.
- Cut & Detail: Carefully cut out the mask and two eyeholes. Draw the black tear marks, nose, mouth, and characteristic cheetah spots all over the mask.
-
Attaching to Wear:
- Elastic String: Punch a hole on each side of the mask and tie elastic string through the holes to fit around the child's head.
- Paper Headband: Cut two long strips of yellow/orange paper. Staple or glue one end of each strip to the sides of the mask. Measure around the child's head, then staple or glue the ends of the strips together at the back to form a headband.
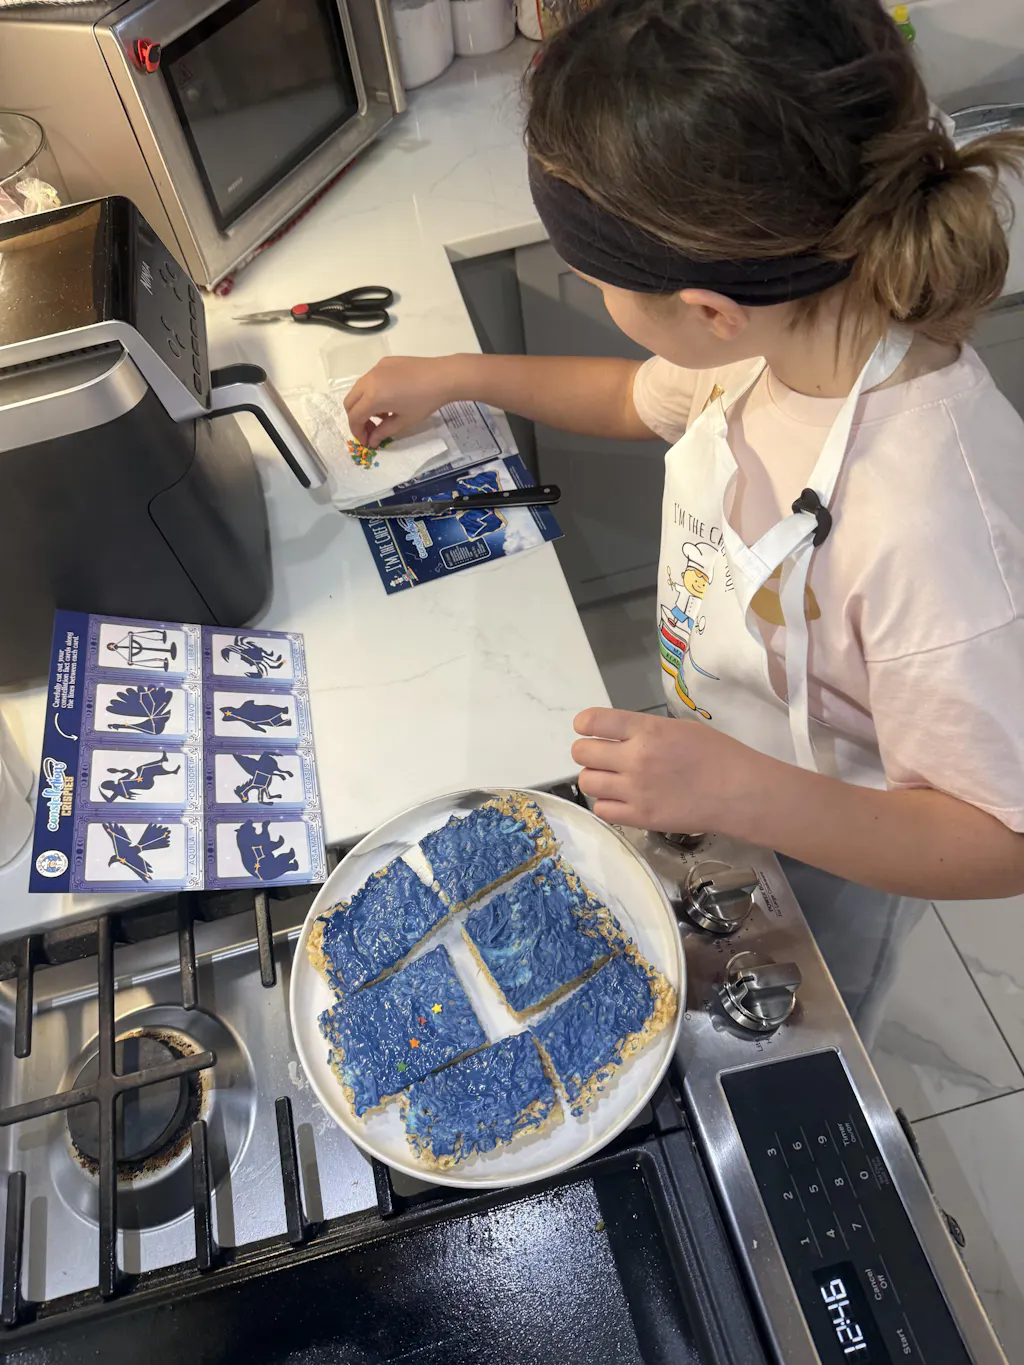
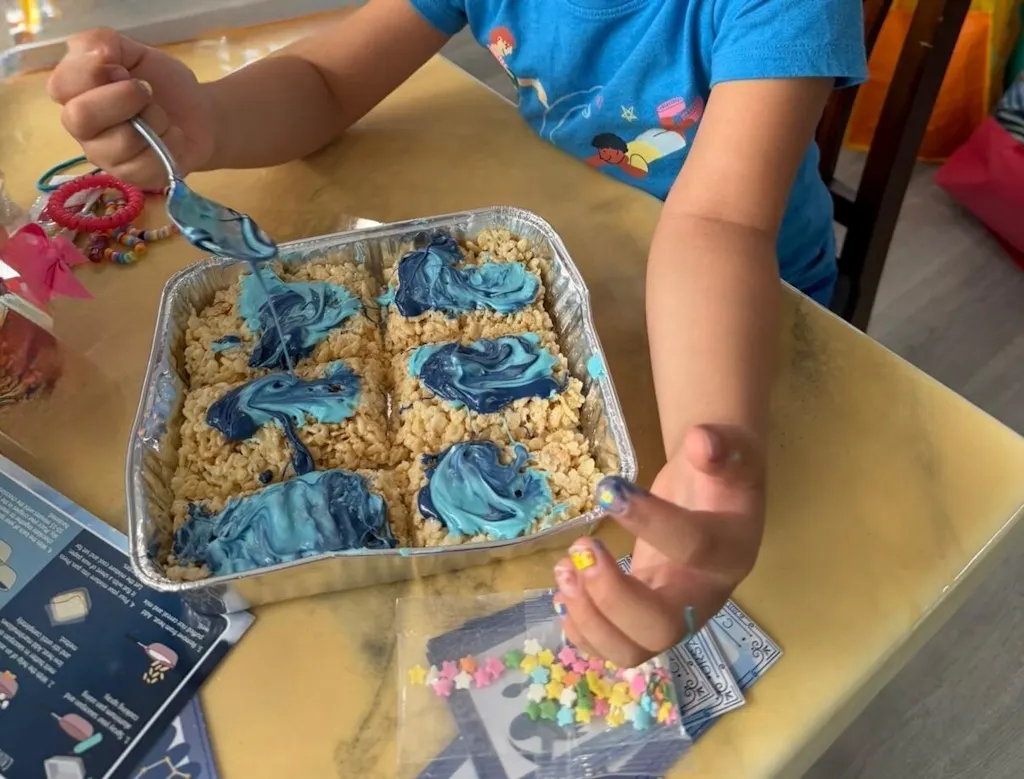
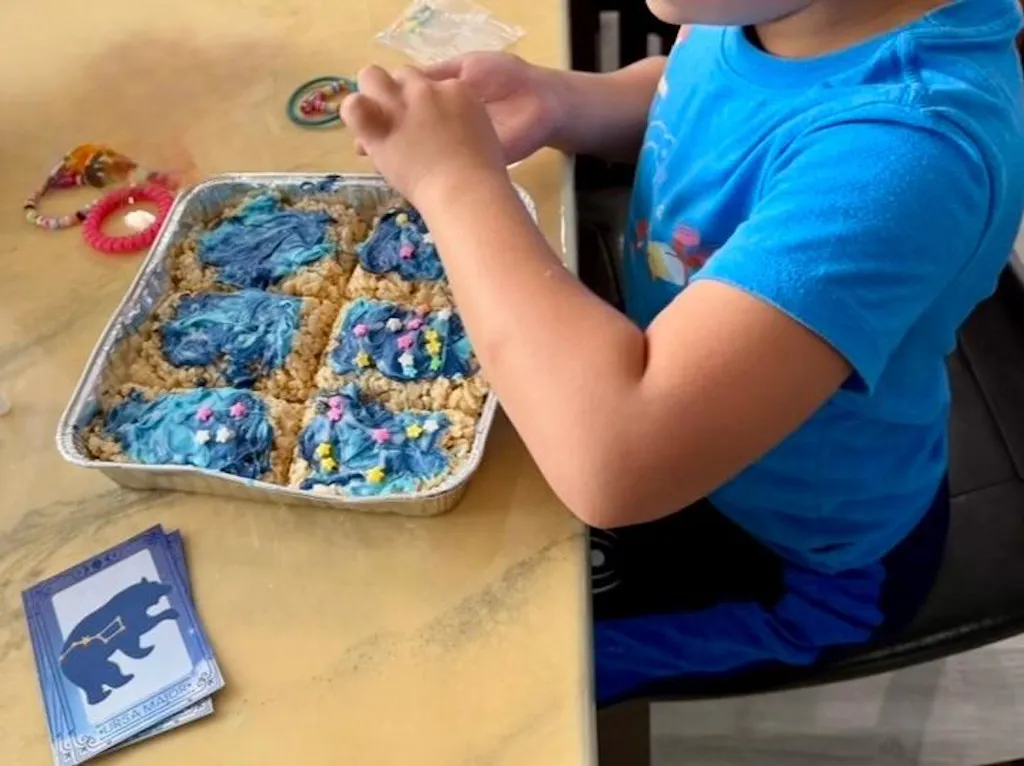
6. Edible Cheetah Spots: A Delicious STEM Connection!
This is where the magic of I'm the Chef Too! truly shines through in a craft context. We believe that learning can be deliciously fun, and making edible cheetah spots is a perfect example of blending art, science, and taste! This activity naturally extends the principles we apply in our Galaxy Donut Kit, where decorating becomes an exploration of patterns and colors.
Materials You'll Need:
- Plain sugar cookies, round crackers, or cupcakes
- Yellow or orange frosting
- Black gel icing pen or black edible marker
- Small offset spatula or butter knife (for spreading)
Step-by-Step Safari Guide:
- Base Layer: Spread a smooth, even layer of yellow or orange frosting over the top of each cookie, cracker, or cupcake. This forms the cheetah's base fur color. Let it set slightly if possible.
-
Spotting Time! Using the black gel icing pen or edible marker, draw irregular cheetah spots onto the frosted surface. Encourage creativity – some spots can be bigger, some smaller, some clustered.
- Chemical Reaction Tip (for frosting): Discuss how different ingredients (like powdered sugar, butter, and food coloring) combine to create the frosting. If you're using royal icing and let it dry, you can talk about the drying process as a physical change!
- Tear Mark Cookies (Optional): For a more detailed cookie, you can add small black tear marks from where eyes would be.
- Enjoy the Art! Once the spots are dry, your edible cheetah creations are ready to be admired and then devoured! This combines artistic expression with the satisfaction of a delicious treat, much like the engaging and tasty projects you'll find in our monthly Chef's Club subscription.
This activity perfectly bridges the gap between traditional crafting and our unique "edutainment" approach. It's a reminder that learning can be immersive, hands-on, and utterly delicious.
Setting Up Your Crafting Safari Zone
To make your cheetah crafting experience as smooth and enjoyable as possible, a little preparation goes a long way.
- Designate a Space: Choose an area that can get a little messy, like a kitchen table, a designated craft table, or even outdoors on a warm day.
- Protect Surfaces: Lay down newspaper, a plastic tablecloth, or an old sheet to protect your table from paint, glue, and markers.
- Gather Supplies: Collect all necessary materials before you start. This prevents interruptions and keeps the creative flow going.
- Wear Aprons/Old Clothes: Accidents happen! Wearing old clothes or aprons will save new outfits from permanent paint stains.
- Easy Cleanup: Have wet wipes, paper towels, and a bowl of water nearby for quick cleanups.
- Set the Mood: Play some safari-themed music, read a book about cheetahs, or watch a short, age-appropriate documentary to get everyone excited about the animal they'll be creating.
Integrating Learning Beyond the Craft
While the crafts themselves are incredibly enriching, you can deepen the learning experience by incorporating other educational elements.
- Read Aloud: Before or during crafting, read books about cheetahs, big cats, or the African savanna. This helps build vocabulary and comprehension.
-
Discussion Prompts:
- "What makes a cheetah so fast?"
- "Why do you think cheetahs have spots?"
- "Where do cheetahs live, and what other animals share their home?"
- "What can we do to help protect cheetahs?"
- Creative Writing/Storytelling: Once the cheetah crafts are complete, encourage children to write a short story about their cheetah or put on a puppet show with their paper bag creations.
- Map Skills: Locate Africa on a globe or map and point out the areas where cheetahs live.
- Conservation Awareness: Discuss the importance of protecting endangered species like cheetahs. This fosters empathy and responsibility towards the natural world.
These additional activities transform a simple craft session into a truly comprehensive learning adventure, much like the multi-faceted lessons found within each of our STEM cooking kits.
Beyond the Individual Craft: Group and Classroom Adventures
Cheetah crafts aren't just for a quiet afternoon at home. They can be fantastic for group settings, too! Whether it's a birthday party, a classroom activity, or a homeschool co-op, these projects can be adapted for multiple children.
- Station Setup: For larger groups, set up different stations for each part of a craft (e.g., one table for painting base colors, another for adding spots, a third for assembly).
- Collaborative Mural: Have each child create a different cheetah craft, then combine them into a "cheetah safari" mural on a large piece of butcher paper, adding grass, trees, and other animals.
- "Cheetah Chase" Game: After making wearable masks or headbands, organize a fun, non-contact "cheetah chase" game where kids can pretend to be the speedy animals.
For educators and group leaders looking for more structured, hands-on learning experiences, we at I'm the Chef Too! offer fantastic programs designed for classrooms, camps, and homeschool co-ops. Our kits come with options both with and without food components, making them flexible for various settings and learning objectives. Bring our hands-on STEM adventures to your classroom, camp, or homeschool co-op. Learn more about our versatile programs for schools and groups. It's a wonderful way to bring our unique blend of STEM, food, and art to a larger audience, sparking curiosity in every child.
Troubleshooting Common Crafting Challenges
Even the most enthusiastic crafters can run into a snag or two. Here are some common issues and how to gracefully navigate them:
- "My spots aren't perfect!" Reassure your child that there's no "right" way for art to look. Remind them that every cheetah's spots are unique, just like their artwork. Focus on the effort and creativity, not perfection.
- Glue isn't holding: Ensure you're using enough glue and pressing pieces together firmly. Sometimes, a clothespin or paper clip can act as a temporary clamp while glue dries. If using liquid glue, tell them a "dot not a lot" to avoid oversaturating the paper.
- Paint is too messy: Use smaller amounts of paint at a time. Provide paper plates as palettes to control portions. Laying down plenty of newspaper or an old shower curtain under the workspace can contain spills.
- Child loses interest: It happens! Offer to take a break and come back later, or suggest focusing on just one part of the craft. Sometimes, breaking a larger project into smaller, manageable steps can help. Remember, the process is more important than the finished product.
The I'm the Chef Too! Philosophy: Cultivating Lifelong Learners
At I'm the Chef Too!, we believe that the best learning happens when children are fully engaged, when their senses are activated, and when they're having genuine fun. These cheetah crafts for kids perfectly embody our "edutainment" approach. They are not just about making a cute animal; they are about:
- Sparking Curiosity: A child who crafts a cheetah might then want to learn more about its habitat, diet, or conservation status. This natural progression from hands-on activity to inquisitive learning is exactly what we aim for.
- Screen-Free Engagement: Providing compelling alternatives to screen time is crucial for fostering imagination and real-world skills. Crafting, like our cooking STEM kits, offers a rich, tactile experience that digital platforms simply cannot replicate.
- Tangible Learning: It's one thing to read about cheetahs; it's another to physically create one, understanding its form and features through direct engagement. Our kits similarly translate complex STEM subjects into tangible, delicious adventures. For instance, just as creating a cardboard cheetah helps children visualize its shape and spots, our Peppa Pig Muddy Puddle Cookie Pies Kit allows kids to explore states of matter and measurements through an activity with beloved characters.
- Building Confidence: Successfully completing a craft, especially one that required a bit of persistence, gives children a profound sense of accomplishment. This confidence spills over into other areas of their learning and life.
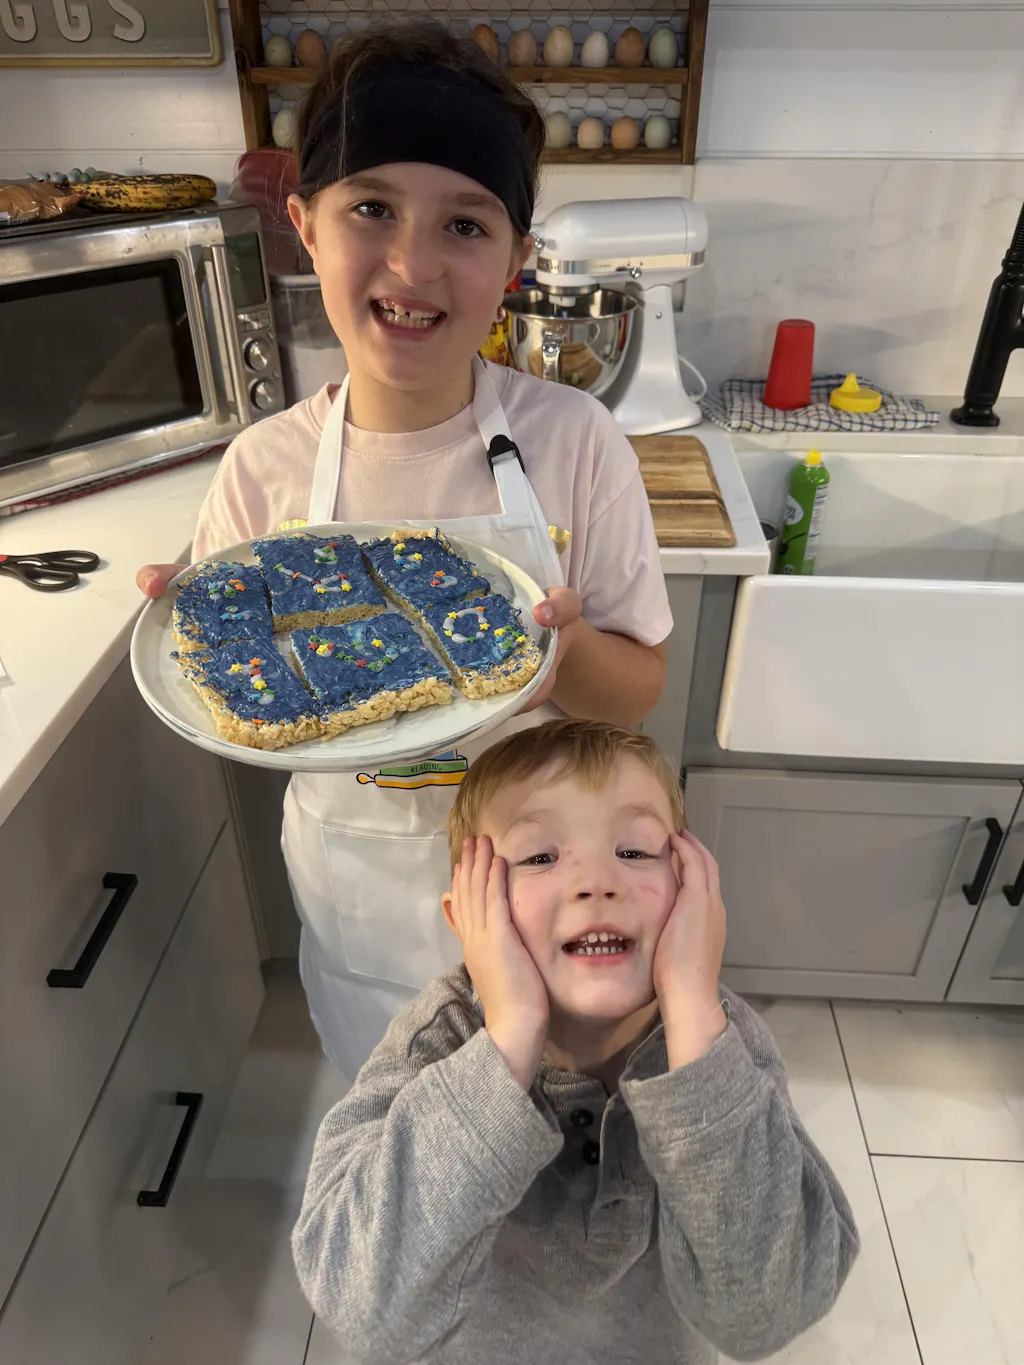
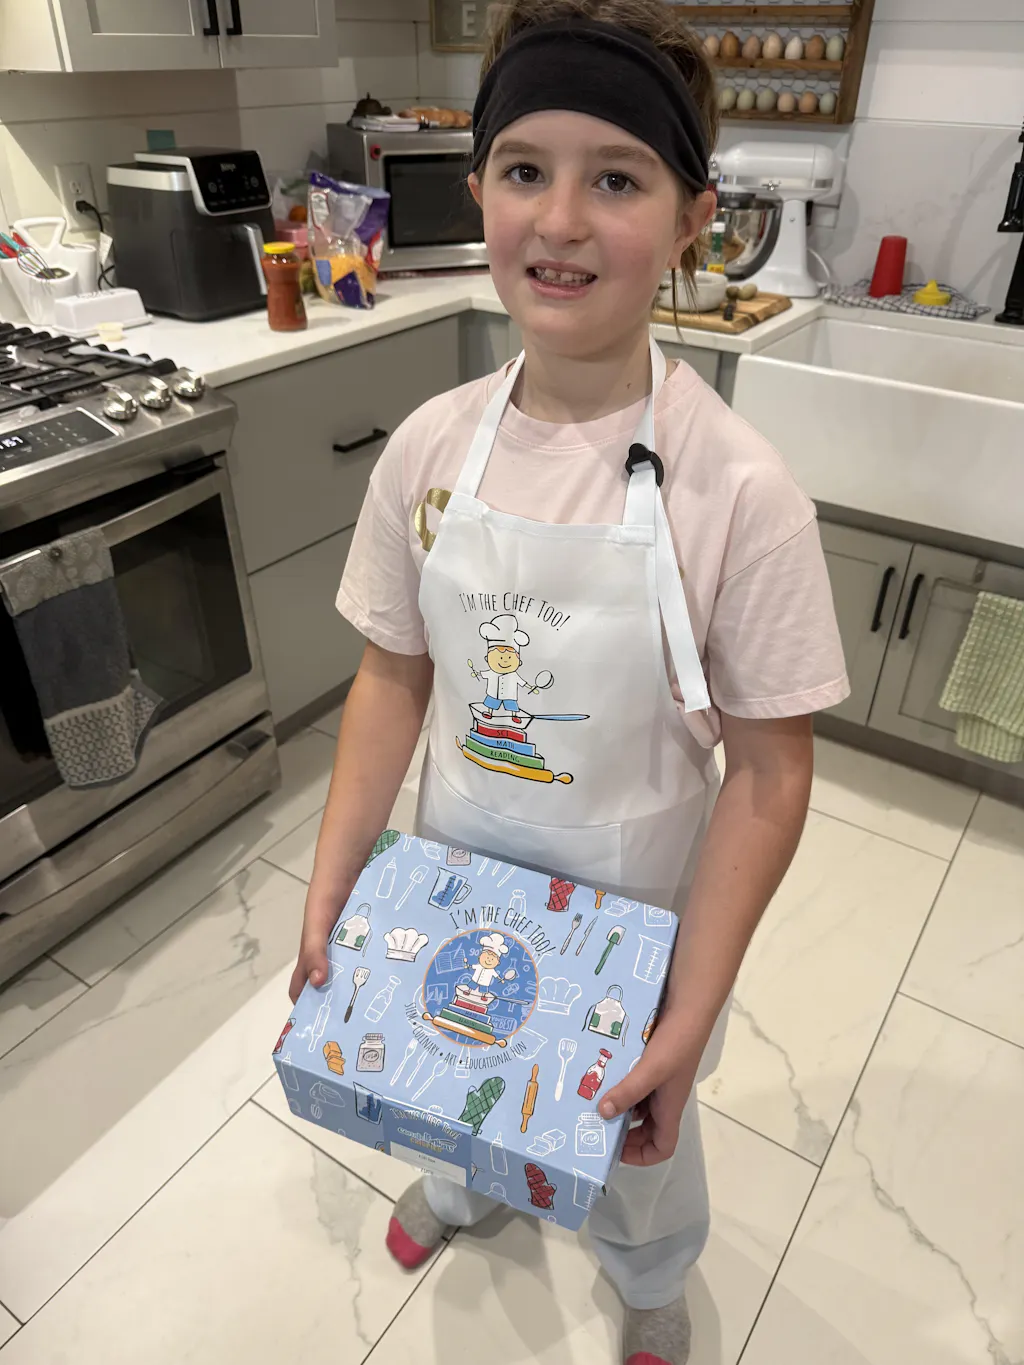
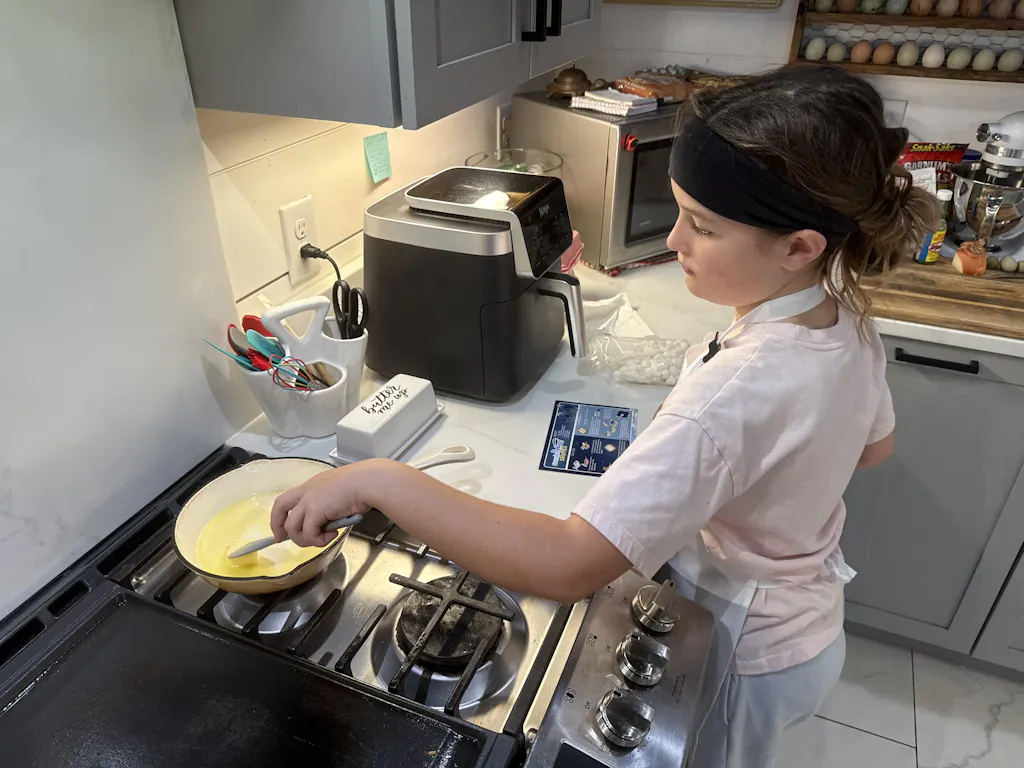
We are mothers and educators ourselves, and we understand the desire for activities that are both fun and genuinely beneficial. That's why we pour our hearts into developing kits that transform ordinary ingredients into extraordinary lessons.
If you've enjoyed these hands-on cheetah craft ideas and appreciate the blend of education and fun, then you'll absolutely love what we offer at I'm the Chef Too! Our kits are designed to bring the same joy of discovery and creative learning right into your home. Each box is a complete experience, containing pre-measured dry ingredients and specialty supplies, making it incredibly convenient for busy families. Ready for a new adventure every month? Join The Chef's Club and enjoy free shipping on every box. It's the perfect way to keep the learning and fun going all year long.
Conclusion
From speedy cardboard creations to delicious edible spots, exploring cheetah crafts for kids offers a captivating blend of artistic expression, scientific discovery, and developmental growth. These hands-on activities are a powerful reminder that learning doesn't have to be confined to textbooks; it can be messy, joyful, and utterly engaging. By encouraging our children to snip, glue, paint, and imagine, we're not just creating adorable cheetahs; we're cultivating curiosity, building confidence, and strengthening family bonds.
We hope this safari of creativity has inspired you to grab your craft supplies and embark on your own spotted adventure. And if the joy of tangible, hands-on learning through crafts resonates with you, we invite you to discover the magic that awaits in our cooking STEM kits. Each month, a new adventure arrives at your door, blending science, art, and delicious food into an unforgettable experience. Give the gift of learning that lasts all year with a 3, 6, or 12-month prepaid plan, perfect for ongoing enrichment. Join The Chef's Club today and let the "edutainment" continue!
FAQ: Your Cheetah Crafting Questions Answered
Q1: What age group are these cheetah crafts suitable for?
A1: Many of these crafts can be adapted for a wide range of ages. Simple activities like rock painting or toilet paper roll cheetahs are great for preschoolers (with adult assistance for cutting and hot glue). The cardboard cheetah or paper bag puppet offers more complexity for elementary-aged children (5-10 years old). The key is adult supervision and adapting tasks like cutting to the child's skill level.
Q2: How can I make these crafts more educational?
A2: Integrate learning by sharing interesting facts about cheetahs while crafting. Discuss their habitat, speed, or unique markings. Read books about cheetahs, watch short documentaries, or draw a map of Africa to show where they live. Ask open-ended questions about their creations and encourage storytelling.
Q3: What if my child doesn't want to follow the instructions exactly?
A3: That's wonderful! Encourage their creativity and allow them to make the craft their own. The goal is the process of creation and exploration, not a perfect replica. Every cheetah's spots are unique, and so is every child's artistic vision.
Q4: My child gets frustrated easily with crafts. Any tips?
A4: Start with simpler crafts, or break down more complex ones into very small, achievable steps. Focus on praise for effort rather than the outcome. Take breaks if frustration mounts. Remind them that it's okay for things not to be "perfect" and that mistakes are part of learning. Our cooking STEM kits are designed with engaging, achievable steps to build confidence in a similar way!
Q5: Can these crafts be done in a classroom setting?
A5: Absolutely! Most of these crafts are excellent for classrooms, homeschool groups, or after-school programs. You can prepare materials in advance, set up stations for different steps, or provide templates for easier execution. For larger groups, consider our School & Group Programs which offer flexible, educational STEM cooking kits that can be tailored to your group's needs, with or without food components.
Q6: What kind of glue works best for these projects?
A6: For paper crafts, a standard craft glue stick or liquid school glue works well. For cardboard or heavier materials, a strong craft glue (like Tacky Glue) is good. For secure, instant bonds (always with adult supervision), a low-temperature hot glue gun is very effective.
Q7: How can I connect these cheetah crafts to other I'm the Chef Too! activities?
A7: The focus on hands-on learning, STEM integration, and creative fun in cheetah crafts is very similar to our philosophy! You can talk about how a chef measures ingredients (math), how ingredients change when baked (chemistry), or how our Erupting Volcano Cakes Kit combines science and art, just like their cheetah creation. If they enjoy the craft, they'll love the immersive experience of our STEM cooking adventures!
Q8: Where can I find more ideas for screen-free, educational activities?
A8: Beyond crafting, exploring nature, reading books, playing board games, and engaging in imaginative play are fantastic screen-free options. And of course, our monthly Chef's Club subscription provides a fresh, exciting, and educational hands-on adventure delivered right to your door every month, perfectly aligning with our mission to spark curiosity and creativity!