Table of Contents
- Introduction
- The Magic of Chemistry: Why It Matters for Kids
- Safety First: Essential Tips for Young Chemists
- Fizz, Pop, Boom! Exploring Chemical Reactions
- Acids & Bases: The pH Scale Adventures
- Solutions & Mixtures: What Dissolves?
- States of Matter: Transformations in the Kitchen
- Crystal Formations & Polymer Play
- Beyond the Beaker: Life Skills from Chemistry Experiments
- How I'm the Chef Too! Ignites Young Chemists
- Conclusion
- FAQ
Have you ever watched a simple mixture bubble and transform, creating something entirely new right before your eyes? That breathtaking moment, when the ordinary becomes extraordinary, is the essence of chemistry, and it's a magic waiting to be discovered by every child. Far from being a complex subject reserved for advanced labs, chemistry is all around us – in our kitchens, our backyards, and even our bodies. It’s the science of change, the study of how everything works at its most fundamental level. For children, exploring chemistry isn't just about learning facts; it's about igniting a lifelong love for discovery, nurturing critical thinking, and understanding the world in a profoundly engaging way.
At I'm the Chef Too!, we believe that the best learning happens when it's hands-on, delicious, and sparks genuine wonder. Our mission is to seamlessly blend food, STEM, and the arts into one-of-a-kind "edutainment" experiences that captivate young minds. We are dedicated to providing screen-free educational alternatives that foster creativity, build confidence, and create precious family bonding moments. In this comprehensive guide, we'll dive deep into a world of cool science experiments focusing on chemistry for kids, offering practical advice, easy-to-follow activities, and insights into how these adventures can lay a powerful foundation for future learning. Get ready to transform your home into a vibrant laboratory where curiosity is the main ingredient and every experiment is a step towards unlocking your child's inner scientist.
Introduction
Imagine the sheer delight on your child's face as they witness a seemingly ordinary lemon power a light bulb, or watch vibrant colors swirl and dance across a canvas of milk. These aren't just parlor tricks; they are captivating entry points into the fascinating world of chemistry. So often, parents and educators feel intimidated by the idea of teaching "chemistry" to young children, associating it with complex equations and dangerous substances. However, the truth is, many fundamental chemical principles can be explored safely and joyfully using everyday household items. From the fizz of baking soda and vinegar to the mesmerizing growth of crystals, these simple interactions provide tangible evidence of how matter changes, reacts, and transforms.
This post is your ultimate resource for discovering a wealth of cool science experiments that delve into chemistry for kids. We'll explore various branches of chemistry, including chemical reactions, acids and bases, solutions, states of matter, and even polymer science, all presented through activities designed to be fun, educational, and accessible for a wide range of ages. Our goal is to empower you, whether you're a parent, teacher, or caregiver, with the knowledge and inspiration to bring hands-on science into your child's life. We’ll guide you through each experiment, explaining the "why" behind the "what," and offer tips for maximizing the learning experience while ensuring safety. By the end of this journey, you'll be equipped to turn your kitchen into a dynamic lab, sparking your child's curiosity and fostering a deep appreciation for the scientific wonders that surround us every day.
The Magic of Chemistry: Why It Matters for Kids
Chemistry is more than just a subject in school; it's the invisible force that orchestrates the universe, from the air we breathe to the food we eat. For children, understanding basic chemical principles provides a powerful lens through which to view and interpret the world. It teaches them about cause and effect, how different substances interact, and the fundamental laws that govern matter. Engaging with chemistry experiments early on does far more than just introduce scientific vocabulary; it nurtures a host of essential developmental skills.
Think about the process of observation: a child meticulously watching colors spread in milk or a crystal slowly growing over days. This isn't passive viewing; it's active data collection, a foundational skill for any scientific endeavor. Then there's hypothesis formation: "What do you think will happen if we add more vinegar?" This encourages predictive thinking and problem-solving. When an experiment doesn't go as planned, it teaches resilience and the value of iteration – crucial lessons for life, not just science.
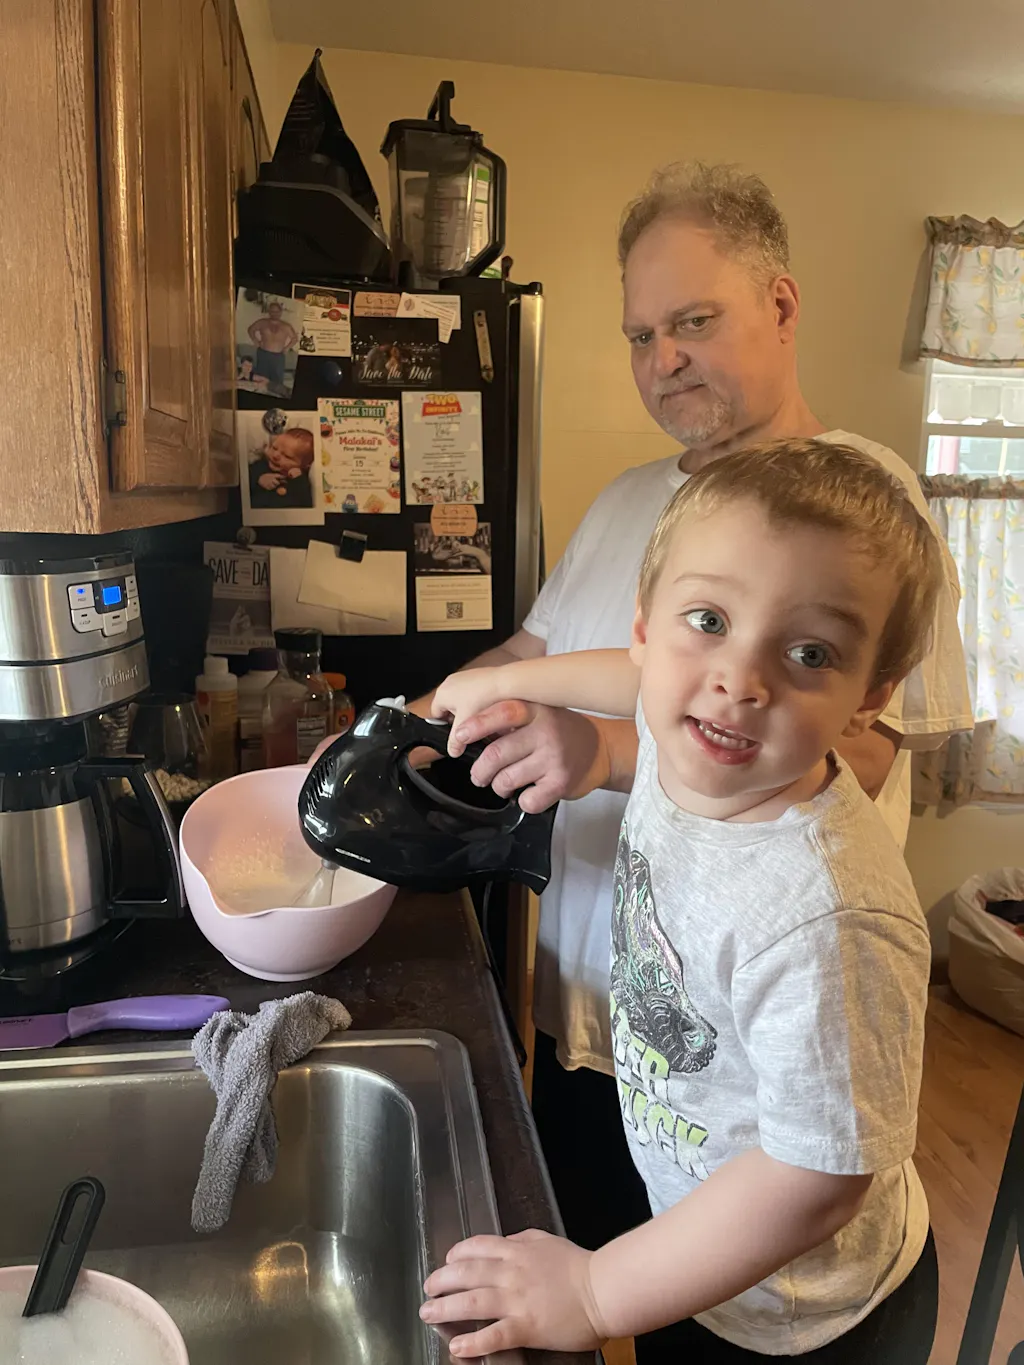
At I'm the Chef Too!, we understand that true learning stems from active participation and engaging all the senses. Our unique approach of teaching complex subjects through tangible, hands-on, and delicious cooking adventures is rooted in the belief that children learn best by doing. When kids are mixing ingredients, watching a dough rise, or seeing a colorful reaction, they're not just following a recipe; they're experimenting with chemical changes, exploring states of matter, and understanding the science behind their food. These experiences are invaluable for fostering a love for learning, building confidence in their abilities, and developing key skills like fine motor coordination, measurement, and following instructions. Plus, sharing these culinary-scientific adventures together creates joyful family memories and provides a refreshing screen-free alternative that truly enriches childhood. Ready to embark on a new adventure every month, delivered right to your door with free shipping? Join The Chef's Club and unlock endless educational fun!
Safety First: Essential Tips for Young Chemists
Before diving into any cool science experiments chemistry for kids, safety must always be our top priority. While many kitchen chemistry activities use common, relatively harmless household ingredients, responsible adult supervision is non-negotiable. Instilling good safety habits from a young age teaches respect for the scientific process and minimizes risks.
Here are some crucial safety tips to keep in mind for every chemistry experiment:
- Adult Supervision is Key: Never leave children unattended during experiments, especially those involving heat, sharp objects, or chemical reactions. An adult should always be present to guide, assist, and intervene if necessary.
- Read Instructions Carefully: Before starting any experiment, read all instructions thoroughly. Gather all materials in advance to avoid last-minute rushing or substitutions.
- Wear Eye Protection: For experiments that involve bubbling, fizzing, or the potential for splashes (like volcano eruptions or slime making), protective eyewear (safety goggles) for both children and adults is a smart precaution.
- No Tasting Rule: Establish a strict "no tasting" rule, even for experiments that use food-grade ingredients. Once ingredients are used for an experiment, they are no longer considered edible. This prevents accidental ingestion of non-food items or mixtures that might be irritating.
- Proper Ventilation: Some experiments might produce odors or gases. Ensure you're working in a well-ventilated area, or move outdoors if appropriate.
- Clean Workspace: Protect your work surface with old newspapers, a plastic tablecloth, or a baking sheet to contain spills and make cleanup easier.
- Wash Hands: Always wash hands thoroughly with soap and water before and after conducting experiments.
- Know Your Materials: Be aware of any potential allergens or sensitivities related to the materials being used. For instance, borax, while common in crystal growing, should be handled with care and kept away from unsupervised children.
- Emergency Preparedness: Keep a first-aid kit nearby and know how to contact poison control if an accidental ingestion or irritation occurs.
By adhering to these simple safety guidelines, you can ensure that your chemistry adventures are not only incredibly fun and educational but also safe and worry-free.
Fizz, Pop, Boom! Exploring Chemical Reactions
Chemical reactions are at the heart of chemistry – they are the processes where substances combine or break apart to form new substances with different properties. For kids, these reactions are often the most exciting and visually dramatic experiments. Watching something fizz, bubble, change color, or even erupt provides an immediate, tangible understanding of chemical change.
Volcanoes Galore: Baking Soda & Vinegar
Perhaps the quintessential "cool science experiment chemistry for kids," the baking soda and vinegar volcano never loses its appeal. It's a classic for a reason, demonstrating a gas-producing chemical reaction in a spectacular way.
The Science: When sodium bicarbonate (baking soda) reacts with acetic acid (vinegar), they produce carbon dioxide gas. This gas rapidly expands, creating bubbles and pressure, forcing the liquid up and out of your "volcano." The dish soap helps trap the gas, making the eruption foamier and more lava-like.
How to Do It:
- Materials: Baking soda, white vinegar, dish soap, red or orange food coloring, a container (like a plastic bottle or cup), and craft supplies to decorate it into a volcano (optional but fun!).
-
Procedure:
- Place 1-2 tablespoons of baking soda into your volcano container.
- In a separate bowl, mix about 1 cup of water with a few drops of food coloring and a squeeze of dish soap.
- Pour the colored, soapy water into the volcano container.
- Now, for the eruption! Slowly pour about 1/2 cup of vinegar into the container and watch the foamy "lava" flow.
- Variations & Learning: Experiment with different amounts of baking soda and vinegar, or even different temperatures of vinegar (warm vinegar might react faster). Discuss the gas production and the concept of a new substance (carbon dioxide) being formed.
Want to make a volcano with less mess and a delicious outcome? Our Erupting Volcano Cakes kit lets kids explore this classic chemical reaction by creating bubbling, edible volcano cakes right in their kitchen, blending learning with a tasty treat!
Dancing Delights: Alka-Seltzer and Gasses
The magic of Alka-Seltzer is another fantastic way to showcase chemical reactions that produce gas, leading to "dancing" objects or even propelling small boats.
The Science: Alka-Seltzer tablets contain citric acid and baking soda. When dropped into water, these ingredients react, releasing carbon dioxide gas. This gas is what creates the bubbles and can provide buoyancy or propulsion.
How to Do It - Dancing Raisins:
- Materials: Clear glass, carbonated soda (club soda or lemon-lime works best), raisins.
-
Procedure:
- Fill the glass with carbonated soda.
- Drop a few raisins into the soda.
- Observe the raisins "dance" as they repeatedly float to the surface and sink.
- Explanation: The carbon dioxide bubbles in the soda attach to the rough surface of the raisins, making them buoyant and causing them to rise. At the surface, the bubbles pop, the gas is released, and the raisins lose their buoyancy, sinking back down to collect more bubbles.
How to Do It - Alka-Seltzer Rockets:
- Materials: Film canister with a tight-fitting lid (or small plastic bottle), Alka-Seltzer tablet (broken into pieces), water.
-
Procedure:
- Fill the film canister about 1/4 full with water.
- Quickly drop a piece of Alka-Seltzer into the water and immediately snap the lid on tightly, placing the canister upside down on a flat surface.
- Step back and wait for the "launch!"
- Explanation: The rapid production of carbon dioxide gas builds pressure inside the sealed canister until it forces the lid off, launching the canister into the air. Discuss pressure, gas expansion, and propulsion.
Everyday Alchemy: Milk, Soap, and Color
This beautiful experiment is a mesmerizing display of surface tension and molecular interactions, often dubbed "Magic Milk."
The Science: Milk is mostly water, but it also contains fats, proteins, vitamins, and minerals. When dish soap is added, it acts as a "surfactant," breaking down the surface tension of the milk and interacting with the fat molecules. The food coloring, initially floating on the surface, gets carried along by the moving fat molecules, creating swirling patterns.
How to Do It:
- Materials: A shallow dish or plate, whole milk (full-fat works best), various food colorings, dish soap, cotton swabs.
-
Procedure:
- Pour enough milk into the shallow dish to cover the bottom. Let it sit undisturbed for a moment.
- Carefully add several drops of different food colors directly onto the surface of the milk, spreading them out.
- Dip one end of a cotton swab into dish soap.
- Gently touch the soap-coated swab to the surface of the milk in the middle of the colors, holding it steady for 10-15 seconds.
- Watch the colors swirl and dance!
- Variations & Learning: Try different types of milk (skim, 2%, whole) to see how the fat content affects the reaction. Discuss surface tension, hydrophobic (water-fearing) and hydrophilic (water-loving) molecules, and how soap "chases" the fat.
Unseen Messages: Invisible Ink
Turn your child into a secret agent with an experiment that reveals hidden messages using a simple chemical reaction initiated by heat.
The Science: Many organic substances, like lemon juice, milk, or baking soda solution, contain carbon compounds. When these compounds are heated, they oxidize (react with oxygen in the air) and turn brown before the paper itself chars. The chemical reaction makes the previously invisible "ink" visible.
How to Do It:
- Materials: Lemon juice (freshly squeezed or bottled), a small bowl, cotton swabs or a paintbrush, white paper, a heat source (adult supervision is crucial here: a warm iron, a light bulb, or carefully holding paper over a toaster).
-
Procedure:
- Dip a cotton swab or paintbrush into the lemon juice.
- Write a message or draw a picture on the white paper.
- Allow the lemon juice to dry completely. The message will disappear.
- To reveal the message, an adult should carefully apply heat to the paper. If using an iron, iron the paper on a low setting. If using a light bulb, hold the paper close to a warm bulb (without touching).
- Learning: Discuss oxidation, heat as a catalyst, and how chemical changes can alter the appearance of substances.
Sweet & Smoky: Carbon Sugar Snake
This dramatic experiment produces an impressive black "snake" from a sugary mixture, demonstrating combustion and decomposition. This experiment requires extreme caution and strict adult supervision due to the use of fire.
The Science: When sugar is mixed with baking soda and ignited, the sugar caramelizes and then decomposes into carbon. The baking soda, when heated, decomposes to produce carbon dioxide gas. This gas inflates the decomposing sugar, creating the long, black, snake-like structure of carbon.
How to Do It (Adult Supervision REQUIRED):
- Materials: Granulated sugar, baking soda, lighter fluid or rubbing alcohol (for ignition), sand or dirt, a heat-safe surface (like a metal tray or concrete), lighter or matches.
-
Procedure:
- Create a small mound of sand on your heat-safe surface.
- In a separate bowl, mix 4 parts sugar with 1 part baking soda (e.g., 4 teaspoons sugar, 1 teaspoon baking soda).
- Make a small indentation in the center of the sand mound and carefully pour the sugar-baking soda mixture into it.
- An adult should then carefully douse the sugar mixture with a small amount of lighter fluid or rubbing alcohol.
- An adult should carefully ignite the mixture with a lighter or match.
- Watch as a black, snaking column emerges from the burning sugar.
- Safety Notes: Perform this outdoors or in a very well-ventilated area. Keep a bucket of water or a fire extinguisher nearby. Tie back long hair. Never leave the flame unattended.
- Learning: Discuss combustion, decomposition, the creation of carbon (a new substance), and the role of baking soda in gas production.
These chemical reaction experiments are just a taste of the hands-on fun your child can have. If you're looking for more exciting ways to engage your little scientist, why not explore our full library of adventure kits? Browse our complete collection of one-time kits and find the perfect STEM cooking experience for your family.
Acids & Bases: The pH Scale Adventures
The concept of acids and bases might sound intimidating, but it's fundamentally about understanding how substances fall on a spectrum of acidity or alkalinity (pH). Many everyday items are either acidic (like lemons and vinegar) or basic (like baking soda and soap). Introducing children to pH through engaging experiments helps them categorize and understand the properties of various substances.
Red Cabbage Indicator: Nature's Litmus Test
Nature provides us with a fantastic, safe pH indicator: red cabbage! Its juice changes color dramatically depending on whether it's mixed with an acid or a base.
The Science: Red cabbage contains a pigment called anthocyanin, which changes color in response to different pH levels. In acidic solutions, it turns red or pink; in neutral solutions, it remains purple; and in basic (alkaline) solutions, it turns blue or green, sometimes even yellow.
How to Do It:
- Materials: 1/2 head of red cabbage, boiling water, strainer, several clear cups or small containers, various household substances to test (e.g., lemon juice, vinegar, baking soda solution, dish soap solution, milk, tap water).
-
Procedure:
- Make the Indicator: Chop the red cabbage into small pieces. Place them in a heat-safe bowl and pour enough boiling water over them to cover. Let it steep for 10-15 minutes (or until the water is a deep purple). Strain out the cabbage, reserving the purple liquid – this is your pH indicator!
- Test Substances: Pour a small amount of each household substance into separate clear cups.
- Add a splash of the red cabbage indicator to each cup and observe the color change. Record your observations.
- Learning: Discuss the pH scale, identifying acids (red/pink), neutral substances (purple), and bases (blue/green/yellow). You can even introduce the concept of blowing bubbles into the indicator with a straw (carbon dioxide from breath creates carbonic acid, slightly changing the color).
Lemon Power: Citrus Volcanoes & Batteries
Lemons are not just for lemonade; their acidic nature makes them excellent candidates for both erupting volcanoes and even generating electricity!
The Science - Lemon Volcano: Similar to the baking soda and vinegar volcano, the citric acid in the lemon reacts with baking soda to produce carbon dioxide gas. The lemon itself provides a natural "container."
How to Do It - Lemon Volcano:
- Materials: A fresh lemon, baking soda, food coloring (optional), craft stick or spoon.
-
Procedure:
- Roll the lemon on a table to loosen the pulp inside.
- Cut off a small portion from the bottom so it sits flat. Cut off a larger portion from the top.
- Using a craft stick or spoon, mash the pulp inside the lemon to release the juice.
- Add a few drops of food coloring into the lemon pulp.
- Spoon a tablespoon or two of baking soda into the lemon.
- Watch it fizz and erupt! You can keep mashing the pulp and adding more baking soda to prolong the eruption.
- Learning: Reinforce the acid-base reaction and gas production.
The Science - Lemon Battery: A lemon can act as an electrolyte (a substance that conducts electricity when dissolved in water), allowing electrons to flow between two different metals, creating a simple battery.
How to Do It - Lemon Battery:
- Materials: 3-4 lemons, 3-4 copper coins (like pennies), 3-4 galvanized nails (zinc-coated), 4 alligator clips, a small LED bulb.
-
Procedure:
- Roll each lemon to loosen the pulp.
- Make a small slit in each lemon and insert a copper coin. Make another slit an inch or so away and insert a galvanized nail, ensuring the coin and nail don't touch inside the lemon.
- Use the alligator clips to connect the lemons in a series: connect the nail of one lemon to the coin of the next.
- Connect the remaining free nail (from the first lemon) and the remaining free coin (from the last lemon) to the terminals of the LED bulb.
- If connected correctly, the LED should light up!
- Learning: This introduces electrochemistry, the concept of an electrolyte, and how different metals react to create an electrical current.
Rubber Eggs & Dissolving Shells
This fascinating experiment demonstrates the power of acid to break down calcium carbonate, the main component of eggshells.
The Science: Eggshells are primarily calcium carbonate. Vinegar is acetic acid. When the eggshell is submerged in vinegar, a chemical reaction occurs, dissolving the calcium carbonate and releasing carbon dioxide gas (you'll see tiny bubbles!). What's left is the egg's inner membrane, which is flexible and semi-permeable.
How to Do It:
- Materials: A raw egg (with shell), white vinegar, a clear glass or jar.
-
Procedure:
- Carefully place the raw egg into the glass.
- Pour enough vinegar over the egg to completely submerge it.
- Observe the egg immediately: you'll see tiny bubbles forming on the shell.
- Cover the glass and let it sit for 24-48 hours. You may want to gently change the vinegar after 24 hours.
- After 2 days, carefully remove the egg. The shell should be completely dissolved, leaving a "bouncy" rubbery egg!
- Learning: Discuss the chemical reaction between acid and calcium carbonate, the production of gas, and the properties of the egg's membrane. You can even gently bounce the rubber egg (over a sink or soft surface!) to explore its new texture.
These explorations into acids and bases are just a few ways to introduce fundamental chemical properties. Remember, fostering curiosity is key, and at I'm the Chef Too!, our kits are designed to do just that – blending culinary creativity with scientific discovery. If you love the idea of continuous learning adventures delivered to your doorstep, join The Chef's Club today for free shipping and new monthly STEM cooking experiences!
Solutions & Mixtures: What Dissolves?
Understanding solutions and mixtures is fundamental to chemistry. It teaches children about how different substances combine, whether they dissolve evenly (solutions) or remain separate (mixtures), and concepts like solubility and concentration. These cool science experiments chemistry for kids are often visually appealing and easy to set up.
Osmosis Wonders: Gummy Bears & Potatoes
Osmosis is a captivating biological process that also falls under the umbrella of solutions, demonstrating how water moves across a semi-permeable membrane.
The Science: Osmosis is the movement of water molecules from an area of higher water concentration to an area of lower water concentration across a selectively permeable membrane (like the gelatin in a gummy bear or the cell membranes in a potato slice).
How to Do It - Gummy Bear Osmosis:
- Materials: Several gummy bears, clear cups or bowls, plain tap water, salt water (dissolve a tablespoon of salt in a cup of water).
-
Procedure:
- Place one gummy bear in a cup of plain water and another in a cup of salt water.
- Optional: Place a third gummy bear in an empty cup as a control.
- Observe and compare the changes in size and texture of the gummy bears over several hours or overnight.
- Explanation: The gummy bear in plain water will swell significantly as water moves into it (higher water concentration outside, lower inside). The gummy bear in salt water might shrink slightly or stay roughly the same size, as the water concentration gradient is different.
How to Do It - Potato Osmosis:
- Materials: A potato, knife, ruler, plain tap water, salt water, clear cups.
-
Procedure:
- Carefully cut two potato slices or sticks of equal size (measure with a ruler for accuracy).
- Place one potato piece in a cup of plain water and the other in a cup of salt water.
- Observe and feel the potato pieces after a few hours or overnight.
- Explanation: The potato in plain water will become firmer (turgid) as water moves into its cells. The potato in salt water will become limp (flaccid) as water moves out of its cells into the saltier solution.
Colorful Separations: Chromatography
Chromatography is a clever technique used to separate mixtures, revealing hidden colors within what appears to be a single hue.
The Science: Chromatography separates mixtures based on how differently their components adhere to a stationary phase (like paper) and are carried by a mobile phase (like water or alcohol). Different pigments have different solubilities and molecular sizes, causing them to travel up the paper at different rates, thus separating them.
How to Do It - Marker Chromatography:
- Materials: Coffee filters or strips of paper towel, washable markers (black, brown, purple, and green work best), clear cups, water.
-
Procedure:
- Draw a thick line with a marker about 1 inch from the bottom of a coffee filter or paper towel strip.
- Pour a small amount of water (just enough to touch the very bottom of the paper, but not the marker line itself) into a clear cup.
- Place the paper strip into the cup, ensuring the water level is below the marker line.
- Observe as the water slowly creeps up the paper, carrying the marker's pigments with it, separating them into individual colors.
- Learning: Discuss mixtures, separation techniques, and how different colors are actually combinations of other colors.
Density Rainbows: Layers of Liquids
This visually stunning experiment demonstrates the concept of density by layering liquids of different densities to create a beautiful rainbow.
The Science: Density is a measure of how much "stuff" is packed into a given volume. Denser liquids will sink below less dense liquids, creating distinct layers when carefully poured.
How to Do It:
- Materials: A tall, clear glass or jar, various liquids of different densities and colors (e.g., honey, light corn syrup, dish soap, water, vegetable oil, rubbing alcohol), food coloring (for water and rubbing alcohol), droppers or pipettes.
-
Procedure:
- Carefully pour each liquid into the glass, starting with the densest first and moving to the least dense. Pour slowly down the side of the glass to avoid mixing.
- A typical layering order (densest to least dense) could be: honey, corn syrup, dish soap, water (colored), vegetable oil, rubbing alcohol (colored).
- Observe the distinct layers forming a liquid rainbow.
- Learning: Discuss density, mass, volume, and how these properties determine whether a substance floats or sinks. You can even try dropping small objects into the rainbow to see where they float!
These investigations into solutions and mixtures highlight how substances interact and organize themselves. Providing hands-on experiences like these allows children to grasp abstract concepts in a concrete way. For ongoing, engaging STEM activities, consider our Chef's Club subscription, delivering a new adventure with free US shipping every month!
States of Matter: Transformations in the Kitchen
Chemistry isn't just about things changing into new things; it's also about things changing their form. Exploring the states of matter – solid, liquid, and gas – and the transformations between them is a fundamental part of physical chemistry that can be explored right in your kitchen.
Creamy Science: Ice Cream in a Bag
Making ice cream without a fancy machine is a delicious way to explore freezing points and energy transfer.
The Science: Adding salt to ice lowers its freezing point. When the salted ice mixture surrounds your liquid ice cream base, it creates an intensely cold environment (below 32°F/0°C). This super-cold mixture draws heat away from your ice cream base, causing it to freeze and solidify. The shaking helps distribute the cold and incorporate air for a creamy texture.
How to Do It:
- Materials: 1/2 cup milk or half-and-half, 1 tablespoon sugar, 1/4 teaspoon vanilla extract, small resealable plastic bag (quart size), large resealable plastic bag (gallon size), 3 cups ice, 1/2 cup rock salt (or table salt), oven mitts or a towel.
-
Procedure:
- Combine milk, sugar, and vanilla in the small plastic bag. Seal it tightly, making sure to remove as much air as possible.
- Fill the large plastic bag with ice and salt.
- Place the small bag (with the ice cream mixture) inside the large bag (with ice and salt). Seal the large bag tightly.
- Wrap the large bag in a towel or use oven mitts to protect your hands from the cold.
- Shake vigorously for 5-10 minutes, or until the ice cream mixture has solidified.
- Carefully remove the small bag, wipe off any salt, and enjoy your homemade ice cream!
- Learning: Discuss changes of state (liquid to solid), freezing points, endothermic reactions (absorbing heat), and the role of salt in lowering the freezing point of water.
Melting & Freezing: Reversible Changes
Simple investigations into melting and freezing can illustrate the reversible nature of physical changes and the effect of temperature.
The Science: Melting is the process of a solid turning into a liquid due to increased temperature (absorbing energy). Freezing is the process of a liquid turning into a solid due to decreased temperature (releasing energy). These are physical changes, meaning the substance's chemical identity remains the same (e.g., water is still H2O whether it's ice or liquid).
How to Do It - Melting Ice Investigation:
- Materials: Ice cubes, several small plates or bowls, various materials (salt, sugar, sand, nothing).
-
Procedure:
- Place an ice cube on each plate.
- Sprinkle salt on one, sugar on another, sand on a third, and leave one plain.
- Observe which ice cube melts fastest and discuss why (salt lowers the freezing point, causing the ice to melt faster).
- Learning: Introduce the concepts of melting and freezing points, the effect of solutes (like salt) on these points, and the transfer of heat energy.
Bubbling & Evaporation
Watching water disappear or bubbles form provides visual cues for the states of matter and phase changes involving gases.
The Science - Evaporation: Evaporation is the process where liquid water turns into water vapor (a gas) and rises into the air. It's a key part of the water cycle.
How to Do It - Evaporation Station:
- Materials: Two identical shallow dishes, water, sunny spot, shady spot.
-
Procedure:
- Pour an equal amount of water into each dish.
- Place one dish in a sunny, warm location and the other in a shady, cooler spot.
- Observe the water levels over 1-2 days.
- Learning: Discuss evaporation, the role of heat and air movement, and how water changes from a liquid to an invisible gas.
The Science - Condensation: Condensation is the opposite of evaporation, where water vapor (gas) cools and turns back into liquid water droplets.
How to Do It - Cold Can Condensation:
- Materials: A cold can of soda or a glass of ice water, dry weather.
-
Procedure:
- Place the cold can or glass of ice water on a table in a dry room.
- Observe the outside of the container after a few minutes.
- Learning: Explain that the water droplets forming on the outside didn't leak from inside. Instead, invisible water vapor in the air cooled upon contact with the cold surface, condensing back into liquid water.
Exploring the states of matter helps children understand the dynamic nature of substances and the influence of energy. These experiments are perfect for fostering observation skills and connecting science to everyday phenomena. Looking for more engaging and convenient ways to bring STEM into your home? Browse our full collection of one-time kits and find the perfect scientific adventure for your child.
Crystal Formations & Polymer Play
Some of the most enchanting cool science experiments chemistry for kids involve the slow, beautiful growth of crystals or the surprising stretchiness of polymers. These activities encourage patience, careful observation, and introduce concepts of solubility, saturation, and molecular structure.
Growing Gems: Borax & Salt Crystals
Transforming everyday substances into sparkling crystals is a truly magical experience for children.
The Science - Borax Crystals: Borax (sodium tetraborate) is much more soluble in hot water than in cold water. When you create a supersaturated solution of borax in hot water and then allow it to cool, the borax molecules come out of solution and link together to form crystals as the water can no longer hold all the dissolved borax.
How to Do It - Borax Crystals (Adult Supervision Required):
- Materials: Borax, very hot water (from a kettle or microwave), clear glass jar, pipe cleaners, string, pencil or stick, food coloring (optional).
-
Procedure:
- Adult Step: Heat water until very hot. Slowly add borax to the hot water, stirring until no more dissolves (you've created a supersaturated solution). A good ratio is 3 tablespoons of borax per cup of hot water.
- Shape pipe cleaners into desired forms (e.g., snowflakes, stars).
- Tie a string to the pipe cleaner shape and tie the other end to a pencil, ensuring the shape can hang freely in the solution without touching the bottom or sides of the jar.
- Carefully lower the pipe cleaner into the borax solution.
- Let it sit undisturbed overnight (or for several hours).
- The next day, carefully remove your crystal-covered creation!
- Safety Note: Borax is a cleaning product. Do not ingest. Wash hands thoroughly after handling.
- Learning: Discuss solubility, saturation, crystal formation, and how molecules arrange themselves in an organized structure.
The Science - Salt Crystals: Salt (sodium chloride) also forms crystals, though they typically grow slower and are smaller than borax crystals. As water evaporates from a salt solution, the salt molecules are left behind and link together to form cubic crystals.
How to Do It - Salt Crystals:
- Materials: Table salt, warm water, clear glass or bowl, string, paperclip (for weight), pencil or stick.
-
Procedure:
- Mix as much salt as possible into warm water until no more dissolves (this creates a saturated solution).
- Tie a paperclip to one end of a string and the other end to a pencil.
- Dangle the paperclip end into the salt solution, resting the pencil across the rim of the glass.
- Place the glass in a sunny spot and let it sit for several days or a week. As the water evaporates, salt crystals will begin to form on the string.
- Learning: Reinforce concepts of solubility, evaporation, and crystal growth.
Silly, Stretchy Slime: Polymers in Action
Slime is a perpetual favorite for kids, offering a tactile and mesmerizing introduction to polymer chemistry.
The Science: Slime is a non-Newtonian fluid and a polymer. Polymers are long chains of repeating molecules. In common slime recipes (using white glue, which is a polymer called polyvinyl acetate, and an activator like borax solution or contact lens solution with baking soda), the activator creates chemical bonds that link the long glue molecules together, forming a larger, more viscous, and stretchy network – the slime!
How to Do It - Basic Slime (Borax-Free):
- Materials: 1/2 cup PVA glue (like Elmer's white school glue), 1/2 teaspoon baking soda, 1 tablespoon contact lens solution (containing boric acid and sodium borate), food coloring (optional), mixing bowl, spoon.
-
Procedure:
- Pour the glue into the mixing bowl.
- Stir in the baking soda until fully dissolved.
- Add food coloring if desired and mix well.
- Add the contact lens solution and stir thoroughly. The mixture will immediately begin to thicken and pull away from the sides of the bowl.
- Once it becomes too thick to stir, knead the slime with your hands for a few minutes until it reaches the desired consistency. If it's too sticky, add a tiny bit more contact lens solution and knead again.
- Learning: Discuss polymers, cross-linking (the bonds forming between molecules), and the unique properties of non-Newtonian fluids (acting as both a liquid and a solid).
These crystal and polymer experiments offer sustained engagement and a chance to observe changes over time, reinforcing patience and detailed observation. They also showcase how chemistry influences materials we interact with every day. At I'm the Chef Too!, we craft experiences that deliver this kind of wonder and learning directly to your home. Join The Chef's Club for monthly cooking STEM adventures that spark curiosity and creativity!
Beyond the Beaker: Life Skills from Chemistry Experiments
While the immediate "wow factor" of cool science experiments chemistry for kids is undeniable, the benefits extend far beyond simply understanding scientific concepts. Engaging in these hands-on activities, especially those that blend food and STEM like ours at I'm the Chef Too!, cultivates a rich tapestry of life skills that will serve children well in all their future endeavors.
- Problem-Solving and Critical Thinking: What happens if we add more baking soda? Why did this experiment not work the first time? These questions naturally arise during experimentation, prompting children to analyze, hypothesize, and adjust their approach. They learn that failure isn't an endpoint but a valuable opportunity for learning and iteration.
- Following Instructions and Measurement: Many chemistry experiments, especially those involving recipes, require precise measurement and careful adherence to steps. This builds crucial skills in math, literacy, and attention to detail.
- Fine Motor Skills and Dexterity: Pouring, mixing, stirring, and manipulating small objects (like pipe cleaners for crystals) all contribute to the development of fine motor skills, which are essential for writing, drawing, and countless other daily tasks.
- Patience and Persistence: Some experiments, like growing crystals, take time. Children learn the value of waiting, observing changes over days, and understanding that not all scientific discoveries are instantaneous.
- Observation and Data Collection: From noticing subtle color changes to tracking the growth of a crystal, children become adept observers. They learn to document what they see (through drawing, verbal descriptions, or simple charts), a foundational skill in scientific inquiry.
- Communication and Collaboration: Working on experiments together fosters communication as children explain their ideas, ask questions, and collaborate with siblings or adults. This is especially true when experimenting as a family, strengthening bonds and creating shared learning experiences.
- Confidence and Empowerment: Successfully completing an experiment, understanding why something happened, and even demonstrating it to others builds immense self-confidence. Children feel empowered by their ability to understand and even manipulate the world around them.
- Screen-Free Engagement: In an increasingly digital world, hands-on chemistry experiments provide a refreshing, tangible, and immersive alternative to screens. They encourage active engagement with the physical world, stimulating different parts of the brain and fostering a healthier balance in a child's day.
At I'm the Chef Too!, we recognize that every kit we create isn't just about making a delicious treat or learning a single STEM concept. It's about providing a holistic "edutainment" experience that nurtures these invaluable life skills. Our kits are developed by mothers and educators who understand the importance of making learning engaging, memorable, and impactful. We focus on the benefits of the process: fostering a love for learning, building confidence through tangible achievements, developing key skills that transcend the kitchen, and, most importantly, creating joyful family memories that last a lifetime.
How I'm the Chef Too! Ignites Young Chemists
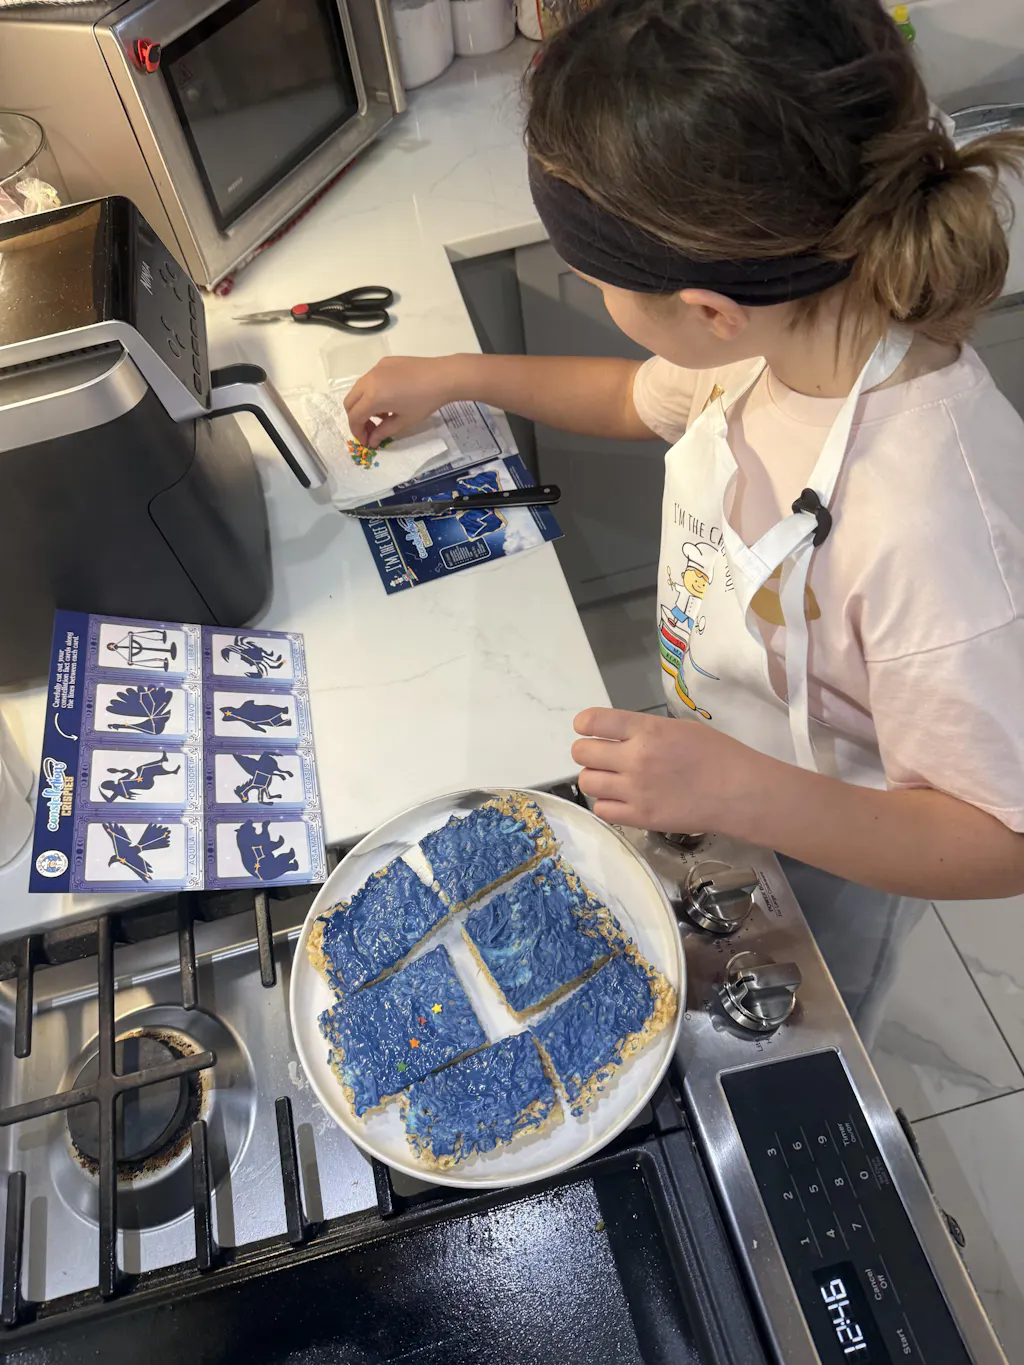
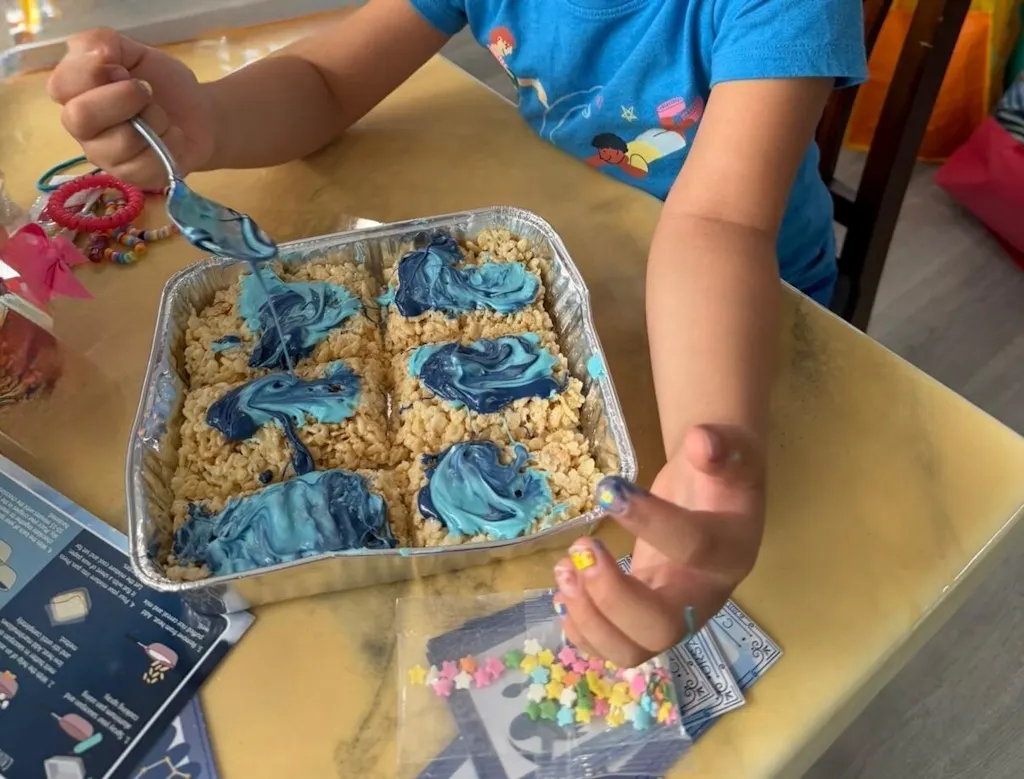
We believe that learning should be an adventure, a delightful journey of discovery that transcends the textbook and comes alive in the most engaging ways. That's precisely what we aim to deliver at I'm the Chef Too! Our unique blend of cooking, science, and art provides an unparalleled platform for children to explore complex chemistry concepts in a fun, accessible, and delicious manner.
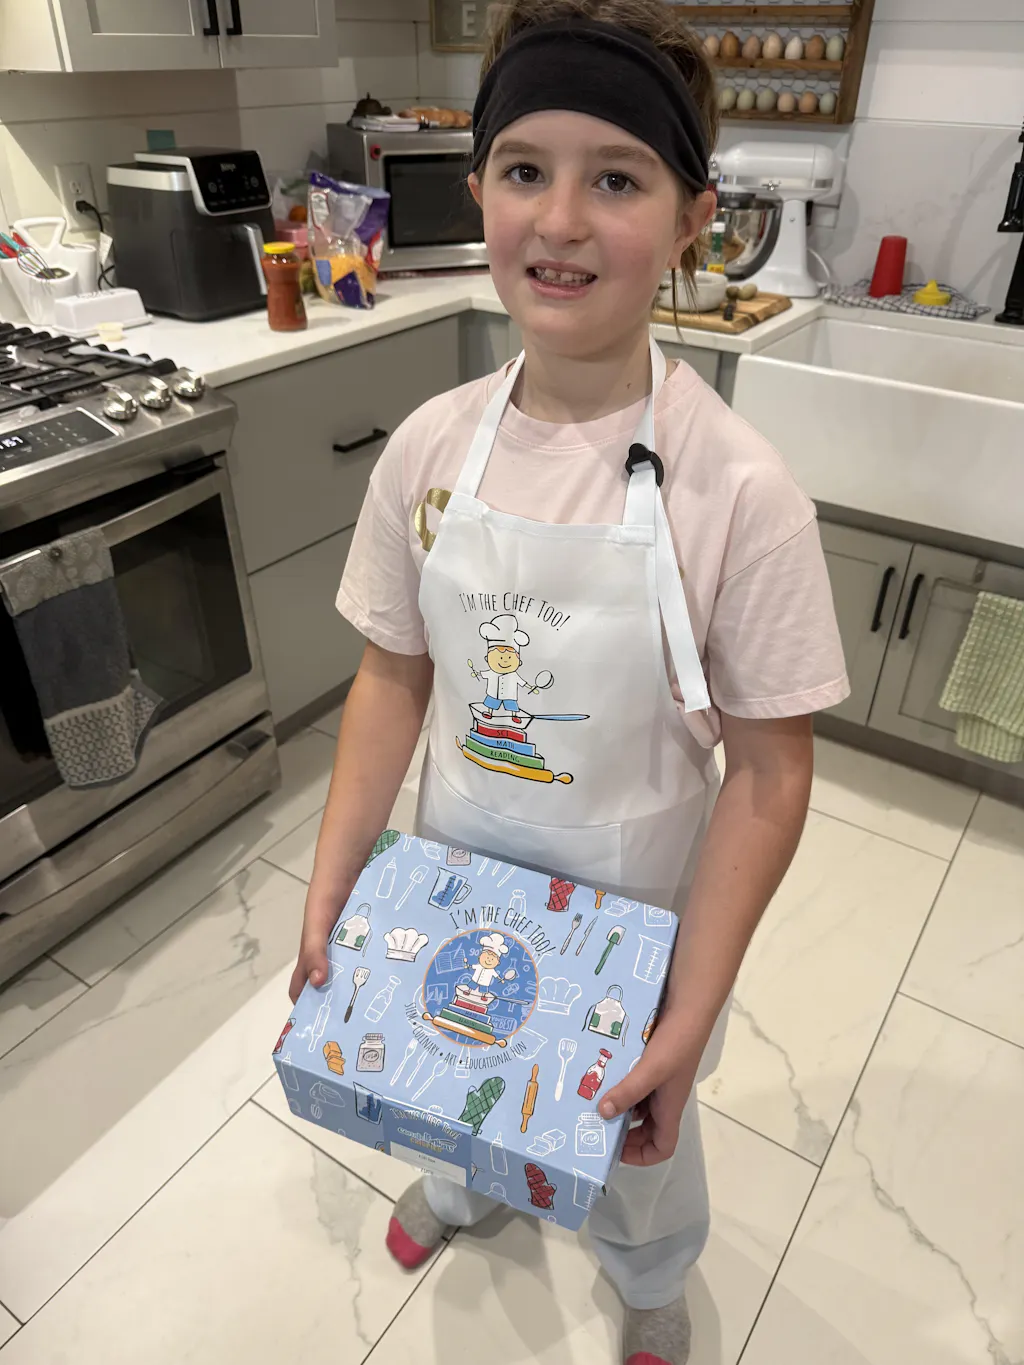
Imagine creating an edible solar system with our Galaxy Donut Kit, where kids explore astronomy by decorating and understanding the composition of different "planets." Or consider the pure joy of making our Erupting Volcano Cakes Kit, a perfect example of a hands-on chemical reaction experiment that culminates in a tasty treat. We take the mess and the stress out of sourcing materials by providing pre-measured dry ingredients and specialty supplies, all neatly organized within each kit. This means more quality time for you and your child to focus on the fun and the learning, without the scavenger hunt for obscure items.
Our mission goes beyond just fun activities; we are committed to sparking curiosity and creativity in children. Each kit is a meticulously crafted "edutainment" experience, designed by mothers and educators to introduce scientific principles, artistic expression, and culinary skills simultaneously. Children don't just follow a recipe; they become active participants in a scientific process, observing changes, making predictions, and understanding the "why" behind every "how." This unique approach fosters a love for learning that is tangible, memorable, and, best of all, screen-free.
For those who want to ensure a steady stream of scientific and culinary adventures, our monthly Chef's Club subscription is the perfect solution. A new, exciting kit is delivered right to your door every month with free shipping in the US, promising fresh challenges and delightful discoveries. It’s the ultimate convenience for busy families and a fantastic way to ensure continuous enrichment. We offer flexible 3, 6, and 12-month pre-paid plans, making it an ideal gift that keeps on giving, or a consistent source of educational fun for your own household. Every box is a complete experience, thoughtfully designed to bring families together around the joy of learning and creating.
Not ready to subscribe but eager to dive into a specific adventure? Explore our full library of adventure kits available for a single purchase in our shop. Whether your child is fascinated by volcanoes, captivated by space, or curious about the science of baking, there's a unique kit waiting to spark their imagination. With I'm the Chef Too!, you're not just buying a product; you're investing in experiences that nurture young minds, build lasting skills, and create cherished family moments.
Conclusion
The world of chemistry for kids is a vibrant, exciting, and incredibly accessible realm waiting to be explored. From the everyday marvels of fizzing reactions to the intricate beauty of crystal growth, these cool science experiments offer a direct, hands-on pathway to understanding the fundamental forces that shape our universe. By transforming our kitchens into laboratories, we empower children to become active participants in their learning journey, fostering not just an appreciation for science but also invaluable life skills like critical thinking, problem-solving, and patience.
At I'm the Chef Too!, we are passionate about making these scientific discoveries engaging, educational, and undeniably fun. Our mission is to provide unique "edutainment" experiences that blend the magic of cooking with the wonders of STEM and the creativity of art, all while promoting family bonding and offering a cherished screen-free alternative. We've seen firsthand how a child's eyes light up when they witness a chemical reaction or proudly present a delicious creation they've engineered themselves. These moments of wonder are what drive us, and they are the foundation upon which a lifelong love for learning is built.
Don't let the wonders of chemistry remain a mystery. Embrace the spills, celebrate the discoveries, and cherish the time spent exploring with your young scientists. Every experiment is an opportunity to spark curiosity, build confidence, and create unforgettable memories. Ready to bring the magic of hands-on STEM and culinary arts into your home? Join The Chef's Club today and let us deliver a new, exciting adventure directly to your door every month, complete with free shipping and all the ingredients for endless educational fun!
FAQ
Q: What is the best age to start chemistry experiments with kids? A: Chemistry experiments can be adapted for children of almost any age, from preschool through upper elementary and beyond. Simple activities like observing color changes in milk are suitable for toddlers, while more complex concepts like crystal growth or pH indicators are great for elementary-aged children (5-12 years old). The key is always age-appropriate activities and diligent adult supervision.
Q: Are household chemistry experiments safe for children? A: Yes, many chemistry experiments use common household ingredients and are safe when conducted with proper adult supervision and adherence to safety guidelines. Always read instructions, wear eye protection when needed, establish a "no tasting" rule, and wash hands thoroughly. Avoid experiments involving strong chemicals or excessive heat for young children.
Q: What common household items can I use for chemistry experiments? A: Your kitchen pantry is a treasure trove! Baking soda, vinegar, milk, dish soap, lemons, salt, sugar, food coloring, and even certain fruits and vegetables can be used for a wide variety of cool science experiments chemistry for kids. I'm the Chef Too! kits take this a step further by providing pre-measured dry ingredients and specialty supplies for even more convenience.
Q: How can I make chemistry experiments more educational and less like just "play"? A: To enhance the educational value, encourage observation ("What do you see happening?"), prediction ("What do you think will happen next?"), and explanation ("Why do you think it happened that way?"). Discuss the scientific terms (e.g., "reaction," "solution," "gas") and connect the experiment to real-world phenomena. At I'm the Chef Too!, our kits come with educational guides that explain the STEM concepts behind each delicious creation.
Q: How can I keep my child engaged in science learning long-term? A: Variety is key! Explore different branches of science, offer open-ended discovery opportunities, and connect learning to their interests. Provide consistent access to hands-on activities. A monthly subscription like The Chef's Club from I'm the Chef Too! can provide a steady stream of new, exciting, and educational challenges that keep curiosity alive all year long.
Q: Do I need special equipment for chemistry experiments at home? A: Not necessarily! For most basic experiments, you can use kitchen items like clear glasses, bowls, spoons, and plastic bags. Some experiments might benefit from droppers or pipettes, which are inexpensive and widely available. Our I'm the Chef Too! kits often include specialty supplies you might not have at home, making it even easier to get started.