Spark Wonder: DIY Kaleidoscope STEM Project for Kids

Table of Contents
- Introduction to the Magic of Light
- What Exactly is a Kaleidoscope?
- The Fascinating Science Behind Kaleidoscopes
- Why DIY Kaleidoscopes are Perfect for STEM Learning
- Choosing Your Kaleidoscope Adventure: Different Types & Approaches
- Gathering Your Supplies: What You'll Need
- Step-by-Step Guide to Your Homemade Kaleidoscope
- Enhancing the Experience: Tips for Success & Deeper Learning
- Beyond the Basics: Kaleidoscope Variations & Extension Ideas
- The I'm the Chef Too! Difference: Why We Love Hands-On Learning
- Conclusion
- FAQ Section
Imagine peering into a simple tube and witnessing an explosion of symmetrical patterns, vibrant colors, and endlessly shifting designs, all created by a few everyday objects and the magic of light. It’s like holding a tiny, personal fireworks display right in your hands! This isn't just a captivating toy; it's a window into the wonders of science, technology, engineering, and mathematics – what we lovingly call STEM. Here at I'm the Chef Too!, we believe that the most profound learning happens when it's disguised as pure fun, blending food, STEM, and the arts into one-of-a-kind "edutainment" experiences. Today, we're going to dive into the captivating world of light and reflection by building our very own kaleidoscope, a perfect example of how complex subjects can become tangible, hands-on, and utterly delightful adventures.
This blog post will guide you through the process of creating a homemade kaleidoscope, explaining the fascinating science behind its mesmerizing patterns. We’ll explore why hands-on projects like this are so vital for developing young minds, from sparking creativity and problem-solving skills to fostering a deep love for learning. You’ll get a step-by-step tutorial, complete with tips and extension ideas, ensuring a rewarding experience for both children and adults. Get ready to transform everyday materials into a magical device that reveals the beauty of optics and symmetry, right from your kitchen table!
Introduction to the Magic of Light
Have you ever stopped to truly observe how light behaves? How it bounces off a shiny surface, shimmers on water, or even allows us to see our own reflections in a mirror? These everyday occurrences are actually tiny science lessons in action, laying the groundwork for understanding complex phenomena. For children, the abstract concept of light can be tricky to grasp, but when they can manipulate it, play with it, and witness its effects firsthand, it transforms into an exciting mystery to solve.
The simple act of looking into a kaleidoscope isn't just about seeing pretty patterns; it's about observing the fundamental principles of physics at play. It's about light rays travelling, hitting reflective surfaces, and bending in ways that create entirely new, enchanting images. This direct engagement is precisely why we are so passionate about hands-on learning at I'm the Chef Too! We've seen countless times how a tangible project, whether it's baking an edible solar system or concocting a bubbling chemical reaction, ignites a child's natural curiosity far more effectively than any textbook ever could. By creating a kaleidoscope, children aren't just making a craft; they're becoming young scientists, experimenting with light and shadow, and discovering the hidden beauty in optical illusions.
This project is more than just an afternoon activity; it's an opportunity for discovery, a chance to build confidence, and a unique way to create lasting family memories. We believe that learning should be an adventure, filled with wonder and delicious moments, and this kaleidoscope STEM project perfectly encapsulates that philosophy.
What Exactly is a Kaleidoscope?
Before we start building, let's take a moment to appreciate the marvel we're about to create. The word "kaleidoscope" itself is a blend of Greek words: kalos (beautiful), eidos (form), and skopeō (to look at, to examine). So, a kaleidoscope literally means "to view a beautiful form." And beautiful forms they certainly create!
Invented in 1816 by Scottish physicist Sir David Brewster, the kaleidoscope quickly became a sensation. It's essentially a tube containing mirrors set at specific angles and small, colorful objects. When you look through one end and hold the other towards a light source, the mirrors reflect the objects, creating intricate, symmetrical patterns. As the tube is rotated, or the objects inside shift, these patterns continuously transform, producing an endless parade of new visual wonders.
Unlike a prism, which separates white light into its component colors, a kaleidoscope uses reflection to multiply images. It takes a few simple elements – a couple of mirrors and some colorful bits – and transforms them into an elaborate, ever-changing spectacle. It’s a magic show in a tube, and the best part is, you get to be the magician and the audience!
The Fascinating Science Behind Kaleidoscopes
At its heart, a kaleidoscope is a brilliant demonstration of optics, specifically the principles of light and reflection. When we talk about reflection, think about looking in a mirror. You see your image because light from your body travels to the mirror, bounces off it, and then travels to your eyes. This bouncing back of light is called reflection.
Here's how it breaks down in a kaleidoscope:
- Light Source: Whether it's the sun, a lamp, or even ambient room light, a light source is essential. Light enters one end of the kaleidoscope, illuminating the colorful objects inside.
- Mirrors: This is where the real magic happens. Most DIY kaleidoscopes, and many traditional ones, use three mirrors arranged in a triangular prism shape. These mirrors are positioned at angles to each other (often 60 degrees in an equilateral triangle).
- Law of Reflection: Light always reflects in a predictable way. When a ray of light hits a flat mirror, it bounces off at the same angle it hit, but in the opposite direction. Inside a kaleidoscope, light rays from the small objects hit one mirror, then reflect onto another mirror, then another, and so on. This continuous bouncing creates multiple copies of the original image.
- Symmetry: Because the mirrors are arranged at precise angles, the reflections create symmetrical patterns. If you have three mirrors, you'll often see six-fold symmetry (or more, depending on the angles and how the images overlap). The kaleidoscope essentially creates an illusion of an infinite pattern, expanding outward from the center.
- Object Chamber/Disc: This is where your colorful "ingredients" reside. In many traditional kaleidoscopes, tiny beads, pieces of colored glass, or foil are placed in a sealed chamber. When you rotate the kaleidoscope, these objects tumble, creating new arrangements and thus new patterns. For our DIY version, we'll use a decorated disc that spins, achieving a similar effect with a simpler mechanism.
It’s truly incredible how these simple components come together to create such complex and beautiful visual effects. Understanding this science adds another layer of appreciation to the artistry of the kaleidoscope. It's a reminder that STEM isn't just about formulas and equations; it's about understanding the world around us and uncovering its amazing secrets.
Why DIY Kaleidoscopes are Perfect for STEM Learning
Engaging children in hands-on activities like building a kaleidoscope offers a wealth of benefits that extend far beyond simply learning about light. At I'm the Chef Too!, we champion this kind of "edutainment" because we've seen firsthand how it sparks curiosity, fosters creativity, and builds essential life skills. Here’s why a kaleidoscope STEM project is an absolute winner:
- Ignites Curiosity: The "wow" factor of a kaleidoscope naturally makes kids ask "How does that work?" This question is the very foundation of scientific inquiry. It encourages them to explore, hypothesize, and understand underlying principles.
- Develops Problem-Solving and Critical Thinking: From figuring out how to cut the mirrors to fit perfectly into the tube, to understanding why certain decorations create more interesting patterns, children are constantly engaged in problem-solving. They learn to adapt, experiment, and troubleshoot, essential skills for any budding scientist or engineer.
- Enhances Fine Motor Skills: Measuring, cutting, taping, and decorating all require precise hand movements, helping to refine fine motor skills crucial for writing, drawing, and countless other daily tasks.
- Fosters Creativity and Artistic Expression: While the science provides the framework, the art is in the design. Decorating the tube, choosing colors and shapes for the spinning disc – these elements allow children to express their individuality and explore aesthetics. This blending of art (the A in STEAM) with science is central to our mission at I'm the Chef Too!
- Introduces Concepts of Geometry and Symmetry: The triangular arrangement of mirrors, the angles, and the resulting symmetrical patterns offer a natural, visual introduction to geometric concepts without needing a single textbook.
- Promotes Observation Skills: Children learn to observe subtle changes as they spin the disc or adjust the light source, honing their ability to pay attention to detail and understand cause and effect.
- Encourages Patience and Persistence: Some steps might require a bit of trial and error. Learning to persevere through challenges and celebrate small victories builds resilience, a vital trait for success in any field.
- Provides a Screen-Free Educational Alternative: In an increasingly digital world, hands-on projects offer a much-needed break from screens. They encourage active engagement, tactile exploration, and real-world interaction, aligning perfectly with our commitment to providing enriching screen-free activities.
- Facilitates Family Bonding: Working on a project together is an incredible way to connect. Parents and children can share the excitement of discovery, learn from each other, and create cherished memories. Imagine the joy of seeing your child's face light up as they create their first dazzling pattern!
This kaleidoscope project beautifully embodies the I'm the Chef Too! philosophy: learning should be immersive, multi-sensory, and incredibly fun. It's not about guaranteeing a future Nobel Prize winner, but about fostering a love for learning, building confidence, and developing key skills that will serve them throughout their lives. Ready to embark on a new adventure every month? Join The Chef's Club and enjoy free shipping on every box, bringing these amazing experiences right to your door!
Choosing Your Kaleidoscope Adventure: Different Types & Approaches
While our DIY project focuses on a specific design, it's fun to know that kaleidoscopes come in several fascinating varieties, each with its own unique charm and mechanism for creating those dazzling displays. Understanding these can even spark ideas for future explorations or variations of your own homemade creation!
- Dry-Cell Kaleidoscopes: These are perhaps the most common type you might encounter. They feature a chamber at one end filled with small, loose objects like beads, pieces of colored glass, or glitter. As you rotate the kaleidoscope, these objects tumble, creating continuously changing patterns. Our DIY project, with its spinning disc, is a clever adaptation of this concept, allowing you to manipulate the "objects" (your decorations) to change the view.
- Oil-Cell Kaleidoscopes: Similar to dry-cell, but the object chamber is filled with a viscous liquid like oil. This makes the objects float and drift slowly, creating a more fluid and leisurely changing pattern. The slow movement can be incredibly meditative and beautiful.
- Wheel Kaleidoscopes: Instead of a chamber of tumbling objects, these kaleidoscopes have a rotating wheel or turntable at the end. The wheel might be made of colored glass, paper, or other materials, and as it spins, its designs are reflected and multiplied.
- Teleidoscopes: These are a unique twist! Instead of an object chamber, a teleidoscope has a clear orb or lens at the end. When you look through it, it turns whatever you point it at into a kaleidoscopic image. Imagine turning your living room, a garden, or even your friends into a magical, fractured pattern! It’s like having a portable wonder-creator.
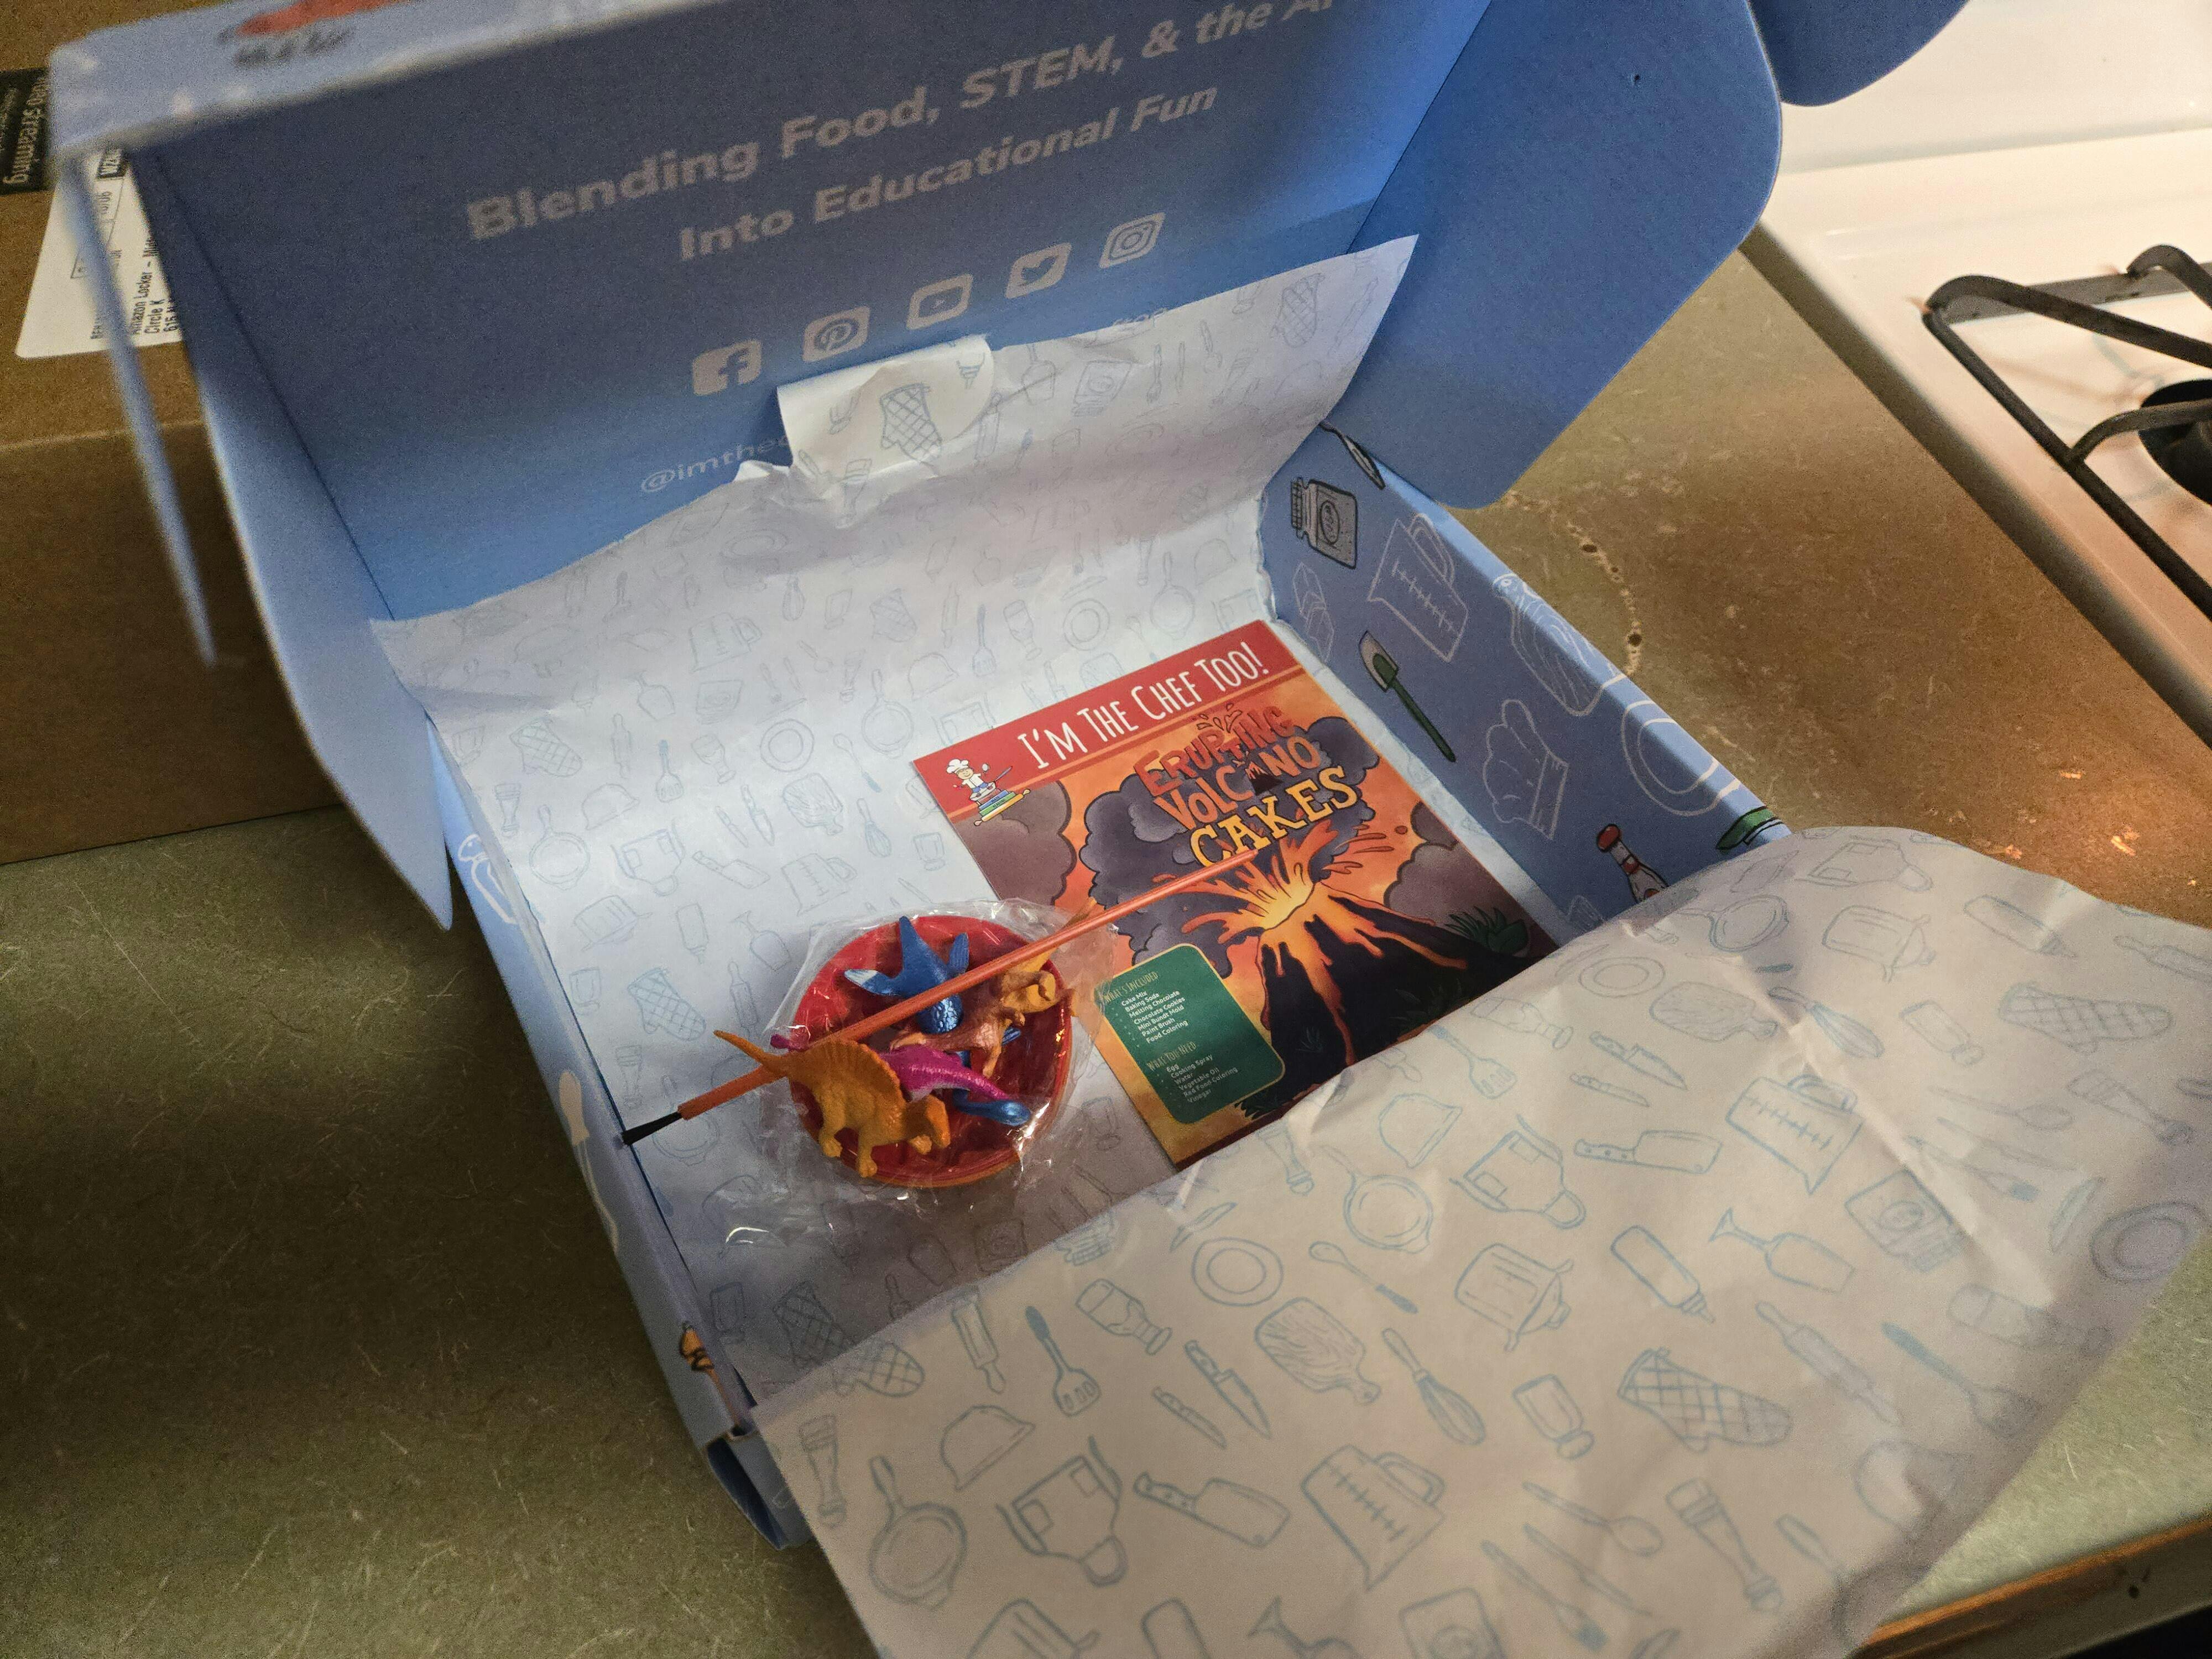
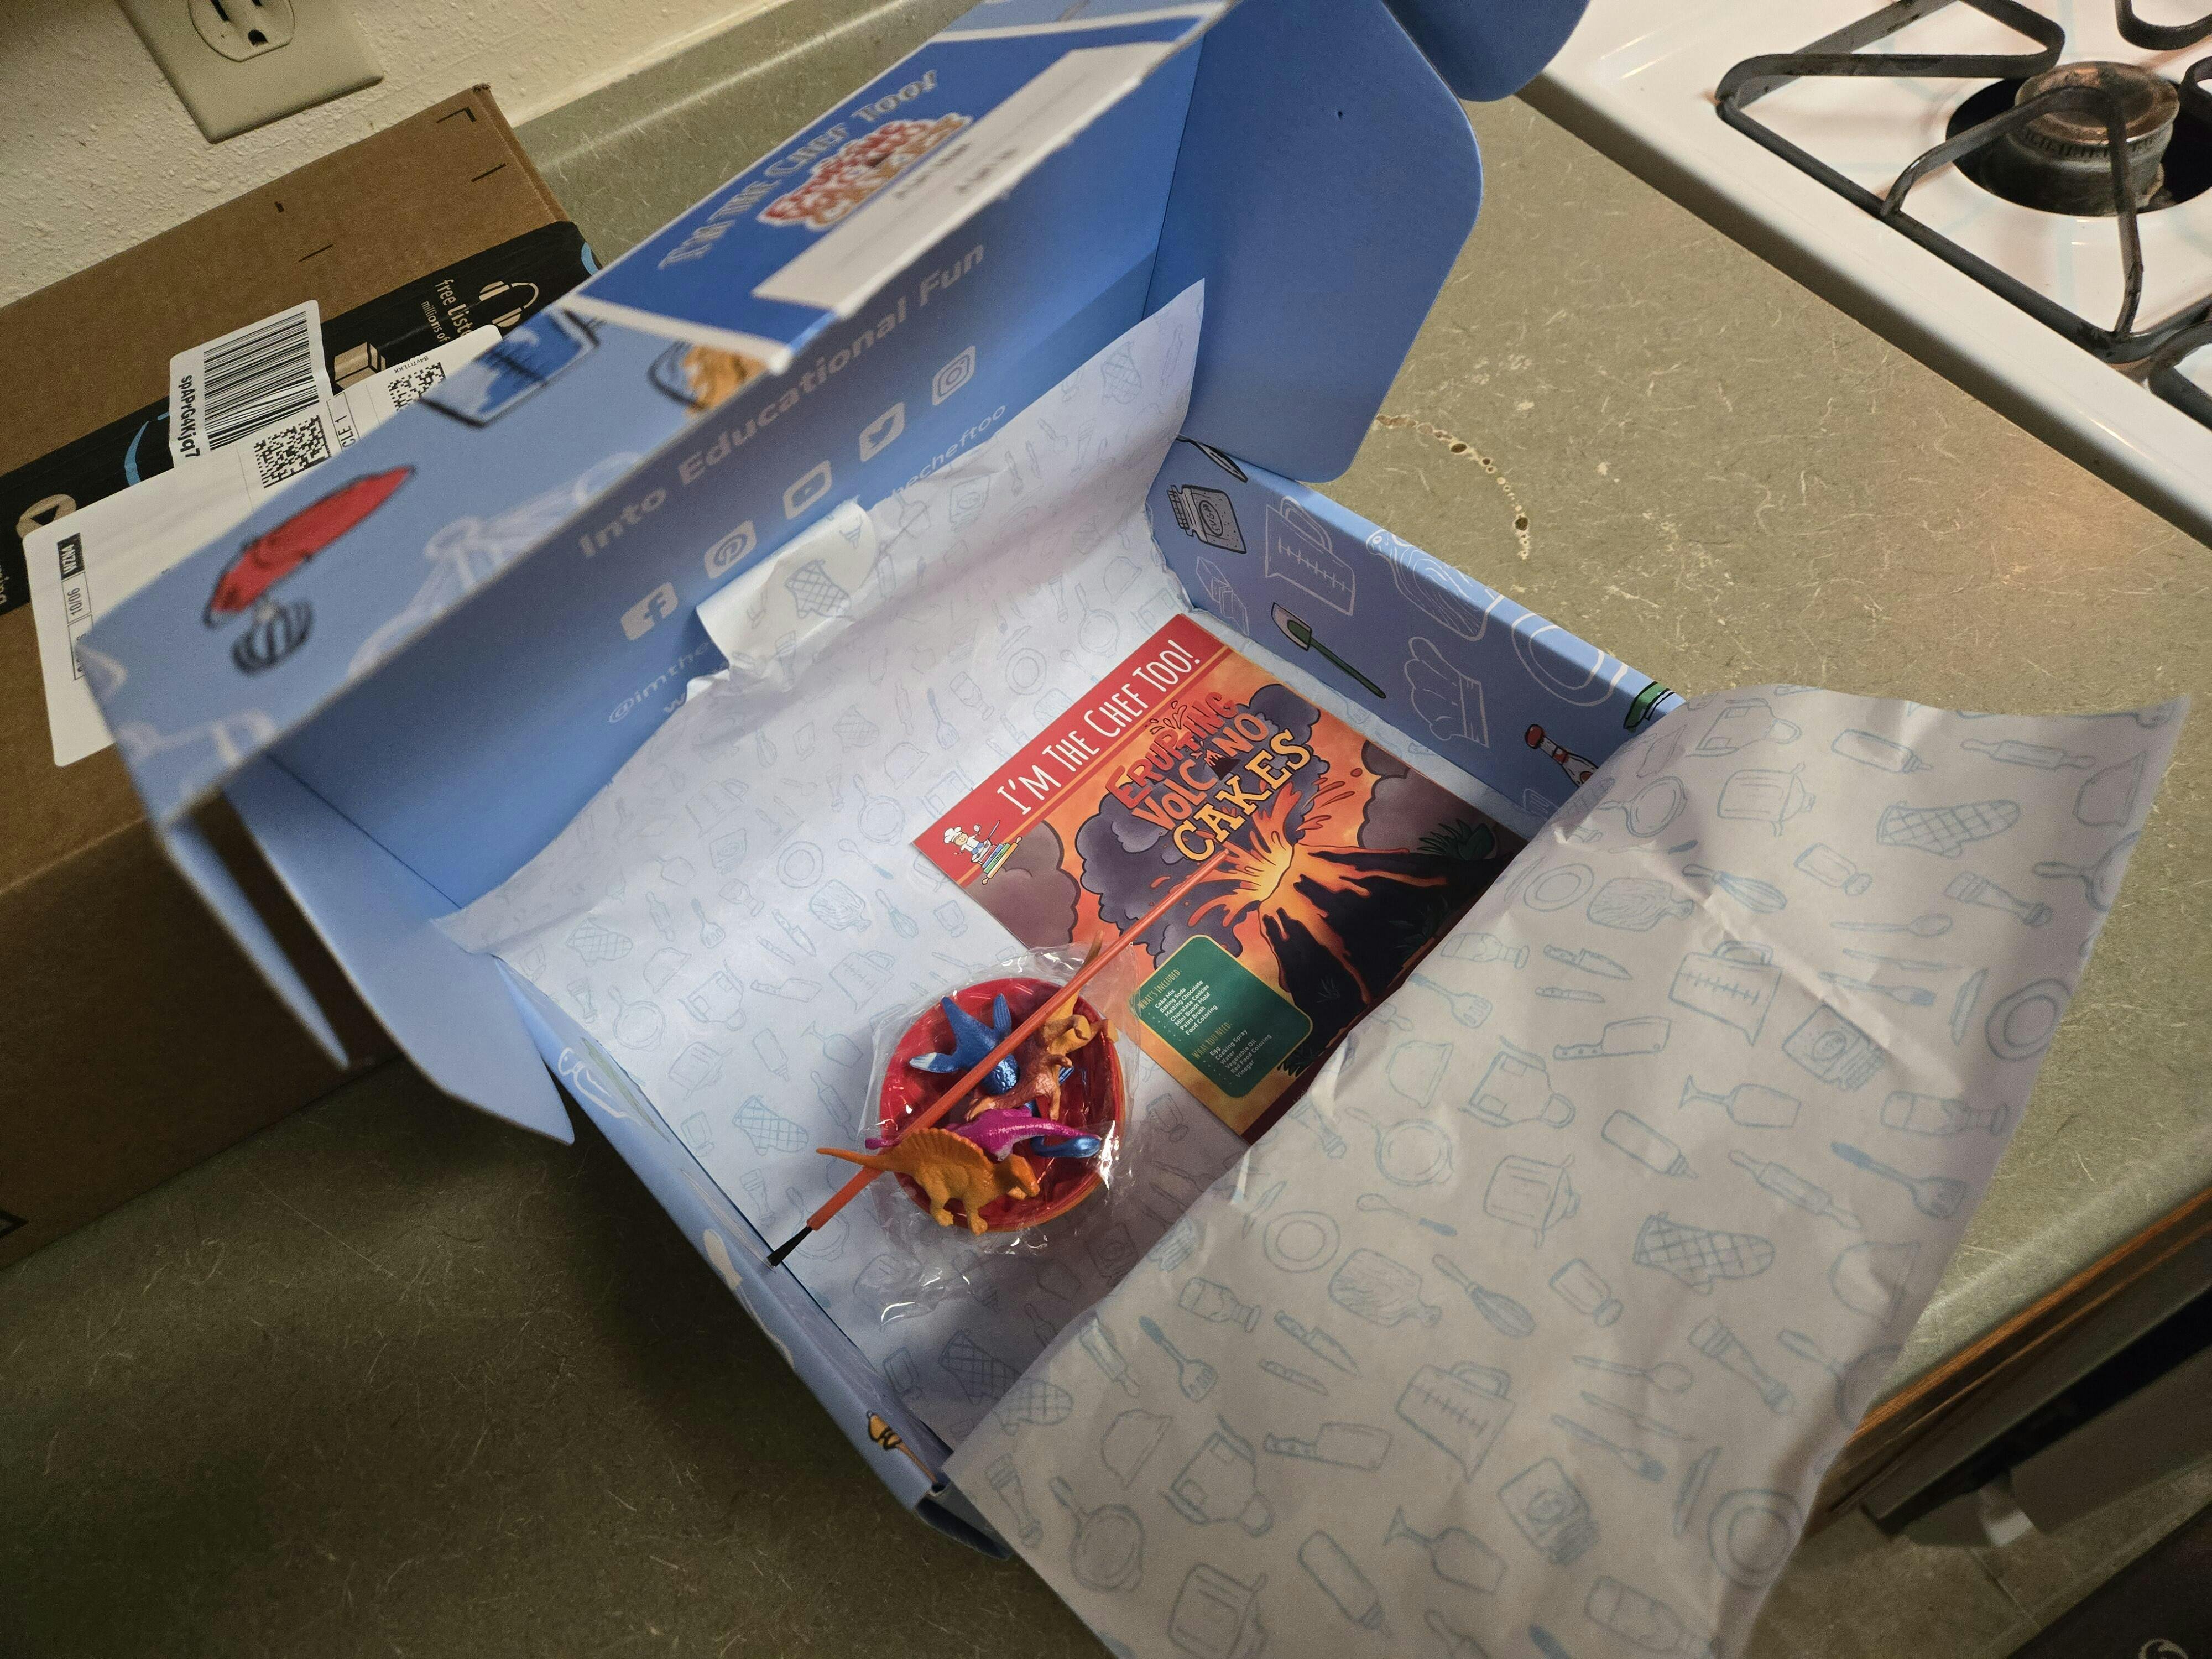
Our DIY kaleidoscope, with its interchangeable decorated discs, falls into the spirit of a dry-cell or wheel kaleidoscope, giving children control over the patterns they create. This hands-on approach perfectly aligns with how we teach at I'm the Chef Too!, showing how simple components can be combined to produce something truly extraordinary. Whether it’s transforming basic ingredients into a delicious treat or repurposing everyday items into a scientific wonder, the joy of creation is always at the forefront. If your child loves exploring unique themes, check out our full library of adventure kits available for a single purchase in our shop. You might discover a Galaxy Donut Kit that lets them explore astronomy by creating their own edible solar system, or perhaps an Erupting Volcano Cakes Kit where they can witness a chemical reaction making delicious cakes bubble over!
Gathering Your Supplies: What You'll Need
One of the beauties of this kaleidoscope STEM project is that many of the materials are likely already in your home or easily acquired. We love projects that encourage repurposing and creativity with everyday items!
Essential Materials:
- Cardboard Tube: An empty paper towel roll, toilet paper roll, or even a Pringles can (cleaned and dried) works perfectly. The length can vary, but a 3-6 inch segment is ideal.
-
Reflective Material: This is the heart of your kaleidoscope!
- Mylar Sheets: Often found in craft stores or online, Mylar is highly reflective and easy to cut.
- Mirrored Cardstock/Self-Adhesive Mirror Sheets: These are excellent options for a clearer reflection.
- CD/DVDs: Repurposing old CDs or DVDs can also work, though they might be a bit trickier to cut evenly and have a curved surface.
- Aluminum Foil (Heavy Duty): If you don't have Mylar or mirror sheets, heavy-duty aluminum foil can be used, though the reflections won't be as crisp. You'd need to smooth it very carefully onto cardstock.
- Scissors or Craft Knife: For cutting the reflective material and cardstock. (Adult supervision is crucial for craft knives!)
- Tape: Clear adhesive tape is best for securing the mirrors and other components.
- White Cardstock: For the spinning pattern disc.
- Bendy Straw or Wooden Dowel: To create the rotating mechanism for your patterns. A chopstick or skewer can also work.
- Markers, Crayons, Stickers, or Paint: For decorating both the cardboard tube and your spinning pattern discs. Glitter, sequins, or small, flat beads can also be used on the disc.
- Ruler and Pencil: For measuring and marking.
Optional Materials for Decoration & Embellishment:
- Paint for the cardboard tube (tempera paint works well).
- Glitter, sequins, small beads for the spinning disc.
- Decorative tape, construction paper for covering the tube.
- A small screw and two spacers (if using a dowel stick method for the spinner).
- A button or bead (to secure the spinning disc to the straw/dowel).
- Clear plastic lid (from a container of greens) for an alternative transparent spinning disc.
Safety Note: Always ensure adult supervision, especially when using sharp tools like scissors or craft knives, and a hot glue gun if you choose to use one. Our kits, developed by mothers and educators, always prioritize safety and age-appropriateness, and we encourage the same careful approach in all DIY projects!
Step-by-Step Guide to Your Homemade Kaleidoscope
Let’s get building! This guide combines the best practices from various successful kaleidoscope projects, focusing on clarity and ease for families. Remember, this is a creative process, so feel free to adapt and personalize!
Step 1: Prepare Your Cardboard Tube
- Cut the Tube: If using a paper towel roll or wrapping paper roll, cut a section approximately 3-6 inches long. A toilet paper roll is usually a good size as is.
- Decorate (Optional): This is a great first step for kids! Paint the outside of your cardboard tube, wrap it in colorful paper, or decorate it with stickers and markers. Let it dry completely if you’re painting.
Step 2: Create Your Mirrored Prism
-
Measure and Cut Reflective Material: The key here is to get three equal strips that will fit snugly inside your chosen tube.
- Measure the length of your cardboard tube. Your reflective strips should be slightly shorter (about 0.5-1 cm) than the tube so they don't stick out.
- For the width of each strip, you'll need to do a little trial and error, or math. A common method is to divide the inner circumference of your tube by 3.5 to 4, to ensure enough overlap for taping and to allow a good triangular shape. Alternatively, some guides suggest strips around 3.5-4 cm wide for a standard toilet paper roll. Pro Tip: Cut a test strip from regular paper first to ensure it fits well inside your tube when folded into a triangle.
- Using your ruler and pencil, mark out three identical strips on your Mylar or mirrored sheet (reflective side down if using single-sided sheets).
- Carefully cut out your three strips. Adult assistance is highly recommended for straight cuts, especially with reflective materials.
-
Assemble the Prism:
- Lay your three reflective strips side-by-side, reflective side up, leaving a tiny gap (about 1-2 mm) between each strip.
- Use clear tape to join them along these gaps. Tape along the entire length of the strip.
- Now, gently fold the taped strips to form an equilateral triangular prism, with the reflective surfaces facing inwards.
- Secure the final seam with another piece of tape along the length of the prism. This should hold its triangular shape firmly.
Step 3: Insert the Prism into the Tube
-
Fit Snugly: Carefully slide your triangular mirror prism into one end of your decorated cardboard tube. It should fit snugly enough so it doesn't fall out or move around too easily. If it's a bit loose, you can add a small piece of tape or a strip of paper around the prism to create a tighter fit.
- Alternative (if prism is too loose or you prefer): You can glue the prism directly inside the tube by cutting the cardboard tube lengthwise, gluing the prism in place along its corners, and then gluing the tube back together. This might require more adult help.
Step 4: Create the Spinning Pattern Disc Mechanism
-
Prepare the Straw/Dowel:
- If using a bendy straw: Cut the straw near the bendy part, so you have the bendy section and a straight section attached.
- If using a wooden dowel/skewer: Cut it so it's about 1-2 cm (0.5 inch) longer than your cardboard tube. If using a small screw to attach the disc, you might need an adult to pre-drill a tiny pilot hole at one end of the dowel.
-
Attach the Spinner to the Tube:
- Tape the straight end of your bendy straw along the top (outer) edge of your cardboard tube, allowing the bendy part to hang over the end by about an inch. Make sure it's secure.
- If using a dowel, you might hot glue it to the inside of the tube, extending it out from one end. Make sure the dowel can spin freely if it’s meant to be a spinning axle.
Step 5: Design and Attach Your Pattern Discs
-
Cut Cardstock Circles:
- Trace and cut out several circles from white cardstock. These circles should be slightly larger in diameter than the opening of your cardboard tube, so they can rest against it. A common size is 3.75 inches in diameter for a standard toilet paper roll opening.
- Pro Tip: Use a compass or trace around a cup or lid to get perfectly round circles.
-
Decorate Your Discs: This is where creativity shines!
- Use markers, crayons, colored pencils, or stickers to create bold, distinct patterns on your circles. Geometric shapes, stripes, dots, or even abstract scribbles work wonderfully.
- Remember, the simpler and bolder the designs, the more dramatic the reflections will be. Experiment with different colors and patterns on different discs!
-
Prepare for Attachment:
- Poke a small hole precisely in the center of each decorated cardstock circle. The hole should be just large enough to fit over the bendy part of the straw or the end of your dowel.
- If using a straw: Slide the decorated circle onto the bendy part of the straw, with the design facing towards the kaleidoscope opening. The bendy part will help hold it in place while allowing it to spin.
- If using a dowel with a screw: Place the disc onto the dowel, then secure it with a small screw (and optionally spacers) through the center hole, ensuring it's not too tight so the disc can rotate. You can also glue a button or bead to the end of the dowel to keep the disc from slipping off.
Step 6: Watch the Magic Unfold!
- Look and Spin: Hold your kaleidoscope up to a light source (but never directly at the sun!). Look through the open end of the tube (the end without the straw/dowel and disc).
- Rotate and Observe: Gently spin the decorated cardstock disc. Watch in amazement as the reflections inside transform your simple drawing into an infinite, mesmerizing pattern of colors and shapes!
- Experiment: Try different decorated discs. How do changes in your drawing affect the patterns? How does changing the light source (a bright lamp versus indirect daylight) alter the view?
This project is not just about the finished product; it’s about the journey of discovery, the hands-on creation, and the shared excitement. These are the kinds of moments we aim to create with our STEM cooking kits at I'm the Chef Too! If you’re looking for more ways to blend science with delicious fun, explore our full library of adventure kits available for a single purchase in our shop, or consider joining The Chef's Club for a new adventure delivered to your door every month!
Enhancing the Experience: Tips for Success & Deeper Learning
Making a kaleidoscope is just the beginning! Here are some tips to ensure a successful and deeply enriching STEM experience:
- Prioritize Safety: As mentioned, always supervise children, especially with cutting tools or hot glue. Explain the importance of not looking directly into the sun through the kaleidoscope.
-
Encourage Experimentation:
- Light Sources: Test your kaleidoscope with different light sources – natural window light, a flashlight, a lamp. How do the patterns change? Discuss how brightness and color of light impact what you see.
- Object Choices: While our project uses a spinning disc, you can experiment with small, translucent objects placed on clear plastic over one end of the kaleidoscope (like small beads or colored cellophane).
- Mirror Angles (Advanced): For older kids, experiment with different mirror angles. What happens if the mirrors aren't at perfect 60-degree angles? This introduces advanced geometry in a very visual way.
- Discuss the Science: Take moments to talk about why the kaleidoscope works. Use simple analogies like a ball bouncing off a wall to explain reflection. Ask open-ended questions: "What do you think is happening with the light?" or "Why do you see so many patterns when there's only one drawing?"
- Make Multiple Discs: Create a stack of different decorated circles. This allows for quick changes and continuous discovery. A child might create a disc with bold primary colors, another with intricate geometric shapes, and a third with their favorite animal drawings.
- Document Observations: Encourage kids to draw or describe the patterns they see. This helps solidify their understanding and observation skills. They could even create a "kaleidoscope journal."
- Patience is Key: Some steps, like cutting the reflective material or getting the prism to fit snugly, might take a few tries. Frame these as learning opportunities, emphasizing that persistence is part of the scientific process.
- Connect to Real-World Examples: Talk about other instances of reflection in daily life: mirrors, shiny surfaces, even water. Where else do we see symmetry? From snowflakes to butterflies, symmetry is everywhere!
- Celebrate Efforts, Not Just Outcomes: Praise the process of trying, thinking, and creating, regardless of whether the "perfect" pattern emerges on the first try. The learning journey is what truly matters.
At I'm the Chef Too!, our mission is to facilitate family bonding through these kinds of engaging, hands-on activities. We know that the shared experience of discovery, whether it's the bubbling reaction in an Erupting Volcano Cakes Kit or the dazzling patterns in your homemade kaleidoscope, creates memories that last a lifetime.
Beyond the Basics: Kaleidoscope Variations & Extension Ideas
Once you've mastered the basic kaleidoscope, the possibilities for exploration are endless!
- Vary the Tube Size and Shape: What if you use a wider tube? Or a square tube? How does that affect the overall view and the reflections?
- Different Mirror Arrangements: Instead of three mirrors, try two. What kind of patterns do you get? What if you experiment with non-equilateral triangle mirror formations? The angles between the mirrors dramatically influence the resulting patterns. This is a fantastic way to explore geometry in a hands-on manner.
- Oil Chamber Conversion: For a more advanced project (with adult supervision), you could attempt to create a small, sealed oil chamber for your objects. This would involve clear plastic discs and non-toxic oil, mimicking the mesmerizing effect of commercial oil kaleidoscopes.
- Teleidoscope Fun: Instead of a spinning disc, try adding a clear glass marble or a clear plastic orb to one end of your tube (securely fastened). Now, point your teleidoscope at different objects in your environment – a patterned carpet, a tree, a colorful toy – and see them transform into intricate kaleidoscopic images!
- Light Box Exploration: Place your kaleidoscope over a simple light box (e.g., a clear plastic container with an LED light strip inside) instead of just pointing it at ambient light. How do the vibrant colors from the light box enhance the patterns?
- Art Integration: Use your kaleidoscope patterns as inspiration for drawings, paintings, or even digital art. Can you recreate a favorite pattern?
These extensions offer opportunities for children to continue their learning journey, delving deeper into physics, art, and creative problem-solving. Each variation presents new challenges and new insights, ensuring that the wonder never fades. For ongoing inspiration and exciting educational themes delivered right to your door, remember to check out our flexible Chef's Club subscription plans – perfect for gifting or long-term enrichment, with options for 3, 6, or 12-month prepaid plans!
The I'm the Chef Too! Difference: Why We Love Hands-On Learning
At I'm the Chef Too!, we wholeheartedly believe in the power of hands-on learning, especially when it cleverly combines education with delightful experiences. This kaleidoscope project is a shining example of our philosophy in action: taking complex scientific principles and making them accessible, engaging, and incredibly fun.
Our mission is to blend food, STEM, and the arts into one-of-a-kind "edutainment" experiences that genuinely spark curiosity and creativity in children. We understand that abstract concepts can be daunting for young learners. That's why we’ve developed a unique approach that teaches subjects like chemistry, physics, and biology through tangible, hands-on, and delicious cooking adventures. Imagine learning about geological layers while baking a Fudgy Fossil Dig kit, or understanding chemical reactions as you create bubbling potions!
Developed by mothers and educators, our kits are designed to be more than just a passing activity. They are tools for fostering a love for learning, building confidence through accomplishment, developing key cognitive and motor skills, and most importantly, facilitating precious family bonding moments away from screens. We strive to provide experiences that encourage children to explore, question, and discover, transforming every kitchen into a vibrant laboratory and art studio.
We focus on the benefits of the process: the joy of discovery, the thrill of creation, the satisfaction of a challenge met, and the sheer delight of tasting your delicious experiments. We don't promise guaranteed genius, but we do promise a journey of growth, learning, and unforgettable memories. Whether you're making a kaleidoscope at home or diving into one of our themed culinary STEM kits, the goal is always the same: to make learning an exciting, joyful adventure that nurtures young minds and hearts.
Conclusion
From simple tubes and reflective sheets, we've unlocked a universe of shimmering beauty and scientific wonder with our homemade kaleidoscope. This project isn't just a fun craft; it's a powerful tool for hands-on STEM education, teaching fundamental principles of light, reflection, and symmetry in the most captivating way imaginable. We've explored the fascinating history and science behind these magical devices, walked through the steps of creating your own, and discovered myriad ways to deepen the learning experience through experimentation and extension activities.
The act of building and observing a kaleidoscope reinforces critical skills like problem-solving, fine motor coordination, and artistic expression, all while fostering a deep sense of curiosity about the world around us. At I'm the Chef Too!, we believe these kinds of tangible, engaging experiences are absolutely essential for nurturing bright, confident, and creative young minds. They offer a valuable screen-free alternative, encouraging children and families to connect, learn, and create cherished memories together.
So, go ahead – gather your materials, embrace the adventure, and watch as your child discovers the captivating magic of light and reflection. The journey of discovery is truly a beautiful one, and it’s often sparked by the simplest, most engaging activities.
Ready to bring more "edutainment" into your home every month? Join The Chef's Club today! A new, exciting STEM cooking adventure with pre-measured dry ingredients and specialty supplies will be delivered right to your door with free shipping in the US. Give the gift of learning that lasts all year with our flexible 3, 6, or 12-month prepaid plans, and continue sparking that boundless curiosity and creativity in your child!
FAQ Section
Q1: What is the best material for the mirrors in a homemade kaleidoscope? A1: Mylar sheets or self-adhesive mirrored cardstock provide the clearest reflections and are relatively easy to cut. Heavy-duty aluminum foil can be an alternative, but requires careful smoothing for good results.
Q2: My kaleidoscope patterns aren't very clear. What could be wrong? A2: Several factors can affect clarity: * Mirror quality: Ensure your reflective material is smooth and free of wrinkles or scratches. * Mirror alignment: The mirrors need to be tightly arranged in a perfect triangle. Gaps or uneven angles will distort the reflections. * Light source: Make sure you're using a bright, consistent light source (but never directly the sun!). * Object clarity: The patterns on your spinning disc should be bold and distinct.
Q3: How many mirrors do I need for a kaleidoscope? A3: Most traditional and DIY kaleidoscopes use three mirrors arranged in an equilateral triangular prism. This arrangement creates symmetrical, repeating patterns. Some designs use two mirrors, which create a different, often tunnel-like, reflective effect.
Q4: Can younger children participate in this kaleidoscope STEM project? A4: Absolutely! Younger children (with adult supervision) can help decorate the tube and the spinning discs. An adult should handle all cutting and assembly of the mirror prism and straw mechanism. The decorating stage is a fantastic opportunity for creative expression for all ages.
Q5: What are some safe ways to experiment with different "objects" inside the kaleidoscope? A5: For a safe, changeable "object chamber," you can: * Create multiple decorated cardstock discs. * Place small, colorful, flat, and translucent items (like small beads, glitter, or colored cellophane pieces) on a clear plastic disc or lid that can be placed over the end of the kaleidoscope. This allows for new patterns without permanent changes.
Q6: What's the difference between a kaleidoscope and a teleidoscope? A6: A kaleidoscope creates patterns from objects inside its own tube or on a spinning disc. A teleidoscope, however, has a clear lens or orb at one end and creates kaleidoscopic patterns from whatever it is pointed at in the external environment.
Q7: How does this project connect to what I'm the Chef Too! offers? A7: This kaleidoscope STEM project perfectly aligns with I'm the Chef Too!'s mission to blend food, STEM, and the arts into engaging, hands-on "edutainment." It teaches scientific principles (light, reflection, geometry) through a tangible, creative activity, much like our cooking STEM kits teach chemistry or biology through delicious, edible experiments. Both foster curiosity, build skills, and create family memories in a screen-free environment. For more similar learning experiences, explore our kits or join The Chef's Club!