Table of Contents
- Introduction
- Why At-Home Science Experiments Are Essential for Kids
- Getting Started: Setting Up Your At-Home Science Lab
- Chemistry Adventures: Fizz, Foam, and Fun
- Physics in Play: Forces, Motion, and Light
- Biology & Earth Science Explorations: Nature's Wonders
- Engineering & Design Challenges: Building Brilliant Minds
- Tips for a Successful At-Home Science Experience
- Taking the Learning Further with I'm the Chef Too!
- Conclusion
- FAQ: Your At-Home Science Questions Answered
Picture this: your child, eyes wide with wonder, watching something seemingly magical unfold right before them. Perhaps a balloon inflates itself without a single puff of air, or a rainbow appears on a plate with just a few candies and some water. These aren't illusions; they're the captivating world of at-home science experiments, where everyday items transform into tools for discovery and learning. Children are natural scientists, born with an insatiable curiosity about how the world works. They poke, prod, question, and explore, constantly gathering data and forming hypotheses in their own unique way.
In a world increasingly dominated by screens, finding engaging, educational, and screen-free activities can feel like a challenge. But what if the next great learning adventure was hiding in your pantry or under your kitchen sink? This blog post is your comprehensive guide to unlocking the incredible potential of at-home science experiments for kids. We'll dive deep into activities that aren't just fun, but also foster critical thinking, problem-solving, and a lifelong love for learning. At I'm the Chef Too!, our mission is to blend food, STEM, and the arts into one-of-a-kind "edutainment" experiences, making complex subjects tangible, hands-on, and delicious. We believe that the kitchen is a fantastic, accessible lab, and that learning should be an adventure. So, get ready to spark curiosity, build confidence, and create joyful family memories as we explore the exciting world of at-home science!
Introduction
Have you ever noticed the sheer delight on a child's face when they witness something new, something that makes them ask, "How did that happen?" That innate sense of wonder is the perfect springboard for scientific exploration. Science isn't just about microscopes and beakers in a sterile lab; it’s about understanding the world around us, and that journey can begin right in your own home. Engaging in at-home science experiments for kids provides a unique opportunity to transform everyday moments into extraordinary learning experiences, all while strengthening family bonds and offering a refreshing alternative to screen time.
This guide is designed to empower parents and educators with practical, valuable advice and realistic expectations for conducting captivating science activities with children of all ages. We'll explore a wide array of experiments covering chemistry, physics, biology, and even engineering, using materials you likely already have. From fizzing concoctions to gravity-defying tricks, these activities are crafted to be simple, safe (with adult supervision, of course!), and incredibly insightful. Our goal is not to turn every child into a Nobel laureate overnight, but rather to cultivate their natural curiosity, build foundational STEM skills, and instill a love for discovery that will last a lifetime. Get ready to embark on a delicious journey of exploration; the world of science is waiting! Ready for new adventures delivered every month? Join The Chef's Club and enjoy free shipping on every box.
Why At-Home Science Experiments Are Essential for Kids
The benefits of incorporating at-home science into your child's routine extend far beyond just learning scientific facts. It’s about cultivating a mindset of inquiry and developing crucial life skills.
- Igniting Curiosity and Wonder: Children are naturally curious. Science experiments provide a structured yet playful way to channel that curiosity, turning "why" questions into hands-on investigations. When a child sees a chemical reaction or understands a physical principle firsthand, it sparks a deeper sense of wonder than any textbook ever could.
- Developing Critical Thinking and Problem-Solving Skills: Science is all about asking questions, forming hypotheses, testing ideas, and analyzing results. Even simple experiments encourage children to think logically, predict outcomes, troubleshoot when things don't go as planned, and draw conclusions based on their observations. These are foundational skills applicable to every aspect of life.
- Fostering Creativity and Innovation: Science isn't just about following instructions; it's about imagining possibilities. Many experiments can be adapted or expanded upon, encouraging children to think creatively about new variables, different materials, or alternative approaches. This fosters an innovative spirit.
- Building Confidence and Resilience: Successfully completing an experiment, even a small one, gives children a tremendous boost in confidence. They learn that they are capable of understanding complex concepts and manipulating materials to achieve a desired outcome. When an experiment doesn't work as expected, it teaches resilience and the importance of perseverance – vital lessons in any field.
- Enhancing Family Bonding and Communication: At-home science experiments are fantastic collaborative activities. Parents and children work together, discussing predictions, sharing observations, and celebrating discoveries. This shared experience creates lasting memories and opens up lines of communication about various topics. At I'm the Chef Too!, we deeply value facilitating family bonding through our unique "edutainment" experiences.
- Providing Screen-Free Educational Alternatives: In an increasingly digital world, hands-on activities offer a much-needed break from screens. Engaging with tangible materials, experimenting with real-world phenomena, and directly interacting with their environment stimulates different parts of a child's brain and encourages active participation rather than passive consumption. This commitment to screen-free learning is a core pillar of our philosophy at I'm the Chef Too!.
- Making Complex Subjects Accessible and Fun: Through hands-on cooking and science, abstract concepts like chemical reactions, density, or states of matter become concrete and understandable. When you can see, touch, and even taste the results of an experiment, learning becomes an unforgettable experience. This is the essence of our approach at I'm the Chef Too!, where we teach complex subjects through delicious cooking adventures developed by mothers and educators.
Getting Started: Setting Up Your At-Home Science Lab
You don't need a fancy laboratory to conduct amazing at-home science experiments for kids. Your kitchen, dining table, or even a corner of your backyard can serve as the perfect experimental zone. The key is to be prepared and ensure safety.
Essential Supplies (You Likely Already Have!)
Before diving into specific experiments, gather a few basic items that will be repeatedly useful:
- Kitchen Staples: Baking soda, vinegar, dish soap, food coloring, cornstarch, salt, sugar, milk, cooking oil, lemon juice.
- Containers: Clear glasses, jars, plastic bottles, shallow dishes, bowls.
- Measuring Tools: Measuring cups and spoons.
- Utensils: Spoons, whisks, droppers (can be found in medicine dispensers), cotton swabs, popsicle sticks.
- Safety Gear: Child-sized safety goggles (optional but fun and teaches good habits), old shirts or aprons to protect clothing.
- Cleaning Supplies: Paper towels, sponges, access to water.
- Miscellaneous: Balloons, plastic zip-top bags, rubber bands, string, cardboard boxes, old newspapers or a large tray to contain messes.
Safety First: Important Considerations
While at-home science experiments for kids are generally safe, adult supervision is paramount.
- Always Supervise: Never leave children unsupervised during experiments, especially those involving heat, sharp objects, or chemical reactions.
- Read Instructions Carefully: Before starting any experiment, read through all steps to understand the process and identify any potential hazards.
- Wear Protective Gear: Encourage the use of safety goggles, especially if there's a risk of splashes or flying debris. An old t-shirt or apron will protect clothes.
- Mind What Goes in Mouths: Unless specifically designed as an edible experiment (like many of ours at I'm the Chef Too!), assume all materials are not for consumption.
- Handle with Care: Teach children to handle materials, especially glass, with care.
- Ventilation: If an experiment produces fumes (even mild ones, like vinegar), ensure good ventilation.
- Clean Up: Emphasize proper cleanup after each experiment, teaching responsibility and tidiness.
Chemistry Adventures: Fizz, Foam, and Fun
Chemistry is often seen as complex, but at its heart, it's simply about how different substances interact. These at-home science experiments for kids bring chemistry to life with exciting visual reactions.
1. The Colorful Candy Rainbow Diffusion
This visually stunning experiment explores solubility and diffusion using a common sweet treat.
- What you need: A plate with a rim, a packet of colored candies (like Skittles or M&Ms), warm water.
- How to do it: Arrange the candies in a circle around the edge of the plate, or even spell out an initial with them. Carefully pour warm water into the center of the plate, just enough to cover the bottom of the candies. Watch as the colors begin to spread and merge, forming a vibrant rainbow.
- The Science: The candy coatings are made of sugar and food coloring. When they come into contact with warm water, the sugar and coloring dissolve (solubility) and then spread out from an area of high concentration (the candy) to an area of lower concentration (the water), a process called diffusion. Warm water speeds up this process.
2. The Mighty Mini Volcano
The classic baking soda and vinegar volcano is a rite of passage for many young scientists! We put a flavorful twist on it, but the science remains the same.
- What you need: A small container (like a plastic bottle or cup), a tray to catch overflow, baking soda, white vinegar or lemon juice, food coloring (optional), dish soap (optional).
- How to do it: Place your container on the tray. Put a few tablespoons of baking soda into the container. Add a few drops of food coloring and a squirt of dish soap if you want a more foamy, colored eruption. Now, slowly pour in the vinegar or lemon juice and watch your volcano erupt!
- The Science: This is a classic acid-base chemical reaction. Baking soda (sodium bicarbonate) is a base, and vinegar (acetic acid) or lemon juice (citric acid) is an acid. When they mix, they produce carbon dioxide gas. This gas rapidly expands, creating the fizzing and bubbling eruption. At I'm the Chef Too!, we love bringing these dramatic reactions to life, like in our Erupting Volcano Cakes kit where kids discover a chemical reaction that makes cakes bubble over with deliciousness!
3. Oobleck: Solid or Liquid? You Decide!
Oobleck is one of those mesmerizing non-Newtonian fluids that defies easy categorization.
- What you need: Cornstarch, water, a bowl, a spoon, food coloring (optional).
- How to do it: In a bowl, combine about 2 parts cornstarch to 1 part water. Start mixing slowly. You'll notice it feels solid when you apply pressure or try to punch it, but it flows like a liquid when you relax your grip. Add food coloring for extra fun.
- The Science: Oobleck is a non-Newtonian fluid, meaning its viscosity (resistance to flow) changes based on the stress applied to it. When you apply quick pressure, the cornstarch particles jam together, making it act like a solid. When you apply slow pressure, the particles have time to move apart, and it flows like a liquid. It's a fantastic way to explore states of matter.
4. Density Stacks: Layers of Liquid Lore
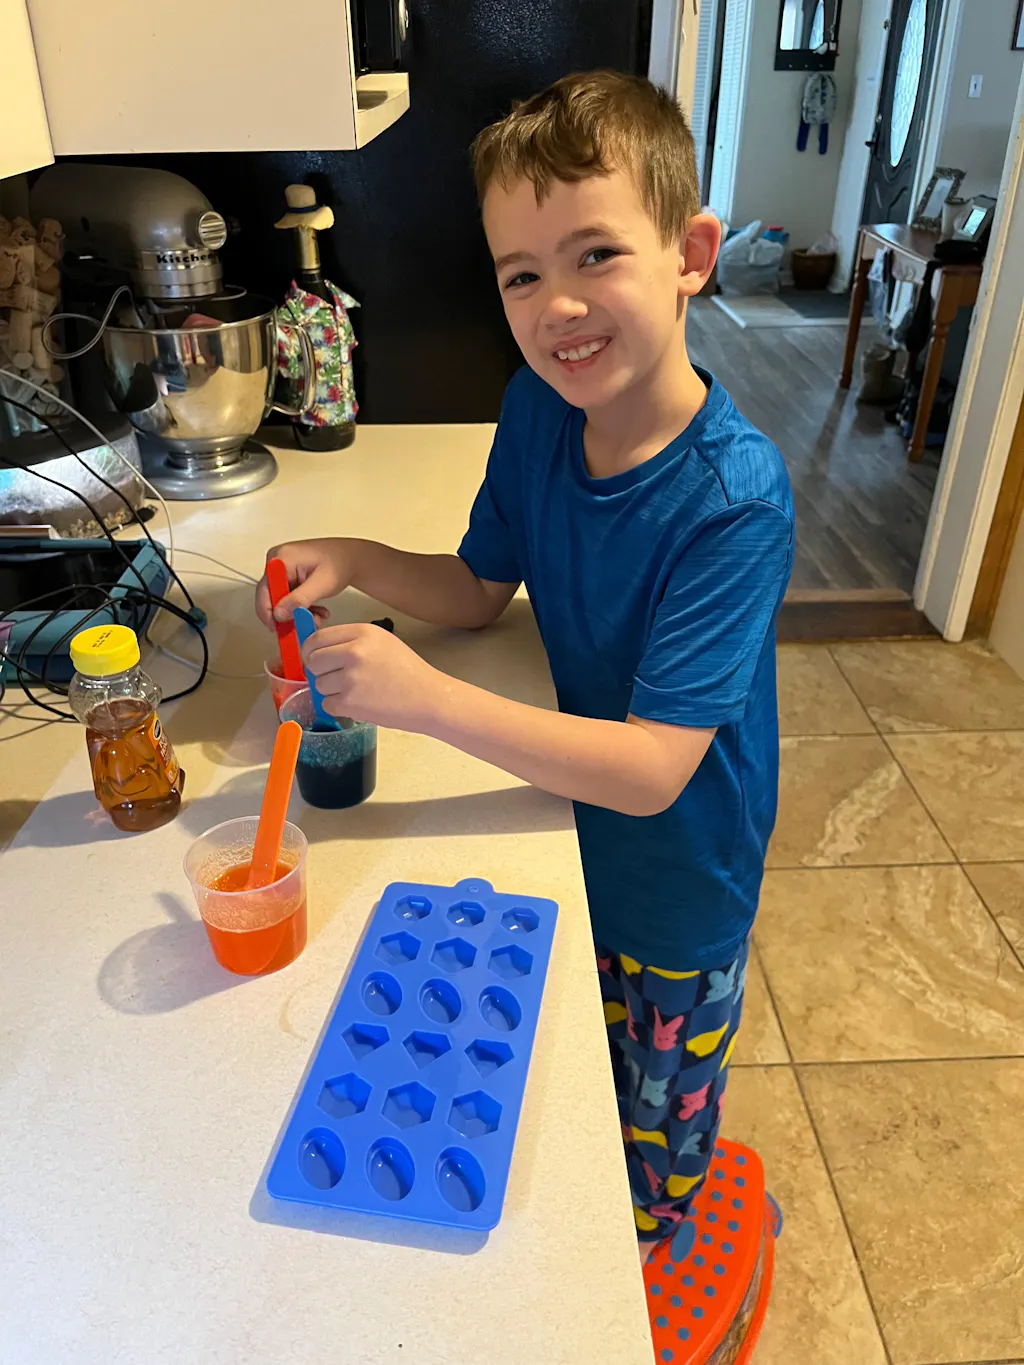
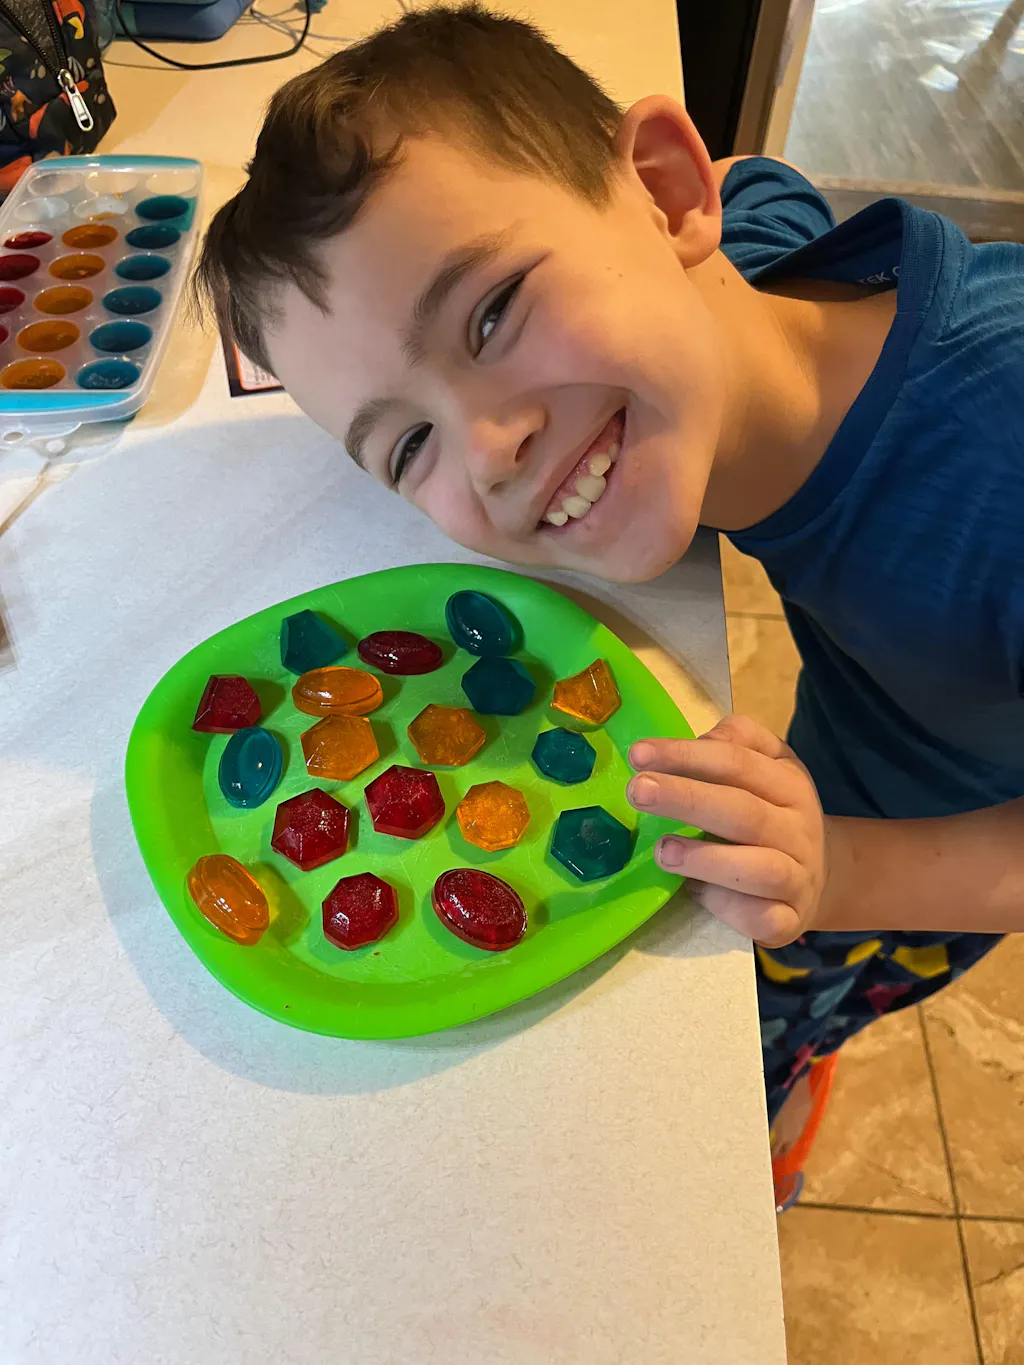
Discover that not all liquids are created equal by layering them based on their density.
- What you need: A tall, clear glass or jar, several different liquids (e.g., honey, dish soap, water, cooking oil, rubbing alcohol), food coloring, a spoon.
- How to do it: Start with the densest liquid (usually honey) and pour a layer into the bottom of the glass. Slowly and carefully, pour the next densest liquid down the side of the glass or over the back of a spoon to create a separate layer. Continue with each liquid, coloring the water with food coloring to make it stand out.
- The Science: Density is a measure of how much mass is contained in a given volume (D = M/V). Liquids with higher density will sink below liquids with lower density. As long as the liquids don't mix (are immiscible), they will form distinct layers.
5. Milk & Soap Colors: A Swirling Spectacle
This experiment beautifully demonstrates surface tension and how dish soap interacts with fats.
- What you need: A shallow dish, milk (whole milk works best due to fat content), different food colorings, a cotton swab, dish soap.
- How to do it: Pour a thin layer of milk into the shallow dish. Add several drops of different food colorings around the surface of the milk. Dip one end of a cotton swab into dish soap, then gently touch the soap-covered swab to the center of the milk. Watch the colors burst and swirl!
- The Science: Milk contains fats. Dish soap is a surfactant, meaning it reduces the surface tension of the water in the milk and breaks down fats. When the soap touches the milk, it disrupts the fat molecules, causing them to move around rapidly. The food coloring is carried along by this movement, creating a mesmerizing show.
6. Elephant Toothpaste: A Foaming Volcano
Prepare for a giant, foamy eruption that looks just like toothpaste for an elephant!
- What you need: A plastic bottle (empty and clean), a tray or tub for overflow, hydrogen peroxide (3% solution, found in pharmacies), dish soap, active dry yeast, warm water, food coloring (optional).
- How to do it: In a separate small bowl, mix 1 tablespoon of yeast with 3 tablespoons of warm water and let it sit for about 5 minutes until foamy. In the plastic bottle, pour about ½ cup of hydrogen peroxide. Add a good squirt of dish soap and a few drops of food coloring. Swirl gently. Pour the yeast mixture into the bottle and quickly step back to watch the eruption!
- The Science: This is an exothermic reaction, meaning it releases heat. Hydrogen peroxide naturally breaks down into water and oxygen, but yeast contains an enzyme called catalase which acts as a catalyst, speeding up this decomposition process significantly. The oxygen gas rapidly released gets trapped by the dish soap, creating a massive amount of foam.
7. Super Slimes & Bouncy Balls
Slime-making is a fantastic way to explore polymers and material science.
- Fluffy Slime: Mix white glue, shaving cream, baking soda, and contact lens solution (which contains borate, activating the slime). The shaving cream adds volume and fluffiness.
- Bouncy Ball: Combine cornstarch, baking soda, and water with a bit of glue to create a moldable substance that, once rolled into a ball and allowed to dry slightly, becomes surprisingly bouncy!
- The Science: Slimes and bouncy balls are examples of polymers, which are long chains of molecules. The ingredients react to form these long, interconnected chains, changing the material's properties from liquid to a viscoelastic, stretchy, or bouncy substance. The exact chemical reactions vary depending on the recipe, but all involve cross-linking polymer chains.
Ready to explore a universe of hands-on science and cooking? Browse our complete collection of one-time kits and find the perfect adventure for your little learner!
Physics in Play: Forces, Motion, and Light
Physics is all around us, governing everything from why things fall to how light bends. These at-home science experiments for kids make these fundamental principles exciting and understandable.
8. Breaking the Surface with Pepper & Soap
Demonstrate the power of surface tension and how soap can break it.
- What you need: A shallow dish, water, ground pepper, dish soap, a cotton swab.
- How to do it: Fill the dish with a thin layer of water. Sprinkle ground pepper evenly across the surface – it should float. Dip one end of a cotton swab into dish soap. Gently touch the soap-covered end to the center of the pepper-covered water. Watch the pepper rapidly scatter to the edges of the dish.
- The Science: Water molecules are attracted to each other, creating a "skin" on the surface called surface tension. The pepper floats on this skin. Dish soap is a surfactant that breaks down the surface tension. When the soap is introduced, the water molecules on the surface are suddenly pulled outwards by the stronger surface tension at the edges of the dish, carrying the pepper with them.
9. Inflating a Balloon with Gas Power
This classic experiment uses a chemical reaction to inflate a balloon without you having to blow into it.
- What you need: An empty plastic bottle, baking soda, white vinegar, a balloon, a funnel (optional).
- How to do it: Pour about half a cup of vinegar into the bottle. Using a funnel, carefully add 2-3 tablespoons of baking soda into the deflated balloon. Carefully attach the mouth of the balloon over the opening of the bottle, making sure the baking soda doesn't fall into the vinegar yet. Once securely attached, lift the balloon so the baking soda falls into the vinegar. Watch the balloon inflate!
- The Science: Just like our volcano, this is an acid-base reaction between baking soda (base) and vinegar (acid) that produces carbon dioxide gas. As the gas is produced, it fills the bottle and then inflates the balloon. This beautifully illustrates gas production and pressure.
10. The Magic Leakproof Bag
A simple trick that reveals the amazing properties of polymers.
- What you need: A zip-top plastic bag, water, several sharp pencils.
- How to do it: Fill the plastic bag about two-thirds full with water and seal it tightly. Hold the bag over a sink or tray. Slowly and carefully, push a sharpened pencil all the way through one side of the bag and out the other, without removing it. To your amazement, the bag won't leak! You can try this with several pencils.
- The Science: Zip-top bags are made of polymers, which are long chains of molecules. When a sharp pencil punctures the bag, the flexible polymer chains stretch and create a tight seal around the pencil's smooth surface, preventing water from escaping.
11. Floating Marker Man: Surface Tension Fun
Bring drawings to life with this simple yet captivating trick.
- What you need: A plate or shallow bowl, water, dry-erase markers.
- How to do it: Draw a simple stick figure or design on the bottom of the plate with a dry-erase marker. Slowly and gently pour water into the plate, being careful not to disturb the drawing directly. Watch as your drawing lifts off the plate and floats on the surface of the water!
- The Science: Dry-erase marker ink is insoluble in water and is less dense than water. It also doesn't stick strongly to smooth surfaces like ceramic plates. When water is added, the water molecules slide underneath the ink, lifting it from the plate. The ink then floats on the surface of the water due to water's surface tension and its own lower density.
12. Light Refraction: The Bending Pencil
Explore how light bends as it passes through different mediums.
- What you need: A clear glass, water, a pencil.
- How to do it: Fill the clear glass with water. Place the pencil into the glass at an angle. Look at the pencil from different angles, especially from the side. The pencil will appear to be "bent" or broken at the water line.
- The Science: This phenomenon is called light refraction. Light travels at different speeds through different mediums (like air and water). When light rays pass from one medium to another at an angle, they change speed and direction, causing the light to "bend." Our eyes interpret this bending as a distortion of the object itself.
13. Capillary Action: Walking Water
Watch colored water seemingly "walk" from one glass to another, defying gravity!
- What you need: Three to five clear glasses, water, food coloring (different colors), paper towels.
- How to do it: Arrange the glasses in a line. Fill alternating glasses with water. Add a different food coloring to each water-filled glass. Take a paper towel, fold it lengthwise, and place one end in a water-filled glass and the other end in an empty glass next to it. Repeat with other paper towels, connecting all the glasses. Over time, the water will "walk" from the full glasses to the empty ones, mixing colors as it goes.
- The Science: This demonstrates capillary action, which is the ability of a liquid to flow in narrow spaces against the force of gravity. The paper towel fibers act like tiny tubes. Water molecules are attracted to the paper towel (adhesion) and also to each other (cohesion). This combination allows the water to climb up the paper towel fibers and into the empty glass until the water levels equalize.
14. Static Electricity: Balloon Hair Fun
Make hair stand on end with the invisible power of static electricity.
- What you need: An inflated balloon, dry hair (or a wool sweater).
- How to do it: Rub the inflated balloon vigorously against your dry hair or a wool sweater for about 10-20 seconds. Slowly pull the balloon away from your hair. Watch as your hair stands up and tries to follow the balloon!
- The Science: When you rub the balloon against your hair or wool, electrons (tiny negatively charged particles) transfer from your hair (or the wool) to the balloon. This gives the balloon a negative static charge and leaves your hair with a positive static charge. Opposite charges attract, so your hair is pulled towards the balloon.
Biology & Earth Science Explorations: Nature's Wonders
Science isn't just about chemical reactions; it's also about understanding living things and the planet we inhabit.
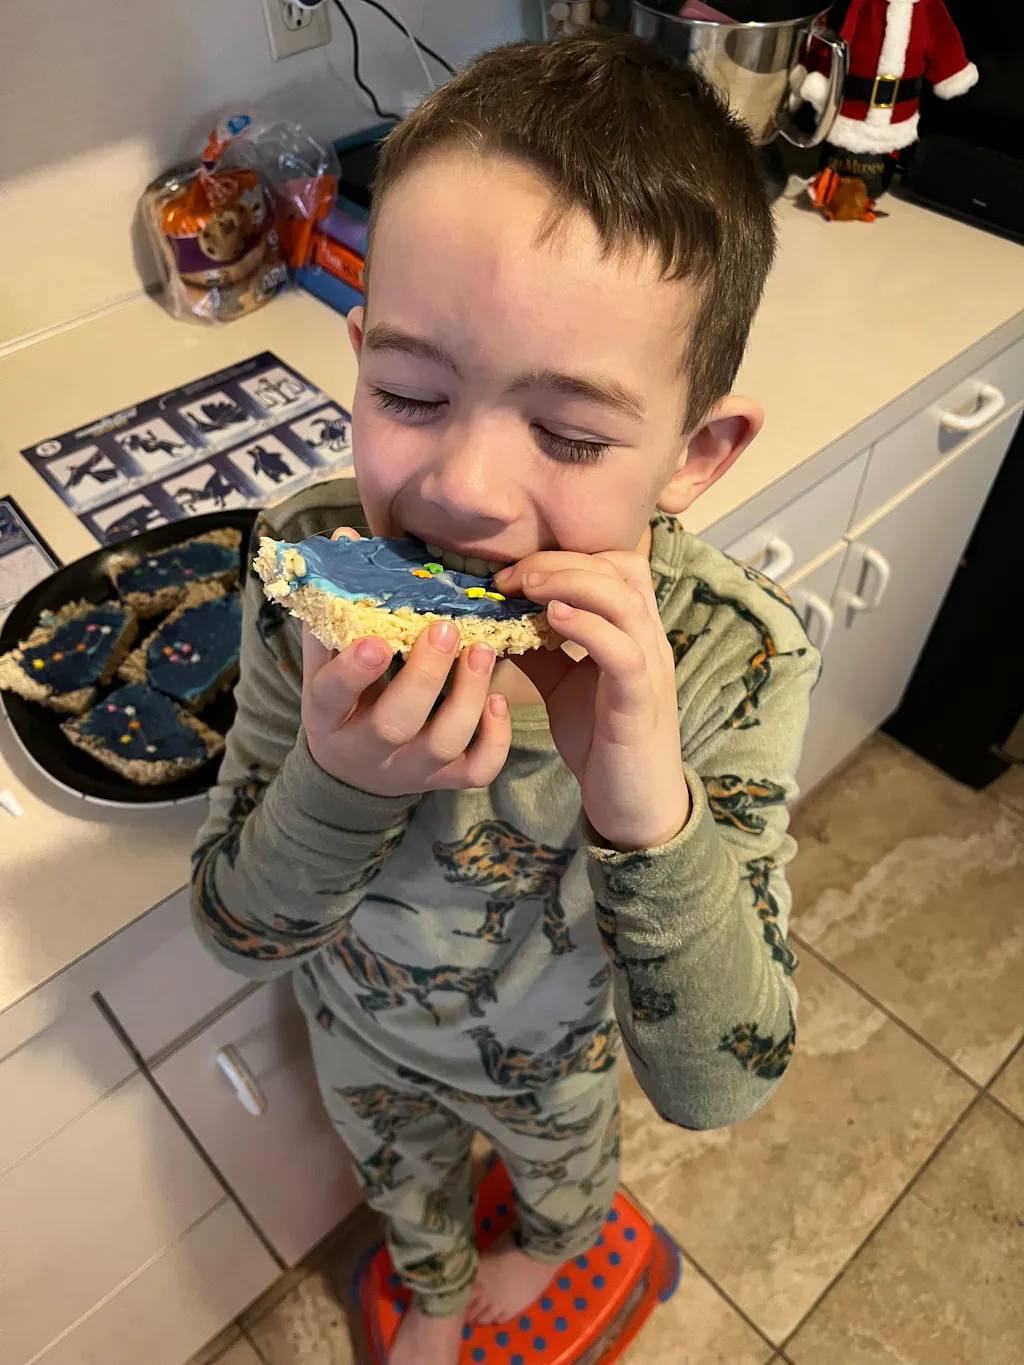
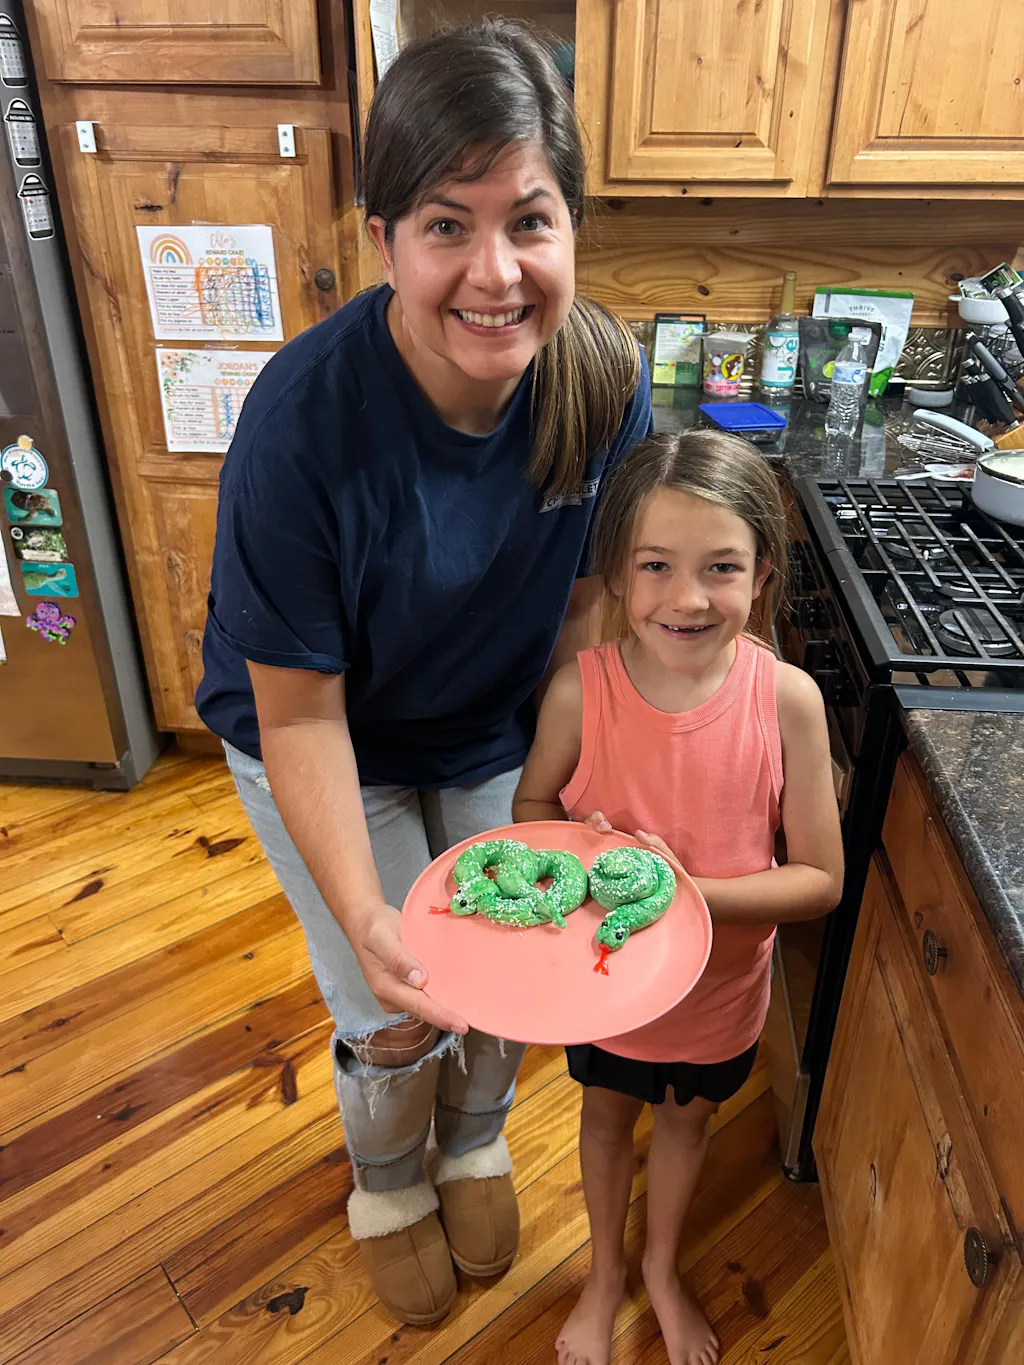
15. Edible Fossil Dig: A Sweet Peek into Paleontology
Introduce the concept of fossils and paleontology in a delicious, hands-on way.
- What you need: A small baking pan or container, chocolate pudding, crushed chocolate cookies (for "dirt"), gummy worms or candy dinosaurs, a small clean paintbrush or spoon.
- How to do it: Layer chocolate pudding and crushed cookies in your container, embedding gummy "fossils" in between layers. Let it chill to set. Then, provide your child with a paintbrush or small spoon to carefully "excavate" their fossils from the edible "dirt."
- The Science: This playful activity introduces children to the idea of excavation, layers of sediment, and how paleontologists carefully uncover ancient remains. While not a true scientific experiment, it sparks interest in geology and paleontology, making the abstract concept of fossils tangible. This perfectly aligns with our engaging kits at I'm the Chef Too!, which transform learning into delicious adventures.
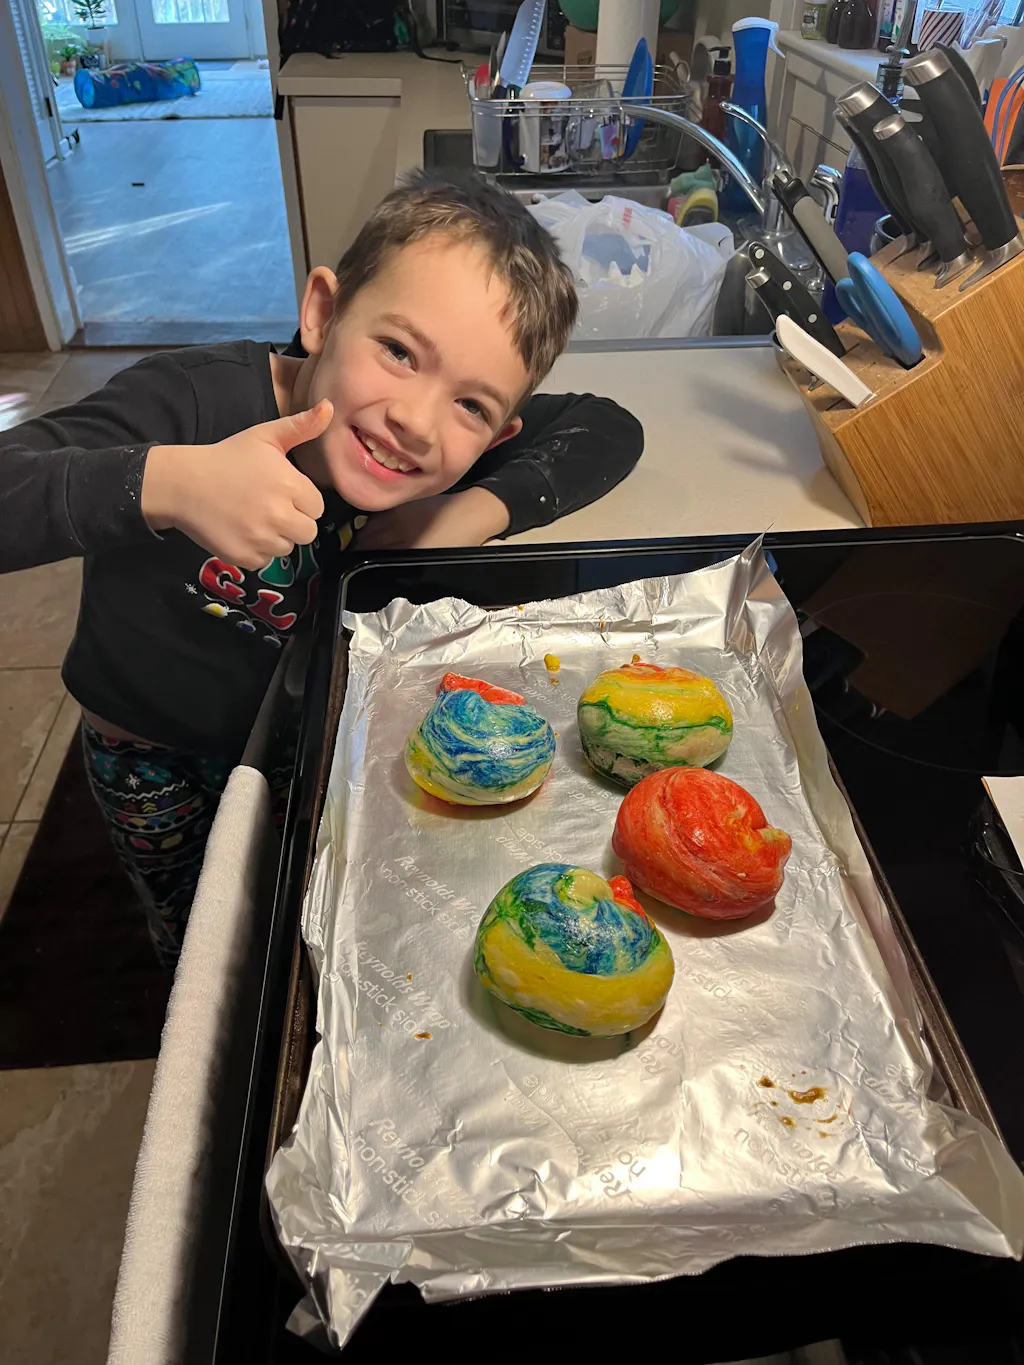
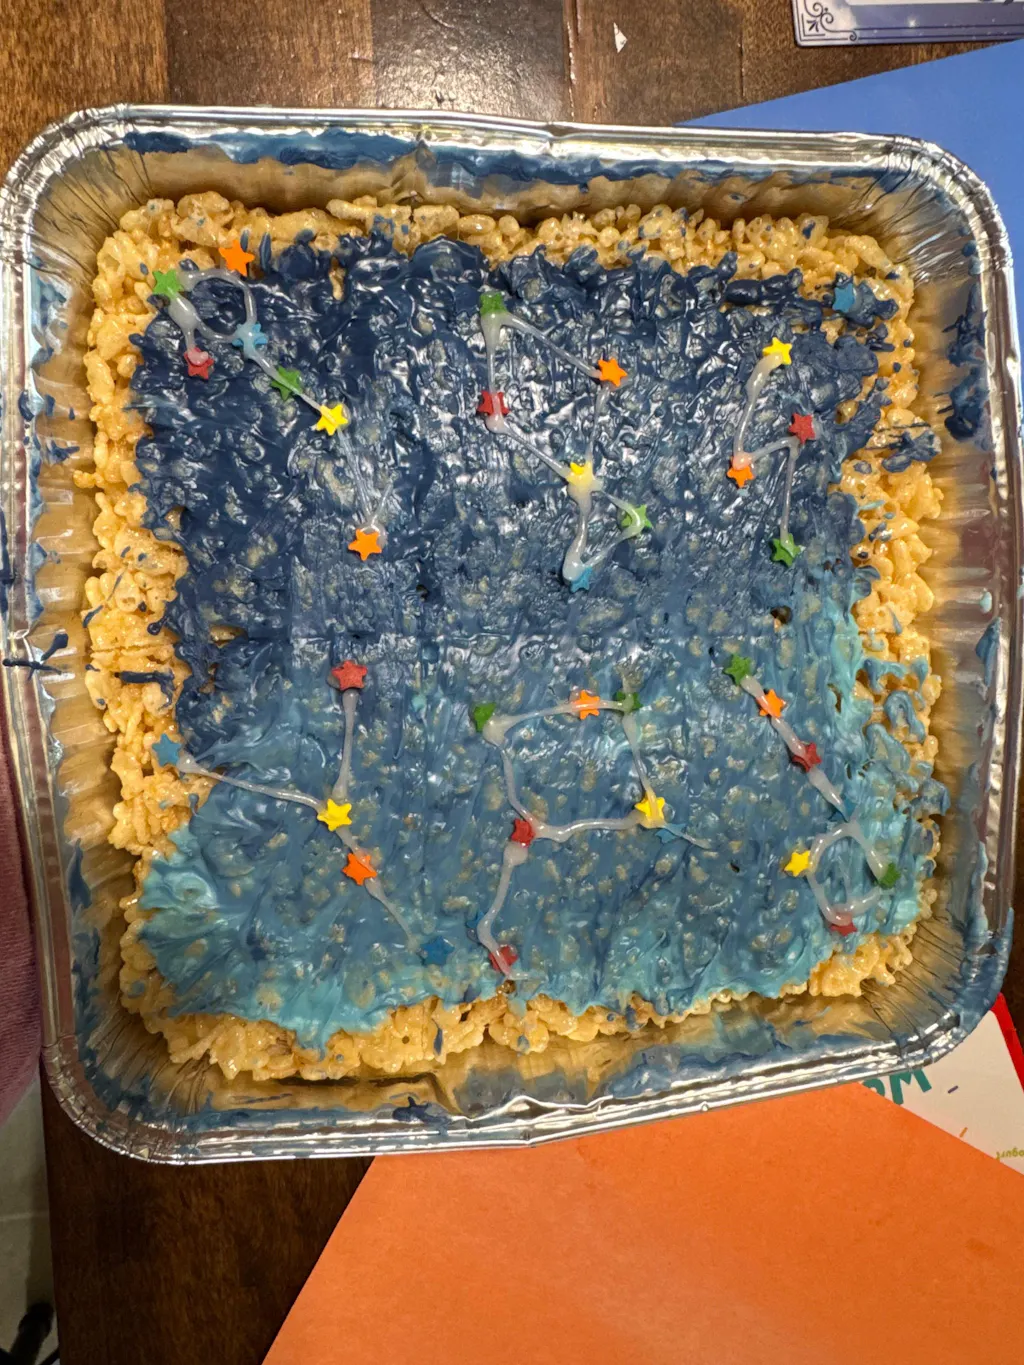
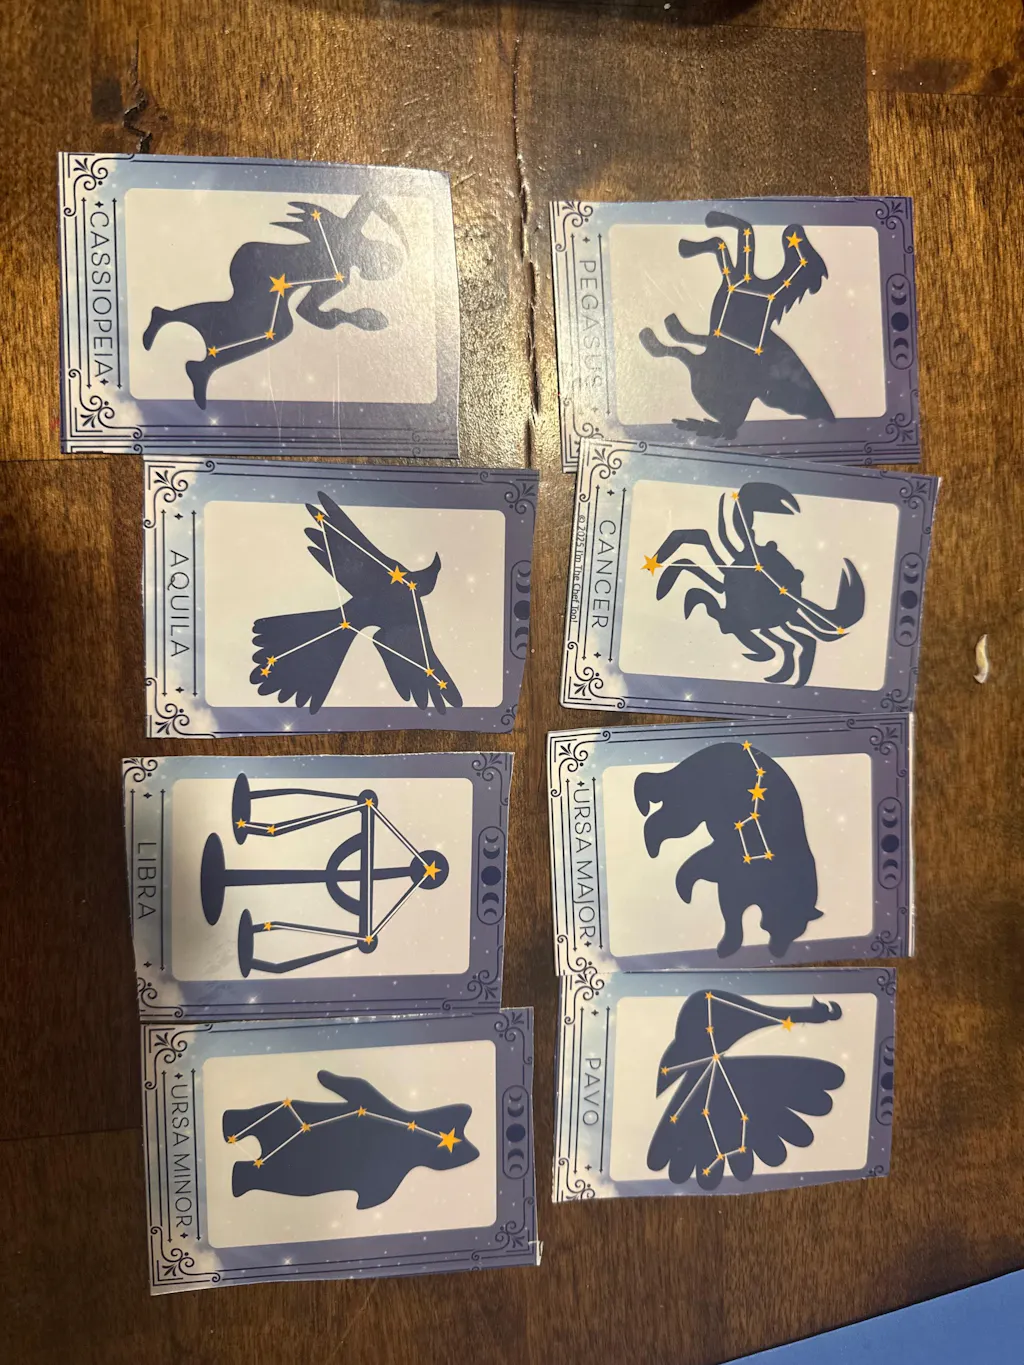
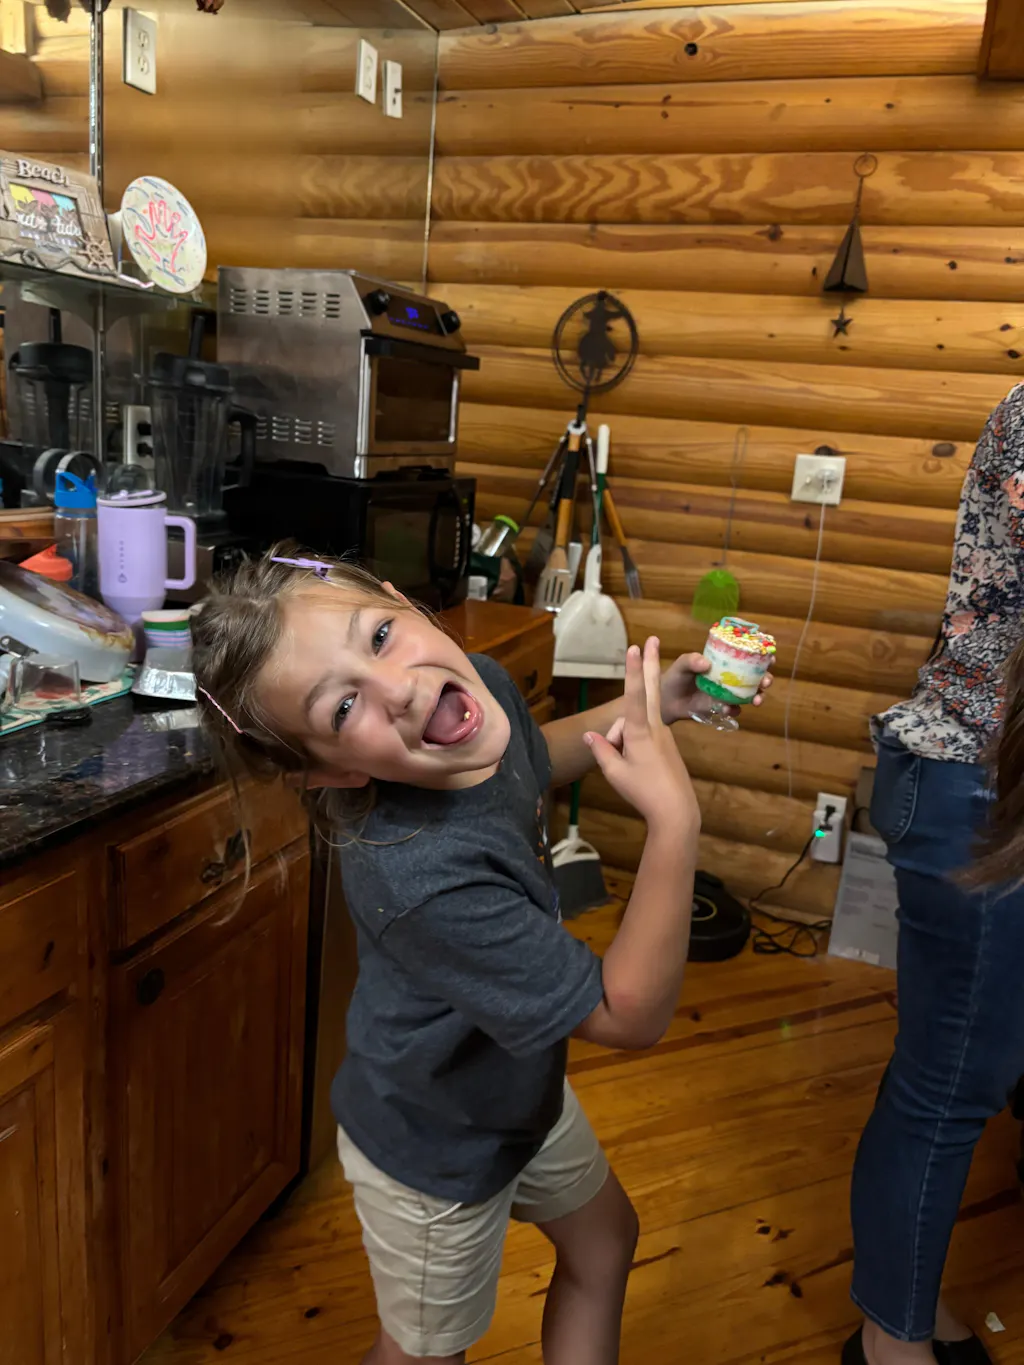
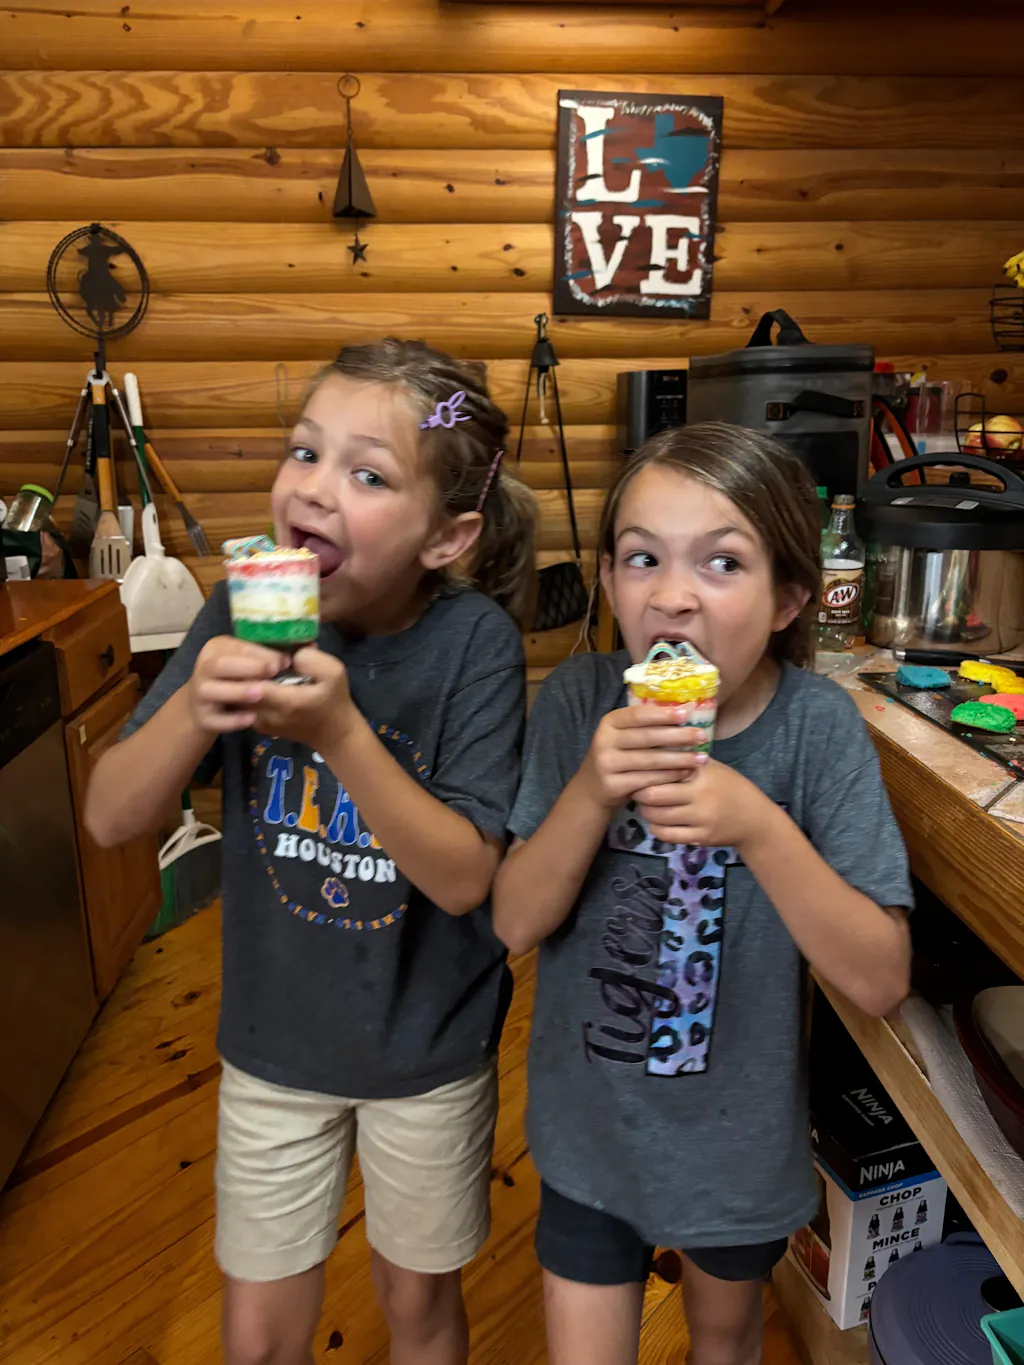
16. Galaxy Donut Kit: An Edible Solar System
Explore the wonders of space by creating and decorating an edible model of our solar system.
- What you need: Our Galaxy Donut Kit provides everything you need, from donut mix to galactic-themed glazes and sprinkles!
- How to do it: Follow the simple instructions in the kit to bake delicious donuts. Then, use the provided glazes and sprinkles to decorate each donut to represent different planets, stars, or celestial bodies. Discuss characteristics of each while decorating.
- The Science: This activity brings astronomy to life. While decorating, you can discuss the planets, their relative sizes, colors, and unique features. It’s a fun way to visualize the solar system, spark conversations about space exploration, and combine culinary skills with cosmic learning. It’s a perfect example of how I'm the Chef Too! blends food, STEM, and the arts.
17. Diaper Jelly Absorption: The Super Absorbent Polymer
Explore the incredible power of super absorbent polymers found in everyday diapers.
- What you need: A clean disposable diaper, a bowl, water, scissors.
- How to do it: Carefully cut open the inner lining of a disposable diaper and shake out the fluffy, cotton-like material into a bowl. This material contains tiny crystals of sodium polyacrylate. Pour a small amount of water onto the material and watch as it rapidly absorbs the liquid, expanding and turning into a gel-like "snow." You can keep adding water until it stops absorbing.
- The Science: Sodium polyacrylate is a super absorbent polymer. Its molecular structure allows it to absorb hundreds of times its weight in water, trapping the liquid within its polymer chains. This property makes it incredibly useful in products like diapers, where efficient moisture absorption is crucial.
Engineering & Design Challenges: Building Brilliant Minds
Engineering is all about design, construction, and problem-solving, often using creativity to overcome limitations.
18. Cardboard Creations: From Boxes to Breakthroughs
Repurpose everyday cardboard boxes into innovative engineering projects.
- What you need: Cardboard boxes of various sizes, scissors (adult use), tape, glue, craft supplies for decoration.
-
How to do it: Challenge your child to design and build something using only cardboard:
- A "Strong" Chair: Can they build a chair strong enough to hold a stuffed animal, or even themselves, using only cardboard and tape? This involves understanding structural integrity and load bearing.
- A Marble Run: Design a maze or a track for a marble using cardboard ramps, tunnels, and obstacles. This teaches concepts of gravity, friction, and kinetic energy.
- A Rocket or Robot: Encourage imaginative design, focusing on how different parts fit together and what purpose they serve.
- The Science/Engineering: These activities promote design thinking, spatial reasoning, problem-solving, and an understanding of basic engineering principles like stability, balance, and structural strength. It teaches children to see ordinary objects as potential building blocks for extraordinary creations.
19. DIY Chalk: Art & Chemistry Combined
Create your own colorful sidewalk chalk using simple ingredients.
- What you need: Plaster of Paris, water, tempera paint or food coloring, small plastic containers or silicone molds (like ice cube trays).
- How to do it: In a bowl, mix about 2 parts Plaster of Paris with 1 part water to form a thick paste. Add a few drops of tempera paint or food coloring and mix well. Quickly spoon the mixture into your molds, pressing it down firmly. Let it dry completely for several hours or overnight until hardened. Once dry, pop out your custom chalk!
- The Science: Plaster of Paris is a gypsum plaster that undergoes a chemical reaction when mixed with water. It rehydrates and recrystallizes, hardening into a solid form. This process involves a chemical change, transforming a powder into a solid material. The food coloring simply adds an artistic element to this material science project.
Tips for a Successful At-Home Science Experience
To maximize the learning and fun, consider these helpful tips for your at-home science experiments for kids:
- Embrace the Mess (and Prepare for It): Science can be messy, and that's part of the fun! Lay down old newspapers, use a large tray or baking sheet, or conduct experiments outdoors when possible. A little mess is a small price to pay for big discoveries.
- Encourage Exploration, Not Perfection: The goal isn't always to get the "right" result, but to explore the process. Encourage children to try different variables (more water, less baking soda, different colors) and see what happens.
- Ask Open-Ended Questions: Instead of just telling them what's happening, ask questions like: "What do you think will happen if...?" "Why do you think it did that?" "What did you observe?" "What could we try differently next time?" This fosters critical thinking and hypothesis formation.
- Document Findings: Encourage drawing observations, taking notes, or even creating simple graphs. This reinforces scientific methodology and helps children reflect on their learning. A simple notebook can become their "science journal."
- Connect to Real-World Phenomena: After an experiment, discuss how the scientific principle applies to everyday life. For example, discuss how gas pressure inflates tires, or how density affects boats floating in water.
- Read Books Together: Supplement hands-on experiments with age-appropriate science books to deepen understanding and introduce new concepts.
- Keep it Fun and Age-Appropriate: Tailor experiments to your child's age and attention span. If they're losing interest, don't force it. The most important thing is to make learning enjoyable.
- Celebrate Discoveries: Applaud their efforts, celebrate their "aha!" moments, and acknowledge their curiosity. Positive reinforcement encourages further exploration.
Taking the Learning Further with I'm the Chef Too!
At I'm the Chef Too!, we understand the magic of hands-on learning and the joy of discovery. Our unique approach seamlessly integrates food, STEM, and the arts, providing delicious and educational cooking adventures developed by mothers and educators. We take the guesswork out of planning and sourcing, delivering everything you need for an amazing experience right to your door.
Imagine exploring complex chemical reactions while baking our Erupting Volcano Cakes kit, or delving into astronomy as you create an edible solar system with our Galaxy Donut Kit. Even beloved characters can make learning fun, like when kids make Peppa Pig Muddy Puddle Cookie Pies and learn about textures and states of matter. Each I'm the Chef Too! kit is a complete experience, containing pre-measured dry ingredients and specialty supplies, designed to spark curiosity, foster creativity, and facilitate family bonding – all in a screen-free environment.
Not ready to subscribe just yet? No problem! Explore our full library of adventure kits available for a single purchase in our shop to find the perfect theme for your little learner. And for those looking for ongoing enrichment, our monthly Chef's Club subscription delivers a new adventure to your door every month with free shipping in the US. We offer flexible 3, 6, and 12-month pre-paid plans, perfect for gifting or long-term engagement in delicious STEM education.
Our commitment is to provide practical, valuable activities that foster a love for learning, build confidence, develop key skills, and create joyful family memories. We believe in the power of hands-on exploration to make learning an unforgettable adventure.
Conclusion
The world is a magnificent laboratory, and your home is the perfect place for your child to begin their scientific journey. Engaging in at-home science experiments for kids is far more than just a pastime; it’s an investment in their cognitive development, their problem-solving abilities, their creativity, and their boundless curiosity. From the fizz of a chemical reaction to the simple magic of static electricity, each experiment is a stepping stone to understanding the fundamental principles that govern our universe.
By embracing these hands-on activities, you're not just teaching science; you're nurturing a love for learning, building confidence, and creating invaluable memories as a family. You're providing a screen-free educational alternative that truly ignites the senses and engages the mind. At I'm the Chef Too!, we are passionate about making STEM education accessible, engaging, and utterly delicious. Our unique blend of food, science, and art is designed to spark that wonder and foster those essential skills in every child.
So, gather your ingredients, prepare for a little mess, and embark on an exciting adventure of discovery with your children. The next great scientific breakthrough might just start in your kitchen! To keep the learning and delicious fun coming month after month, we invite you to experience the convenience and joy of our Chef's Club subscription. A new, exciting, and educational adventure will be delivered right to your door with free shipping, ensuring continuous inspiration for your budding scientist. Join The Chef's Club today and turn every month into a scientific celebration!
FAQ: Your At-Home Science Questions Answered
Q1: What age group are these at-home science experiments for?
A1: Many of these experiments can be adapted for a wide range of ages. Younger children (preschool to early elementary) will enjoy the sensory experience and observing the "magic," while older children (elementary to middle school) can delve deeper into the scientific explanations, variables, and hypothesis testing. Adult supervision is always essential, especially for younger children.
Q2: How can I make science experiments less messy?
A2: Messes are often a part of the fun in science! However, you can minimize them by:
- Using a large baking sheet, plastic tub, or old newspapers under your workspace.
- Conducting experiments in the kitchen sink or outdoors.
- Using squeeze bottles or droppers for liquids to control pouring.
- Having paper towels and cleaning supplies readily available for quick cleanups.
Q3: What if an experiment doesn't work as expected?
A3: That's science in action! Don't view it as a failure. Instead, turn it into another learning opportunity. Ask your child:
- "What do you think went wrong?"
- "What could we change next time?"
- "Did we use the right measurements or follow all the steps?"
- "Let's try again!" Troubleshooting is a critical part of scientific inquiry and problem-solving.
Q4: How can I encourage my child to be more interested in science?
A4:
- Follow their interests: If they love dinosaurs, find experiments related to paleontology or geology. If they love space, explore astronomy.
- Make it fun and playful: Avoid making it feel like a chore or a classroom lesson.
- Read science books together: Connect the experiments to stories and information.
- Visit science museums or nature centers: Real-world exposure can spark incredible interest.
- Model curiosity: Ask questions and explore alongside them, showing that learning is a lifelong journey.
- Consider structured kits: Kits like those from I'm the Chef Too! provide engaging themes and all necessary materials, making it easy to dive into fun science. Explore our full library of adventure kits for inspiration.
Q5: Are the materials for these experiments expensive?
A5: Not at all! Most of the at-home science experiments for kids listed here use common household items that are inexpensive and readily available in your kitchen or at a local store. Part of the appeal is showing children that incredible discoveries can be made with everyday objects. For a convenient and complete experience, our I'm the Chef Too! kits provide everything you need in one box, taking the hassle out of material gathering.
Q6: How often should we do at-home science experiments?
A6: There's no fixed rule! The best frequency is what works for your family's schedule and your child's interest level. It could be once a week, once a month, or whenever a moment of curiosity strikes. The goal is consistent exposure and fostering a positive attitude towards learning. A monthly subscription like The Chef's Club can help maintain a regular rhythm of scientific exploration.