Table of Contents
- The Magic of Light and Color: Understanding Rainbows
- Why Rainbow STEM Activities Are Essential for Young Minds
- Simple Rainbow Science Experiments for Home Discovery
- Engaging Rainbow Engineering & Art Challenges
- Integrating STEM Principles into Every Activity
- Practical Tips for Parents and Educators
- Beyond the Rainbow: Continuing the STEM Journey
- Conclusion
- FAQ Section
Have you ever seen the sheer delight on a child's face when they spot a vibrant rainbow arcing across the sky after a summer rain? That universal sense of wonder and awe, stirred by nature's own spectacular display of color, is a powerful starting point for learning. Imagine harnessing that natural curiosity and transforming it into engaging, hands-on learning experiences right in your own home or classroom. We're talking about rainbow STEM activities – a brilliant fusion of science, technology, engineering, and mathematics, all wrapped up in the captivating beauty of colors.
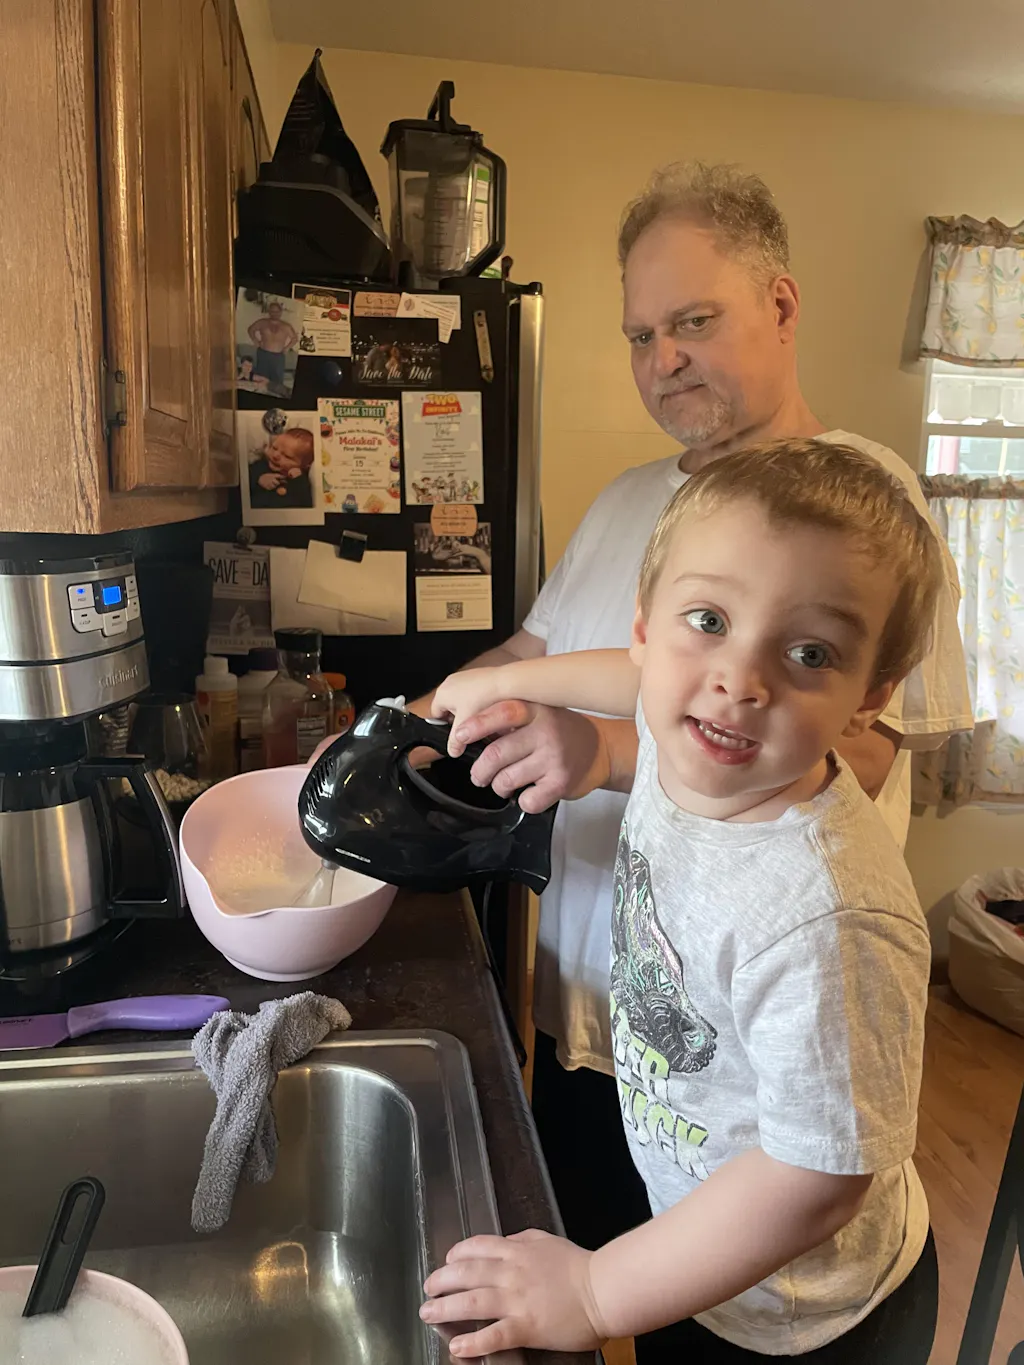
At I'm the Chef Too!, we believe that the most impactful learning happens when children are truly engaged, when they can touch, taste, and experience the concepts they're exploring. Our mission is to blend food, STEM, and the arts into one-of-a-kind "edutainment" experiences that not only spark curiosity and creativity in children but also facilitate precious family bonding and provide a much-needed screen-free educational alternative. This post will delve deep into the fascinating world of rainbow STEM activities, offering a comprehensive guide to understanding their scientific principles, exploring a wide array of engaging projects, and highlighting how these colorful adventures can lay a strong foundation for lifelong learning. We'll show you how to turn simple household items into tools for discovery, foster critical thinking, and create unforgettable moments, proving that learning can truly be as vibrant and exciting as a rainbow itself.
The Magic of Light and Color: Understanding Rainbows
Before we dive into the activities, let's understand the very essence of a rainbow. What makes these dazzling arches appear in the sky? It's a beautiful dance between light and water, a phenomenon that has captivated humanity for centuries.
How Nature Paints the Sky: The Science of Rainbow Formation
A rainbow is not a physical object in the sky; rather, it’s an optical illusion caused by the reflection, refraction, and dispersion of light in water droplets. When sunlight (which appears white to us, but is actually made up of all the colors of the visible spectrum) passes through tiny raindrops, something truly magical happens:
- Refraction: As sunlight enters a water droplet, it slows down and bends. This bending is called refraction. Different colors of light bend at slightly different angles.
- Reflection: Once inside the water droplet, the light hits the back surface and reflects off it, much like a mirror.
- Dispersion: As the light exits the water droplet, it refracts again, spreading out even more. Because each color bends at its own unique angle, they separate, revealing the full spectrum of colors: red, orange, yellow, green, blue, indigo, and violet (ROYGBIV). This separation of light into its component colors is known as dispersion.
We can only see a rainbow when the sun is behind us and the rain (or water mist) is in front of us. This precise alignment is what allows our eyes to catch the dispersed light at the correct angle.
Decoding the Spectrum: What Are the Colors?
The seven colors of the rainbow are universal:
- Red: Bends the least, appears on the outer edge of the rainbow.
- Orange
- Yellow
- Green
- Blue
- Indigo
- Violet: Bends the most, appears on the inner edge of the rainbow.
Understanding this natural marvel is the first step in appreciating the science behind our rainbow STEM activities. By mimicking these natural processes, we can bring the wonder of light and color into our homes.
Why Rainbow STEM Activities Are Essential for Young Minds
Beyond their captivating beauty, rainbow STEM activities offer a goldmine of educational benefits for children of all ages. They are not just about performing a cool trick; they are about fostering a love for discovery, building critical skills, and understanding the world around us.
Cultivating Core STEM Skills
STEM education is about more than just memorizing facts. It's about developing a mindset that embraces inquiry, problem-solving, and innovation. Rainbow STEM activities naturally integrate these crucial elements:
- Science: Children observe phenomena, form hypotheses, and test their ideas. They learn about light, color, density, chemical reactions, and physical properties. For example, observing how colors separate in a density tower or how they react on milk introduces foundational chemistry and physics concepts.
- Technology: While not always obvious, technology can be as simple as using tools (like pipettes or measuring cups) to achieve a desired outcome, or understanding how different materials interact in a controlled environment. Older children might explore simple circuits for a light-up rainbow.
- Engineering: Designing a structure, building a stable bridge, or creating a device (like a spectroscope) involves planning, construction, and refinement—all key engineering principles. Children learn to iterate and improve their designs.
- Mathematics: Measuring ingredients accurately for a density column, observing patterns in color mixing, understanding ratios in solutions, or even counting steps in a sequence—math is subtly woven into almost every activity. It helps children quantify and analyze their observations.
The Power of Engagement: Learning Through Color
Colors are inherently appealing to children. They stimulate senses, spark imagination, and can even influence mood. By using rainbows as a theme, we instantly tap into this natural engagement, making learning feel less like a chore and more like an exciting adventure. When children are fascinated, they are more likely to ask questions, explore independently, and retain what they've learned. This approach is at the heart of what we do at I'm the Chef Too! – transforming complex subjects into tangible, hands-on, and often delicious experiences that make learning an absolute joy.
Beyond Academics: Holistic Development
Rainbow STEM activities contribute to a child's overall development in numerous ways:
- Fine Motor Skills: Activities like stirring, pouring, cutting, or carefully placing objects enhance hand-eye coordination and dexterity. These are crucial for daily tasks and future academic success.
- Problem-Solving: When an experiment doesn't go as planned (which is often!), children learn to troubleshoot, adapt, and think critically to find solutions. This teaches resilience and innovative thinking.
- Creativity and Imagination: Whether designing a rainbow structure, inventing a new color combination, or creating an edible masterpiece, these activities encourage imaginative thinking and self-expression.
- Patience and Persistence: Some experiments require time and careful observation, teaching children the value of waiting, sticking with a task, and understanding that results aren't always immediate.
- Communication Skills: Discussing observations, explaining processes, and collaborating on projects strengthen verbal and social skills. Children learn to articulate their thoughts and listen to others.
- Family Bonding: These activities provide wonderful opportunities for parents and children to connect, learn together, and create lasting memories. It’s a fantastic screen-free educational alternative that strengthens family ties and provides shared experiences.
Ready to bring this vibrant learning into your home? Discover a world of monthly adventures designed to spark curiosity and creativity. Join The Chef's Club and enjoy free shipping on every box, packed with everything you need for delightful STEM fun!
Simple Rainbow Science Experiments for Home Discovery
You don't need a fancy lab to explore the wonders of rainbow science. Many captivating experiments can be done with everyday household items, turning your kitchen into a colorful laboratory.
1. The Walking Water Rainbow: Exploring Capillary Action
This classic experiment is incredibly easy to set up and mesmerizing to watch, perfectly illustrating the concept of capillary action.
-
The Science Behind It: Capillary action is the ability of a liquid to flow in narrow spaces against the force of gravity. It's how plants "drink" water from the soil and how paper towels soak up spills. The water molecules are attracted to the fibers in the paper towel (adhesion) and also to each other (cohesion), pulling the water up and along the paper.
-
Materials You'll Need:
- Seven clear cups or jars of the same size
- Water
- Food coloring (red, yellow, blue are essential; you'll mix to make orange, green, and purple)
- Six paper towels (cut into strips and folded in half)
-
Step-by-Step Procedure:
- Arrange your seven cups in a circle or a straight line.
- Fill cups 1, 3, 5, and 7 about two-thirds full with water. Leave cups 2, 4, and 6 empty.
- Add food coloring to the filled cups:
- Cup 1: Red
- Cup 3: Yellow
- Cup 5: Blue
- Cup 7: Red (this will connect back to cup 1 to complete the rainbow loop)
- Fold each paper towel strip in half lengthwise.
- Place one end of a paper towel into a filled cup and the other end into an adjacent empty cup. For example, one end in red (cup 1) and the other in empty (cup 2). Continue this for all six paper towels, creating a "bridge" between each pair of cups.
- Now, wait! Over several hours (or even overnight), observe as the colored water "walks" up the paper towels and into the empty cups, mixing to create orange, green, and purple.
-
Discussion Points:
- Why did the water move up the paper towel?
- What happens when two colors mix? Which primary colors combine to make secondary colors?
- Where else do we see capillary action in our daily lives? (e.g., sponges, plants, absorbing spills)
- What would happen if we used different materials instead of paper towels?
2. Rainbow Density Tower: Exploring Liquid Density
This experiment is visually stunning and a fantastic way to introduce the concept of density in a tangible way. Children often marvel at how liquids can stack without mixing.
-
The Science Behind It: Density is a measure of how much "stuff" (mass) is packed into a certain space (volume). Liquids with different densities will layer themselves, with the densest liquid sinking to the bottom and the least dense floating on top. By dissolving different amounts of sugar in water, you change its density, or you can use different liquids like honey, corn syrup, dish soap, water, and oil.
-
Materials You'll Need:
- A tall, clear glass or cylindrical vase
- Several different liquids with varying densities (e.g., honey, corn syrup, dish soap, water, vegetable oil, rubbing alcohol)
- Food coloring (red, orange, yellow, green, blue, purple)
- Spoon or pipette (very helpful for careful layering)
-
Step-by-Step Procedure (using different liquids):
- Start with the densest liquid first: pour a layer of honey into the bottom of the glass.
- Carefully add the next densest liquid. For example, corn syrup. To prevent mixing, gently pour it down the side of the glass or over the back of a spoon held just above the previous layer.
- Continue this process with each progressively less dense liquid. If using water, add food coloring to give it a distinct rainbow hue (e.g., blue for water, yellow for oil).
- Example layering: Honey (purple), Corn Syrup (blue), Dish Soap (green), Water (yellow), Vegetable Oil (orange), Rubbing Alcohol (red). Note: You'll need to color the clear liquids beforehand.
- Observe the distinct layers that form, creating a beautiful rainbow column.
-
Step-by-Step Procedure (using sugar water):
- Prepare 4-5 glasses of water, each with a different amount of dissolved sugar. For example:
- Glass 1 (densest): 4 tablespoons sugar
- Glass 2: 3 tablespoons sugar
- Glass 3: 2 tablespoons sugar
- Glass 4: 1 tablespoon sugar
- Glass 5 (least dense): No sugar
- Add a different food coloring to each glass, corresponding to rainbow order (e.g., Glass 1=Violet, Glass 2=Blue, Glass 3=Green, Glass 4=Yellow, Glass 5=Red).
- Carefully layer the liquids in a single tall glass, starting with the densest (most sugar) at the bottom and slowly adding the least dense (least sugar) on top, using a pipette or pouring over a spoon.
- Prepare 4-5 glasses of water, each with a different amount of dissolved sugar. For example:
-
Discussion Points:
- Why do some liquids float on top of others?
- What does "dense" mean?
- Can you predict the order of liquids if you know their densities?
- What happens if you try to mix them?
- Think about creating delicious layers, perhaps even like a Peppa Pig Muddy Puddle Cookie Pies activity where different textures and colors are layered!
3. Milk Rainbow Surface Tension: A Colorful Chemical Dance
This vibrant experiment is a stunning visual demonstration of surface tension and how surfactants (like soap) break it down, causing a dramatic swirling of colors.
-
The Science Behind It: Milk is mostly water, but it also contains fats, proteins, vitamins, and minerals. The fat molecules are suspended throughout the milk, and the surface tension of the water holds the surface together. When you add food coloring, it floats on top. When dish soap (a surfactant) is introduced, it breaks down the surface tension and reacts with the fat molecules, causing them to move rapidly. This movement creates the beautiful swirling "rainbow" effect as the colors are carried along.
-
Materials You'll Need:
- Shallow dish or plate (e.g., a pie plate)
- Whole milk (skim milk won't work as well due to lower fat content)
- Food coloring (multiple colors for a vibrant rainbow)
- Liquid dish soap
- Cotton swab
-
Step-by-Step Procedure:
- Pour a thin layer of milk into the shallow dish, just enough to cover the bottom. Let it settle for a moment.
- Add several drops of different food coloring colors randomly onto the surface of the milk. Try to keep the drops distinct and not too close together initially.
- Dip one end of a cotton swab into liquid dish soap.
- Gently touch the soapy end of the cotton swab to the center of one of the food coloring drops (or the center of the dish). Hold it there for about 10-15 seconds.
- Observe the "milk rainbow" exploding and swirling with vibrant patterns! You can move the swab to different areas to create new designs.
-
Discussion Points:
- What happened when you added the soap?
- Why do the colors move?
- What do you think "surface tension" means?
- What would happen if you used cold milk versus warm milk? Skim milk versus whole milk?
4. DIY Spectroscope: Unveiling White Light
This experiment moves from chemistry to physics, allowing children to see the individual colors that make up white light, much like a prism or raindrops create a natural rainbow.
-
The Science Behind It: A spectroscope is an instrument used to observe the spectrum of light. It separates light into its component wavelengths (colors). In this DIY version, a CD acts as a diffraction grating, splitting the incoming light into its constituent colors. Each color has a different wavelength, and the CD's tiny grooves cause them to bend at different angles, making the rainbow visible.
-
Materials You'll Need:
- An empty paper towel roll or toilet paper roll
- An old CD or DVD (one you don't mind cutting)
- A craft knife or strong scissors (adult supervision essential!)
- Cardboard or heavy paper
- Tape
- Aluminum foil
- A small piece of paper clip or thin wire
- Light source (e.g., a flashlight, lamp, or sunlight, but never look directly at the sun)
-
Step-by-Step Procedure:
- Prepare the viewing slit: On one end of the paper towel roll, cover the opening with a piece of aluminum foil, securing it tightly with tape. Using the paper clip or wire, carefully poke a very thin, straight slit in the center of the foil (about 1-2 cm long). This is where light will enter.
- Prepare the diffraction grating: On the opposite end of the paper towel roll, cut a rectangular opening (about 2x3 cm) near the edge, leaving a small lip for the CD to rest on.
- Attach the CD: Carefully cut a small rectangular piece from the CD that fits over this opening. Make sure the shiny, data side of the CD piece faces into the tube and covers the opening. Tape it securely in place.
- Assemble: Your spectroscope is ready!
- Observe: Point the slit end of the spectroscope towards a light source (not direct sun!). Look through the CD end. You should see a beautiful rainbow spectrum of colors on the surface of the CD piece. Experiment with different light sources to see variations.
-
Discussion Points:
- What colors do you see? Are they in the same order as a natural rainbow?
- How is this device like a prism?
- What do you think light is made of?
- Could this help scientists study stars and distant planets?
5. Rainbow Color Mixing Station: Art Meets Science
This activity is a fundamental exploration of color theory, allowing children to discover how primary colors combine to create a full spectrum. It’s a wonderfully hands-on way to engage the artistic side of STEM.
-
The Science Behind It: Color mixing falls under the science of light and pigments. Primary colors (red, yellow, blue) are the foundational colors from which all other colors can be mixed. When two primary colors combine, they create a secondary color (orange, green, purple). The more colors you mix, the closer you get to brown or black (subtractive color mixing with pigments).
-
Materials You'll Need:
- Paint (tempera or washable paints in red, yellow, blue)
- Paintbrushes
- Paper plates or a palette for mixing
- Plenty of white paper
- Small cups of water for rinsing brushes
-
Step-by-Step Procedure:
- Set out small dollops of red, yellow, and blue paint on a palette or separate areas of a paper plate.
- Encourage children to use a clean brush to mix two primary colors together.
- Red + Yellow = ? (Orange!)
- Yellow + Blue = ? (Green!)
- Blue + Red = ? (Purple/Violet!)
- As they mix, have them paint their new secondary colors onto paper.
- Challenge them to create various shades by adding more of one color or a touch of white or black (to explore tints and shades).
- Can they create a full rainbow gradient, blending one color into the next seamlessly?
-
Discussion Points:
- What are the "magic" colors that make all the others?
- What new colors did you discover?
- What happens if you mix all three primary colors together?
- Where do we see these color combinations in art or nature?
- This is a great precursor to understanding chemical reactions and how different elements combine to form new substances.
Ready to deepen your child's scientific exploration? Browse our complete collection of one-time kits to find a perfect hands-on adventure that brings science to life!
Engaging Rainbow Engineering & Art Challenges
Moving beyond observation and explanation, engineering challenges focus on design, construction, and problem-solving. When combined with the aesthetic appeal of rainbows, these activities become incredibly stimulating.
1. Build a Rainbow Bridge: Structural Engineering Fun
This challenge gets children thinking like civil engineers, understanding principles of strength, stability, and load-bearing capacity.
-
The Engineering Challenge: Design and build a freestanding rainbow-colored bridge that can span a gap and support a certain amount of weight.
-
Materials You'll Need:
- Pipe cleaners (various rainbow colors, 15-20 per child/group)
- Playdough or clay (for bases)
- Small weights (e.g., pennies, marbles, small toy cars)
- Ruler or measuring tape
- Paper and pencil for planning
- Two books or blocks to create a "gap" for the bridge to span
-
Step-by-Step Procedure:
- Define the Problem: Explain the challenge – build the strongest, tallest, or longest rainbow bridge that stands on its own and can hold weight. Set specific constraints, such as the maximum number of pipe cleaners or a minimum height/span.
- Imagine & Plan: Have children sketch their bridge designs. Encourage them to think about different shapes (arches, trusses), how to connect the pipe cleaners (twisting, braiding), and how to create a stable base using playdough. Why do real bridges have certain shapes?
- Create: Using the pipe cleaners and playdough, construct the bridge according to their plan. They might twist pipe cleaners together for strength or create repeating patterns. Ensure the bridge uses rainbow colors.
- Test: Place the bridge across the gap. Gently add weights one by one to the center of the bridge until it collapses. Record the maximum weight held.
- Improve: Discuss what worked well and what didn't. How could the design be made stronger or more stable? What shapes were most effective? Encourage them to revise their plans and rebuild, testing again to see if improvements were made. This iterative process is key to engineering!
-
Discussion Points:
- Which shapes make the strongest structures? (e.g., triangles, arches)
- How did the materials you chose affect the strength of your bridge?
- What challenges did you face, and how did you solve them?
- Where do we see different types of bridges in the world?
2. Rainbow Loom/Pipe Cleaner Creations: Exploring Geometry & Design
This is a more open-ended engineering and art challenge that focuses on spatial reasoning, pattern recognition, and geometric construction.
-
The Engineering/Art Challenge: Create a freestanding 3D object or a complex 2D design using only pipe cleaners (and possibly some beads or pompoms for decoration) that incorporates all the colors of the rainbow.
-
Materials You'll Need:
- Pipe cleaners (various rainbow colors)
- Pompoms, beads (optional, for adding mass or decoration)
- Scissors (for cutting pipe cleaners)
-
Step-by-Step Procedure:
- Imagine & Plan: Ask children to brainstorm what they want to create. A rainbow animal, a geometric shape (cube, pyramid), a flower, a miniature rainbow arch? Encourage them to sketch their idea first.
- Create: Guide them in bending, twisting, and connecting pipe cleaners. Show them how to make loops, spirals, and how to join pieces securely. Encourage them to think about how to make their creation stable if it's 3D.
- Explore Geometric Concepts: As they build, introduce concepts like symmetry, patterns, angles, and different 2D and 3D shapes. How many sides does that shape have? Can you make it symmetrical?
- Display & Reflect: Showcase their creations. Discuss the different techniques used and the challenges overcome.
-
Discussion Points:
- How did you use the colors of the rainbow in your design?
- What geometric shapes can you identify in your creation?
- How did you make your object stand up or hold its shape?
- This fosters creativity and shows that engineering isn't just about bridges, but about designing all sorts of things!
3. Rainbow Paper Circuit Cards: Intro to Basic Electronics
Introduce the "T" in STEM (Technology) with a simple, safe, and colorful circuit project that brings rainbows to light!
-
The Technology Challenge: Create a paper card with a simple circuit that lights up an LED bulb, designing a rainbow path for the electricity.
-
Materials You'll Need:
- Cardstock or thick paper
- Copper tape (conductive tape)
- Small LED lights (various colors if possible)
- Coin cell battery (e.g., CR2032)
- Scissors
- Binder clip or regular tape
-
Step-by-Step Procedure:
- Draw the Circuit Path: On your cardstock, draw a simple design for your rainbow circuit. It needs a positive (+) and negative (-) path for the copper tape, and a designated spot for the LED and battery. Make sure the paths don't cross. You can draw a rainbow arc, and have the positive and negative traces run alongside each other.
- Apply Copper Tape: Carefully lay down the copper tape along your drawn lines. Make sure the tape is continuous; if you need to turn a corner, fold the tape carefully to maintain contact. This represents your "wires."
- Add the LED: Identify the long leg (positive) and short leg (negative) of your LED. Gently bend the legs outwards. Place the LED over your drawn spot, ensuring the long leg is on the positive copper tape path and the short leg on the negative path. Tape down the LED legs to the copper tape to ensure good contact.
- Place the Battery: Create a small flap in the paper where your battery will go. Place the coin cell battery (positive side up) on one of your copper tape paths, then fold the flap over so the other copper tape path touches the negative side of the battery. Secure with a binder clip or tape.
- Test: If everything is connected correctly, your LED should light up! Troubleshoot by checking tape connections, LED orientation, and battery placement.
-
Discussion Points:
- How does electricity flow through the circuit?
- What happens if there's a break in the "wire" (copper tape)?
- What are conductors and insulators?
- How does this relate to other electronics we use every day?
- This is a simplified version of the technology that powers everything from our cell phones to traffic lights!
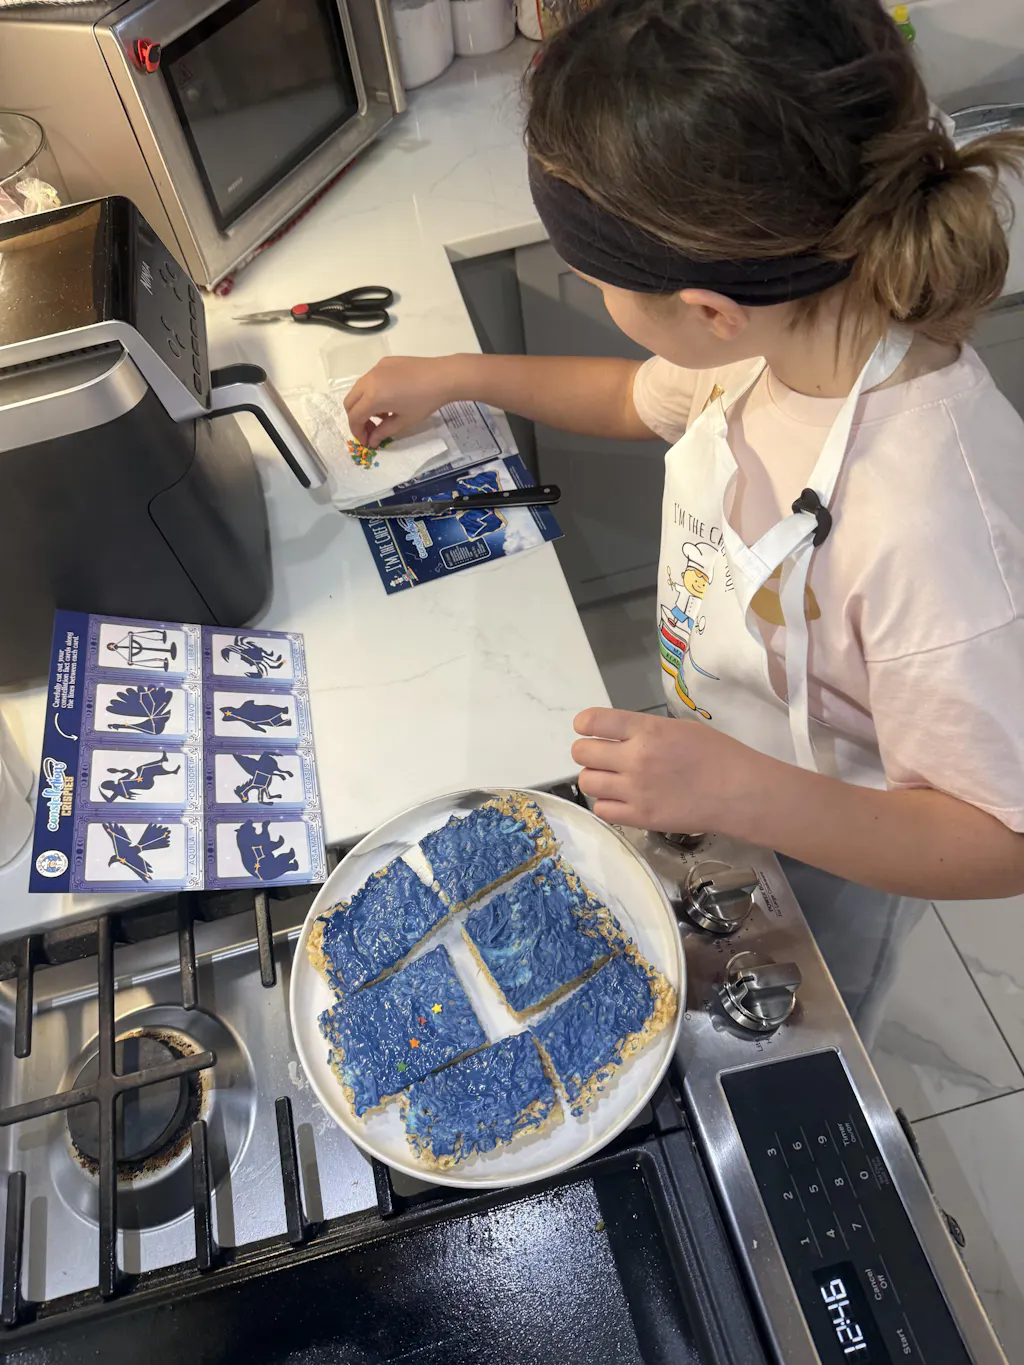
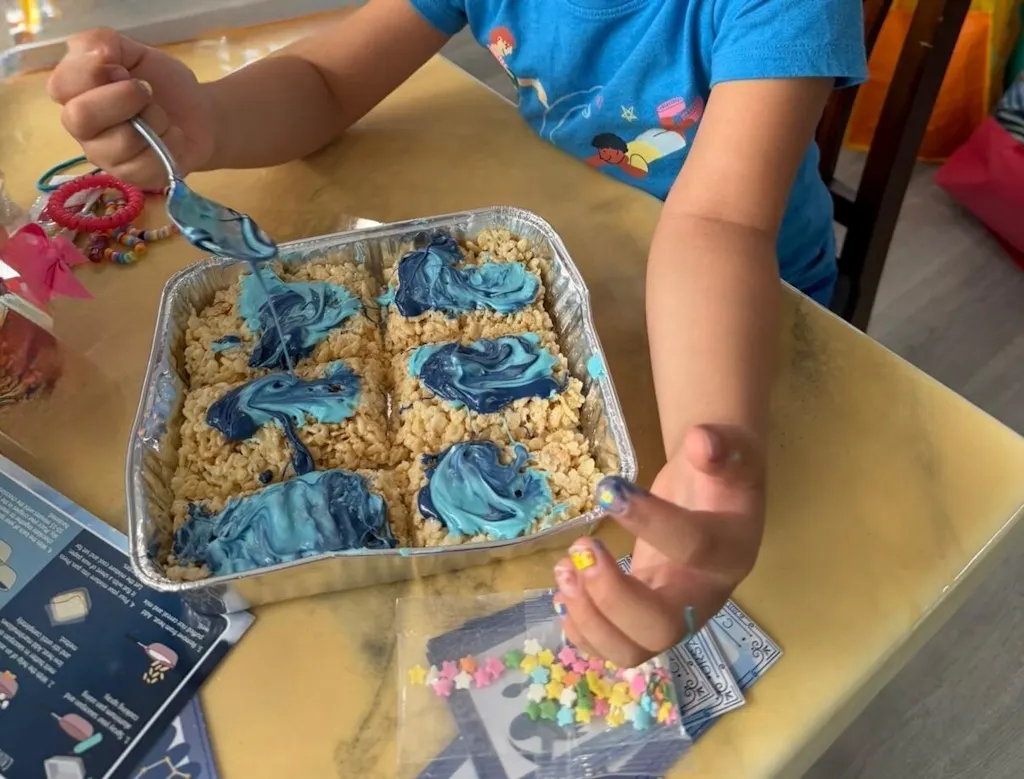
4. Edible Rainbow Art: Culinary Creativity & STEM
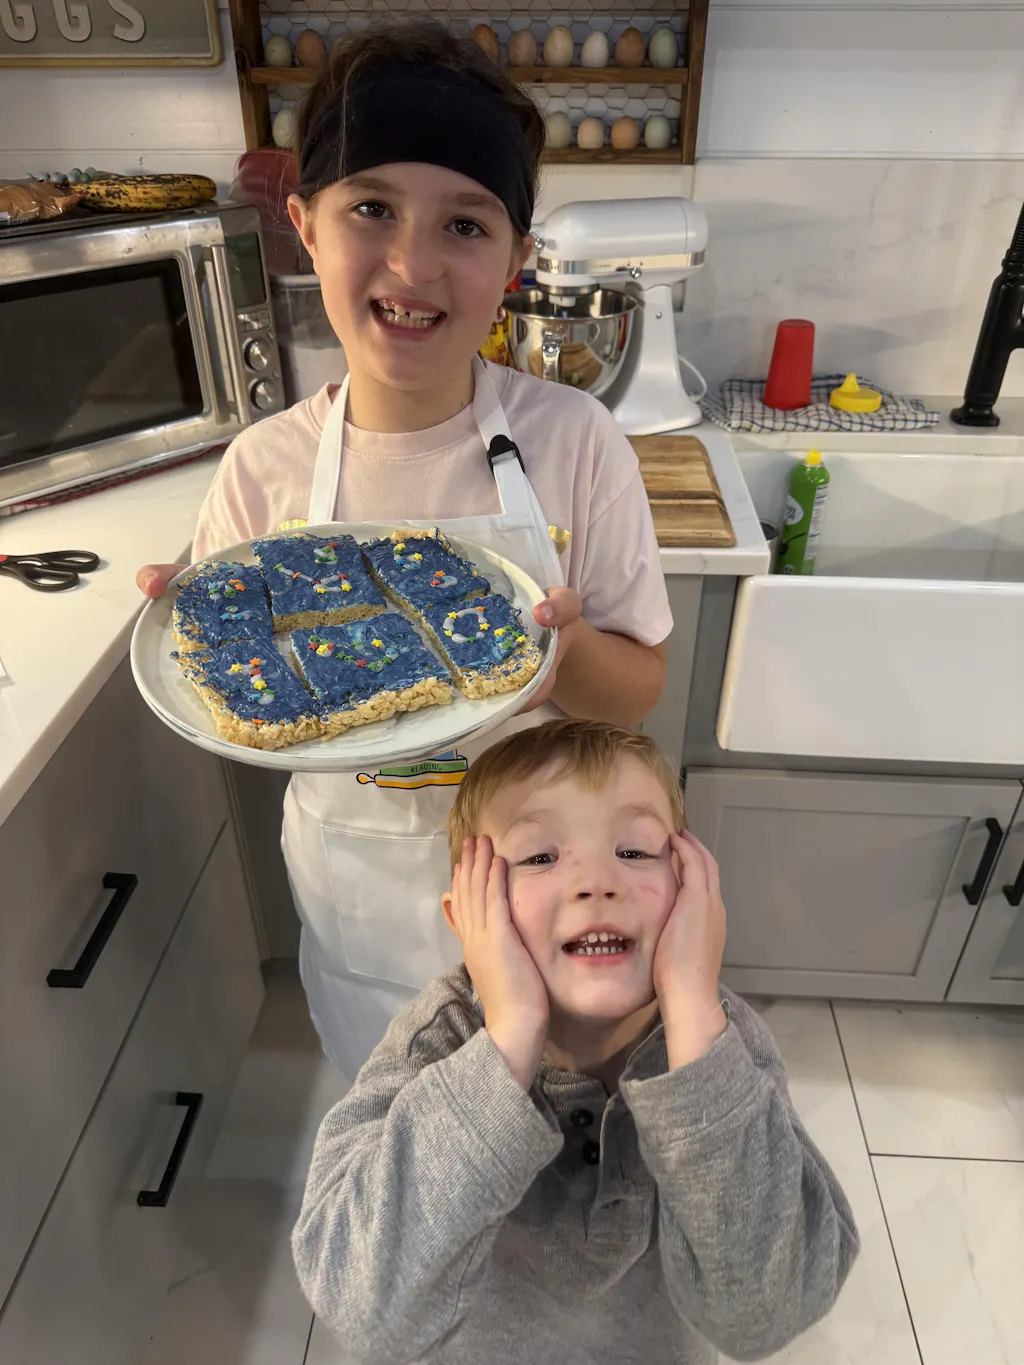
At I'm the Chef Too!, we truly believe that the kitchen is the ultimate laboratory, where food becomes the most engaging medium for STEM and art exploration. Creating edible rainbows combines chemistry (how ingredients react), engineering (structuring layers), and pure artistic expression.
-
The Culinary Challenge: Create a delicious, multi-layered edible treat that showcases the vibrant colors of the rainbow, exploring different textures and flavors.
-
Materials You'll Need:
- Ingredients for a layered dessert (e.g., gelatin, pudding, cake batter, fruit layers, yogurt parfaits)
- Food coloring (gel food coloring provides more vibrant colors)
- Clear glasses or molds
- Measuring cups and spoons
- Whisks, spoons, mixing bowls
-
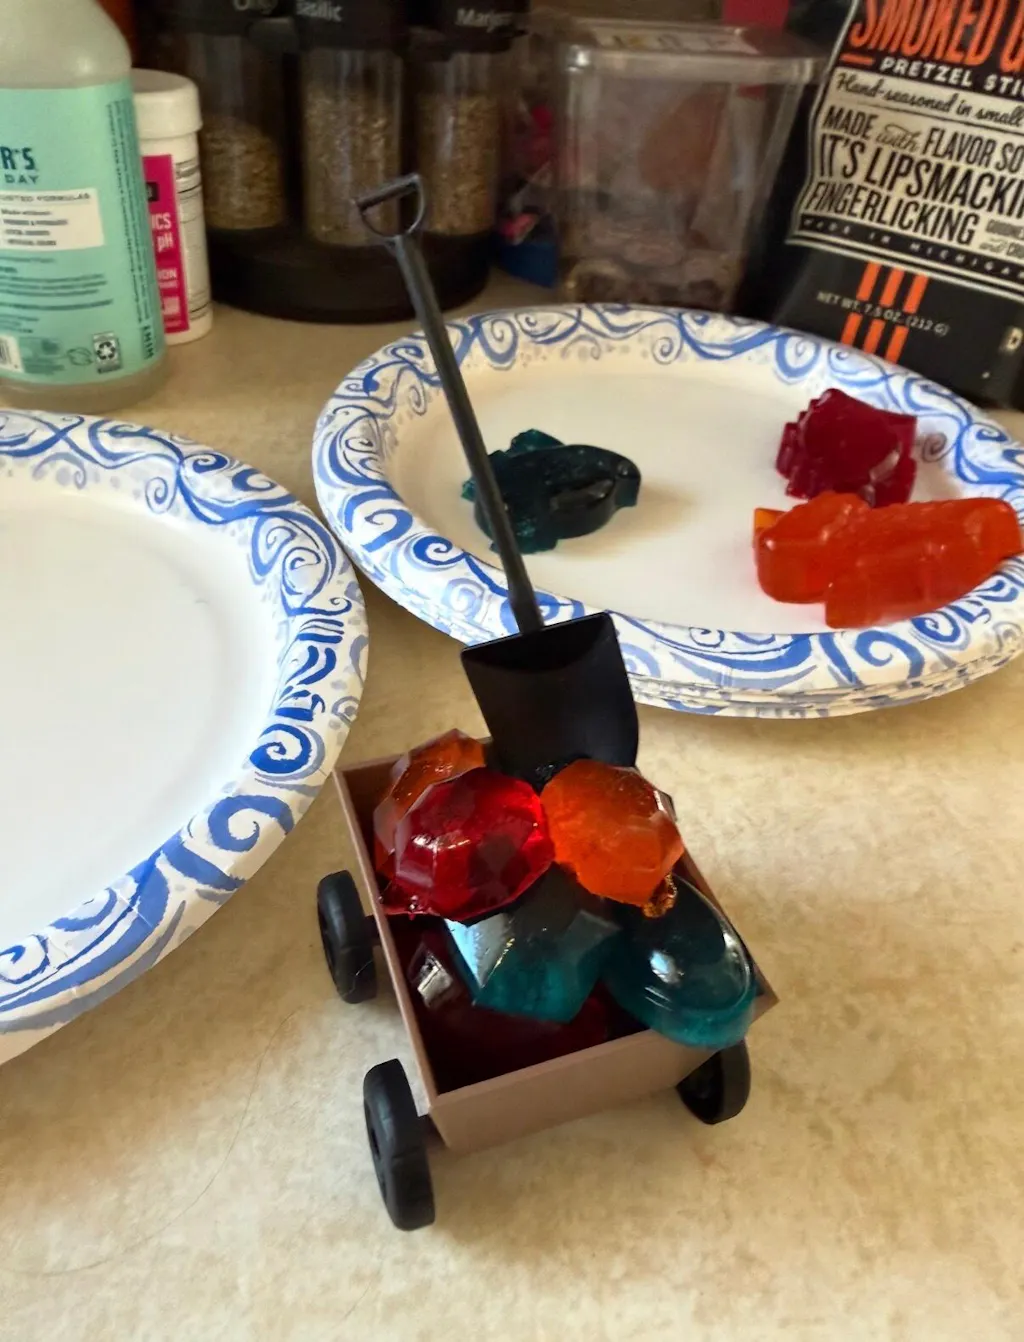
Step-by-Step Procedure (Rainbow Gelatin Layers):
- Plan: Decide on your rainbow color order. Plan how many layers you'll make and the colors for each.
- Prepare First Layer: Follow instructions for one packet of gelatin. Once dissolved, add food coloring for your first rainbow color (e.g., violet). Pour a thin layer into your clear glasses.
- Chill: Place the glasses in the refrigerator until the layer is mostly set but still slightly sticky (usually 20-30 minutes). This is crucial for distinct layers.
- Prepare Subsequent Layers: While the first layer chills, prepare the next color of gelatin. To prevent the hot new layer from melting the previous one, let it cool slightly before pouring it very carefully over the set layer.
- Repeat: Continue chilling and layering each color until your rainbow is complete.
- Final Chill: Once all layers are in, chill for several hours until completely firm.
-
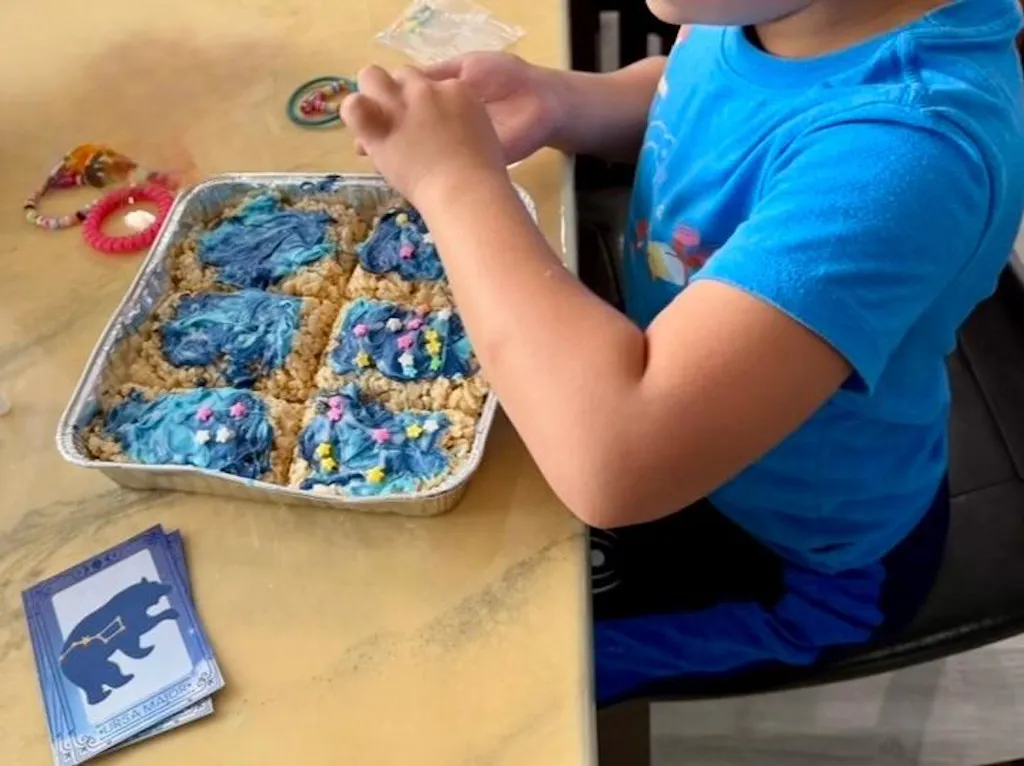
Other Edible Rainbow Ideas:
- Rainbow Fruit Skewers: A simple way to arrange colorful fruits in rainbow order. Discuss nutrition and natural pigments.
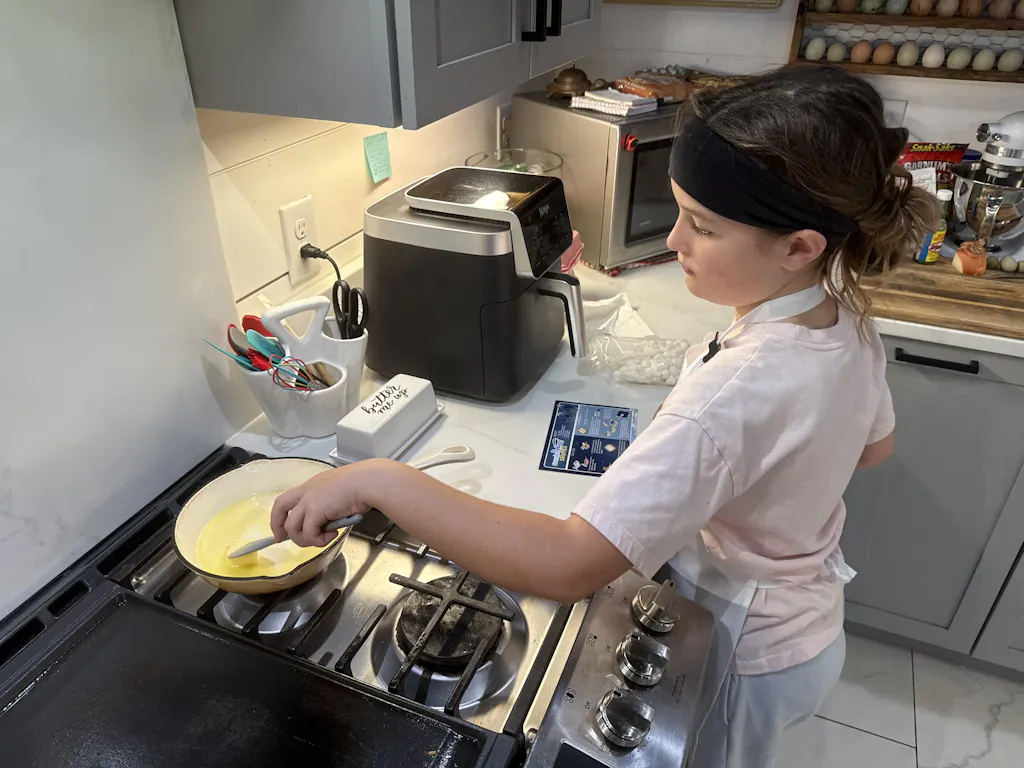
- Rainbow Pancakes/Waffles: Divide batter into separate bowls, add food coloring, and cook colorful breakfast treats.
- Rainbow Smoothies: Layer different colored fruit smoothies (e.g., spinach for green, berries for purple/red, mango for yellow).
-
Discussion Points:
- How does temperature affect the setting of gelatin (chemistry)?
- Why is it important to pour gently when making layers (density/engineering)?
- How do different ingredients contribute to taste and texture (sensory science)?
- What are some natural pigments found in fruits and vegetables?
- Our unique approach at I'm the Chef Too! teaches complex subjects through tangible, hands-on, and delicious cooking adventures. This is a perfect example of how the kitchen can be a powerful learning space!
- For even more delicious and educational cooking adventures, check out our Erupting Volcano Cakes or create your own edible solar system with our Galaxy Donut Kit!
Integrating STEM Principles into Every Activity
For every rainbow STEM challenge, the real learning goes beyond just completing the task. It lies in the process of inquiry, discovery, and reflection. Here's how to maximize the educational impact.
The Engineering Design Process (EDP)
Many of our suggested activities, especially the building and design challenges, naturally lend themselves to the Engineering Design Process. Encourage children to follow these steps:
- Ask: What is the problem? What are the requirements and constraints? (e.g., "How can I build a rainbow bridge that holds 5 pennies and spans 6 inches?")
- Imagine: Brainstorm multiple solutions. Sketch out different ideas. Don't worry about perfection at this stage.
- Plan: Choose the best idea, or combine elements from several. Draw a detailed plan, listing materials.
- Create: Build a prototype based on the plan.
- Improve: Test the prototype. Analyze the results. What worked? What didn't? How can it be made better? Go back to step 2 or 3 and revise the design. This cyclical process is what real engineers do every day!
Observation and Documentation
Encourage children to act like scientists and engineers by observing carefully and recording their findings.
- Science Journals: Provide a notebook for them to draw observations, write down hypotheses, and record results. For the walking water experiment, they could draw the cups at different time intervals. For the bridge challenge, they could record the weight held by each iteration.
- Photography/Videography: Capture moments of discovery, successful creations, and even "failures" that lead to learning. These visual records are great for review and sharing.
Encouraging Inquiry and Critical Thinking
The best way to foster STEM skills is by asking open-ended questions that prompt deeper thought, rather than just providing answers.
- "What do you think will happen if...?" (Hypothesizing)
- "Why do you think that happened?" (Analyzing cause and effect)
- "How could you change this to get a different result?" (Experimentation and iteration)
- "What patterns do you notice?" (Pattern recognition)
- "How is this like something you've seen in the real world?" (Making connections)
Safety First: Essential Kitchen and Activity Guidelines
While these activities are designed to be fun and engaging, adult supervision is always key, especially when dealing with younger children, sharp tools, or hot liquids.
- Always Supervise: Ensure an adult is present for all activities, providing guidance and ensuring safe practices.
- Non-Toxic Materials: Use food-grade dyes and non-toxic materials, especially for activities that involve food or where young children might put things in their mouths.
- Proper Tool Usage: Teach children how to safely use scissors, pipettes, and other tools.
- Cleanliness: Maintain a clean workspace, especially for culinary activities.
- Allergy Awareness: Be mindful of any food allergies if incorporating edible elements.
Practical Tips for Parents and Educators
Making STEM learning accessible and enjoyable is our passion at I'm the Chef Too!. Here are some practical tips to help you maximize your rainbow STEM adventures.
Gathering Materials: Use What You Have!
You don't need expensive equipment to do incredible STEM activities. Many supplies can be found right in your home or sourced inexpensively.
- Recycling Bin Gold: Cardboard boxes, paper towel rolls, plastic bottles, newspaper – these are invaluable for engineering challenges.
- Kitchen Staples: Food coloring, sugar, salt, oil, vinegar, milk, baking soda are excellent for chemistry experiments.
- Craft Stash: Pipe cleaners, craft sticks, pompoms, construction paper are versatile for building and art projects.
- Dollar Store Finds: Clear plastic cups, shallow dishes, inexpensive food coloring, and simple craft supplies can often be found cheaply.
Setting Up for Success: Create an Inviting Learning Space
A well-prepared environment makes a huge difference in engaging children and keeping them focused.
- Dedicated Space: Choose an area that can get a little messy, like a kitchen counter, a table covered with a plastic tablecloth, or an outdoor space.
- Organized Materials: Have all materials laid out clearly and within reach. Label containers if helpful.
- Visual Prompts: Use pictures of rainbows, a color wheel, or a simple diagram of the scientific concept to inspire and guide.
- Comfortable Seating: Ensure children are comfortable and can easily reach their workspace.
Adapting for Different Ages and Skill Levels
Rainbow STEM challenges are wonderfully versatile and can be tailored to suit a wide range of developmental stages.
- Toddlers & Preschoolers: Focus on sensory exploration, simple color recognition, and basic cause-and-effect. "What happens when you mix red and blue paint?" or "Can you sort the rainbow colored pom-poms?" Simpler versions of the walking water or milk rainbow are perfect for this age, emphasizing observation.
- Elementary Schoolers: Introduce basic scientific vocabulary, encourage independent experimentation (with supervision), and guide them through the engineering design process for building challenges. The density tower, spectroscope, and rainbow bridge challenges are ideal.
- Middle Schoolers: Challenge them with more complex concepts, quantitative measurements, and in-depth research. They can explore the physics of light waves, chemical reactions with balanced equations, or even design more advanced circuits. Encourage them to document their process rigorously and analyze data.
Embracing "Failure" as a Learning Opportunity
One of the most valuable lessons STEM teaches is resilience. Not every experiment will go as planned, and that's perfectly okay!
- Shift Perspective: Reframe "failure" as "data" or "an opportunity to learn and improve."
- Ask Guiding Questions: Instead of fixing it for them, ask, "What went wrong? What do you think happened? How could we try it differently next time?"
- Celebrate the Process: Emphasize the effort, the thinking, and the persistence, not just the successful outcome. This fosters a growth mindset and encourages continued exploration.
Beyond the Rainbow: Continuing the STEM Journey
The vibrant world of rainbow STEM is just one entry point into a vast universe of scientific and engineering wonders. Once children discover the joy of hands-on learning, there's no limit to where their curiosity can take them.
Connecting Rainbow STEM to Real-World Phenomena
Encourage children to see the science and engineering all around them.
- Nature's Colors: Discuss why leaves change color, why flowers have different hues, or how animals use color for camouflage.
- Technology in Action: Point out how colors are used in traffic lights, on screens, or in warning signs.
- Engineering Marvels: Look at bridges, buildings, or even simple toys and discuss the engineering principles that make them work.
Exploring Other Themed STEM Adventures
Rainbows are just the beginning! There are countless other themes that can ignite a child's imagination and foster a love for STEM. Imagine the excitement of exploring geology with edible fossils, or diving into astronomy by creating a delicious galaxy.
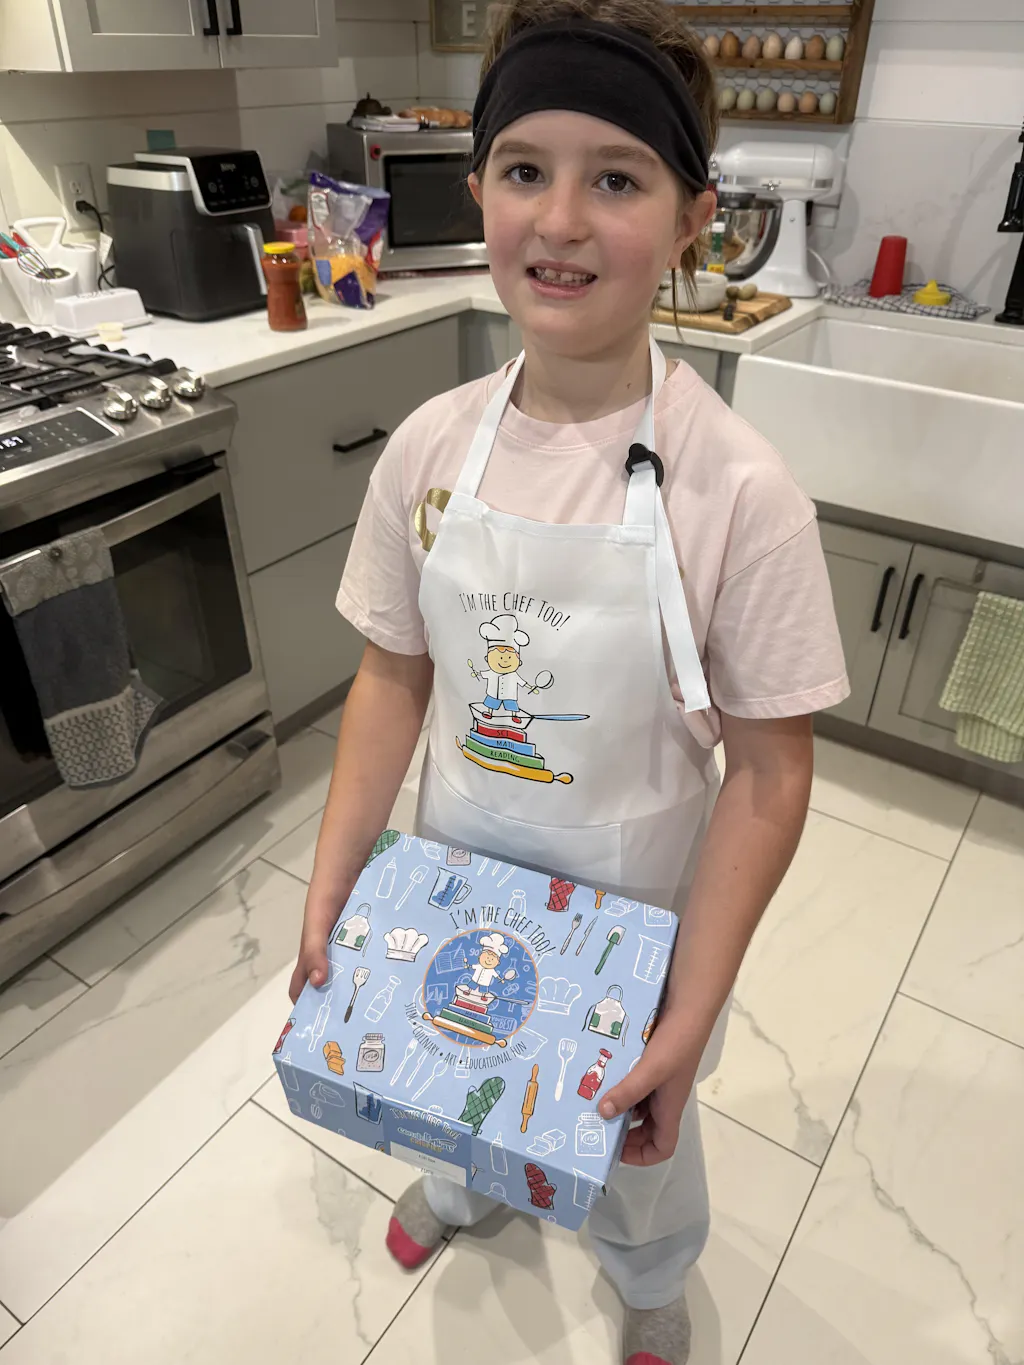
At I'm the Chef Too!, we are committed to sparking curiosity and creativity through a diverse range of themes. Our unique approach, developed by mothers and educators, ensures that every kit is a complete, screen-free educational experience. Whether your child is fascinated by dinosaurs, space, or ocean life, we have a kit that blends food, STEM, and the arts into an unforgettable adventure. We provide pre-measured dry ingredients and specialty supplies, making it easy for you to dive right into the fun.
Ready for a new adventure every month? Join The Chef's Club and enjoy free shipping on every box delivered right to your door. You can also give the gift of learning that lasts all year with a 3, 6, or 12-month pre-paid plan, perfect for ongoing enrichment! If you're looking for a specific adventure or want to try one out before subscribing, Browse our complete collection of one-time kits today!
Conclusion
Rainbow STEM challenges offer a truly unique and vibrant pathway to learning. They leverage children's natural fascination with color to introduce fundamental concepts in science, technology, engineering, and mathematics in a way that is engaging, memorable, and incredibly fun. From understanding the physics of light to engineering a sturdy bridge or concocting a delicious layered treat, these activities build crucial skills like problem-solving, critical thinking, creativity, and patience. More than just academic lessons, they foster curiosity, build confidence, and create precious opportunities for family bonding away from screens.
At I'm the Chef Too!, we are dedicated to providing these enriching, hands-on experiences. We believe that every child deserves the chance to discover the magic of STEM, and that learning should be as exciting and colorful as a rainbow itself. We invite you to embrace these rainbow STEM adventures and watch your child's love for learning blossom.
Don't let the fun stop here! Ignite a world of discovery for your child with a new, exciting themed STEM cooking kit delivered to your door every month. Each box is a complete experience, thoughtfully designed by mothers and educators to blend food, STEM, and the arts into unforgettable "edutainment." Join The Chef's Club today and start your family's next delicious learning adventure with free shipping on every box!
FAQ Section
Q1: What age group are rainbow STEM challenges best for? A1: Rainbow STEM challenges are incredibly versatile! Simple color sorting and basic observation activities are great for toddlers and preschoolers. Elementary school children can delve into the scientific explanations and undertake more complex engineering designs. Even middle schoolers can benefit from deeper dives into the physics and chemistry involved, making them adaptable for almost any age with appropriate supervision and guidance.
Q2: Do I need special materials for these activities? A2: Absolutely not! Many of the most engaging rainbow STEM activities can be done with common household items, kitchen staples, and recycled materials. Things like food coloring, paper towels, sugar, milk, pipe cleaners, and cardboard rolls are often all you need. We encourage you to look at our suggestions and then adapt them using what you already have on hand.
Q3: How long do these activities typically take? A3: The duration varies greatly depending on the activity and the child's engagement. Simple experiments like the milk rainbow might only take 15-20 minutes, while multi-layered projects like the density tower or a complex bridge challenge could span an hour or require multiple stages over several hours (like the walking water experiment that needs time to develop). Allow for flexibility and follow your child's lead!
Q4: My child's experiment didn't work as expected. What should I do? A4: That's a perfect learning opportunity! In STEM, "failure" is just data. Encourage your child to observe what happened, why they think it happened, and how they might adjust their approach next time. Ask open-ended questions like, "What would you change if you did it again?" or "What did you learn from this outcome?" This fosters resilience and critical thinking.
Q5: How can I connect these rainbow STEM activities to other learning? A5: Rainbow STEM can be a springboard for so much more! Read books about rainbows, light, or colors. Discuss real-world applications of the science (e.g., how engineers build bridges, how density applies to ships floating). You can also explore famous scientists or engineers who worked with light or materials. At I'm the Chef Too!, we seamlessly integrate these connections through our unique "edutainment" approach, ensuring a holistic learning experience.
Q6: What if I'm not confident in my own science knowledge? A6: Don't worry! You don't need to be a scientist to guide your child. The key is to explore together. Read the explanations provided, watch related videos, and most importantly, engage in the process of discovery with your child. Your curiosity will inspire theirs. Our kits are designed by educators to make complex concepts accessible and fun for both children and parents.
Q7: How do I get more hands-on STEM activities like these? A7: For ongoing educational fun, consider joining The Chef's Club! We deliver a new, themed STEM cooking kit to your door every month with pre-measured dry ingredients and specialty supplies, making it incredibly convenient. We also offer individual one-time kits in our shop if you're looking for a specific adventure.