Table of Contents
- The Magic in the Mixture: Why Oil and Water Don't Mix
- Getting Started: Your Essential Kitchen Lab Supplies
- Experiment 1: The Classic Oil & Water Rainbow Drops
- Experiment 2: Unveiling Emulsification with a Dish Soap Twist
- Experiment 3: The Salty Density Dive
- Beyond the Bubbles: The Enduring Benefits of Kitchen Science for Kids
- Bringing the World of STEM to Your Kitchen with I'm the Chef Too!
- FAQs About Oil & Water Science Experiments for Kids
- Conclusion
Have you ever watched raindrops cling to a waxy leaf, or seen oil droplets shimmering on top of a puddle after a storm? It’s a common sight, yet within these everyday observations lies a fundamental secret of chemistry – one that can spark boundless curiosity in young minds. Children, with their innate wonder and endless questions, are natural scientists. They look at the world with fresh eyes, eager to uncover its mysteries. And what better place to begin unraveling these secrets than in the most familiar of laboratories: your very own kitchen?
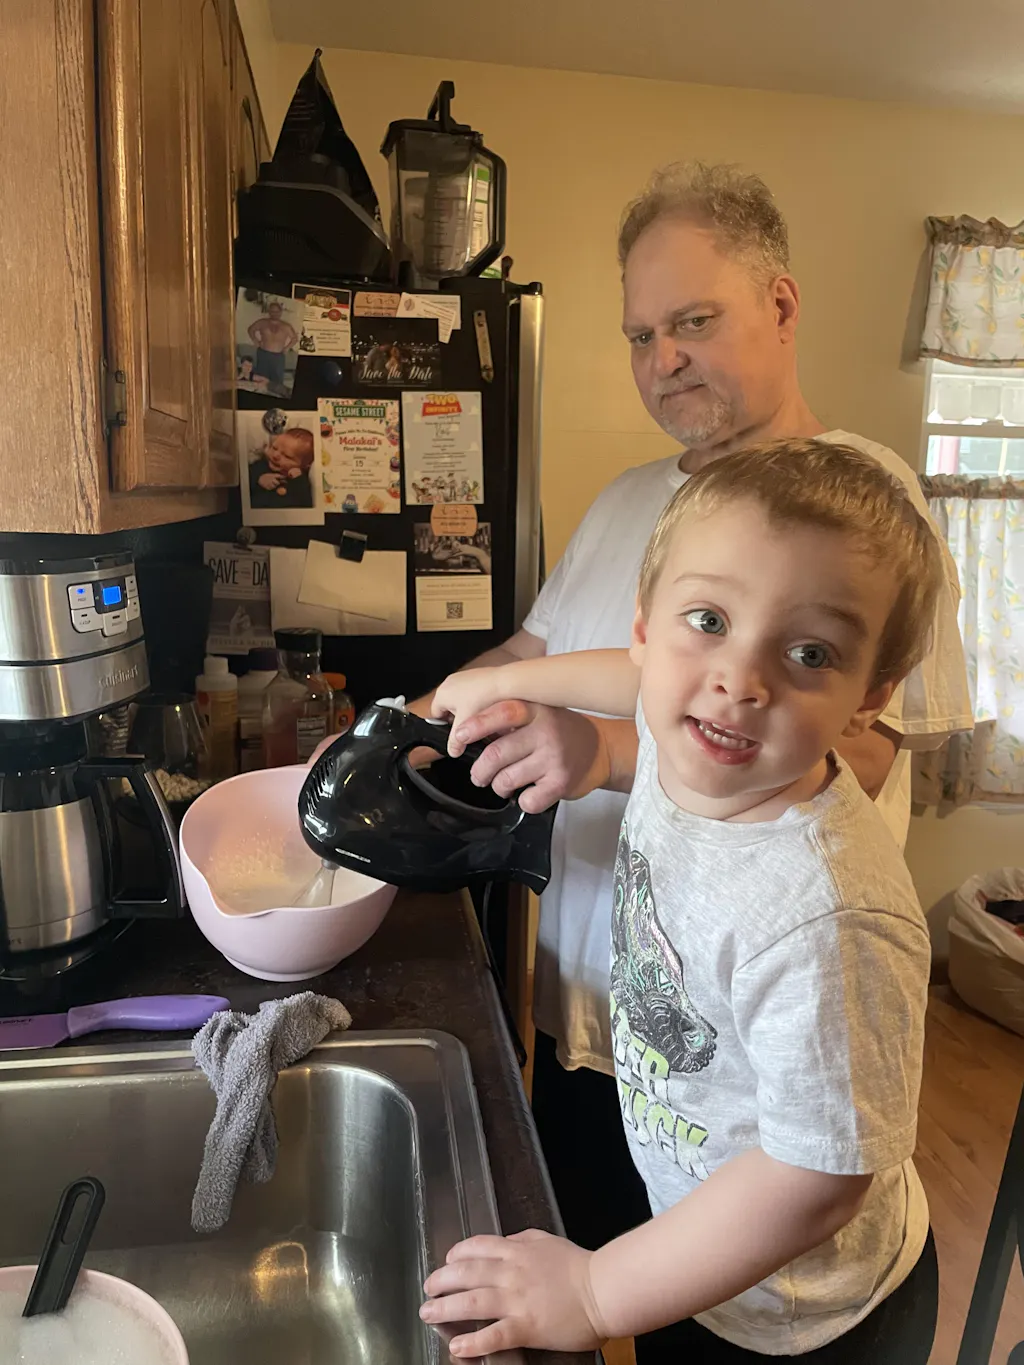
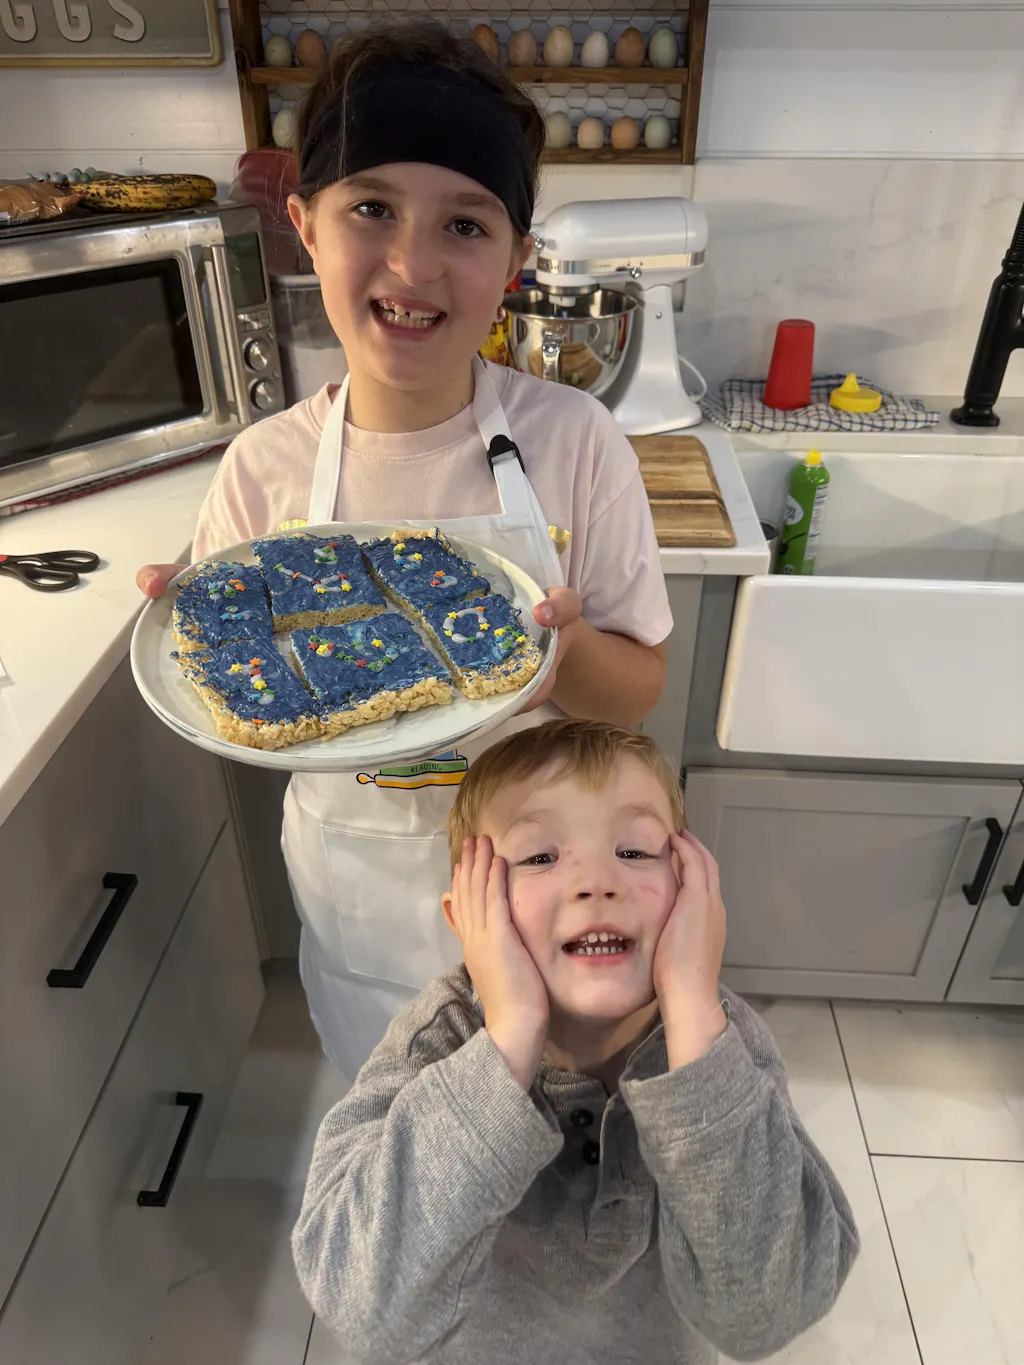
At I'm the Chef Too!, we believe that learning should be an adventure, a hands-on exploration that excites the senses and ignites the imagination. Our mission is to blend food, STEM, and the arts into one-of-a-kind "edutainment" experiences, transforming complex subjects into tangible, delicious discoveries. Today, we're diving into a captivating cornerstone of early science education: the fascinating world of oil and water experiments. This seemingly simple combination opens the door to understanding concepts like density, polarity, and emulsification – all while fostering critical thinking, developing fine motor skills, and creating unforgettable family memories.
This blog post will guide you through a series of engaging oil and water science experiments for kids, providing clear instructions, simple scientific explanations, and tips for encouraging deeper exploration. We’ll uncover why these two liquids behave so uniquely, explore exciting variations using everyday household items, and reveal the incredible educational benefits these activities offer. Get ready to transform your kitchen into a vibrant hub of discovery, where curiosity is celebrated, and learning is a joyful, screen-free adventure for the whole family.
The Magic in the Mixture: Why Oil and Water Don't Mix
Before we get our hands (a little) messy, let's explore the fundamental scientific principles that make oil and water such an intriguing pair. It’s not magic, but pure chemistry! Understanding these basics will empower you to explain the "why" behind the "what" to your curious young scientists.
Understanding Density
Imagine you have two bags. One is filled with feathers, and the other with rocks. Both bags might be the same size, but the bag of rocks is much heavier because rocks are denser than feathers. Density is essentially how much "stuff" is packed into a given amount of space. In scientific terms, it's a measure of mass per unit of volume.
When it comes to liquids like oil and water, they have different densities. Water molecules are packed more closely together than oil molecules. Think of water as a crowded subway car, and oil as a spacious bus – both take up space, but one has more people (or molecules) squeezed in. Because water is denser than oil, it will always sink to the bottom, while the oil floats on top. This is the first, most visible principle your child will observe in our experiments!
Understanding Polarity (and "Like Attracts Like")
Beyond density, there’s another crucial reason oil and water don’t mix: their molecular structures. Water molecules are "polar." Imagine a tiny magnet with a positive end and a negative end. Water molecules act similarly, having a slightly positive side and a slightly negative side. These little magnets are strongly attracted to other water molecules, pulling them together like tiny clasps. This strong attraction is why water forms droplets and has surface tension.
Oil molecules, on the other hand, are "nonpolar." They don't have these charged ends, so they aren't attracted to water molecules at all. In fact, water molecules are so busy attracting each other that they effectively push the oil molecules away. It’s like a group of friends who only want to hang out with each other, and gently (or not so gently) exclude anyone who doesn't fit into their tight-knit circle. So, the old saying, "oil and water don't mix," isn't just an idiom; it's a scientific fact based on these fundamental molecular properties. This principle of "like attracts like" is a powerful concept that underpins much of chemistry.
Getting Started: Your Essential Kitchen Lab Supplies
One of the best things about these experiments is how accessible they are! You likely have most, if not all, of the supplies you need right in your kitchen pantry or craft drawer. This makes impromptu science sessions a breeze and teaches children that science isn't just for laboratories, but can be found everywhere, even in everyday ingredients.
Here’s what you’ll need for our oil and water science experiment for kids:
- Clear Containers: Tall drinking glasses, Mason jars, or clear plastic bottles work best. Seeing the layers and reactions clearly is key!
- Vegetable Oil: Any cooking oil (canola, sunflower, baby oil if you prefer a very clear look, but note it’s not for consumption) will do. Vegetable oil is typically inexpensive and readily available.
- Water: Plain tap water is perfect.
- Food Coloring or Liquid Watercolors: These add a wonderful visual element to the experiments. Liquid watercolors tend to create more vibrant, spreading colors.
- Pipettes or Droppers: Essential for fine motor skill development and controlled addition of colored water. Medicine syringes (without the needle, of course!) also work well.
- Small Cups or Bowls: For holding the colored water.
- Spoons or Stirring Sticks: For mixing food coloring into water.
- Tray or Cookie Sheet: To contain any spills and make cleanup easier.
- Dish Soap: For our emulsification experiment.
- Table Salt: For our density experiment.
- Optional Fun Additions: Small plastic toys (like toy fish or plastic beads) for extra visual interest.
Important Safety Note: All science experiments, especially those involving liquids and small parts, should always be conducted under close adult supervision. Ensure children understand not to ingest the solutions, especially if baby oil or non-food-grade watercolors are used.
Experiment 1: The Classic Oil & Water Rainbow Drops
This is the foundational experiment, offering a captivating visual introduction to density and polarity. It’s simple, quick to set up, and delivers a big "wow" moment that will capture any child's attention.
Step-by-Step Instructions
- Prepare Your Colors: Fill several small cups or bowls about halfway with water. Add 2-3 drops of different food colorings or liquid watercolors to each cup. Stir each color thoroughly with a spoon. You'll instantly see the colors dissolving perfectly into the water – a great precursor to understanding polarity!
- Set Up Your Oil Base: Take your clear container (a tall glass works wonderfully) and fill it about halfway with vegetable oil. Place it on your tray or cookie sheet to catch any drips.
- Introduce the Droppers: Place a pipette or dropper into each colored water cup.
- The Grand Experiment Begins: Now, invite your child to use the droppers to carefully pick up some colored water. Model this first: "Watch how I squeeze the bulb, dip the tip into the water, and release to suck up the colorful water!"
- Drop by Drop: Encourage your child to slowly drip the colored water into the oil. Watch closely! The water droplets will hold their shape, looking like tiny, vibrant beads as they sink through the oil. Once they hit the water layer at the bottom, they will "burst" and mix with the clear water, spreading their color.
- Observe and Explore: Let your child continue adding different colors, observing how they interact. They might notice that the droplets sometimes merge in the oil, or create interesting patterns as they fall.
What's Happening? The Science Behind It
This experiment vividly demonstrates both density and polarity:
- Density in Action: You'll immediately notice the oil and water forming distinct layers, with the water always settling at the bottom. This is because water is denser (heavier for its size) than oil, causing it to sink.
- Polarity on Display: The food coloring, being water-based, is polar like water. This is why it mixes so beautifully with the water in the small cups. When these colored water droplets are added to the nonpolar oil, they resist mixing with the oil. The water molecules hold onto each other tightly, maintaining their spherical droplet shape as they travel through the oil. They only release their color and disperse once they reach the water layer below, where they can "mix" with other like-minded water molecules.
Encouraging Deeper Exploration & Questions
This is where the true scientific thinking comes into play! Don't just watch; engage your child with open-ended questions:
- "What do you notice when the colored water goes into the oil?"
- "Why do you think the colors stay in little balls as they go through the oil?"
- "What happens when the colored drops reach the bottom?"
- "Which liquid do you think is heavier, the oil or the water?" (Or, for older kids: "Which is denser?")
- "What would happen if we stirred the oil and water together?" (Go ahead and try it! You'll see they temporarily mix but quickly separate again).
- "Can you make bigger drops? Smaller drops?"
- "What if we tried a different kind of oil?"
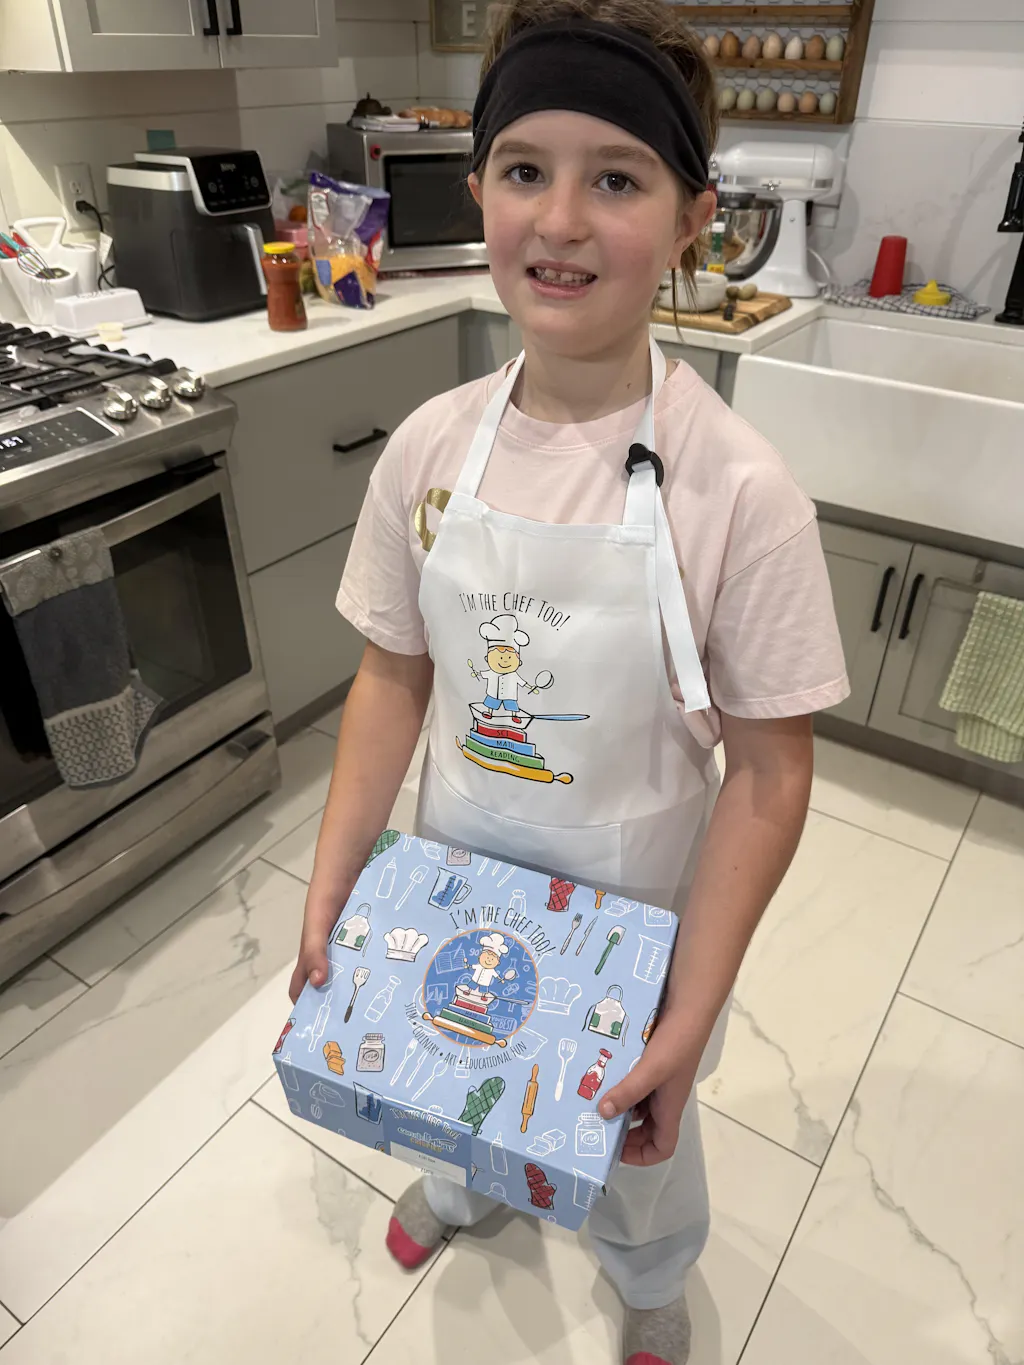
These questions encourage observation, prediction, and analysis – core skills for any budding scientist. For even more hands-on fun delivered right to your door every month, perfect for sparking continuous learning and scientific exploration, consider joining The Chef's Club. Each box is a complete "edutainment" experience designed by mothers and educators to make STEM delicious and accessible.
Experiment 2: Unveiling Emulsification with a Dish Soap Twist
Now that your child has a grasp of why oil and water usually stay separate, let's introduce a clever trick to get them to mix – temporarily, at least! This experiment explores the concept of an emulsifier, using a common kitchen ingredient: dish soap.
Step-by-Step Instructions
- Start with the Classic: Begin with your clear container filled with oil and water, showing the distinct layers (you can use the same setup from Experiment 1 or create a new one). Remind your child: "Remember, oil and water don't mix on their own!"
- Prepare the Emulsifier: In a small, separate bowl, put a tablespoon or two of dish soap. Add a few drops of food coloring to the soap and mix it well. This makes the soap more visible as it works its magic.
- Introduce the Soap: Using a clean dropper or pipette, let your child add several drops of the colored soap mixture into the oil and water container.
- Observe the Transformation: Watch what happens! The soap drops will likely sink through the oil, but as they reach the interface between the oil and water, or as they fall into the water, you'll start to see a change. Gently swirl or stir the mixture. The oil and water will begin to mix, creating a cloudy, bubbly, and often mesmerizing effect that resembles a homemade "lava lamp" or a cloudy potion.
- Continued Observation: Let the mixture sit for a while. What happens over time? Does it stay mixed forever, or do the layers eventually try to separate again?
The Science of Emulsifiers
This experiment introduces the concept of an emulsifier. Dish soap is a fantastic example! An emulsifier is a substance that allows two liquids that normally don't mix (like oil and water) to form a stable mixture called an emulsion.
How does it work? Dish soap molecules are like tiny "matchmakers." They have one end that is attracted to water (a "hydrophilic" or water-loving end) and another end that is attracted to oil (a "hydrophobic" or water-fearing/oil-loving end). When you add dish soap to oil and water and mix, the soap molecules position themselves between the oil and water molecules. They essentially surround the tiny oil droplets, with their oil-loving ends facing in and their water-loving ends facing out. This creates a protective barrier around the oil droplets, preventing them from clumping together and separating from the water.
This is exactly how dish soap cleans greasy dishes! It helps lift the oil and grease off your plates and allows it to mix with the water so it can be rinsed away. For a hands-on way to explore other amazing chemical reactions and physical changes, our Erupting Volcano Cakes kit provides an exciting adventure where kids create a delicious edible volcano that really erupts! It’s another fantastic example of science at play in the kitchen.
Extending the Learning
- "What did the soap do that changed how the oil and water looked?"
- "Why do you think dish soap helps clean greasy pots and pans?"
- "Can you think of other things in our kitchen that might be emulsions?" (Think mayonnaise, vinaigrette dressings, milk).
- "What would happen if we used less soap? More soap?"
If you're looking for a specific adventure or want to sample our unique blend of STEM and cooking, feel free to explore our complete collection of one-time kits. Each kit is packed with engaging learning and delicious results!
Experiment 3: The Salty Density Dive
Let’s circle back to density, but with a surprising twist! This experiment uses everyday table salt to demonstrate how density can be manipulated, creating a captivating visual effect that resembles underwater fireworks or a "lava lamp" without heat.
Step-by-Step Instructions
- Set the Scene: Once again, start with your clear container filled with distinct layers of oil and water. You can even add some colored water to the bottom layer for an extra pop of color.
- Introduce the Salt: Offer your child a spoon of table salt. Ask them to slowly sprinkle small amounts of salt into the oil and water mixture.
- Watch the Magic Unfold: Observe closely! The salt crystals, being denser than both oil and water, will fall through the oil layer. As they pass through the oil, some oil will cling to the salt crystals. The salt, now weighted with tiny oil droplets, will sink all the way to the bottom, pulling the oil down with it.
- The Ascent: Here’s the exciting part: once the salt reaches the water layer at the bottom, it begins to dissolve. As the salt dissolves, it releases the oil droplets it was carrying. Since oil is less dense than water, these released oil droplets will immediately float back up to the surface, creating fascinating shimmering trails and bubbles.
- Repeat and Observe: Encourage your child to add more salt, observing the continuous cycle of sinking oil-laden salt and rising oil droplets. You can even try adding food coloring to the water before adding salt for an even more vibrant display.
Density in Action: What the Salt Does
This experiment provides a dynamic illustration of density and solubility:
- Salt's Density: Salt is much denser than both oil and water, so it sinks readily.
- The Hitchhiker Effect: When salt passes through the oil, the nonpolar oil molecules are attracted to the salt crystal's surface (though not chemically bonding, they adhere).
- Dissolution and Release: When the salt hits the water, it dissolves because salt is soluble in water. As it dissolves, the oil that was clinging to it is released.
- Oil's Buoyancy: Since the oil is less dense than water, it immediately floats back up to the top, forming beautiful upward-moving blobs and streams. This creates a mesmerizing effect that can keep children engaged for quite a while.
Beyond the Salt: More Density Explorations
- "What do you think would happen if we tried sugar instead of salt?" (Sugar is also denser than water and dissolves, but it might not have the same oil-carrying effect, or it might be less visible).
- "Could we use sand or small pebbles?" (These wouldn't dissolve, so they would sink and stay at the bottom, carrying oil down but not releasing it in the same way).
- "What objects do you think would float in the oil? What would sink?" Try dropping various small items – a grape, a plastic bead, a paperclip – into the oil and water to see where they settle. This helps reinforce the concept of density relative to different liquids.
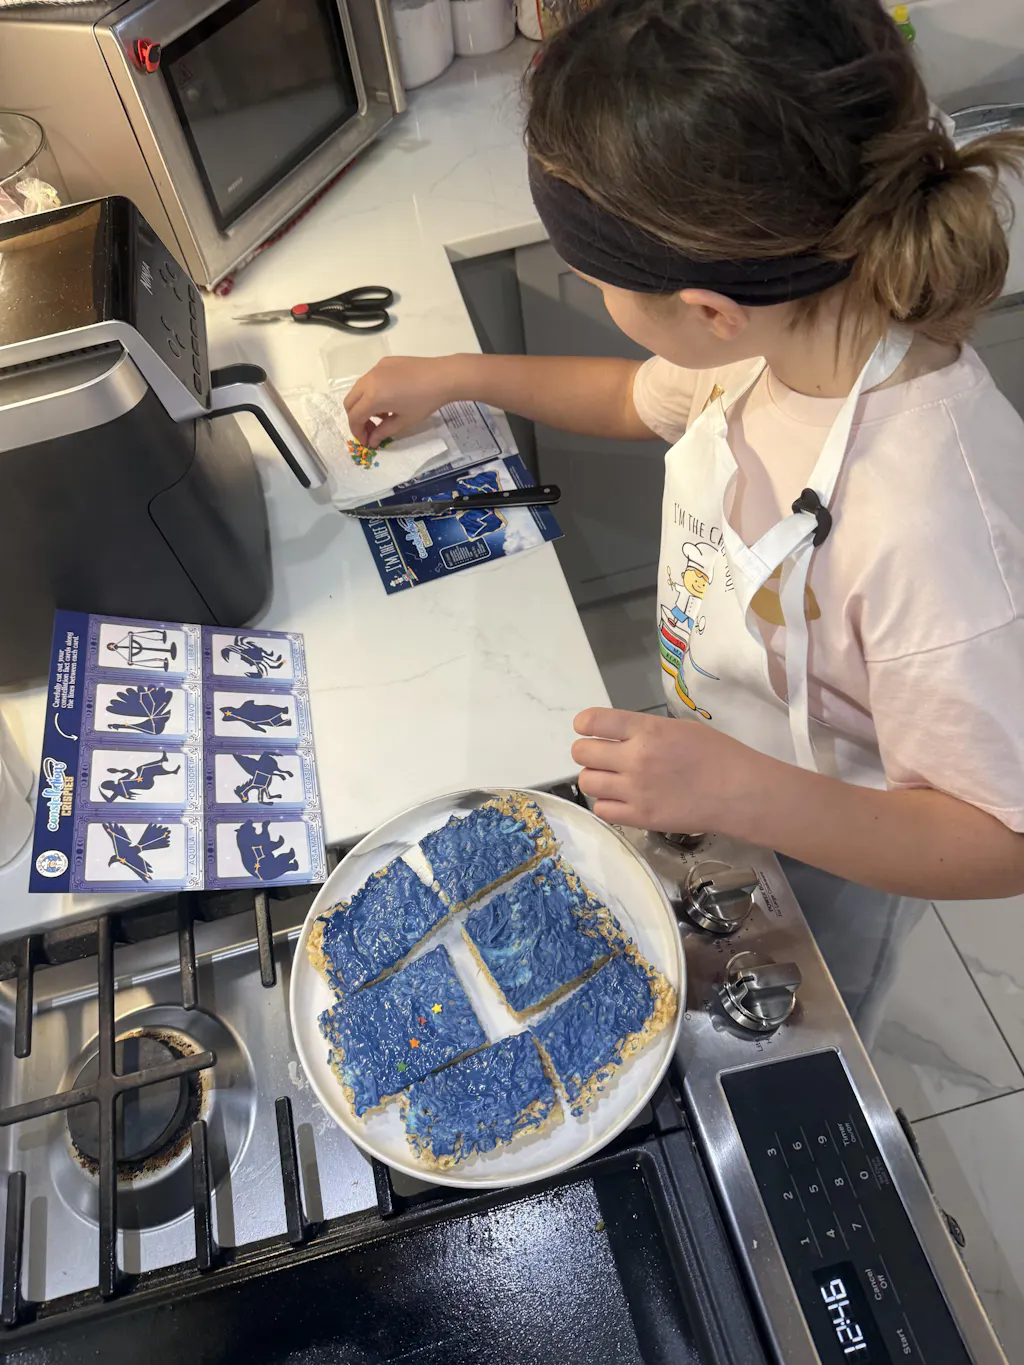
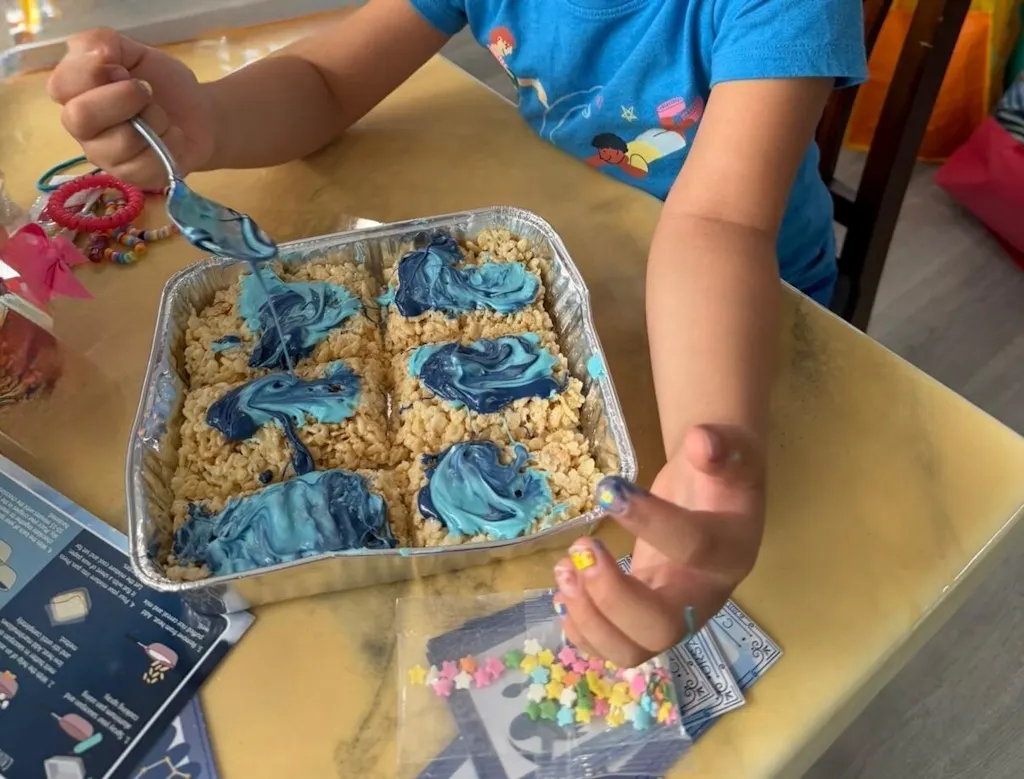
Understanding density is key to many scientific phenomena, from how ships float to why hot air balloons rise. For kids interested in the vastness of space and planetary science, our Galaxy Donut Kit lets them explore astronomy by creating their own edible solar system, combining density with colorful, cosmic creativity!
Beyond the Bubbles: The Enduring Benefits of Kitchen Science for Kids
While the "wow" factor of these oil and water science experiments for kids is undeniable, the true value lies in the rich educational benefits they provide. At I'm the Chef Too!, we believe in a holistic approach to learning, and these hands-on activities perfectly embody our philosophy of fostering growth in multiple areas.
Sparking Curiosity and Igniting Imagination
Children are naturally curious, and science experiments feed this innate desire to understand how the world works. When they witness something unexpected, like colored water droplets floating through oil before "exploding" into the water below, it sparks a series of questions: "Why did that happen? What if I try this instead?" This process of questioning and exploring is the bedrock of scientific inquiry and a lifelong love for learning. It's about opening their minds to possibilities and encouraging them to dream up new ideas.
Cultivating Critical Thinking and Problem-Solving
Science isn't just about memorizing facts; it's about thinking critically. As children observe, predict, and experiment with oil and water, they are actively developing their critical thinking skills. They learn to analyze cause and effect ("If I add more salt, what will happen?"), form hypotheses ("I think the red water will mix faster than the blue"), and interpret results. When an experiment doesn't go as expected, it becomes an opportunity for problem-solving: "Why didn't that work? What can I change?" These are invaluable skills that extend far beyond the kitchen, impacting their approach to challenges in school and life.
Boosting Fine Motor Skills and Hand-Eye Coordination
The simple act of using a pipette or dropper might seem trivial, but for young children, it’s a powerful exercise in fine motor development. Squeezing, releasing, and aiming the dropper strengthens the small muscles in their hands and fingers, crucial for tasks like writing, drawing, and using utensils. The focused attention required to drip carefully into a glass also enhances hand-eye coordination, improving precision and control. These are foundational skills that support overall physical and cognitive development.
Fostering Confidence and Resilience
Every successful experiment, every correct prediction, and even every "failed" attempt that leads to a new discovery, builds a child's confidence. They learn that they are capable of understanding complex ideas and making things happen. When something doesn’t work out, instead of discouragement, they learn resilience – the ability to try again, adjust their approach, and learn from mistakes. This growth mindset is essential for tackling new challenges with enthusiasm and a sense of "I can do it!"
Strengthening Family Bonds Through Shared Discovery
Perhaps one of the most heartwarming benefits of kitchen science is the opportunity for family bonding. These activities provide a wonderful shared experience, moving beyond passive entertainment to active, collaborative discovery. Parents and children work together, observe together, and wonder together. It creates a space for meaningful conversations, laughter, and quality time that strengthens relationships and creates cherished memories. In a world increasingly dominated by individual screen time, hands-on activities offer a priceless chance to connect.
Screen-Free Learning: A Priceless Gift
In today's digital age, finding engaging screen-free educational alternatives is more important than ever. Oil and water science experiments offer a captivating break from screens, stimulating different parts of the brain and encouraging interaction with the physical world. They provide tangible, multi-sensory experiences that no app or video can replicate, fostering a deeper connection to scientific concepts and the joy of hands-on creation. This is at the heart of what we do at I'm the Chef Too! – providing engaging, educational experiences that are both fun and free from digital distractions. For a continuous supply of such enriching, screen-free "edutainment," remember to Join The Chef's Club today and receive a new adventure delivered to your door every month.
Bringing the World of STEM to Your Kitchen with I'm the Chef Too!
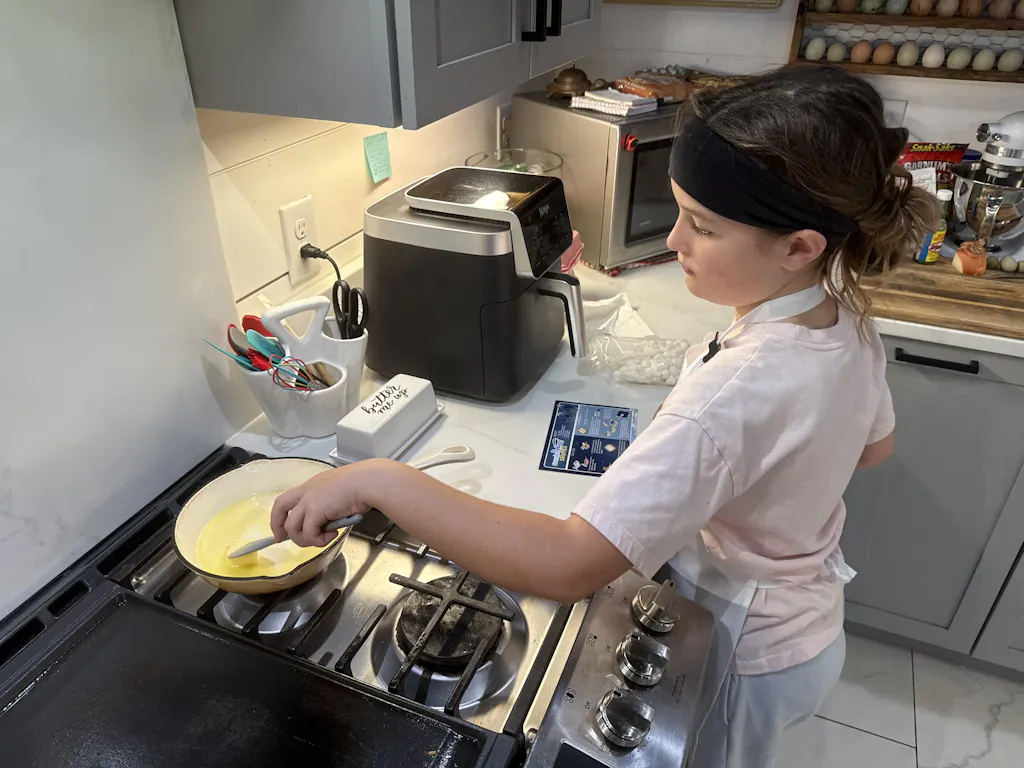
At I'm the Chef Too!, we understand the profound impact that hands-on, engaging learning experiences have on children. That's why our cooking STEM kits are lovingly developed by mothers and educators, ensuring each adventure is not only fun and delicious but also deeply educational. We seamlessly weave together the principles of Science, Technology, Engineering, and Math with the creativity of the culinary arts, making learning a truly unforgettable experience.
From exploring chemical reactions that make our Erupting Volcano Cakes bubble over with deliciousness to creating an edible solar system with our Galaxy Donut Kit, our kits take the guesswork out of kitchen science. We provide pre-measured dry ingredients, specialty supplies, and easy-to-follow instructions, allowing you to focus on the joy of discovery with your child, rather than the hassle of prep work.
Our unique approach sparks curiosity, builds confidence, and facilitates precious family bonding moments. We believe that every child deserves the opportunity to explore, create, and learn in a way that resonates with their natural enthusiasm. Whether your child is fascinated by the wonders of space, the mysteries of ancient history, or the magic of fairy tales, we have an adventure waiting. Each kit transforms a simple cooking activity into a multi-faceted educational journey, encouraging kids to ask questions, experiment, and understand the science behind their delicious creations.
Ready to embark on a new culinary and scientific adventure every month? Join The Chef's Club and enjoy the convenience of exciting STEM activities delivered right to your door with free shipping in the US. It’s the perfect way to keep the learning and family fun going all year long, providing a consistent source of screen-free "edutainment" and delicious discoveries.
FAQs About Oil & Water Science Experiments for Kids
Q1: What age group are these oil and water experiments best suited for?
These experiments are wonderfully versatile and can engage a wide range of ages. Toddlers (with very close supervision, especially regarding droppers and potential ingestion) will enjoy the sensory experience and observing the colors. Preschoolers and early elementary children (ages 3-8) will be fascinated by the cause-and-effect, developing fine motor skills with droppers, and starting to grasp basic concepts like density. Older elementary kids (ages 8-12) can delve deeper into the scientific explanations of polarity, emulsification, and density, make more complex predictions, and design their own variations. The key is to tailor your explanations and questions to your child's developmental stage.
Q2: Is it safe for kids to touch the oil and water mixture?
Generally, yes, if you are using vegetable oil and food coloring. These are food-grade ingredients. However, it’s always best practice to remind children not to ingest any of the mixtures, especially if using baby oil or liquid watercolors which are not food-safe. Always ensure adult supervision. Providing droppers or pipettes also encourages a more hands-on approach without direct immersion of hands, though gentle touching of the oil can be a good sensory experience.
Q3: What if the oil and water don't separate clearly?
Make sure you are using enough oil and water to create distinct layers (at least an inch or two of each). If you just stirred them vigorously, it might take a few minutes for the layers to settle and separate completely. If you added dish soap, they are designed to emulsify (mix), so a cloudy or blended look is expected. If you're doing the classic experiment without soap and it's not separating, ensure your water isn't inadvertently mixed with an emulsifier.
Q4: How can I make cleanup easier?
Using a tray or cookie sheet underneath your experiment setup is key to containing spills. Have paper towels or a rag handy. For disposal, avoid pouring large amounts of oil down your sink drain, as it can cause clogs over time. Instead, pour the oil/water mixture into a sealable container (like an old milk jug or plastic bottle) and dispose of it in the trash. Small amounts of colored water can go down the drain.
Q5: Can I use different types of oil?
Yes, most liquid cooking oils (vegetable, canola, sunflower, olive oil) will work similarly. Baby oil also works very well and offers a crystal-clear visual, though it is not food-grade. Different oils might have slightly different densities, which could subtly affect how quickly droplets fall, but the core principles will remain the same.
Q6: How can I take these experiments further?
The possibilities are endless!
- Temperature: Does the experiment change if the water is warm or cold?
- Other Liquids: What about rubbing alcohol, syrup, or honey? How do they interact with oil and water? (Note: some of these may require more caution).
- Objects: Experiment with dropping different small objects (raisins, beads, small plastic toys) into the oil and water to see where they settle based on their density.
- Sensory Bottles: Create a permanent "ocean in a bottle" by combining oil, water, food coloring, and small plastic sea creatures in a sealed plastic bottle. This is a great calming sensory tool.
- Art: Combine the scientific principles with art by creating oil and water prints on paper!
Q7: My child struggles with using a dropper. Any tips?
Practice makes perfect! Start with just water in a bowl. Encourage them to squeeze and release the bulb several times to get the feel of it. You can also try a larger medicine syringe, which might be easier for smaller hands to grasp and control the plunger. Frame it as a fun challenge, not a chore, and celebrate their progress!
Q8: How often should we do science experiments at home?
As often as you like! Even short, 10-15 minute experiments can be incredibly impactful. The consistency of engaging in hands-on activities helps reinforce learning and maintains curiosity. The beauty of these oil and water experiments is how quickly they can be set up, making them perfect for an afternoon activity or a rainy day. For an easy way to ensure a steady stream of engaging STEM activities, check out our flexible 3, 6, and 12-month pre-paid plans for The Chef's Club, perfect for ongoing enrichment or as a wonderful gift.
Conclusion
The simple combination of oil and water offers a captivating gateway into the wonders of science for children of all ages. Through these easy, hands-on experiments, kids don’t just observe; they actively engage with fundamental concepts like density, polarity, and emulsification, transforming abstract ideas into tangible, exciting discoveries. More than just understanding scientific principles, these activities nurture crucial developmental skills – from fine motor control to critical thinking – and, most importantly, foster a lifelong love for learning, exploration, and the joy of shared family moments.
At I'm the Chef Too!, we are dedicated to making learning an adventure. Our unique blend of culinary arts, STEM, and creativity ensures that every "edutainment" experience we offer is designed to spark curiosity and build confidence in your young chefs and scientists. We believe that the kitchen is the ultimate classroom, where imagination knows no bounds and every creation is a lesson.
Ready to bring the magic of hands-on STEM and delicious discovery into your home? Don't let the learning stop here! Keep the curiosity bubbling and the family fun flowing with new, exciting adventures delivered straight to your door. Join The Chef's Club today and unlock a world of screen-free educational entertainment that both children and parents will adore!