Engaging Fall STEM Activities for 4th Grade

Table of Contents
- Introduction
- Why Fall is the Ultimate STEM Classroom
- The Marvels of Autumn Leaves: Biology & Chemistry in Action
- Apple Adventures in STEM: Exploring Chemistry & Physics
- Pumpkin Power & Play: Engineering, Energy & Life Cycles
- Beyond the Harvest: Creative & Culinary STEM
- The I'm the Chef Too! Difference: Blending Food, STEM, & Fun
- Creating a STEM-Friendly Environment
- Conclusion
- FAQ Section
Introduction
As the crisp air signals the arrival of autumn, a remarkable transformation sweeps across our world. Leaves burst into vibrant hues, pumpkins adorn porches, and a sense of wonder fills the air. For 4th graders, this season isn't just about cozy sweaters and pumpkin spice; it's a living laboratory brimming with incredible opportunities for discovery. Have you ever wondered why leaves change color, or how a pumpkin can generate electricity? The answers lie within the fascinating world of Science, Technology, Engineering, and Mathematics – or STEM!
At I'm the Chef Too!, our mission is to blend the magic of food with the principles of STEM and the beauty of the arts, creating one-of-a-kind "edutainment" experiences. We believe that learning should be an adventure, sparking curiosity and creativity in children while facilitating precious family bonding. This season, we invite you to explore the rich tapestry of fall through hands-on STEM activities perfectly tailored for 4th graders. We'll delve into experiments that explain natural phenomena, engineering challenges that build problem-solving skills, and even delicious cooking adventures that teach complex subjects through tangible, delightful experiences. Prepare to transform your kitchen or classroom into an exciting hub of autumn-inspired learning, building confidence and fostering a lifelong love for discovery.
Why Fall is the Ultimate STEM Classroom
Fall provides a natural backdrop for STEM exploration, offering readily available materials and observable changes that captivate young minds. The season itself is a masterclass in biology, physics, and chemistry. From the cellular processes that cause leaves to change color to the forces involved in wind scattering seeds, every aspect of autumn holds a STEM lesson waiting to be uncovered.
For 4th graders, who are developing more complex reasoning skills and a deeper understanding of scientific principles, fall activities offer a unique bridge between abstract concepts and real-world phenomena. They can move beyond simple observation to hypothesis, experimentation, and analysis, laying a strong foundation for future scientific inquiry. The tactile nature of collecting leaves, carving pumpkins, or baking apple treats makes learning highly engaging and memorable.
Moreover, engaging in fall STEM activities is a fantastic way to provide a screen-free educational alternative. In an increasingly digital world, hands-on activities encourage physical engagement, critical thinking, and collaborative play, enriching a child's development in ways screens cannot. It's about getting messy, making mistakes, and celebrating breakthroughs together as a family.
The Marvels of Autumn Leaves: Biology & Chemistry in Action
The stunning transformation of green leaves into fiery reds, vibrant oranges, and golden yellows is perhaps the most iconic sign of fall. This dramatic change isn't magic; it's a complex chemical process ripe for 4th-grade scientific investigation.
Leaf Chromatography: Unveiling Hidden Colors
Concept: This classic experiment teaches about pigments, solubility, and the process of chromatography. Kids learn that leaves aren't just green; they contain a spectrum of colors hidden beneath the dominant chlorophyll.
Materials:
- Assorted fall leaves (green, yellow, red, orange)
- Rubbing alcohol (isopropyl alcohol)
- Clear glass jars or small beakers
- Plastic wrap
- Coffee filters or strips of paper towel
- Pencils or craft sticks
- Hot water (for a warm bath)
Instructions:
- Collect & Tear: Go on a nature walk and collect a variety of leaves. Encourage your 4th grader to observe the differences in shape, texture, and color. Tear each leaf color into very small pieces. The smaller the pieces, the more surface area for the pigments to escape.
- Separate & Soak: Place pieces of one color of leaf into a separate glass jar. Pour just enough rubbing alcohol into each jar to cover the leaf pieces.
- Warm Bath: Cover the top of each jar tightly with plastic wrap to prevent the alcohol from evaporating too quickly. Place the jars in a shallow pan or dish of hot (but not boiling) water. This gentle heat helps the pigments dissolve into the alcohol.
- Observe & Wait: Let the jars sit for 30-90 minutes. You'll begin to see the alcohol changing color as the pigments extract from the leaves.
- Chromatography Setup: Once the alcohol is colored, remove the jars from the hot water. Cut strips of coffee filter or paper towel that are long enough to hang into the alcohol without touching the leaf pieces, and long enough to drape over a pencil or craft stick laid across the top of the jar.
- Capillary Action: Suspend a filter strip into each jar, ensuring only the very tip touches the colored alcohol. The alcohol will slowly wick up the paper, carrying the different pigments with it at varying speeds.
- Results: Over several hours, you'll observe distinct color bands appearing on the paper strips. The green chlorophyll might stay closer to the bottom, while the yellow (xanthophyll) and orange (carotenoid) pigments travel higher. If you have red leaves, you might see red (anthocyanin) bands.
Learning Outcomes: Your child will grasp that what we perceive as a single color is often a blend of many. They’ll understand concepts like plant pigments, solubility (how substances dissolve), and capillary action (how liquids move through narrow spaces). This activity sparks critical thinking about why leaves change, linking it to the plant's preparation for winter and the breakdown of chlorophyll.
Leaf Engineering Challenge: Building Natural Structures
Concept: This activity introduces basic engineering principles like stability, balance, and structural integrity using natural, biodegradable materials.
Materials:
- Various sizes and shapes of fallen leaves
- Small twigs or toothpicks
- Clay, playdough, or small lumps of modeling compound (for connectors/bases)
- Ruler or measuring tape
Instructions:
- Gather Supplies: Collect a wide array of leaves – flat, curled, large, small, thick, thin. The diversity will encourage creative problem-solving.
- The Challenge: Challenge your 4th grader to build the tallest freestanding structure they can using only leaves, twigs/toothpicks, and the clay/playdough as connectors. The structure must stand on its own for at least 30 seconds.
- Design & Build: Encourage them to sketch a design first. How will they create a strong base? How can they connect leaves to twigs to create height without toppling? They can use the clay to create "joints" or "anchors" for the twigs and leaves.
- Test & Iterate: If the structure falls, discuss why. Was the base too narrow? Were the connections too weak? Did the leaves tear? This iterative process of designing, building, testing, and refining is at the heart of engineering.
- Measure & Document: Measure the height of the successful structures. Take photos to document their creations.
Learning Outcomes: This hands-on project fosters an understanding of structural stability, load-bearing, and the importance of a strong foundation. Children develop problem-solving skills, creativity, and perseverance. It’s a wonderful way to connect with nature while applying engineering principles.
The Hidden Science of Pinecones: Hygroscopy & Weather Forecasting
Concept: Pinecones open and close due to changes in humidity, a fascinating property known as hygroscopy. This activity explores how plants adapt to their environment and can even serve as a natural humidity indicator.
Materials:
- Several dry, open pinecones
- Two clear containers (jars or bowls)
- Water
- Spray bottle with water
- Optional: A simple humidity gauge (hygrometer) for comparison
Instructions:
- Observation: Have your child carefully observe a dry, open pinecone. Discuss its structure and how its scales are spread apart.
- Water Test: Place one dry, open pinecone in a container of water. Ensure it's fully submerged.
- Humidity Test: In a separate container, place another dry, open pinecone. Use the spray bottle to mist this pinecone thoroughly, or place it in a humid environment (like a steamy bathroom).
- Control: Keep a third dry, open pinecone nearby as a control, untouched by water.
-
Observe Changes: Over several hours, observe what happens to the pinecones.
- The pinecone submerged in water should close its scales tightly.
- The pinecone in the humid environment (or misted) should also begin to close its scales.
- The control pinecone should remain open.
- Explanation: Discuss with your child that pinecones open to release their seeds when it's dry (good for seed dispersal) and close when it's wet (to protect the seeds). The scales are made of two layers that swell and shrink at different rates when they absorb or lose moisture, causing them to move.
Learning Outcomes: Children learn about hygroscopy and how plants respond to environmental conditions. They practice observation skills, form hypotheses, and understand the concept of a control group in an experiment. It's also a fun way to connect with nature and understand simple indicators of weather changes.
Apple Adventures in STEM: Exploring Chemistry & Physics
Apples are a quintessential symbol of fall, offering a sweet and tangy canvas for a variety of engaging STEM activities that delight the senses and spark scientific inquiry.
Apple Oxidation Experiment: The Browning Mystery
Concept: This experiment introduces oxidation, a chemical reaction where a substance combines with oxygen, causing a change. It's why sliced apples turn brown, and it’s a great way to explore food science and preservation.
Materials:
- Several apple slices
- Small bowls or cups
- Various liquids: water, lemon juice, vinegar, milk, soda, salt water (dissolve a teaspoon of salt in water)
- A control apple slice (left exposed to air)
- Permanent marker for labeling
Instructions:
- Prepare: Slice an apple into several equal pieces.
- Hypothesize: Ask your 4th grader: "What do you think will happen to these apple slices over time? Which liquid do you think will prevent browning the best? Which will make it brown faster?" Encourage them to explain their reasoning.
- Set Up: Label each bowl with the name of a liquid. Place one apple slice in each bowl, ensuring it's partially submerged in the liquid. Place one apple slice on a separate plate as your control.
- Observe: After 5 minutes, remove the apple slices from their liquids (except for the control) and place them on a clean plate or cutting board, keeping them separate and labeled.
- Monitor & Record: Check the apple slices every 15-30 minutes for several hours, noting any changes in color. Use a chart or draw pictures to record observations.
Learning Outcomes: Children will directly observe the effects of oxidation and how different substances (like acids in lemon juice) can inhibit or accelerate this process. This teaches about chemical reactions, variables in experiments, and basic food preservation science. It’s also a delicious way to learn about the importance of scientific observation!
Apple Volcanoes: Fizzing Chemistry Fun
Concept: This is a fantastic hands-on demonstration of an acid-base chemical reaction, similar to what you might find in our Erupting Volcano Cakes kit! It's a visually exciting way to explore how different substances react to produce a gas.
Materials:
- Large apples
- Baking soda
- Vinegar
- Food coloring (optional, for more dramatic "lava")
- Dish soap (optional, creates more foam)
- Spoon
- Tray or baking dish (to catch the "lava")
Instructions:
- Prepare the "Volcano": Core the apple, creating a large well in the center. Make sure not to go all the way through the bottom. You can also carve out a bit more flesh from the top to create a wider opening, resembling a volcano crater.
- Add Ingredients: Place the apple in a tray. Add a few drops of food coloring and a squeeze of dish soap into the apple's well. Then, spoon 1-2 tablespoons of baking soda into the well.
- Initiate Eruption: Slowly pour vinegar into the apple's well. Step back and watch the "lava" bubble and fizz out!
- Experiment: Try different amounts of baking soda and vinegar. Does adding more baking soda make a bigger eruption? What about using different types of vinegar?
Learning Outcomes: This engaging activity provides a direct experience with an acid-base reaction, demonstrating how new substances (carbon dioxide gas, which causes the fizzing) are formed. It’s a fun, memorable way to learn about chemistry, and it perfectly illustrates the type of exciting, hands-on science we love to include in our kits, like the Erupting Volcano Cakes!
Apple Structures: Engineering & Gravity
Concept: This activity challenges 4th graders to build stable structures using simple materials, exploring concepts of weight distribution, balance, and the forces of gravity.
Materials:
- Apples (whole, various sizes if possible)
- Toothpicks
- Optional: Small blocks, paper, or other lightweight materials for decoration/extensions
Instructions:
- The Challenge: Challenge your child to build the tallest freestanding structure they can using only apples and toothpicks.
- Design Thinking: Encourage them to think about how they will make a strong base. Will they use a wide base of apples? How can toothpicks connect apples securely to prevent collapse?
- Building: Start building! Connect apples with toothpicks, thinking about how to distribute weight evenly and create stable connections.
- Test & Refine: If the structure tumbles, analyze why. Was it top-heavy? Did a toothpick snap? This iterative process of building and refining is key to engineering.
-
Variations:
- Weight Bearing: Can your structure hold a small toy or a lightweight book?
- Bridge Building: Can you build a bridge between two apple towers?
Learning Outcomes: This activity develops fine motor skills, spatial reasoning, and an intuitive understanding of physics principles like gravity, tension, and compression. It encourages perseverance and creative problem-solving under constraints.
Pumpkin Power & Play: Engineering, Energy & Life Cycles
Pumpkins are more than just Halloween decorations; they are versatile tools for exploring a range of STEM concepts, from simple physics to complex biological processes and even electricity!
Pumpkin Catapults: Exploring Force & Trajectory
Concept: Design, build, and test a mini-catapult to launch small objects (like candy corn, small candy pumpkins, or dried beans), teaching about force, trajectory, simple machines, and measurement.
Materials:
- Popsicle sticks
- Rubber bands
- Plastic spoon or bottle cap
- Small craft pumpkins or other lightweight projectiles
- Measuring tape or ruler
- Optional: Hot glue gun (with adult supervision)
Instructions:
- Build the Base: Stack several Popsicle sticks together (about 7-10) and secure them tightly at both ends with rubber bands. This forms the base.
- Create the Arm: Take two more Popsicle sticks and rubber band them together at one end.
- Assemble: Gently open the free ends of the two-stick arm. Insert the stack of Popsicle sticks between them, near the rubber-banded end. Secure this intersection with another rubber band. The stack acts as a fulcrum.
- Add the Spoon: Attach a plastic spoon or bottle cap to the top end of the longer arm using a rubber band or hot glue. This will hold your projectile.
- Test & Measure: Place a small pumpkin or candy corn in the spoon. Press down on the spoon and release! Measure how far your projectile travels.
-
Experiment:
- How does the number of Popsicle sticks in the base affect launch distance?
- How does the angle of the catapult arm change the trajectory?
- Try different projectiles. Which ones go farthest?
Learning Outcomes: This project is a fantastic introduction to simple machines (levers), force, energy transfer, and projectile motion. Children learn about measurement, data collection (by recording distances), and the engineering design process of building, testing, and optimizing.
Pumpkin Battery: Generating Electricity from a Gourd
Concept: This advanced but accessible project demonstrates how chemical energy can be converted into electrical energy, much like a real battery. It introduces basic circuit concepts and the science of electrochemistry.
Materials:
- Small pumpkins (or other gourds/fruits like lemons, potatoes)
- Copper wire (stripped at ends)
- Zinc-plated nails or galvanized nails (important for the zinc component)
- LED light bulb (low voltage, e.g., 1.5V or 3V)
- Alligator clip wires (optional, makes connections easier)
- Multimeter (optional, to measure voltage)
Instructions:
- Prepare Electrodes: Cut several pieces of copper wire (about 3-4 inches long) and strip about 1 inch of insulation from each end. These are your copper electrodes.
- Insert Electrodes: Insert one copper wire strip and one zinc nail into each pumpkin. Make sure they are close but not touching inside the pumpkin. These are your positive and negative terminals.
-
Connect in Series: To power the LED, you'll need to connect multiple pumpkins in a series, meaning the copper of one pumpkin connects to the zinc of the next.
- Connect a copper strip from pumpkin #1 to a zinc nail in pumpkin #2 using an alligator clip wire (or by twisting the stripped ends together).
- Connect a copper strip from pumpkin #2 to a zinc nail in pumpkin #3.
- Continue this for as many pumpkins as needed to reach the voltage for your LED (usually 3-4 pumpkins for a small LED).
- Connect to LED: The remaining free copper strip from the last pumpkin connects to one lead of the LED. The remaining free zinc nail from the first pumpkin connects to the other lead of the LED. LEDs are polarized, so if it doesn't light up, simply reverse the connections.
- Observe: Watch your LED light up, powered by pumpkins! Use a multimeter to measure the voltage produced by each pumpkin and the total voltage.
Learning Outcomes: This engaging experiment teaches about basic electricity, circuits (series connection), and the conversion of chemical energy into electrical energy. It introduces the concept of electrochemistry and how different metals react within an electrolyte (the pumpkin's juices) to create a current. It's a wonderful demonstration of how everyday items can be used to understand complex scientific principles.
Pumpkin Life Cycle & Measurement: Biology & Math
Concept: Explore the fascinating life cycle of a pumpkin from seed to fruit, while incorporating hands-on measurement and data collection.
Materials:
- Pumpkin (can be one you've carved or bought)
- Pumpkin seeds
- Measuring tape or string
- Kitchen scale
- Paper, pencils, crayons/markers
- Optional: Books about pumpkin life cycles, small cups for planting seeds
Instructions:
-
Observation & Prediction: Before opening the pumpkin, have your 4th grader make predictions:
- What is its circumference? Weight?
- How many seeds do you think are inside?
- Measure & Weigh: Use a measuring tape to find the pumpkin's circumference. Use a kitchen scale to weigh it. Record these initial measurements.
- Explore Inside: Carefully cut open the pumpkin (adult supervision needed for sharp knives). Let your child scoop out the seeds and pulp.
- Count & Sort: Encourage them to separate the seeds from the pulp. Then, count the seeds! This is a great exercise in estimation and counting large quantities.
-
Life Cycle Discussion: Discuss the pumpkin's life cycle:
- Seed (plant some seeds in small cups with soil to observe sprouting)
- Sprout
- Vine/Flower
- Green Pumpkin
- Mature Orange Pumpkin
- Decomposition (you can leave a small piece of pumpkin outside to observe decomposition over time)
- Diagram: Have your child draw or create a diagram of the pumpkin life cycle, labeling each stage.
- Data Analysis: Compare their initial predictions to the actual measurements and seed count. Discuss why their estimates might have been different.
Learning Outcomes: This activity combines biology (life cycles, plant parts) with mathematics (measurement, estimation, counting, data recording). It promotes observation skills, scientific inquiry, and a deeper appreciation for where our food comes from.
Pumpkin Sink or Float: Buoyancy & Density
Concept: This simple yet captivating experiment explores the concepts of buoyancy and density using pumpkins of different sizes.
Materials:
- Various sizes of pumpkins (small decorative ones, medium-sized, etc.)
- A large tub, cooler, or kiddie pool filled with water
- Paper and pencil for predictions
Instructions:
- Predict: Before placing any pumpkins in the water, have your 4th grader predict whether each pumpkin will sink or float. Ask them to explain why they think so. Do they think bigger pumpkins will sink because they're heavier? Or float because they're larger?
- Test: Gently place each pumpkin, one by one, into the water.
- Observe: Record whether each pumpkin sinks or floats.
- Discuss: You'll likely find that all pumpkins float, regardless of size! Discuss why this is. Explain that it's not just about weight, but about density – how much "stuff" is packed into a given space. Pumpkins, even large ones, have a lot of air inside (especially once hollowed out), making them less dense than water, so they float. If you hollow out a pumpkin, it becomes even more buoyant.
Learning Outcomes: This activity provides a direct, hands-on understanding of buoyancy and density. It challenges common misconceptions about weight and floating, leading to a deeper grasp of physical properties and scientific reasoning.
Beyond the Harvest: Creative & Culinary STEM
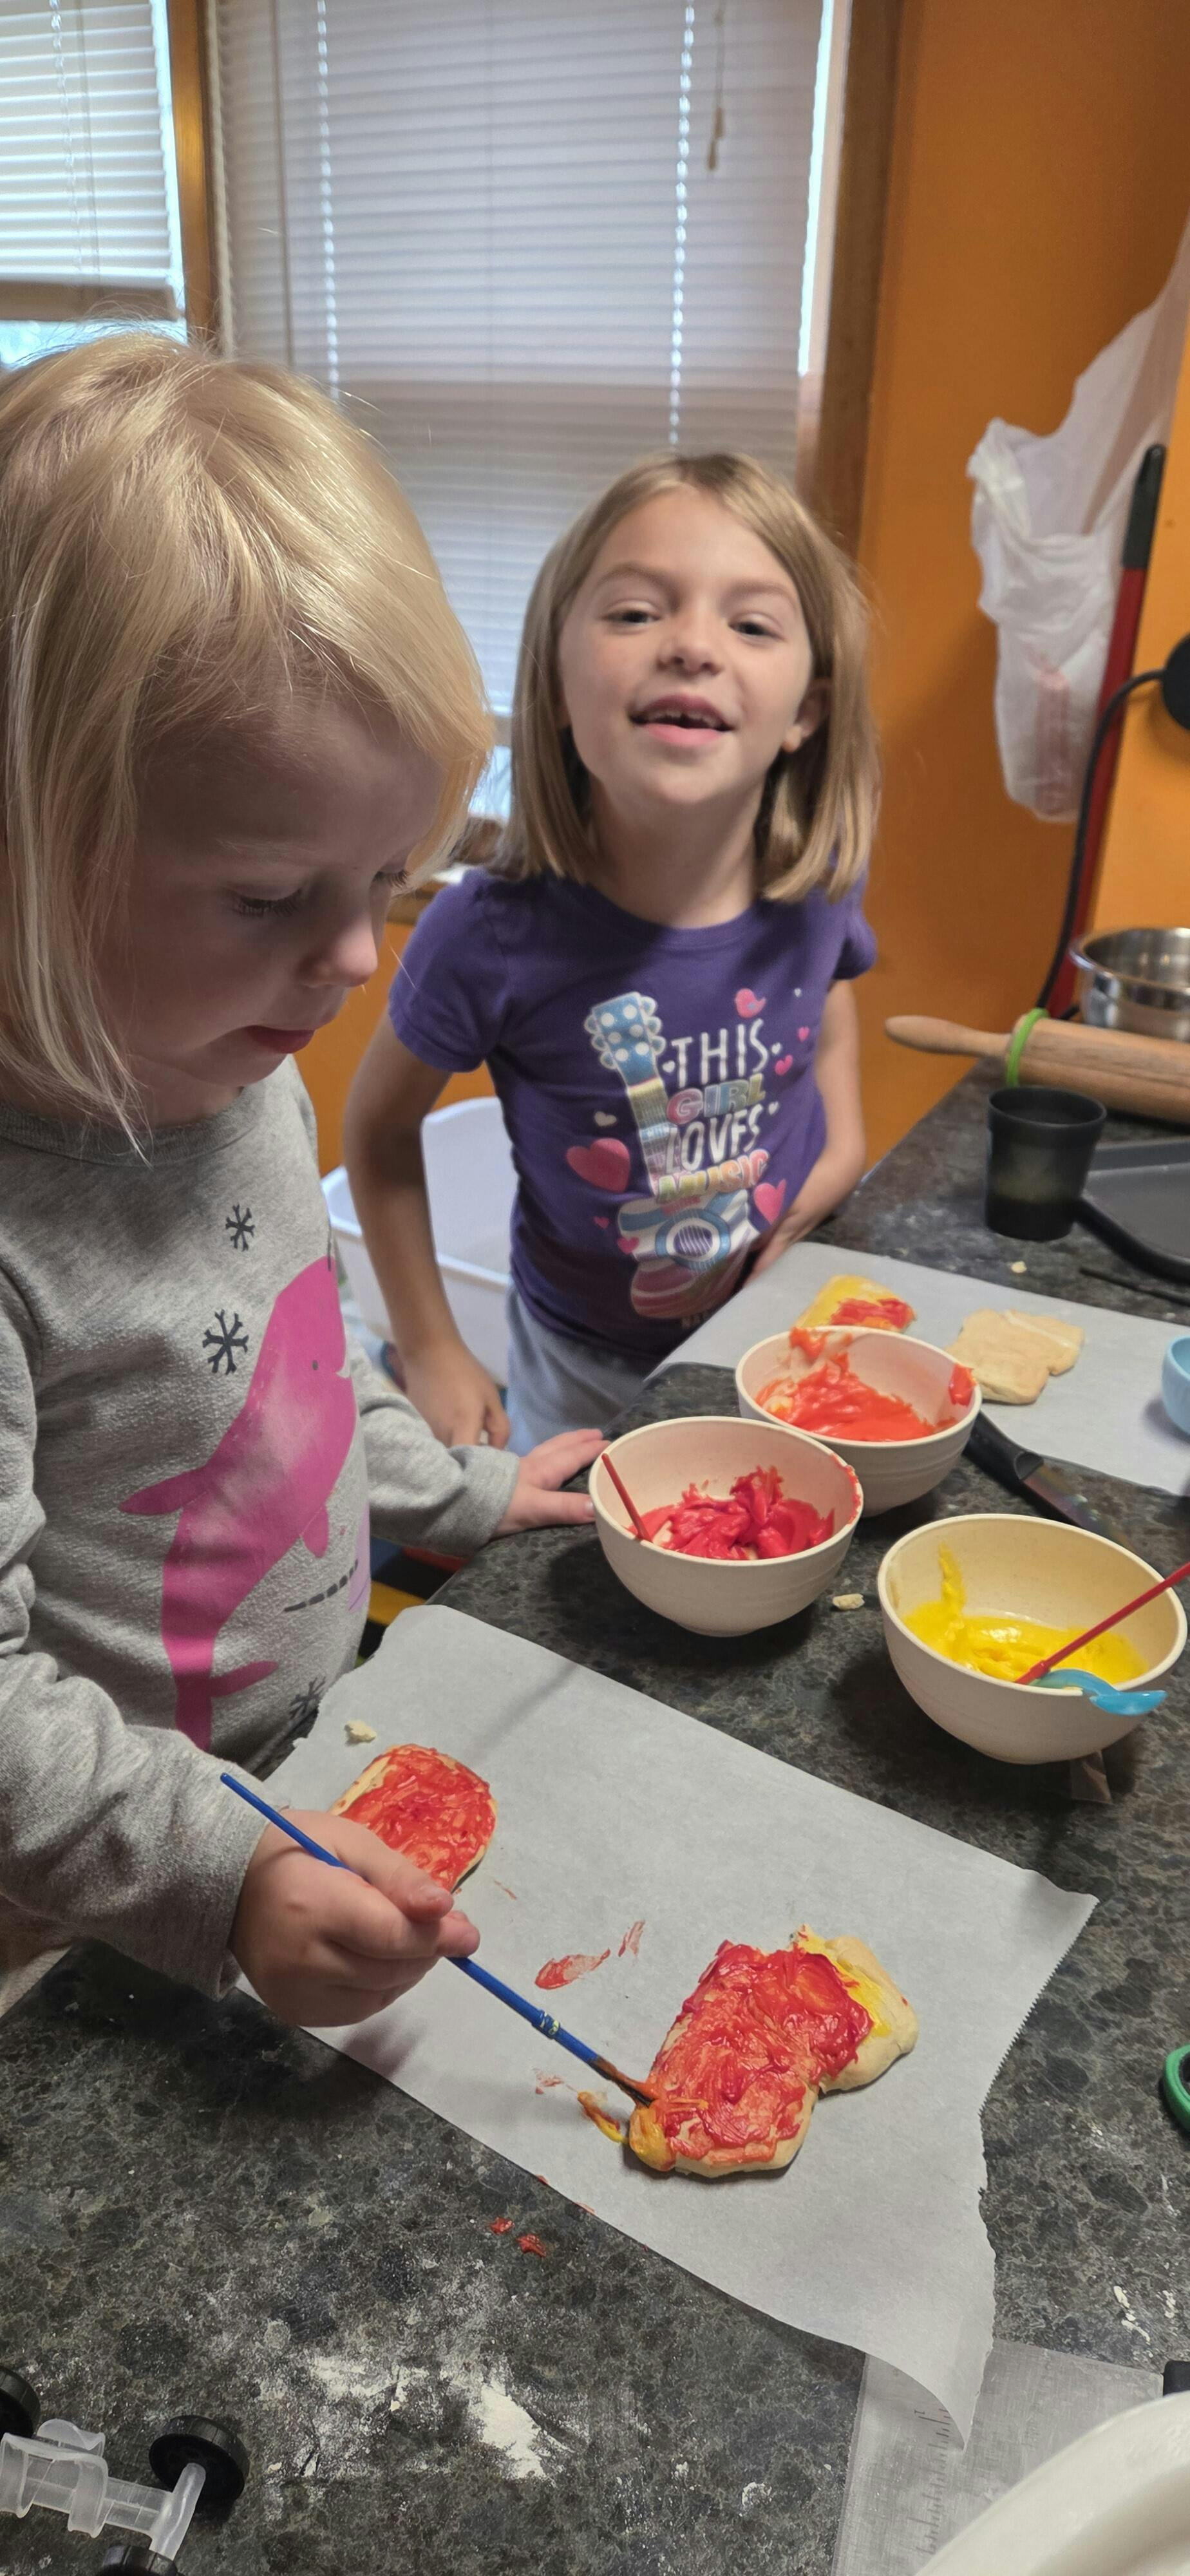
Fall also brings holidays like Halloween and Thanksgiving, offering fantastic opportunities to infuse STEM into celebrations, often with a delicious twist. At I'm the Chef Too!, we truly believe in the power of edible education. Our kits are designed by mothers and educators to make complex subjects digestible, engaging, and incredibly fun.
Candy Corn & Slime Chemistry: Polymers & States of Matter
Concept: Explore the chemistry of polymers by making slime, and experiment with dissolving candy corn to learn about solubility and solutions.
Candy Corn Dissolving Experiment
Materials:
- Candy corn
- Small clear cups or jars
- Various liquids: warm water, cold water, vinegar, rubbing alcohol, cooking oil
- Spoon
- Timer (optional)
Instructions:
- Set Up: Place one piece of candy corn in each of your clear cups.
- Add Liquids: Pour a different liquid into each cup, just enough to cover the candy corn.
- Observe: Watch what happens over 30 minutes to an hour. Which liquid dissolves the candy corn fastest? Which hardly dissolves it at all? What happens to the distinct layers of the candy corn?
- Discussion: Discuss solubility – some substances dissolve better in certain liquids than others. Water is a "universal solvent," but even it has limits. Explain that candy corn is primarily sugar, which is very soluble in water.
Fall-Themed Slime
Materials:
- Clear school glue (PVA glue)
- Liquid starch or contact lens solution + baking soda (ensure contact lens solution contains boric acid)
- Warm water (if using liquid starch)
- Food coloring (fall colors like orange, red, yellow)
- Glitter or small fall-themed sequins (leaves, pumpkins)
- Mixing bowls and spoons
Instructions (using liquid starch):
- Combine: In a bowl, mix 1/2 cup clear glue with 1/2 cup warm water. Stir well until combined.
- Add Color & Sparkle: Add a few drops of fall-colored food coloring and a generous amount of glitter or sequins. Stir thoroughly.
- Activate: Slowly add liquid starch, about 1/4 cup at a time, stirring continuously. The mixture will start to pull away from the sides of the bowl and become slimy. Keep adding and stirring until it reaches your desired consistency – not too sticky, but still pliable.
- Knead: Once it's mostly formed, take it out and knead it with your hands. The more you knead, the less sticky it will become.
- Play & Explore: Observe its stretchy, squishy properties. How does it flow? How does it break?
Learning Outcomes: Both activities delve into chemistry. The dissolving candy corn experiment teaches about solubility and solutions. Making slime introduces the concept of polymers and how different ingredients react to create a new substance with unique properties, like viscosity and elasticity. It’s messy, hands-on chemistry at its most fun!
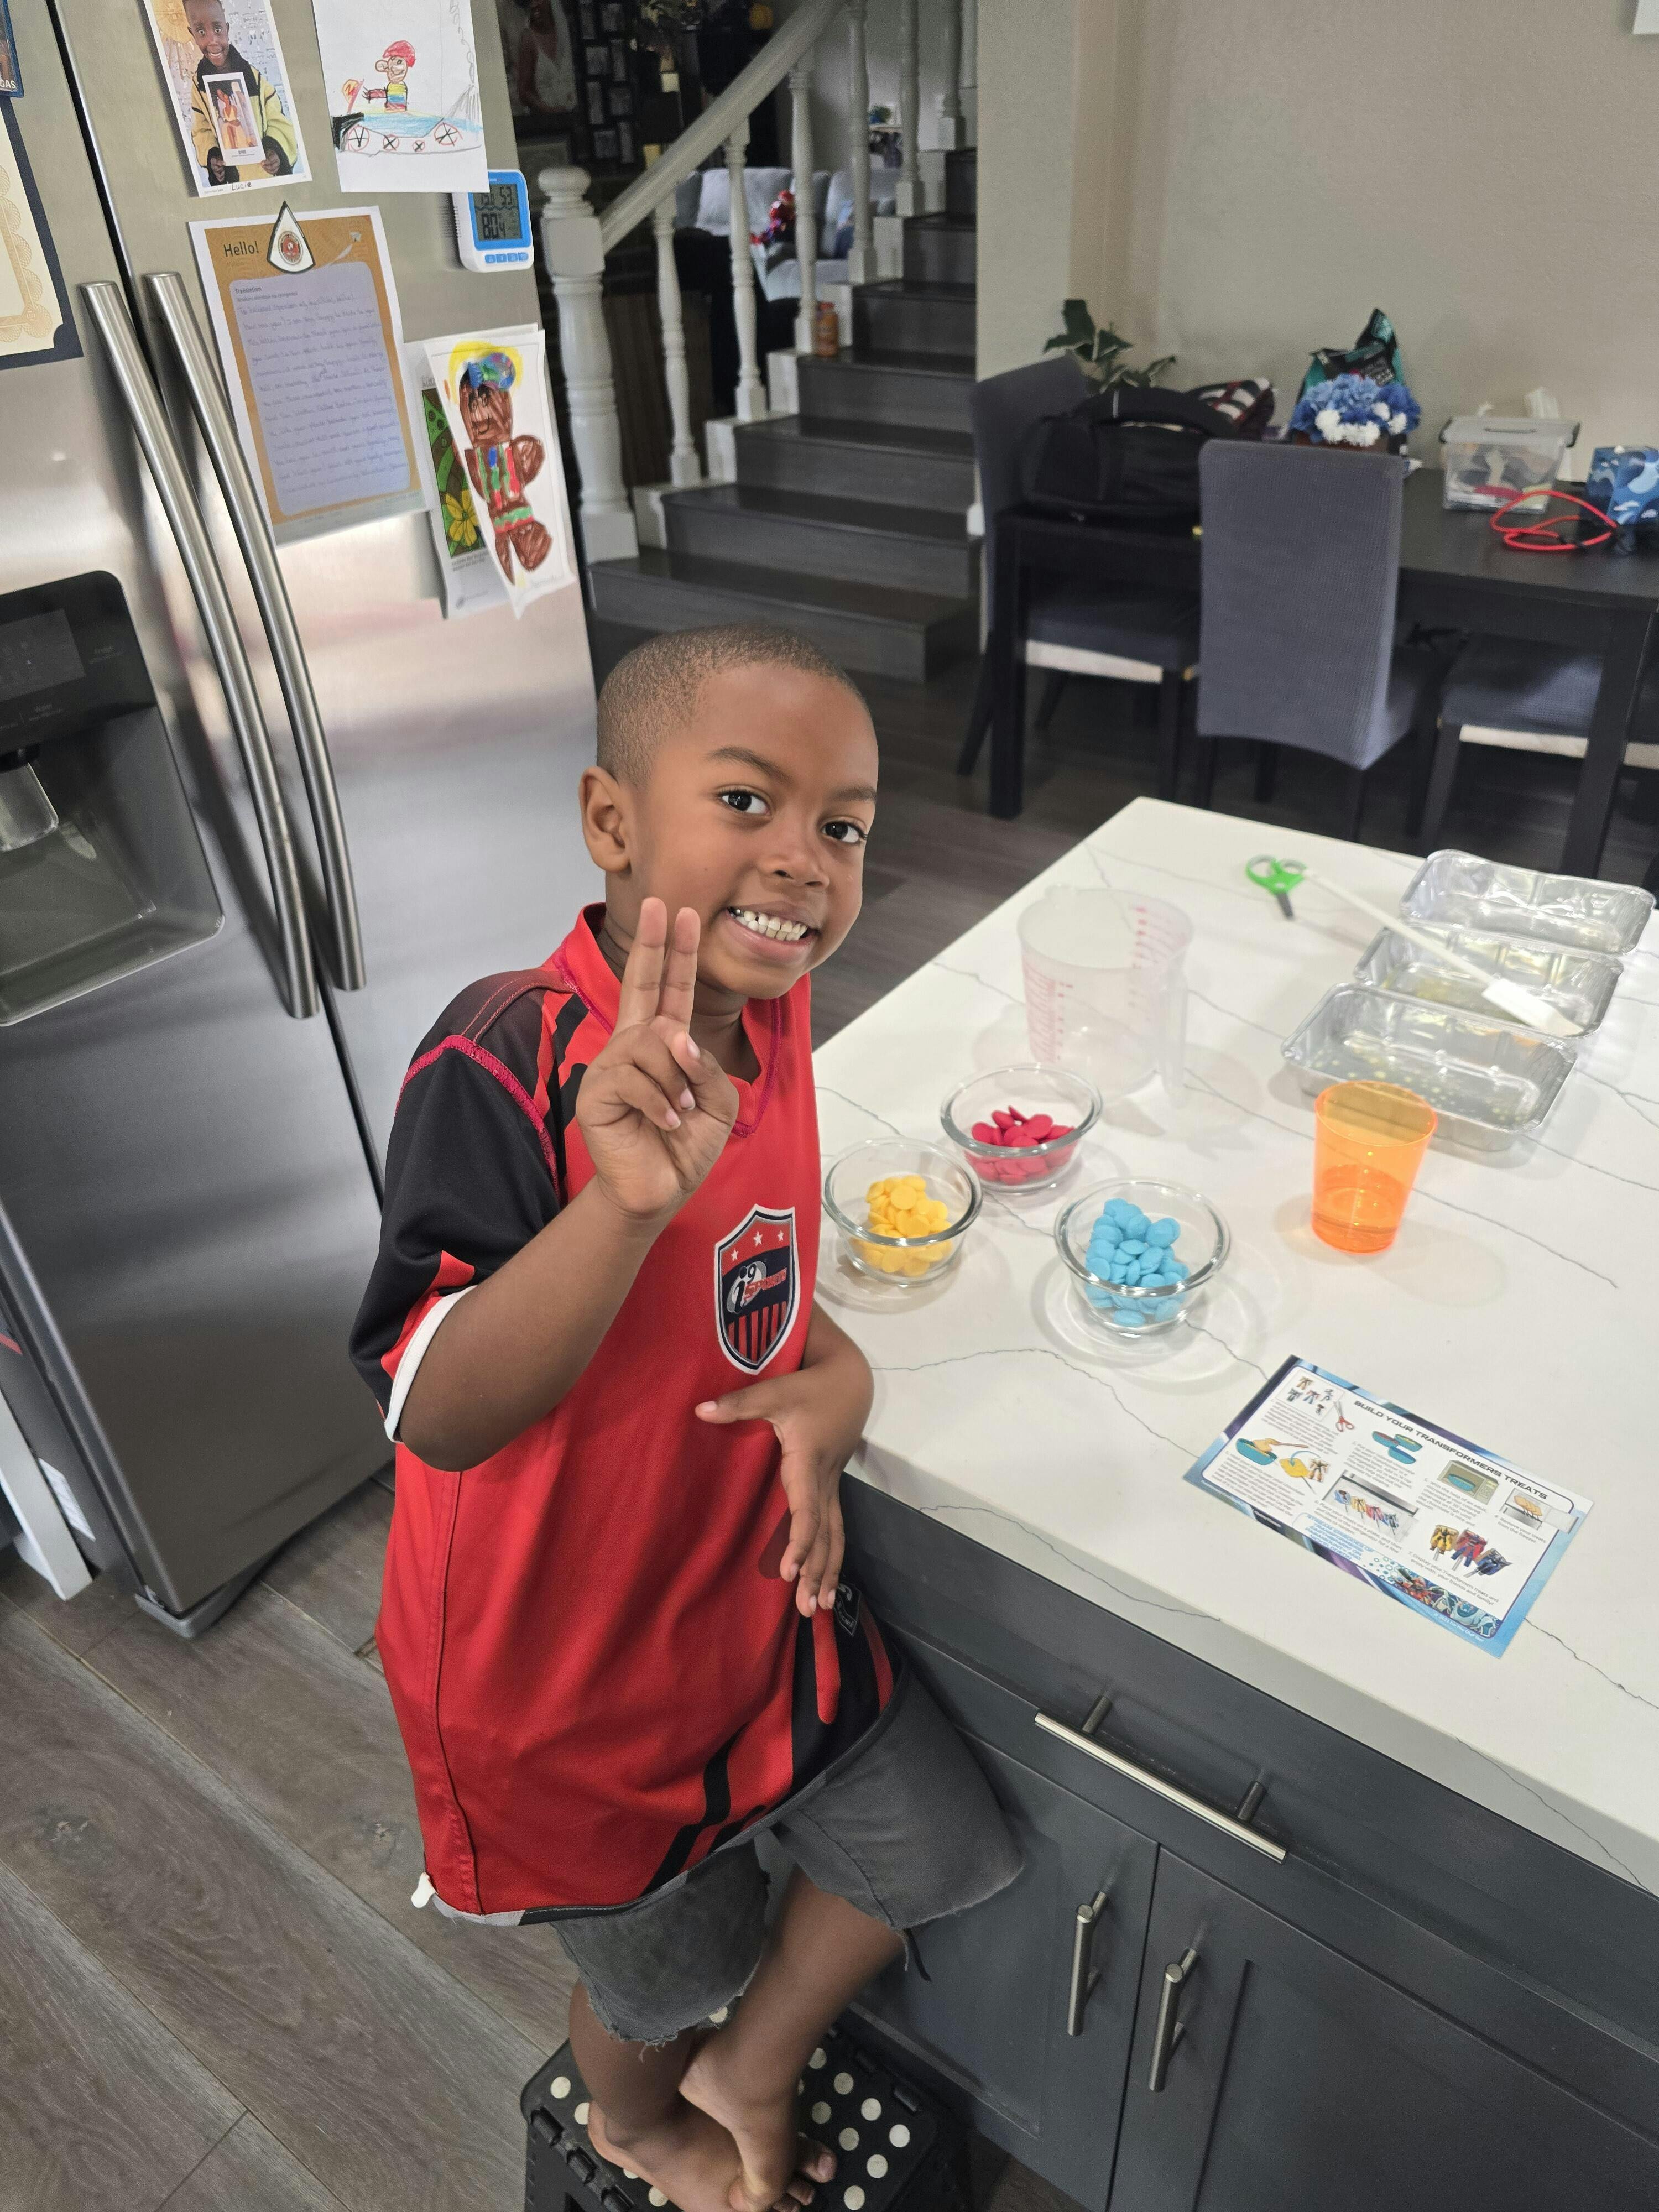
Edible Astronomy: Crafting a Galaxy Donut
Concept: Turn baking into an exploration of astronomy, colors, and the wonders of the cosmos. This is a perfect example of how our kits, like the Galaxy Donut Kit, seamlessly blend food and STEM.
Materials:
- Plain donuts (store-bought or homemade)
- White icing (store-bought or powdered sugar + milk)
- Food coloring (blue, black, purple, pink)
- Silver or gold edible glitter/sprinkles (for stars)
- Small bowls for mixing colors
- Spoons or offset spatulas
Instructions:
- Prepare Icing: Divide white icing into several small bowls. Keep one bowl white. In the others, mix in different food colorings to create galaxy-inspired shades: dark blue, purple, black, and maybe a touch of pink or teal.
- Base Layer: Dip each donut into the white icing or spread a thin layer of white icing over it. Let it set slightly.
- Galaxy Swirls: Using separate spoons, drizzle small amounts of each colored icing randomly over the white base. Don't cover it completely; you want layers of color.
- Create Swirls: Take a toothpick or the handle of a spoon and gently swirl the colors together. Be careful not to overmix, or the colors will blend into a muddy mess. The goal is to create swirling, nebulous patterns.
- Add Stars: While the icing is still wet, sprinkle edible glitter or silver/gold sprinkles to create "stars."
- Dry & Enjoy: Let the donuts dry completely before eating.
Learning Outcomes: This creative activity engages the "A" in STEAM, combining art with science. Children learn about color mixing, layering, and creating visual representations of complex astronomical concepts. It sparks conversations about galaxies, nebulae, stars, and the vastness of space. Our Galaxy Donut Kit provides a structured way to explore these themes, complete with pre-measured ingredients and instructions, making it easy for families to jump right into the adventure!
Engineering with Candy & Food: Edible Challenges
Concept: Use candy or other edibles as building materials for engineering challenges, fostering creativity and problem-solving.
Candy Corn Catapults (Revisited with Focus on Edibles)
Materials:
- Popsicle sticks, rubber bands, plastic spoon (as above)
- Candy corn, small marshmallows, or other light candies for projectiles
- Measuring tape
Instructions: (Same as Pumpkin Catapult, but emphasize edible projectiles and competition aspects)
- Build: Construct the catapult as described previously.
- Launch Competition: Have a friendly competition to see who can launch their candy corn the farthest.
- Targets: Set up targets (cups, circles drawn on paper) at various distances and challenge kids to adjust their catapults to hit specific targets.
- Engineering Log: Keep a log of how far each candy traveled and what adjustments were made to the catapult.
Learning Outcomes: Strengthens understanding of force, trajectory, and simple machines. Adds a fun, competitive element with edible rewards, enhancing engagement in measurement and data analysis.
Cranberry Structures: Building with Fruit
Materials:
- Fresh cranberries
- Toothpicks
Instructions:
- Challenge: How tall can you build a freestanding structure using only cranberries and toothpicks?
- Design & Build: Encourage thinking about strong geometric shapes (triangles, cubes). The cranberries act as versatile connectors.
- Experiment: Try different types of structures. Can you build a bridge? A tower? A dome?
Learning Outcomes: This activity is a fantastic hands-on lesson in structural engineering, balance, and stability. It encourages creative problem-solving and an understanding of how interconnected components create a strong whole.
The I'm the Chef Too! Difference: Blending Food, STEM, & Fun
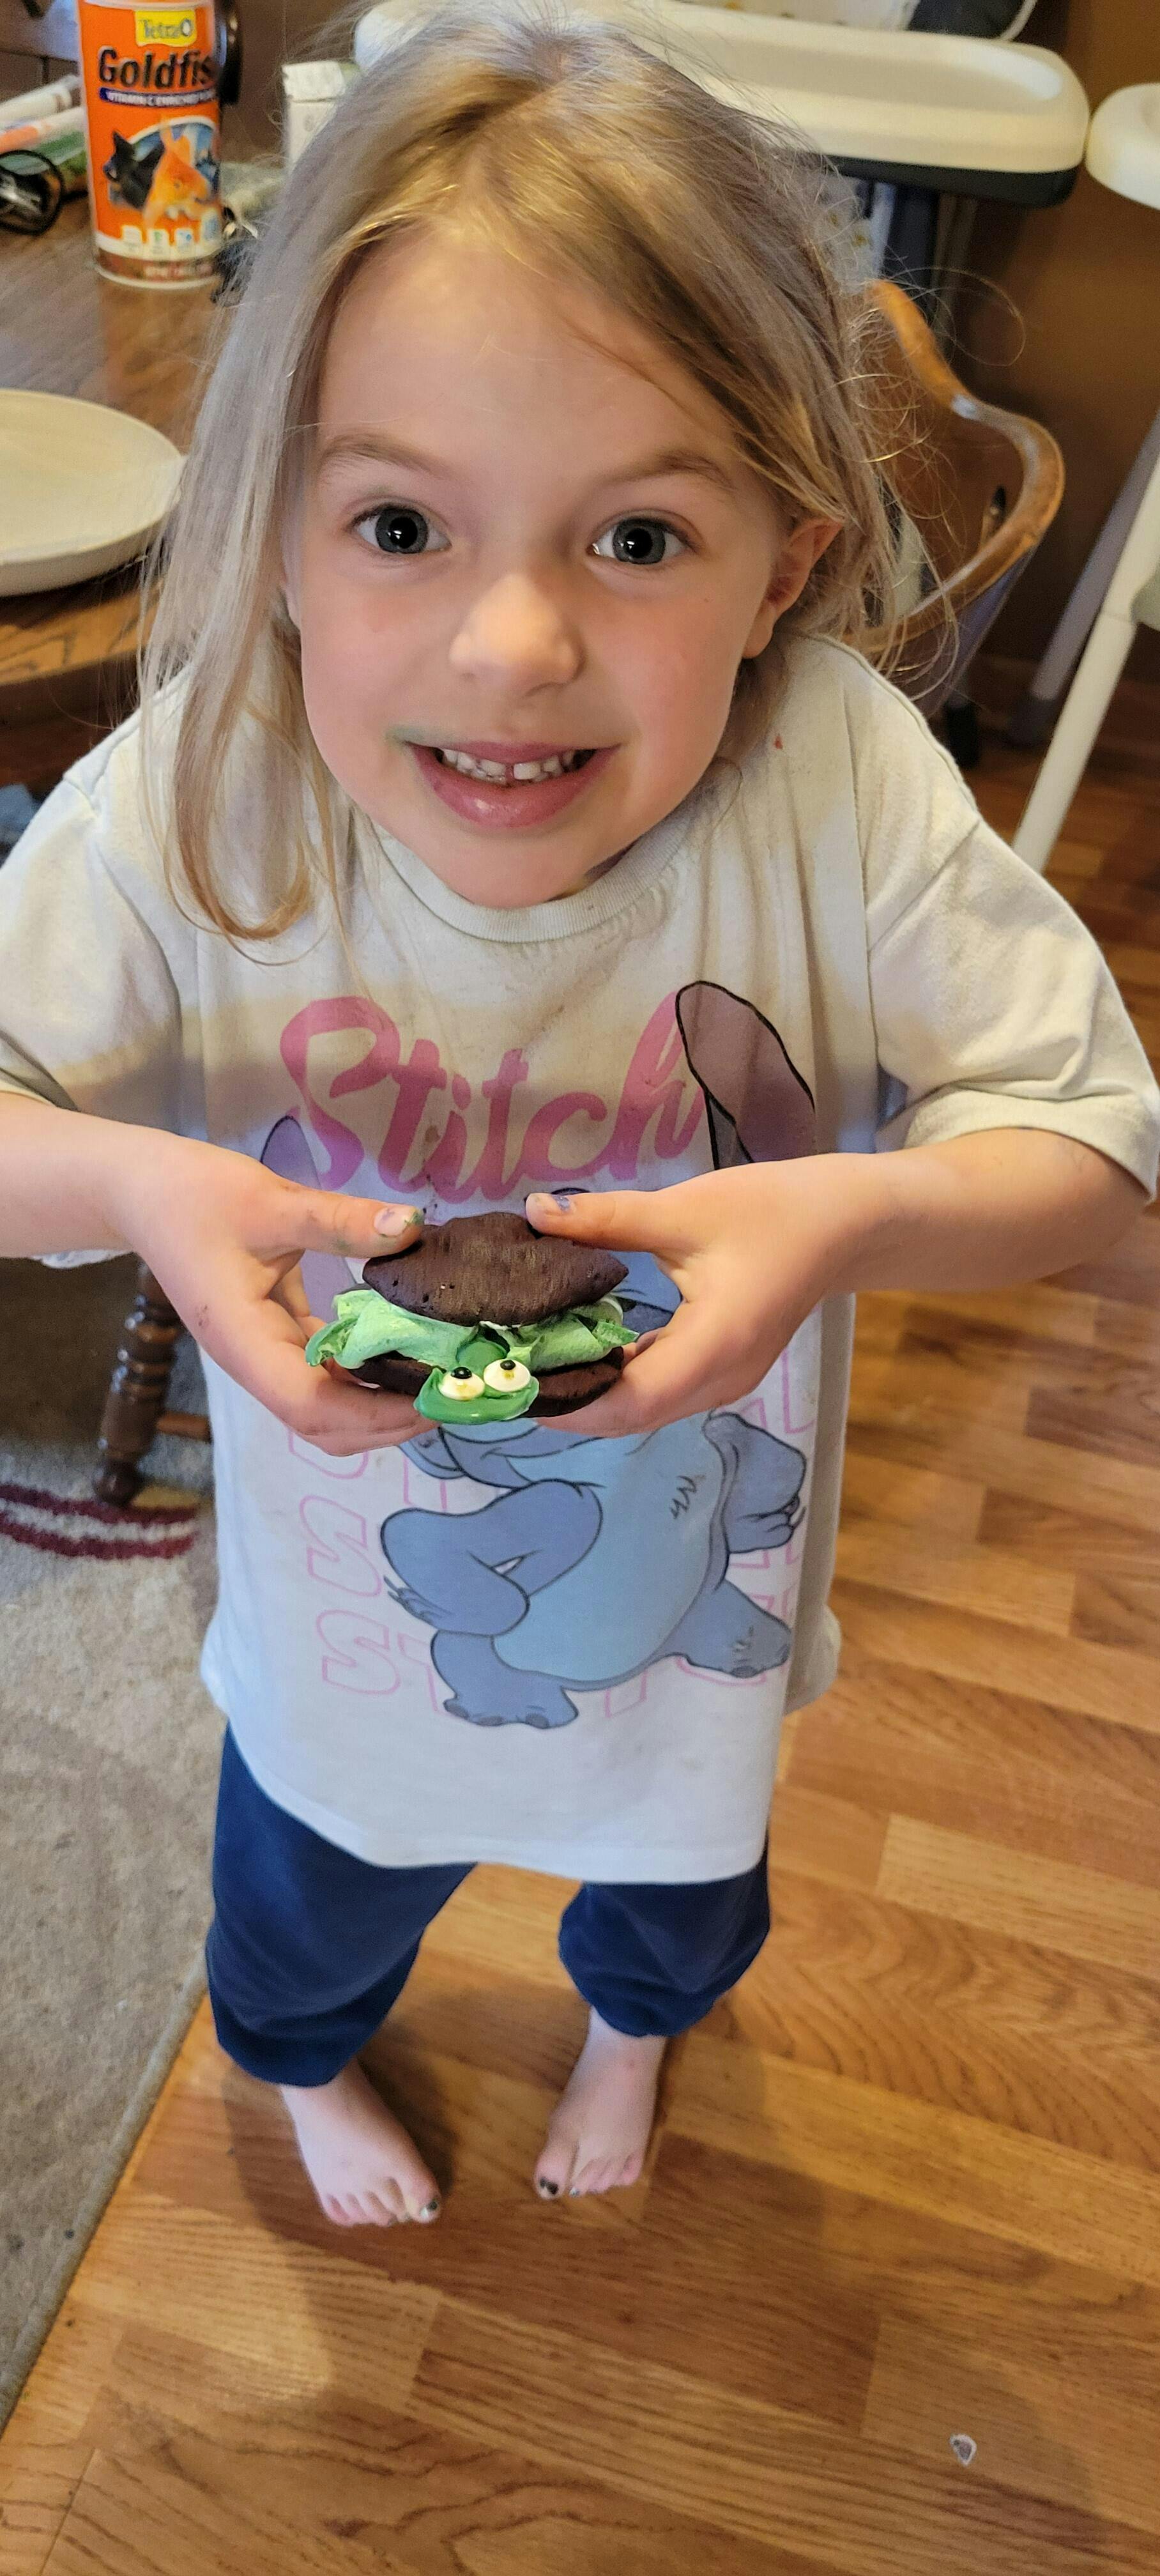
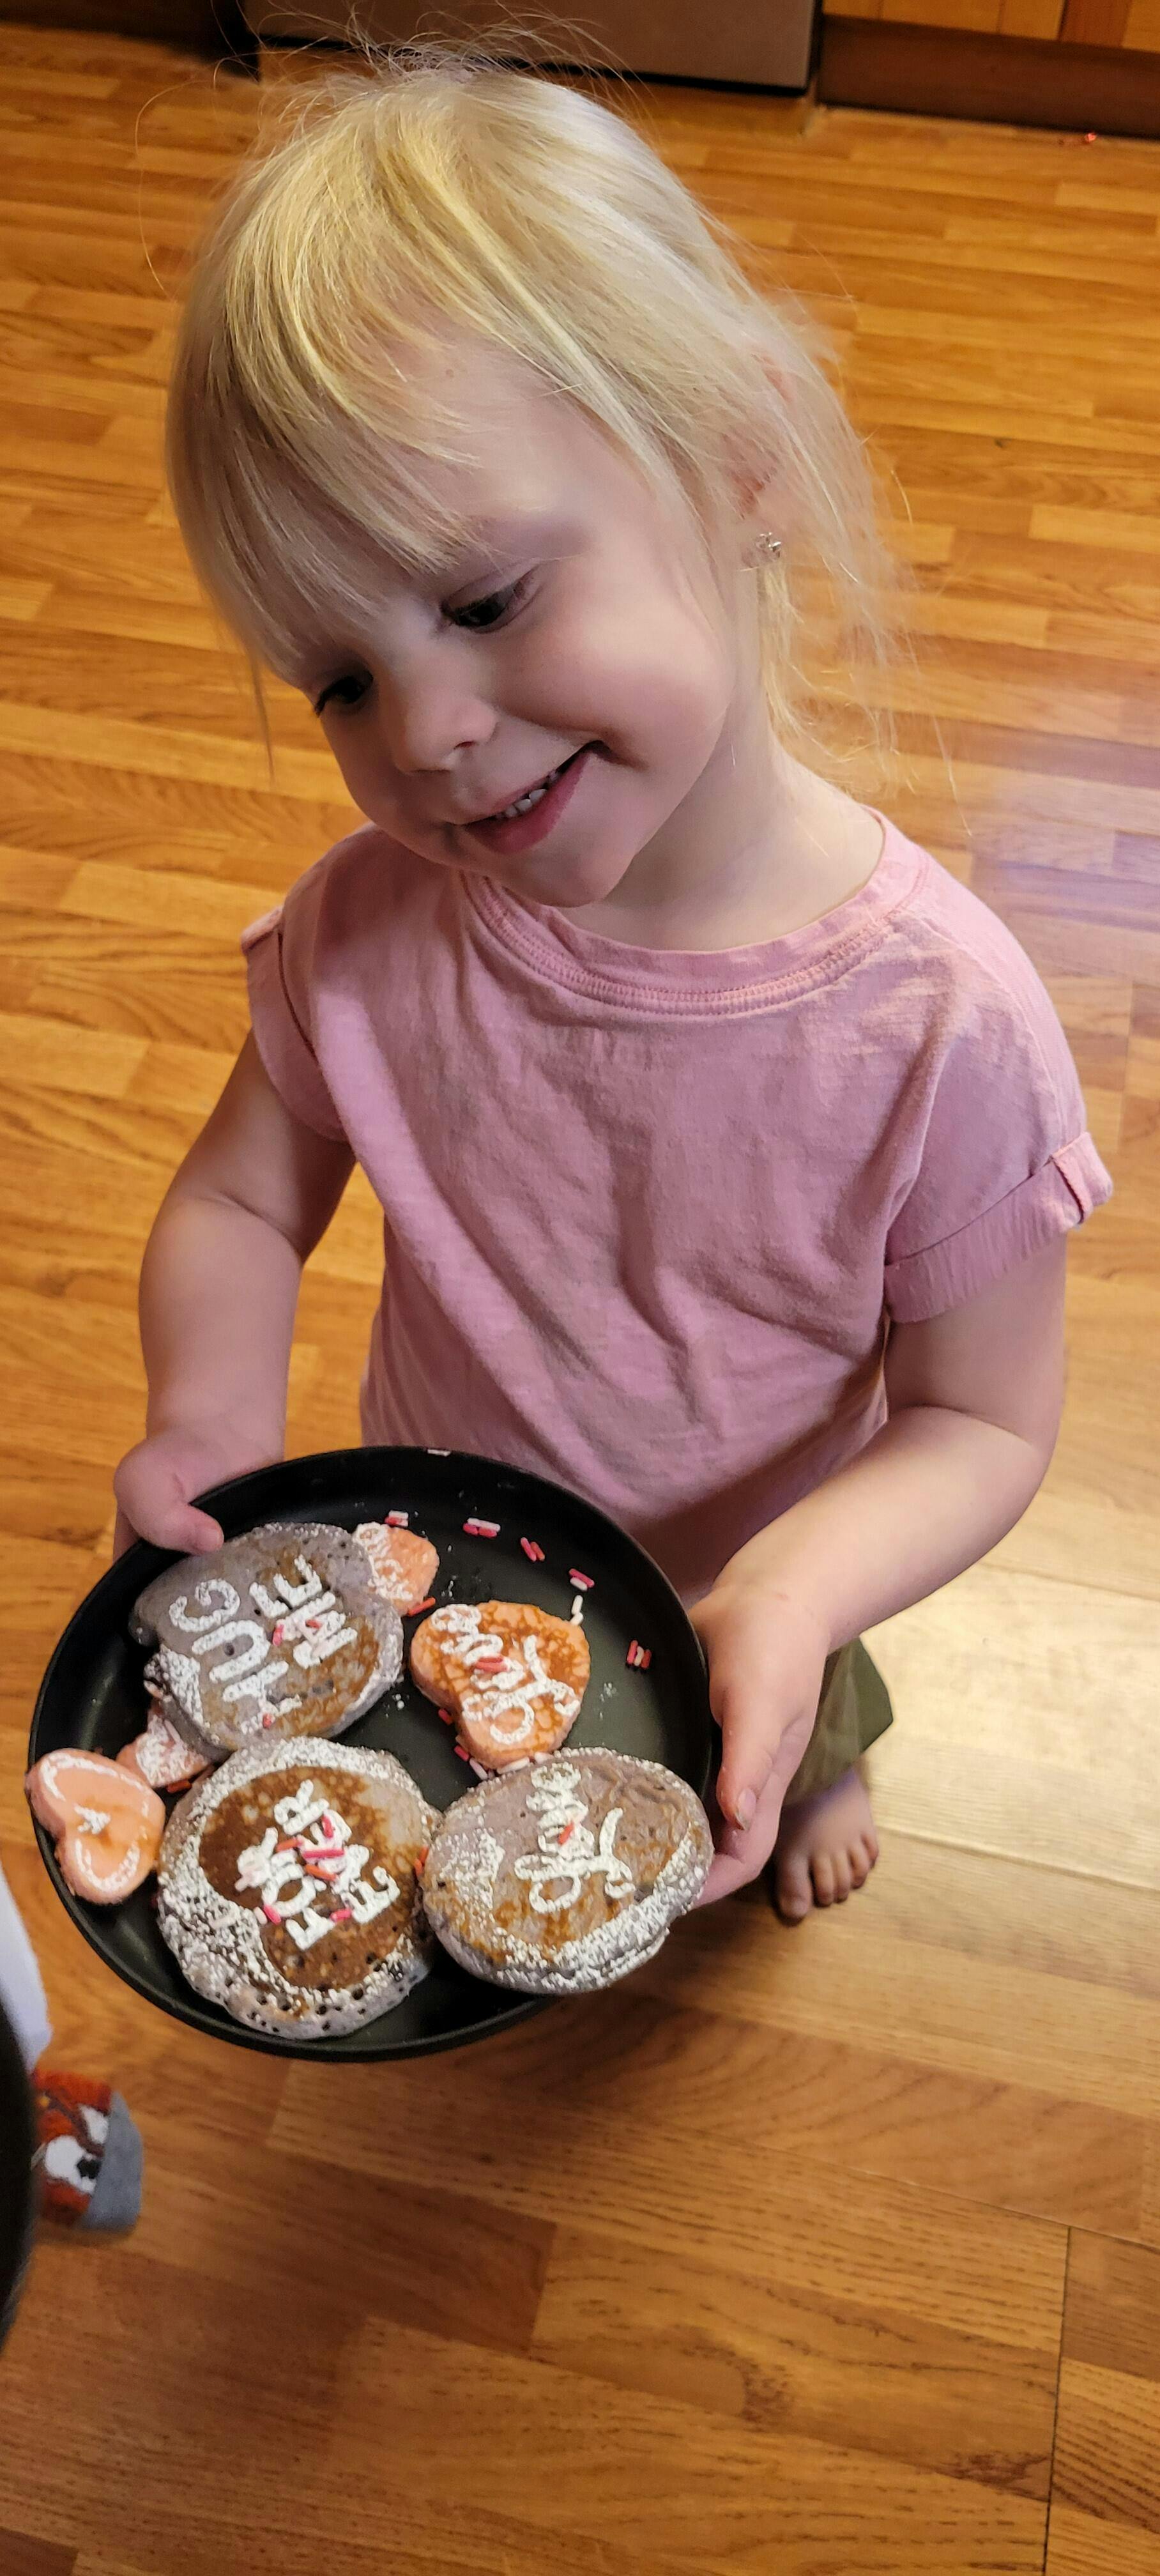
At I'm the Chef Too!, we wholeheartedly believe that the most impactful learning happens when children are fully engaged and having fun. Our unique approach, developed by mothers and educators, seamlessly blends the joy of cooking with the rigorous principles of STEM and the boundless creativity of the arts. We call it "edutainment" – because when learning feels like play, children are naturally more curious, more creative, and more open to new ideas.
Imagine your 4th grader dissecting a pumpkin to understand its life cycle, then using those seeds to learn about multiplication and estimation, all before baking a delicious pumpkin treat. Or consider exploring chemical reactions while making "erupting" cookies, much like our popular Erupting Volcano Cakes. These are not just recipes; they are fully immersive learning experiences designed to spark that "aha!" moment.
Our STEM cooking adventures are specifically crafted to:
- Spark Curiosity: Hands-on activities naturally invite questions and exploration.
- Foster Creativity: Children are encouraged to experiment, innovate, and express themselves.
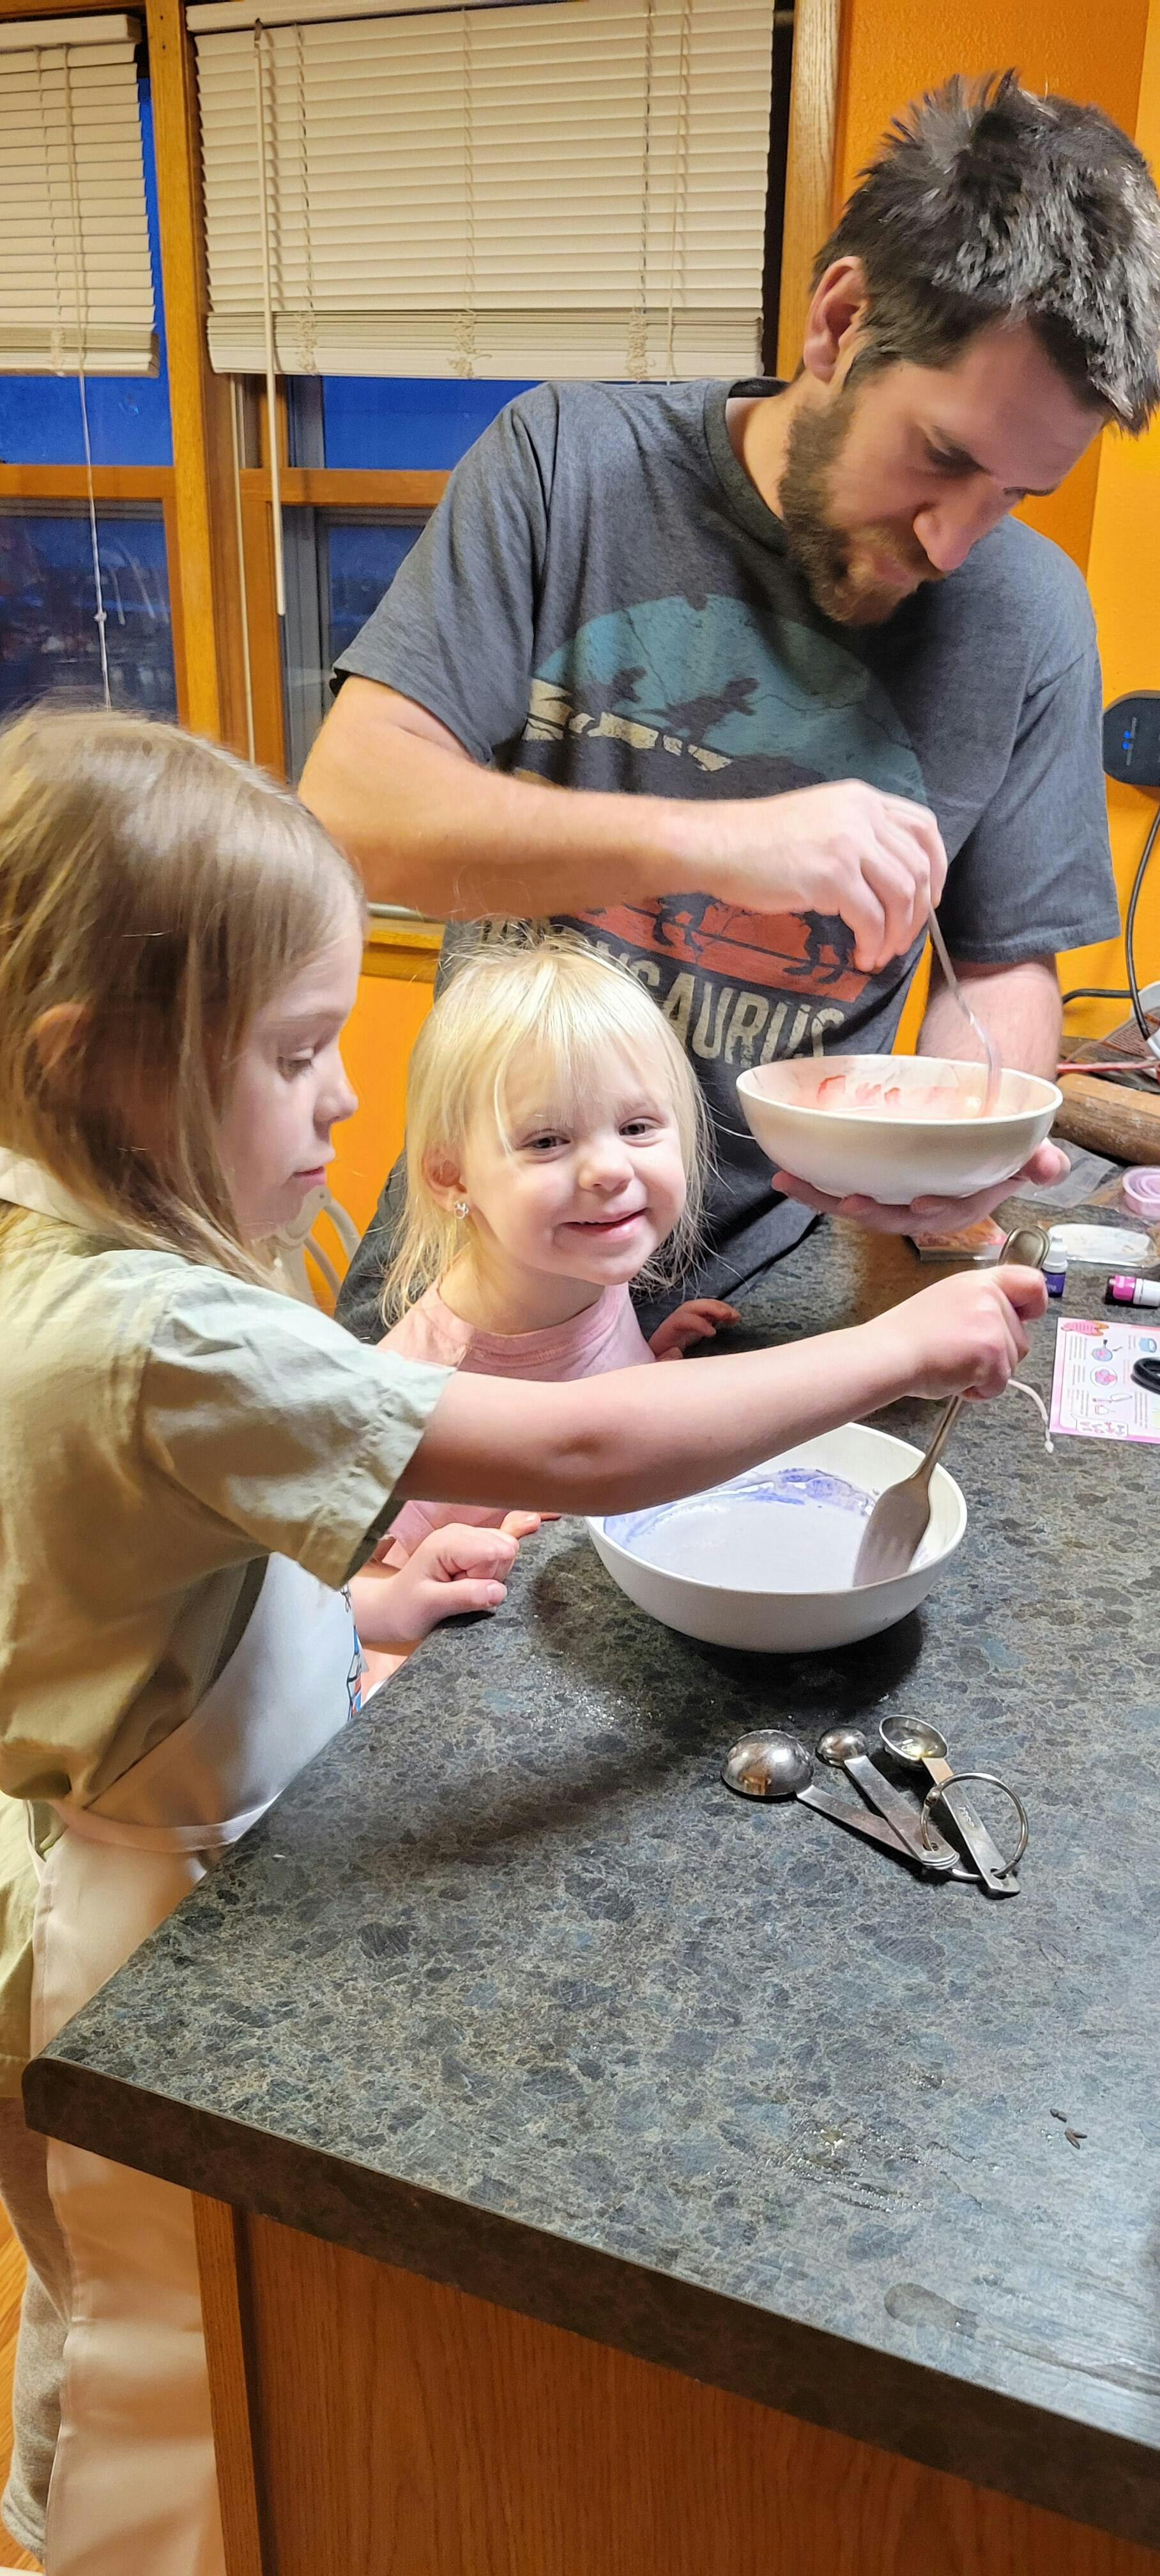
- Facilitate Family Bonding: These activities are perfect for collaborative learning, creating cherished memories together in the kitchen.
- Provide Screen-Free Engagement: We offer a valuable alternative to digital distractions, promoting active, tangible learning.
We understand that busy parents and educators need convenience. That's why our kits come with pre-measured dry ingredients and specialty supplies, taking the guesswork out of preparation. You simply open the box and embark on a delicious adventure together. Not ready to subscribe? You can always Browse our complete collection of one-time kits to find the perfect themed adventure for your child.
Whether you're exploring the cosmos with an edible Galaxy Donut Kit or digging for "fossil" cookies, each I'm the Chef Too! experience is designed to build confidence, develop key skills, and nurture a love for learning that extends far beyond the kitchen.
Ready for a new adventure every month? Join The Chef's Club and enjoy free shipping on every box. Our 3, 6, and 12-month pre-paid plans are perfect for gifting or ensuring a year-round supply of unique educational fun.
Creating a STEM-Friendly Environment
Beyond specific activities, cultivating a STEM-friendly environment at home or in the classroom is crucial for nurturing young minds.
- Encourage Questions: Don't just answer; ask questions back. "What do you think will happen next?" "Why do you think that happened?" This fosters critical thinking.
- Embrace Mess: Many of the best STEM activities are messy. Provide a designated space or lay down newspaper, and focus on the learning, not just the cleanup.
- Allow for Failure: Mistakes are powerful learning opportunities. When an experiment doesn't go as planned, help your child analyze why and what they can change next time. This teaches resilience and problem-solving.
- Connect to Real Life: Point out STEM in everyday life. "Look how that bridge is engineered!" "This recipe is all about chemistry!"
- Provide Tools & Resources: Having basic STEM tools readily available (measuring cups, spoons, magnifying glass, ruler, simple circuits) can encourage spontaneous exploration. Our kits, with their pre-measured ingredients and specialty supplies, simplify this, ensuring you have everything you need for a complete experience right out of the box. You can also Browse our complete collection of one-time kits to find specific tools and themes.
Remember, the goal isn't to turn every child into a scientist or engineer overnight. It's about fostering a love for learning, building confidence in their abilities to explore and understand the world, and creating joyful memories that last a lifetime. These fall STEM activities for 4th graders are a fantastic way to begin or continue that journey.
Conclusion
As the vibrant colors of autumn begin to fade, the lessons learned from our fall STEM adventures will continue to glow brightly in your child's mind. From unraveling the mysteries of leaf chemistry to engineering pumpkin catapults and baking galaxy donuts, these hands-on experiences provide a rich tapestry of learning. They teach vital scientific principles, strengthen critical thinking and problem-solving skills, and ignite a lifelong curiosity about the world around us.
At I'm the Chef Too!, we are passionate about making STEM and arts education accessible, engaging, and delicious. Our unique "edutainment" approach transforms complex subjects into tangible, memorable experiences, all while promoting invaluable family bonding and providing a much-needed screen-free alternative. We believe every child deserves the opportunity to explore, create, and discover the magic that happens when learning is truly fun.
Don't let the learning stop when fall ends! Give the gift of ongoing discovery and joy. Join The Chef's Club today and receive a new, exciting STEM cooking adventure delivered right to your door every month with free shipping. Choose from our flexible 3, 6, or 12-month pre-paid plans and keep the curiosity bubbling all year long!
FAQ Section
Q1: What exactly is STEM, and why is it important for 4th graders? A1: STEM stands for Science, Technology, Engineering, and Mathematics. It's an interdisciplinary approach to learning that integrates these four fields. For 4th graders, it's crucial because it fosters critical thinking, problem-solving, creativity, and innovation – skills essential for success in school and in a rapidly changing world. It moves beyond rote memorization to hands-on exploration, helping children understand how things work and how to build solutions.
Q2: Are these fall STEM activities safe for 4th graders to do at home? A2: Yes, these activities are generally safe for 4th graders, but adult supervision is always recommended, especially when using sharp objects (like knives for pumpkins/apples), heat (like for leaf chromatography), or electricity (for the pumpkin battery). Always read through the instructions beforehand and gather all materials to ensure a smooth and safe experience. At I'm the Chef Too!, safety is paramount in the design of our kits.
Q3: How can I make these activities even more engaging for my 4th grader? A3: To boost engagement:
- Let them lead: Allow your child to choose the activity, gather materials, and take the lead in the process.
- Ask open-ended questions: Instead of giving answers, prompt them with questions like "What do you think will happen if...?" or "Why do you think it turned out that way?"
- Encourage documentation: Have them draw their observations, write down their predictions, or even take photos.
- Connect to real-world applications: Discuss how these concepts apply to everyday life or careers.
- Make it a family affair: Involve siblings or other family members to create a collaborative learning environment. Many of our I'm the Chef Too! kits are designed for just this kind of family bonding.
Q4: Do I need special equipment or expensive materials for these STEM activities? A4: Not at all! Most of the activities mentioned use common household items, natural materials found in your backyard, or readily available supplies from a grocery store or craft shop. The beauty of fall STEM is that nature itself provides many of the "ingredients." For convenience and a complete, curated experience, consider our I'm the Chef Too! kits, which come with pre-measured dry ingredients and specialty supplies, making it easy to dive right into the fun. You can Browse our complete collection of one-time kits to see the variety.
Q5: How can I fit STEM activities into a busy schedule? A5: You don't need hours for every activity. Even 15-30 minutes of focused STEM play can be highly beneficial. Try integrating STEM into everyday routines, like baking (which is why our I'm the Chef Too! kits are so popular!), gardening, or even a walk in the park. Short, consistent engagement is more effective than infrequent, long sessions. Our monthly "Chef's Club" subscriptions offer convenient, pre-planned activities, delivered right to your door, making it easy to consistently bring STEM fun into your home. Join The Chef's Club for effortless educational adventures.