Table of Contents
- Introduction: The Invisible World of Sound
- What is Sound? Understanding the Basics
- The Magic of Vibrations: Easy Experiments to Start With
- Seeing the Unseen: Visualizing Sound Waves
- Sound Travels: Exploring Different Mediums
- Beyond the Basics: Advanced Concepts Made Simple
- Why Hands-On Sound Experiments Matter for Kids
- Conclusion: The Symphony of Science
- FAQ: Your Questions About Sound Experiments Answered
Have you ever stopped to truly listen to the world around you? The gentle rustle of leaves, the rhythmic drip of a leaky faucet, the delightful melody of a child's laughter – each sound, distinct and powerful, tells a story. For children, the concept of sound can be utterly captivating, a mysterious force that brings the world to life. But how often do we pause to explore the science behind these everyday phenomena? Understanding sound isn't just about listening; it's about delving into the physics of vibrations, waves, pitch, and volume. It’s a foundational STEM concept that can spark incredible curiosity and critical thinking.
This blog post is your comprehensive guide to transforming your kitchen, classroom, or backyard into an exciting sound laboratory. We'll explore a variety of easy sound experiments for kids that use simple household materials to reveal the invisible wonders of sound. From making spoons sing to sugar dance, these hands-on activities are designed to be fun, educational, and profoundly memorable. Get ready to embark on an auditory adventure that will not only teach children about the science of sound but also foster a love for discovery, all while creating precious family moments.
Introduction: The Invisible World of Sound
Imagine a world without sound – no music, no conversations, no chirping birds or roaring lions. It's almost impossible to conceive! Sound is an integral part of our experience, constantly delivering information and enriching our lives. But what is sound, really? And how does it travel from its source to our ears? These are questions that ignite the inquisitive minds of children, questions that are best answered not just through words, but through direct, hands-on exploration.
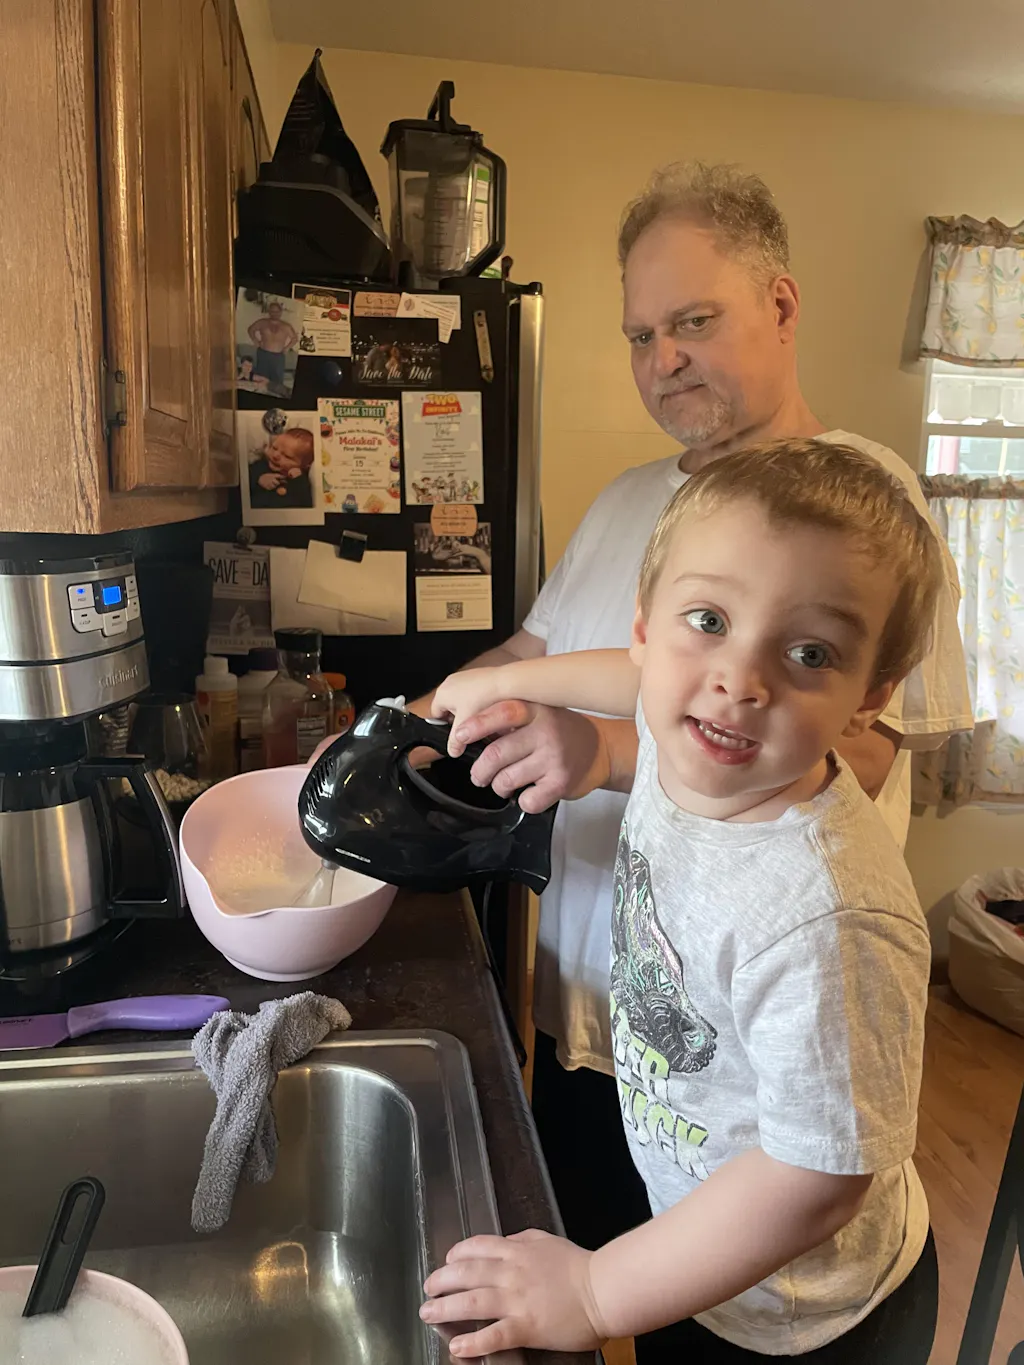
At I'm the Chef Too!, we believe that the most profound learning happens when children are actively engaged, when they can touch, feel, and even taste the concepts they're exploring. Our mission is to blend food, STEM, and the arts into one-of-a-kind "edutainment" experiences, and the science of sound is a perfect example of how complex subjects can become tangible and exciting. This guide will take you through a series of easy sound experiments for kids, each designed to illuminate a different aspect of sound science. We'll investigate vibrations, discover how sound travels through different materials, explore the concepts of pitch and volume, and even learn how to "see" sound waves in action. Prepare to open your children's ears and minds to the captivating physics that shapes our auditory world, fostering a love for learning that extends far beyond the experiment itself.
What is Sound? Understanding the Basics
Before we dive into our exciting experiments, let's briefly touch upon the fundamental principles of sound. Don't worry, we'll keep it simple and kid-friendly!
At its core, sound is created by vibrations. When an object vibrates, it causes the air particles around it to vibrate too. These vibrations then travel outwards in a series of compressions and rarefactions, creating what we call sound waves. Think of it like dropping a pebble into a pond – the ripples spread out from where the pebble hit the water. Sound waves behave similarly, just in three dimensions and through the air (or other mediums).
Here are a few key terms we'll encounter:
- Vibration: The rapid back-and-forth movement of an object. Without vibration, there is no sound!
- Sound Waves: The invisible waves of energy that carry sound through a medium (like air, water, or solids).
- Pitch: How high or low a sound is. This is determined by the frequency of the vibrations – faster vibrations mean higher pitch, slower vibrations mean lower pitch.
- Volume (or Loudness): How loud or soft a sound is. This is determined by the amplitude of the sound wave – bigger vibrations mean louder sound.
- Medium: The material through which sound waves travel. Sound needs a medium; it cannot travel in a vacuum (like space!).
Understanding these basic concepts will make our upcoming easy sound experiments for kids even more meaningful. And remember, the real learning comes from the "doing" and "observing," not just from memorizing definitions!
The Magic of Vibrations: Easy Experiments to Start With
Vibrations are the heartbeat of sound. Helping children understand that every sound originates from something vibrating is a crucial first step in their scientific journey. These initial easy sound experiments for kids focus on making those invisible vibrations tangible.
Singing Spoons & Ringing Forks: Hearing Sound Through Solids
This classic experiment is a fantastic way to demonstrate how sound travels and how different mediums can affect the sound we hear. It's surprisingly simple yet incredibly effective in captivating both children and adults.
Materials:
- 3-4 metal spoons or a metal fork
- A piece of string or yarn (about 2-3 feet long)
- Optional: Duct tape
Procedure:
- Spoon Version: Take your string and use duct tape to connect the handles of three metal spoons to the middle of the string, letting the spoons hang freely. Alternatively, you can tie the spoons directly to the string if they have holes.
- Fork Version: For an even simpler setup, tie the metal fork to the very center of the string.
- Initial Sound (Air Travel): Hold the string with your hands, allowing the spoons or fork to hang. Gently swing them so they clang against each other. Listen closely to the sound they make. It will likely sound a bit dull and tinny, just like regular spoons or a fork hitting something.
- Enhanced Sound (Solid Travel): Now, wrap the ends of the string around your pointer fingers. Place only your yarn-wrapped fingers into your ears, gently plugging them. Lean forward slightly and swing the spoons or fork again, letting them tap against a hard surface (or each other for the spoon version).
- Observe and Compare: Notice the dramatic change! The sound will be much louder, richer, and resonate like a deep gong or a church bell. It's truly impressive how different it sounds!
The Science Behind It: When the spoons or fork collide, they vibrate. These vibrations create sound waves that travel through the air to your ears. However, when you hold the string to your ears, the vibrations travel directly from the metal object, up the string (a solid medium), and straight into your inner ear. Sound waves travel much more efficiently and quickly through denser mediums like solids than they do through air. This experiment vividly illustrates that sound travels best through a solid object, not just the air around us, and that these vibrations can be transferred directly to our hearing mechanism. It’s an "a-ha!" moment for many children!
This kind of hands-on discovery is at the heart of what we do at I'm the Chef Too! We believe in making learning tangible and exciting, turning everyday items into tools for scientific exploration. Just like the invisible sound waves creating a delightful symphony, chemical reactions can also bring about amazing, visible transformations. Imagine the excitement of witnessing a bubbling, fizzing reaction firsthand, much like the one that makes our Erupting Volcano Cakes erupt with deliciousness!
The Buzzing Bug: Hear Vibrations in Action
This is a delightfully simple and engaging experiment that makes the concept of vibration incredibly clear, and it’s one of the easiest sound experiments for kids to set up.
Materials:
- A piece of cardboard or sturdy paper (e.g., from a cereal box)
- String or yarn (about 2 feet long)
- Scissors
- A hole punch or sharp pencil
Procedure:
- Cut the Shape: Cut a small, simple shape out of the cardboard – a circle, an oval, or even a simple "bug" shape. About 2-3 inches in diameter works well.
- Punch Holes: Punch two small holes close together in the center of your cardboard shape.
- Thread the String: Thread both ends of the string through the holes from one side, then bring them back through the other side, so you have a loop of string on each side and the cardboard is in the middle. Tie the ends of the string together to form a large loop.
- Make it Buzz: Hold one loop of the string in each hand. Stretch the string taut. Now, rapidly twirl the cardboard shape by rotating your wrists. As it spins faster and faster, you'll hear a distinct buzzing sound!
The Science Behind It: When you spin the cardboard rapidly, the air rushing past its edges causes it to vibrate quickly. These rapid vibrations create the buzzing sound you hear. The faster you spin it, the more vibrations per second, and often, the higher the pitch and louder the volume of the buzz! This experiment is a wonderful, playful demonstration that sound is vibration. It's a fantastic, screen-free activity that brings science to life. If you're looking for more ways to spark curiosity and creativity, consider exploring our unique "edutainment" experiences, developed by mothers and educators. Ready for a new adventure every month? Join The Chef's Club and enjoy free shipping on every box, bringing hands-on learning straight to your door!
DIY Harmonica: Crafting Sound and Exploring Pitch
Building your own musical instrument is an incredibly rewarding way to explore sound and understand how pitch is controlled. This DIY harmonica allows kids to manipulate vibrations and see the direct effect on the sound produced.
Materials:
- Two popsicle sticks
- A wide rubber band
- Two smaller rubber bands
- A strip of paper (slightly narrower than the popsicle sticks, about 2 inches shorter)
- A toothpick or small straw cut in half
Procedure:
- Prepare the Main Vibration Source: Place the wide rubber band lengthwise around one popsicle stick. This will be the main "string" of your harmonica.
- Insert the Paper: Slide the strip of paper underneath the wide rubber band, resting it on the popsicle stick. Ensure the paper is centered.
- Add Spacers: Place the second popsicle stick directly on top of the paper, aligning it with the first popsicle stick.
- Create the Mouthpiece: Place one half of the toothpick (or straw) under the wide rubber band, at one end of the stack, resting it on the bottom popsicle stick and over the paper strip.
- Secure the Ends: Use the two smaller rubber bands to tightly secure each end of the popsicle stick sandwich, making sure they go around both popsicle sticks and the toothpick/straw pieces. The toothpick pieces should create a small gap at each end between the two popsicle sticks.
- Play Your Harmonica! Put the end with the toothpick in your mouth and blow gently. You should hear a sound! Experiment by pressing your fingers along the wide rubber band or by adjusting the position of the toothpick (making the gap wider or narrower).
The Science Behind It: When you blow into the harmonica, the air makes the wide rubber band vibrate. The paper strip helps to amplify and direct this vibration. The length of the vibrating part of the rubber band (between the two toothpick spacers) determines the pitch. When you shorten the vibrating length (by pressing your finger down or moving the toothpick closer), the rubber band vibrates faster, producing a higher-pitched sound. Lengthening it creates a lower-pitched sound. This demonstrates the relationship between the frequency of vibration and pitch in a fun, musical way.
This experiment perfectly embodies our unique approach at I'm the Chef Too! – teaching complex subjects like wave frequency through tangible, hands-on, and often delicious cooking adventures. We're all about sparking that "aha!" moment through creative exploration. Not ready to subscribe? You can explore our full collection of one-time kits to find the perfect blend of STEM, food, and art for your little learner, each offering a complete experience for a single purchase.
Seeing the Unseen: Visualizing Sound Waves
Sound waves are invisible, making them a challenging concept for children to grasp. However, some clever easy sound experiments for kids can help make these invisible forces visible, allowing children to actually see the effect of sound.
Dancing Sugar: Watch the Waves Move
This is a fantastic visual demonstration of sound waves in action, especially their ability to transfer energy.
Materials:
- A glass or bowl
- Plastic wrap
- A rubber band
- Sugar sprinkles or salt
- A mobile phone or speaker with loud music (especially good bass)
Procedure:
- Create a Drum: Stretch the plastic wrap tightly over the opening of the glass or bowl, creating a taut "drum skin." Secure it with a rubber band to keep it tight.
- Sprinkle the "Dancers": Sprinkle a small amount of sugar sprinkles or salt evenly across the surface of the plastic wrap.
- Bring on the Bass: Place the phone or speaker (playing music with a good bass beat) very close to or underneath the glass. Turn up the volume!
- Observe the Dance: Watch the sugar sprinkles. As the music plays, especially during bass-heavy parts, the sugar will "dance" and jump around on the plastic wrap.
The Science Behind It: The loud music produces strong sound waves. These sound waves travel through the air and hit the taut plastic wrap, causing it to vibrate. When the plastic wrap vibrates, it transfers that energy to the light sugar sprinkles, making them jump and move. This experiment provides a fantastic visual representation of how sound waves carry energy and how vibrations can be seen, even if the sound waves themselves are invisible. It’s a wonderful way to connect what they hear with what they see.
Making a Sound Wave Model: A Visual Representation
While requiring a bit more effort, creating a physical model of a sound wave can profoundly deepen a child's understanding of how these waves propagate.
Materials:
- Duct tape
- Wooden skewers (about 10-15)
- Soft clay, jelly beans, or marshmallows (enough to make small balls, about grape-sized)
- A long, flat surface (table or floor)
Procedure:
- Prepare the Base: Lay a long strip of duct tape (about 3-4 feet) sticky side up on your flat surface.
- Attach Skewers: Carefully press the pointed end of each wooden skewer onto the duct tape, spacing them out evenly (about 1-2 inches apart). Make sure they are standing upright.
- Add the "Particles": Roll your clay, jelly beans, or marshmallows into small, uniform balls. Carefully attach one ball to the top of each skewer.
- Observe the Wave: Once all the balls are attached and the skewers are standing firmly, gently push the first skewer to one side. Watch as the motion transfers down the line, creating a visible "wave" effect. You can also try pushing it back and forth to simulate continuous waves.
The Science Behind It: This model demonstrates a "transverse wave" rather than a sound wave (which is typically a "longitudinal wave" of compressions and rarefactions). However, it beautifully illustrates the concept of wave propagation – how energy (the push) can travel through a medium (the skewers and balls) without the individual particles themselves traveling all the way down the line. Each skewer/ball combination represents a particle that vibrates in place, transferring energy to its neighbor, causing the wave to move forward. It helps visualize how energy travels through oscillations.
The universe is full of fascinating phenomena, from sound waves traveling through space to the celestial bodies that populate our skies. You can explore astronomy by creating your own edible solar system with our Galaxy Donut Kit, blending science and delicious fun!
Sound Travels: Exploring Different Mediums
Sound needs something to travel through – a medium. Whether it's air, water, or solids, the medium affects how sound is heard. These easy sound experiments for kids highlight this crucial concept.
The Classic Cup and String Phone
This experiment is a beloved classic for a reason – it's simple, effective, and always delights children with its "magic."
Materials:
- Two paper or plastic cups
- A long piece of string or yarn (at least 10-20 feet)
- A sharp pencil or hole punch
Procedure:
- Punch Holes: Use the pencil or hole punch to make a small hole in the center of the bottom of each cup.
- Thread the String: Push one end of the string through the hole of the first cup from the outside in. Tie a knot inside the cup, making it large enough so the string won't pull back through the hole.
- Repeat: Do the same with the other end of the string and the second cup.
- Make the Call! Find a partner! Each person takes a cup and walks away from the other until the string is taut and straight. One person holds the cup to their ear, and the other speaks into their cup (whispering works best!).
- Experiment: Try talking when the string is slack, then when it's tight. Try placing an object on the string to dampen the sound.
The Science Behind It: When you speak into the cup, your voice creates vibrations that travel to the bottom of the cup, causing it to vibrate. These vibrations are then transferred to the taut string. Because the string is a solid and is pulled tight, it efficiently carries these vibrations (sound waves) all the way to the second cup. The second cup's bottom vibrates, and these vibrations are then transferred to the air inside the cup, and then to your partner's ear. If the string is slack, the vibrations can't travel effectively, demonstrating the importance of a medium and tension for sound transmission. This experiment offers a wonderful chance for family bonding and screen-free educational fun!
The Magic Ear Trick: Tricking Your Brain with Sound Direction
This intriguing experiment plays with how our brain interprets sound direction, providing a surprising auditory illusion.
Materials:
- Two small plastic funnels
- Two long pieces of flexible tubing (e.g., fish tank tubing, about 2-3 feet each)
- A PVC pipe or paper towel tube (about 1 foot long)
- Duct tape
Procedure:
- Assemble the "Ears": Attach a funnel to one end of each piece of tubing using duct tape to secure it firmly.
- Create the Illusion Device: Insert the free end of each tubing piece into opposite ends of the PVC pipe or paper towel tube. The tubes should cross inside the pipe. You might need to secure them with a bit of tape inside the pipe to keep them from sliding, ensuring the funnel on the right side of the pipe connects to the tubing that exits the left side of the pipe, and vice-versa.
- Test It Out: Place the free ends of the tubing (the ones without funnels) into your ears. Have a friend or family member speak or whisper into one of the funnels attached to the PVC pipe.
- Guess the Direction: Try to guess which funnel they spoke into. Your brain will often be tricked, making you think the sound came from the opposite direction!
The Science Behind It: Our brains use cues like the slight time difference in when a sound reaches each ear to pinpoint its direction. In this "magic ear trick," the tubing physically crosses the sound paths. The sound entering the right funnel is directed to your left ear, and vice-versa. Your brain, however, is expecting sound from the right funnel to go to your right ear, leading to confusion and the perception of the sound coming from the "wrong" direction. It's a fantastic demonstration of how our senses work – and how they can be playfully fooled! These easy sound experiments for kids are not only educational but also incredibly entertaining, fostering that natural sense of wonder.
Beyond the Basics: Advanced Concepts Made Simple
Once children grasp the fundamentals, these next easy sound experiments for kids introduce slightly more complex concepts in an accessible way.
Echolocation Exploration: Sound for Navigation
Echolocation is a fascinating natural phenomenon used by animals like bats and dolphins. Teaching this concept can be done through a fun, interactive game.
Materials:
- Blindfold
- Small noisemaker (e.g., a shaker, bell, or even clapping hands)
- An open, safe space (e.g., a large room or backyard)
- Optional: Paper towel tubes
Procedure:
- Bat and Insects Game: Designate one child as the "Bat" and blindfold them. The other children are "Insects."
- The Bat Squeaks: The Bat stands in the middle of the space and makes a "squeak" sound (a short, sharp noise).
- Insects Respond: After each squeak, the Insects (who are moving slowly around the Bat) make a small sound with their noisemakers or by clapping.
- Bat Locates: The Bat tries to use the sound of the Insects' noisemakers (their "echoes") to locate and "catch" them by pointing or moving towards the sound.
- Paper Tube Echo: For a simpler demonstration, have two children stand facing a wall. One holds a paper towel tube to their mouth and makes a sound. The other holds a tube to their ear. The sound travels to the wall and "echoes" back, demonstrating how sound bounces.
The Science Behind It: Echolocation works on the principle of sound reflection. Animals emit sounds and then listen for the echoes that bounce back from objects in their environment. By interpreting the time it takes for the echo to return and the direction it comes from, they can create a mental map of their surroundings, even in complete darkness. The game simulates this by having the "Bat" use the "echo" from the "Insects" to find them. The paper tube experiment shows how sound waves can bounce off surfaces, just like light reflects off a mirror.
Sound Absorption and Reflection: Shaping Our Auditory World
Why do some rooms sound echoey while others feel quiet and muffled? This experiment explores sound absorption and reflection, a concept crucial in architecture and acoustics.
Materials:
- A sturdy cardboard box or plastic container with a lid
- A small portable speaker or phone playing music
- Various materials: a hand towel, foam, cotton balls, aluminum foil, wax paper, cardboard, crumpled paper, fabric scraps.
Procedure:
- Baseline Sound: Place the speaker/phone inside the empty box and play some music. Close the lid and listen to the sound quality. Notice if it sounds echoey or clear.
- Experiment with Absorption: Line the inside of the box with the hand towel or foam. Place the speaker back inside, close the lid, and listen again. How has the sound changed?
- Experiment with Reflection: Remove the towel/foam. Line parts of the box with aluminum foil or wax paper. Place the speaker back inside, close the lid, and listen again.
- Compare Materials: Continue to experiment with different materials, predicting whether they will absorb or reflect sound more effectively.
The Science Behind It: When sound waves hit an object, they can either be reflected (bounce off) or absorbed (taken in). Hard, smooth surfaces like metal, glass, or bare walls tend to reflect sound waves, causing echoes. Soft, porous, or uneven surfaces like fabric, foam, or carpet tend to absorb sound waves, muffling them and reducing echoes. This experiment allows children to directly hear the difference between these two phenomena, understanding why concert halls have specific acoustic treatments and why a bathroom might sound different from a carpeted living room. This kind of exploration nurtures problem-solving and critical thinking – key skills we emphasize at I'm the Chef Too!.
The Wonders of a Tonoscope (Simplified): Patterns of Sound
While a full-fledged tonoscope can be complex, a simplified version can still demonstrate the beautiful patterns sound waves can create, illustrating the concept of cymatics (the study of visible sound and vibration).
Materials:
- A tin can (empty and clean, with both ends removed for a cylinder) or a sturdy cardboard tube
- A balloon
- A rubber band
- A small laser pointer (adult supervision required!)
- A mirror glued to a small piece of cardboard
- Tape
Procedure:
- Create the Diaphragm: Cut the balloon so you can stretch a single layer of rubber tightly over one end of the tin can or tube, creating a taut "drum." Secure it with a rubber band.
- Attach the Mirror: Carefully glue or tape the small mirror piece to the center of the taut balloon. The mirror should be small and lightweight.
- Set Up the Laser: In a darkened room, place your "tonoscope" on a steady surface. Aim the laser pointer at the mirror on the balloon.
- Observe the Patterns: When the laser light reflects off the mirror onto a wall or ceiling, you'll see a small dot of light. Now, make sounds (hum, speak, sing) directly into the open end of the can/tube, or place a speaker playing music near the open end.
- Watch the Light Dance: As the sound waves hit the balloon, causing it to vibrate, the mirror will subtly move. This movement will cause the reflected laser dot to create fascinating, intricate patterns on the wall, visualizing the vibrations of the sound!
The Science Behind It: The balloon acts as a diaphragm, vibrating in response to the sound waves that enter the can. The tiny mirror attached to the balloon reflects the laser light. As the sound causes the balloon (and mirror) to vibrate, the reflected laser beam moves, drawing out the complex vibrational patterns of the sound on the wall. Different sounds (pitches, volumes, timbres) will create different patterns, providing a stunning visual representation of the invisible world of sound waves. This is one of the more advanced yet incredibly rewarding easy sound experiments for kids, pushing the boundaries of what they perceive as science.
Why Hands-On Sound Experiments Matter for Kids
Engaging in easy sound experiments for kids isn't just about learning scientific facts; it's about nurturing a whole host of developmental skills that extend far beyond the laboratory or kitchen. At I'm the Chef Too!, our unique "edutainment" approach is built on these foundational beliefs.
Sparking Curiosity and Critical Thinking
Children are naturally curious, and these experiments tap into that innate desire to understand "how things work." By directly manipulating materials and observing outcomes, they're not just memorizing; they're actively questioning, hypothesizing, and forming conclusions. Why did the spoon sound different? Why did the sugar dance? These questions lead to deeper critical thinking and an investigative mindset, essential for all areas of learning. We believe in providing screen-free alternatives that truly engage the mind.
Fostering Creativity and Problem-Solving
Many of these experiments encourage improvisation and modification. What happens if we use a different type of string? Can we make a louder buzz? How can we improve our phone? This open-ended exploration cultivates creativity as children invent new ways to test hypotheses. It also sharpens problem-solving skills as they encounter challenges and devise solutions, learning resilience and adaptability along the way. Our kits are developed by mothers and educators who understand the importance of this holistic development.
Building Confidence and Joyful Memories
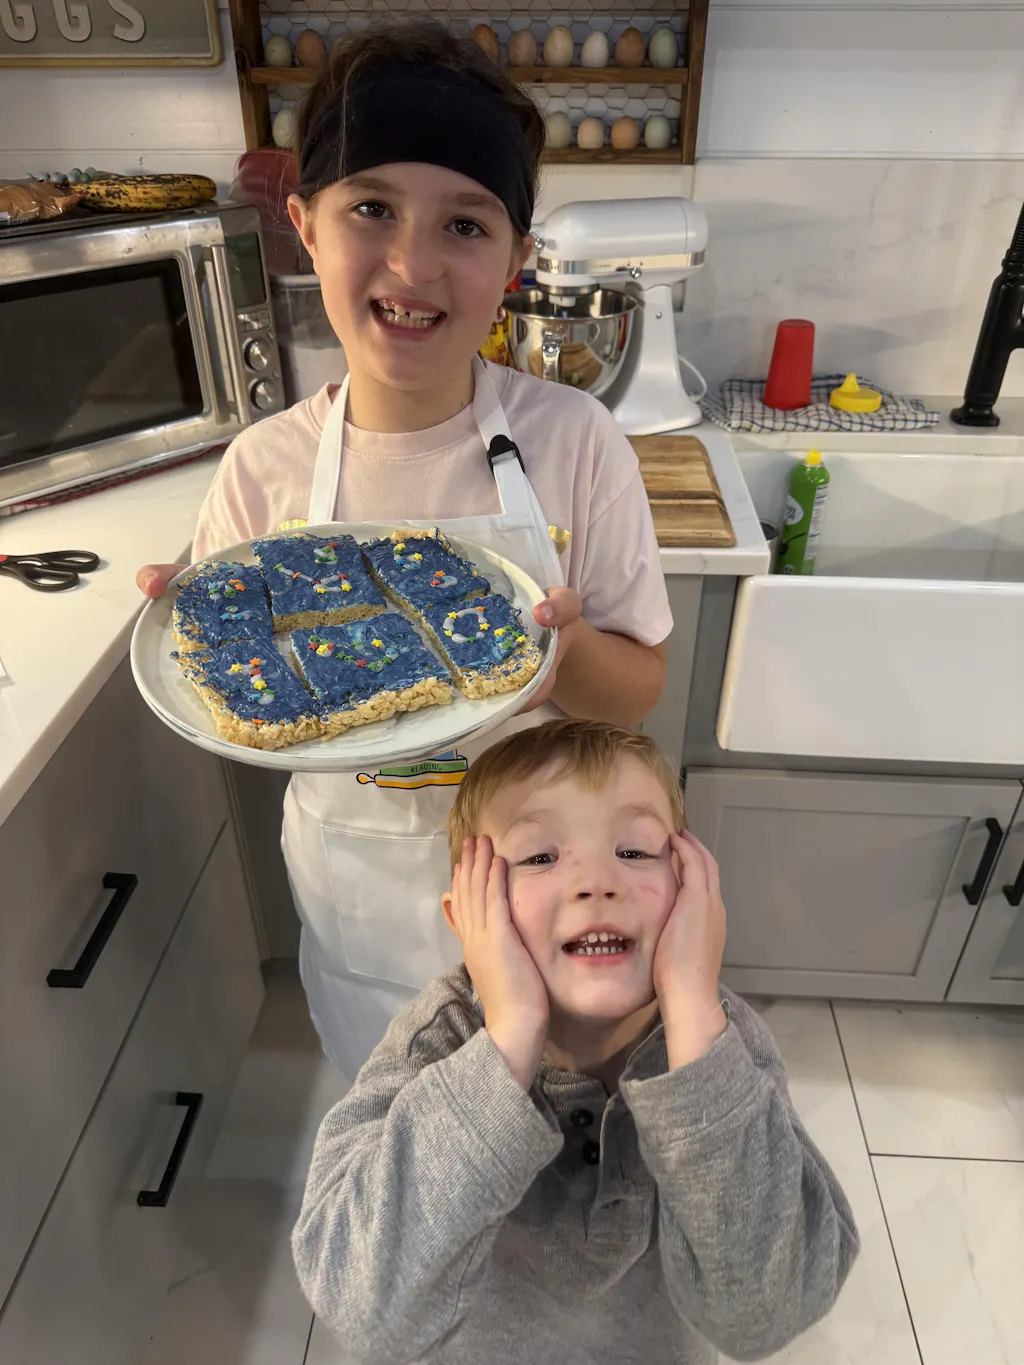
Success in scientific exploration, no matter how small, builds immense confidence. When a child successfully makes their harmonica sing or sees sugar dance, they experience a sense of accomplishment that fuels further interest. More importantly, these shared experiences – laughing at the magic ear trick, collaborating on a cup phone, or marvelling at dancing sugar – create precious family bonding moments. These are the joyful, screen-free memories that last a lifetime, far more impactful than passive consumption of information. This commitment to family bonding is a core value at I'm the Chef Too! We provide ready-to-use kits to make these moments as easy and stress-free as possible for busy families. Each box is a complete experience, containing pre-measured dry ingredients and specialty supplies. Give the gift of learning that lasts all year with a 12-month subscription to our STEM cooking adventures!
The I'm the Chef Too! Difference: Blending STEM, Food, and Art
While these sound experiments focus purely on physics, they embody the same hands-on, multi-sensory learning approach that defines I'm the Chef Too! Our unique blend of cooking, STEM, and the arts means that children are constantly engaging all their senses and multiple intelligences. Whether it's understanding chemical reactions by baking a delicious treat, exploring geology through edible excavations, or delving into biology with artistic creations, we make learning tangible, delicious, and incredibly fun. Our philosophy is that teaching complex subjects through delightful, practical experiences is the most effective way to spark lifelong curiosity.
When children can literally taste the science, the concepts stick. Our kits, developed by mothers and educators, transform abstract ideas into concrete realities, making learning accessible and exciting for every child. Imagine combining the wonder of sound waves with the magic of baking! While we don't have a specific "sound wave cake" (yet!), the principles of measurement, chemical reactions, and careful observation are present in every delicious kit we offer. Looking to bring these hands-on STEM adventures to a larger group? Our programs for schools and groups offer flexible options, with or without food components, perfect for classrooms, camps, or homeschool co-ops.
Conclusion: The Symphony of Science
The world is a symphony of science, and understanding sound is an exciting entry point into the vast and wonderful realm of physics. From the simple vibrations that create a buzzing bug to the complex patterns that can be "seen" with a tonoscope, these easy sound experiments for kids offer invaluable opportunities for discovery, learning, and family bonding. They demonstrate that science isn't confined to textbooks or laboratories; it's all around us, waiting to be explored with curiosity and creativity.
By engaging children in these hands-on activities, we're not just teaching them about sound; we're fostering a love for inquiry, developing critical thinking and problem-solving skills, and building confidence in their ability to understand the world. We're creating joyful memories and inspiring the next generation of innovators. So, gather your simple household materials, unleash your inner scientist, and get ready to listen, observe, and discover the amazing science of sound with your children!
Ready to continue the adventure of discovery with even more exciting STEM experiences delivered right to your door? Join The Chef's Club today! Our monthly subscription kits blend food, STEM, and art into unique "edutainment" experiences, designed by mothers and educators to spark curiosity, facilitate family bonding, and provide screen-free educational fun. With free shipping in the US and flexible 3, 6, and 12-month plans, it's the perfect way to keep the learning and laughter going all year long!
FAQ: Your Questions About Sound Experiments Answered
Q1: What age group are these sound experiments suitable for? A1: Many of these easy sound experiments for kids are adaptable for a wide range of ages! Younger children (preschool-kindergarten) will enjoy the simple observation and sensory experience of activities like the Singing Spoons, Buzzing Bug, and Dancing Sugar. Older children (elementary and middle school) can delve deeper into the scientific explanations, record observations, and even design their own variations for experiments like the DIY Harmonica or Sound Absorption and Reflection. Adult supervision is always recommended, especially with scissors or smaller components.
Q2: What are the key science concepts children learn from sound experiments? A2: Children primarily learn about:
- Vibrations: That all sound is caused by something vibrating.
- Sound Waves: How vibrations travel through a medium as waves.
- Pitch: The difference between high and low sounds, and how it relates to vibration speed (frequency).
- Volume: The difference between loud and soft sounds, and how it relates to the strength of vibrations (amplitude).
- Mediums: That sound needs a material (solid, liquid, or gas) to travel through, and how different mediums affect sound.
- Reflection & Absorption: How sound can bounce off or be soaked up by different surfaces.
Q3: How can I make these experiments more engaging for my child? A3: To boost engagement:
- Ask open-ended questions: Instead of telling them, ask "What do you think will happen if...?" or "Why do you think it sounds different now?"
- Encourage prediction: Before starting, have them guess the outcome.
- Allow for free exploration: Let them try different materials or modify the setup.
- Connect to everyday life: Point out how sound works in their favorite music, conversations, or even animal sounds.
- Make it a game: Turn some experiments into challenges or friendly competitions.
- Record observations: For older kids, encourage drawing or writing down what they observe.
Q4: Are there any safety precautions I should keep in mind? A4: Yes, safety is paramount.
- Adult Supervision: Always supervise children during experiments, especially when using sharp objects (scissors, skewers) or small parts that could be choking hazards for younger children.
- Volume Control: Be mindful of sound levels. While some experiments require loud music, ensure it's not at a level that could damage hearing.
- Laser Pointers: If using a laser pointer for the Tonoscope, ensure it's a child-safe class 1 or 2 laser and never allow children to point it directly at anyone's eyes. Adult operation is highly recommended.
- Cleanliness: If using food items (like jelly beans or sugar), ensure they are handled hygienically.
Q5: How can I extend the learning beyond these specific experiments? A5:
- Read books: Visit your local library for books about sound, vibrations, or music.
- Listen actively: Go on a "listening walk" and identify all the sounds you hear, discussing their sources and qualities.
- Musical exploration: Experiment with different musical instruments to understand how they produce sound (plucking, blowing, hitting).
- Nature sounds: Discuss how animals use sound for communication or echolocation.
- Explore I'm the Chef Too!: Our kits consistently blend STEM with hands-on fun, providing ongoing learning experiences. You can browse our complete collection of one-time kits to find new adventures or subscribe to The Chef's Club for monthly surprises!