Table of Contents
- Introduction
- The History and Science of Mosaic Art
- Essential Materials for At-Home Mosaics
- Age-Appropriate Mosaic Projects
- The Mathematics of Mosaics: Tessellation and Patterns
- Edible Mosaics: Mixing Art and Snacks
- The Science of Adhesion and Materials
- Step-by-Step Guide: Creating a Recycled CD Mosaic
- Making Memories: Mosaic Projects for the Whole Family
- Tips for a Successful Mosaic Experience
- Connecting Mosaics to Other STEM Adventures
- Conclusion
- FAQ
Introduction
If you have ever watched your child meticulously arrange pebbles on a sidewalk or sort their colorful cereal pieces by shape, you have seen a mosaic artist in the making. These simple moments of pattern-making are the building blocks of spatial reasoning and artistic expression. Mosaic crafts for kids are more than just a way to pass a rainy afternoon; they are a bridge between mathematical precision and creative freedom.
At I'm the Chef Too!, we believe that the best learning happens when children can touch, move, and even taste the subjects they are studying. This guide explores the vibrant world of mosaic art, showing you how to turn everyday materials into stunning masterpieces. We will cover the developmental benefits of this ancient craft, provide age-appropriate project ideas, and show you how to weave STEM concepts like geometry and chemistry into every design. Our goal is to help you transform your kitchen table into a studio where art and science collide.
The History and Science of Mosaic Art
Before diving into the glue and tiles, it helps to understand why mosaic crafts for kids are such a powerful educational tool. Mosaics involve creating images or patterns by assembling small pieces of colored glass, stone, or other materials. This technique dates back thousands of years to ancient Mesopotamia, though it was the Greeks and Romans who truly elevated it to a high art form.
From a STEM perspective, mosaics are a masterclass in geometry. When children fit shapes together, they are practicing tessellation—the tiling of a plane using one or more geometric shapes with no overlaps or gaps. They are also learning about structural integrity and the science of adhesives. Whether they are using school glue or exploring the chemical reaction of a drying grout, they are engaging with the physical world in a tangible way.
Why Mosaics Matter for Development
The process of making a mosaic requires a unique combination of skills that support a child's growth in several key areas:
- Fine Motor Coordination: Picking up tiny "tesserae" (the formal name for mosaic pieces) and placing them in a specific spot strengthens the small muscles in the hands and fingers.
- Spatial Awareness: Children must visualize how small, individual parts contribute to a larger, cohesive whole.
- Patience and Focus: Unlike a quick drawing, a mosaic takes time. It teaches children the value of "slow art" and the reward of persistent effort.
- Mathematical Thinking: Sorting by color, size, and shape introduces basic categorization and logic.
For another hands-on look at how crafting supports STEM learning, explore these creative STEM arts and crafts ideas.
Key Takeaway: Mosaic art is a multi-disciplinary activity that combines ancient history, mathematical tessellation, and fine motor development into one engaging project.
Essential Materials for At-Home Mosaics
You do not need professional-grade ceramic tiles or specialized cutters to enjoy mosaic crafts for kids. In fact, starting with familiar household items often makes the process less intimidating and more creative.
Traditional Crafting Supplies
For classic mosaic projects, keep a stock of cardstock or heavy cardboard for the base. You will also need non-toxic craft glue and a variety of colorful "tiles." These can include:
- Construction paper scraps
- Old magazines or greeting cards
- Buttons and sequins
- Beads or flat-backed glass gems
- Craft foam or felt pieces
Nature-Based Materials
Taking the craft outdoors adds a layer of environmental science. Encourage your child to collect "tesserae" from the backyard or a local park. Items like flat river stones, acorn caps, dried flower petals, and seashells make excellent mosaic components. This also provides an opportunity to discuss the textures and life cycles of the materials they find.
The Kitchen Pantry Mosaic
This is where we love to get creative. Your pantry is a goldmine for mosaic materials that offer different shapes, colors, and textures. Consider using:
- Dried beans (black beans, kidney beans, and navy beans offer great contrast)
- Lentils and split peas
- Different shapes of dry pasta
- Uncooked rice (which can be dyed with food coloring and vinegar)
- Seeds like sunflower or pumpkin seeds
Using food as an art medium helps children see the "ingredients" of their world in a new light. It bridges the gap between the kitchen and the craft room, which is a core part of our philosophy.
When you are ready for a prepared hands-on experience, you can browse the full kit collection for more kitchen-based STEM adventures.
Age-Appropriate Mosaic Projects
To keep children engaged and prevent frustration, it is important to match the complexity of the mosaic project to their developmental stage.
Preschool: The Sticky Paper Mosaic
For toddlers and preschoolers, the goal is sensory exploration and basic shape recognition. Instead of liquid glue, which can be messy for very small hands, use clear contact paper.
Step 1: Tape a piece of clear contact paper to the table, sticky side up.
Step 2: Provide a bowl of large, colorful paper squares or tissue paper circles.
Step 3: Let the child press the pieces onto the sticky surface.
Step 4: Once the design is complete, "seal" it by placing another piece of contact paper on top.
This project focuses on the "tackiness" of the adhesive and the joy of seeing colors overlap without the stress of perfect placement.
Elementary Age: The Air-Dry Clay Relief
Children in elementary school are ready for more structure and the challenge of a three-dimensional base. Using air-dry clay allows them to press their tiles into the surface, which is a highly satisfying sensory experience.
Step 1: Roll out a flat slab of air-dry clay about half an inch thick.
Step 2: Use a cookie cutter or a dull knife to cut the clay into a shape, like a heart or a star.
Step 3: Press beads, beans, or small stones into the clay while it is still wet.
Step 4: Encourage the child to leave small gaps between the pieces to see the "grout" (the clay) underneath.
This activity introduces the concept of depth and helps children understand how different materials bond together.
Tweens and Teens: The "Grouted" Masterpiece
Older children can handle the multi-step process of a traditional mosaic, including the "grouting" phase. This is an excellent time to talk about the chemistry of how substances change from liquid to solid.
Step 1: Draw a design on a sturdy wooden base or a terracotta plant saucer.
Step 2: Glue down ceramic tile fragments or glass pieces using a strong craft glue.
Step 3: Once the glue is dry, mix a small batch of kid-safe grout (or a mixture of flour, water, and paint for a DIY version).
Step 4: Spread the grout over the entire surface, filling the cracks.
Step 5: Use a damp sponge to wipe the grout off the tops of the tiles, revealing the design.
For additional guidance on age-appropriate materials, explore this mosaic craft guide for kids.
The Mathematics of Mosaics: Tessellation and Patterns
Mosaics provide a perfect opportunity to discuss geometry without it feeling like a school lesson. When children try to fit square tiles into a circular space, they are solving complex spatial puzzles.
Understanding Tessellation
Explain to your child that a "tessellation" is a pattern of shapes that fits together perfectly without any gaps. You can find these in nature (like a honeycomb) or in architecture (like a tiled floor). Ask your child to try and create a mosaic using only triangles. Can they make them fit? What happens if they mix triangles and squares?
For more shape-based learning ideas, try these hands-on geometry STEM activities.
Symmetry and Balance
Many traditional mosaics, especially those found in ancient cathedrals or palaces, rely heavily on symmetry. Challenge your child to create a "mirror mosaic." If they place a blue bead on the left side, they must place a matching blue bead on the right. This builds an understanding of balance and proportion, which are essential in both art and engineering.
Key Takeaway: By emphasizing patterns and symmetry, you turn a simple craft into a hands-on geometry lesson that sticks.
Edible Mosaics: Mixing Art and Snacks
At I'm the Chef Too!, we are famous for blending the kitchen with the classroom. Why not apply the principles of mosaic art to something delicious? Edible mosaics are a fantastic way to engage "picky" eaters or to celebrate a special occasion with a creative twist.
The Veggie Tray Mosaic
Turn a standard vegetable platter into a work of art. Use a dip like hummus or ranch as the "adhesive" on a large plate. Encourage your child to use sliced cucumbers, bell pepper strips, cherry tomatoes, and carrot coins to create a garden scene or a geometric sunburst.
The Galaxy Cookie Mosaic
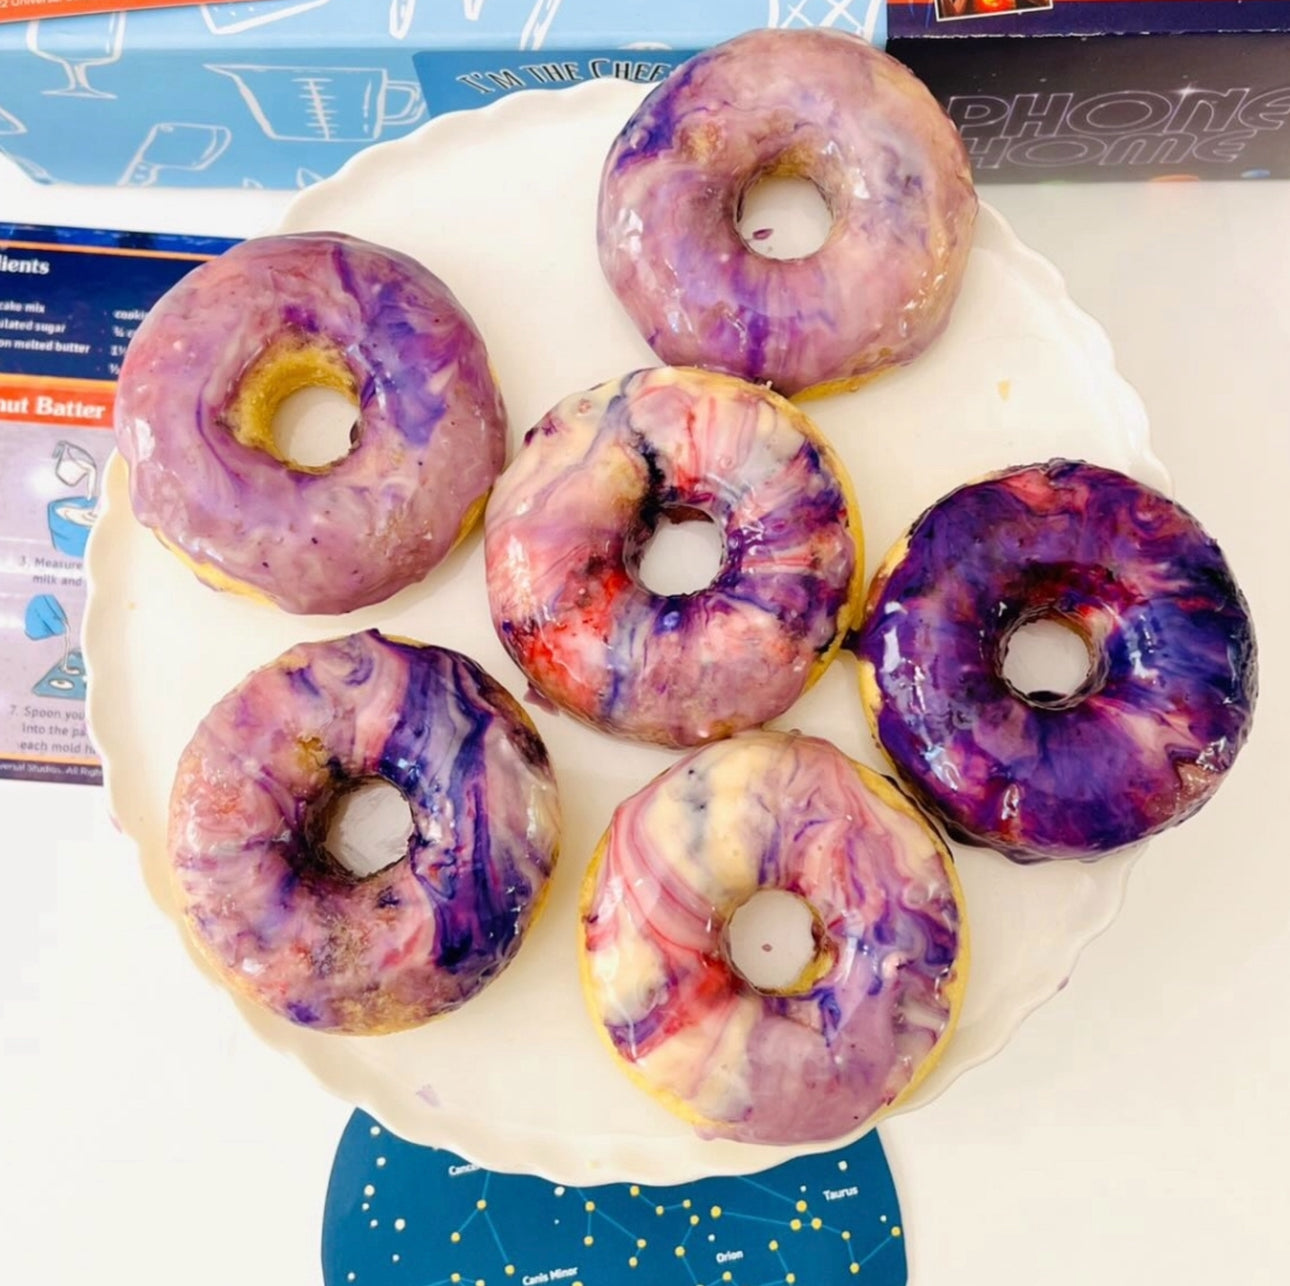
Inspired by the celestial themes in our Galaxy Donut Kit, you can create a space-themed mosaic on top of a giant sugar cookie.
- The Base: Use dark purple or navy blue icing to represent the night sky.
- The Tesserae: Provide various sprinkles, silver dragées, and small pieces of colored fondant.
- The Goal: Have your child arrange the pieces to form constellations or a swirling nebula.
This activity teaches children about the vastness of the solar system while they practice the same fine motor skills used in traditional tiling. It also introduces the concept of "edutainment"—where the reward for learning is a tasty treat.
The Science of Adhesion and Materials
Every mosaic needs something to hold it together. This is a great opening to talk about the science of chemistry and physics.
Why Does Glue Stick?
Explain to your child that glue is often a liquid that turns into a solid through evaporation or a chemical reaction. When the water in school glue evaporates, it leaves behind a sticky polymer that grips the microscopic bumps on the surface of the paper and the tile.
Exploring Textures
In our Wild Turtle Whoopie Pies kit, children explore the textures and patterns of nature. You can mirror this in mosaic art by discussing why some surfaces are harder to glue than others. Ask your child:
- "Why do you think the glue works better on the rough side of the tile than the smooth side?"
- "What happens if we try to glue a heavy rock to a thin piece of paper?"
These questions lead to a basic understanding of weight distribution and surface tension—core concepts in physics and civil engineering.
For more ways to connect art, math, and materials, explore these creative tile crafts for kids.
Step-by-Step Guide: Creating a Recycled CD Mosaic
One of the most beautiful mosaic crafts for kids involves upcycling old, scratched CDs or DVDs. The iridescent surface creates a "stained glass" effect that fascinates children.
Materials Needed:
- Old CDs or DVDs (adults should cut these into small, irregular shards using heavy-duty scissors or snips beforehand)
- A sturdy cardboard base or an old picture frame
- Clear-drying craft glue
- Black puffy paint (to act as the "faux grout")
Process:
Step 1: Design your layout. Have your child arrange the shiny CD shards on their base without glue first. This "dry fit" is a crucial step in professional mosaic making. It allows for adjustments without the mess.
Step 2: Glue the pieces. Once they are happy with the layout, have them lift each piece, apply a small dot of glue, and press it back down. Remind them to leave small gaps (about 1/8 of an inch) between the shards.
Step 3: Apply the faux grout. After the glue is completely dry, use the black puffy paint to fill in the gaps between the shards. The black lines will make the iridescent colors of the CD pop, mimicking the look of a real grouted tile mosaic.
Step 4: Observe the light. Once the project is finished, take it near a window. Discuss how the light hits the curved, shiny surfaces and breaks into a rainbow. This is a perfect moment to introduce the concept of light refraction.
If your child enjoys this kind of open-ended creative play, discover more free STEM craft ideas for kids.
Making Memories: Mosaic Projects for the Whole Family
Mosaic art is uniquely suited for collaborative projects. Because the art form is made of many small pieces, every family member can contribute their own section to a larger whole.
The Family Stepping Stone
Creating a mosaic stepping stone for your garden is a wonderful way to mark a moment in time. You can purchase a kit or use a simple cake tin as a mold.
- Mix a batch of outdoor-grade cement (with adult supervision).
- Pour it into the mold.
- Have each family member press in a "treasure"—a marble, a special stone, or even an old key.
- Write the year in the cement using a stick.
This project emphasizes the "S" in STEM—Science—as you watch the cement undergo a chemical process called hydration to become rock-hard.
The Classroom Mosaic
For educators and homeschool co-ops, mosaics are an excellent way to teach teamwork. Each student can be responsible for one "square" of a larger image. When all the squares are placed together, a mural is revealed. This teaches children that while their individual contribution is important, the "big picture" requires everyone working together.
Educators planning a larger group activity can explore school and group programmes for additional hands-on learning options.
Tips for a Successful Mosaic Experience
While mosaic crafts for kids are generally low-stress, a few practical tips can ensure the experience remains "edutaining" rather than frustrating.
- Manage the Mess: Always cover your workspace with newspaper or a plastic tablecloth. If you are using small items like beads or lentils, give each child a muffin tin to keep their materials organized by color or shape.
- Focus on the Process: For younger children, the finished product matters much less than the act of sticking things down. If their "flower" looks more like a colorful blob, celebrate the effort and the patterns they created.
- Safety First: If you are using real ceramic tiles, ensure an adult handles any cutting. Use smoothed glass gems (often sold for vases) instead of broken glass to keep little fingers safe.
- Encourage Narrative: Ask your child to tell you a story about their mosaic. "Is this a map of a secret island?" "Is this a portrait of a robot?" Narrative play increases engagement and helps with language development.
Bottom line: Success in mosaic crafting isn't about making a museum-worthy piece; it's about the conversations, the sorting, and the discovery of how shapes fit together.
Connecting Mosaics to Other STEM Adventures
Once your child has mastered the art of the mosaic, they may be hungry for more hands-on learning. The principles of mosaic art—patience, layering, and following a sequence—are the same skills needed for successful cooking and scientific experimentation.
For example, when children build our Erupting Volcano Cakes Kit, they are essentially creating a 3D mosaic of cake, frosting, and "lava" textures. They have to understand how the layers fit together to create a stable structure. Similarly, the Galaxy Donut Kit requires them to create patterns with edible glazes and stars, much like a celestial mosaic.
By moving from paper and glue to flour and whisk, you are showing your child that STEM is not just a subject in school—it is a way of interacting with the world. Whether they are tiling a picture frame or measuring ingredients for a batch of "Wild Turtle Whoopie Pies," they are building confidence and curiosity.
For more math-rich creative play, explore this guide to fun math crafts for kids.
Conclusion
Mosaic crafts for kids offer a rare opportunity to combine history, math, and art into a single, screen-free activity. From the simplest paper scrap designs to complex pantry-based masterpieces, these projects invite children to slow down and look closely at the world around them. They learn that big ideas are often made of many small, beautiful parts.
At I'm the Chef Too!, we are dedicated to making these "aha!" moments happen every day. Our kits are designed by educators and mothers who know that when you blend food, STEM, and the arts, learning becomes an adventure that kids actually look forward to. Whether you are a parent looking for a weekend activity or an educator seeking a new way to teach geometry, we invite you to explore the world through hands-on creation.
Key Takeaway: The best way to encourage a lifelong love of learning is to provide experiences that are as delicious as they are educational.
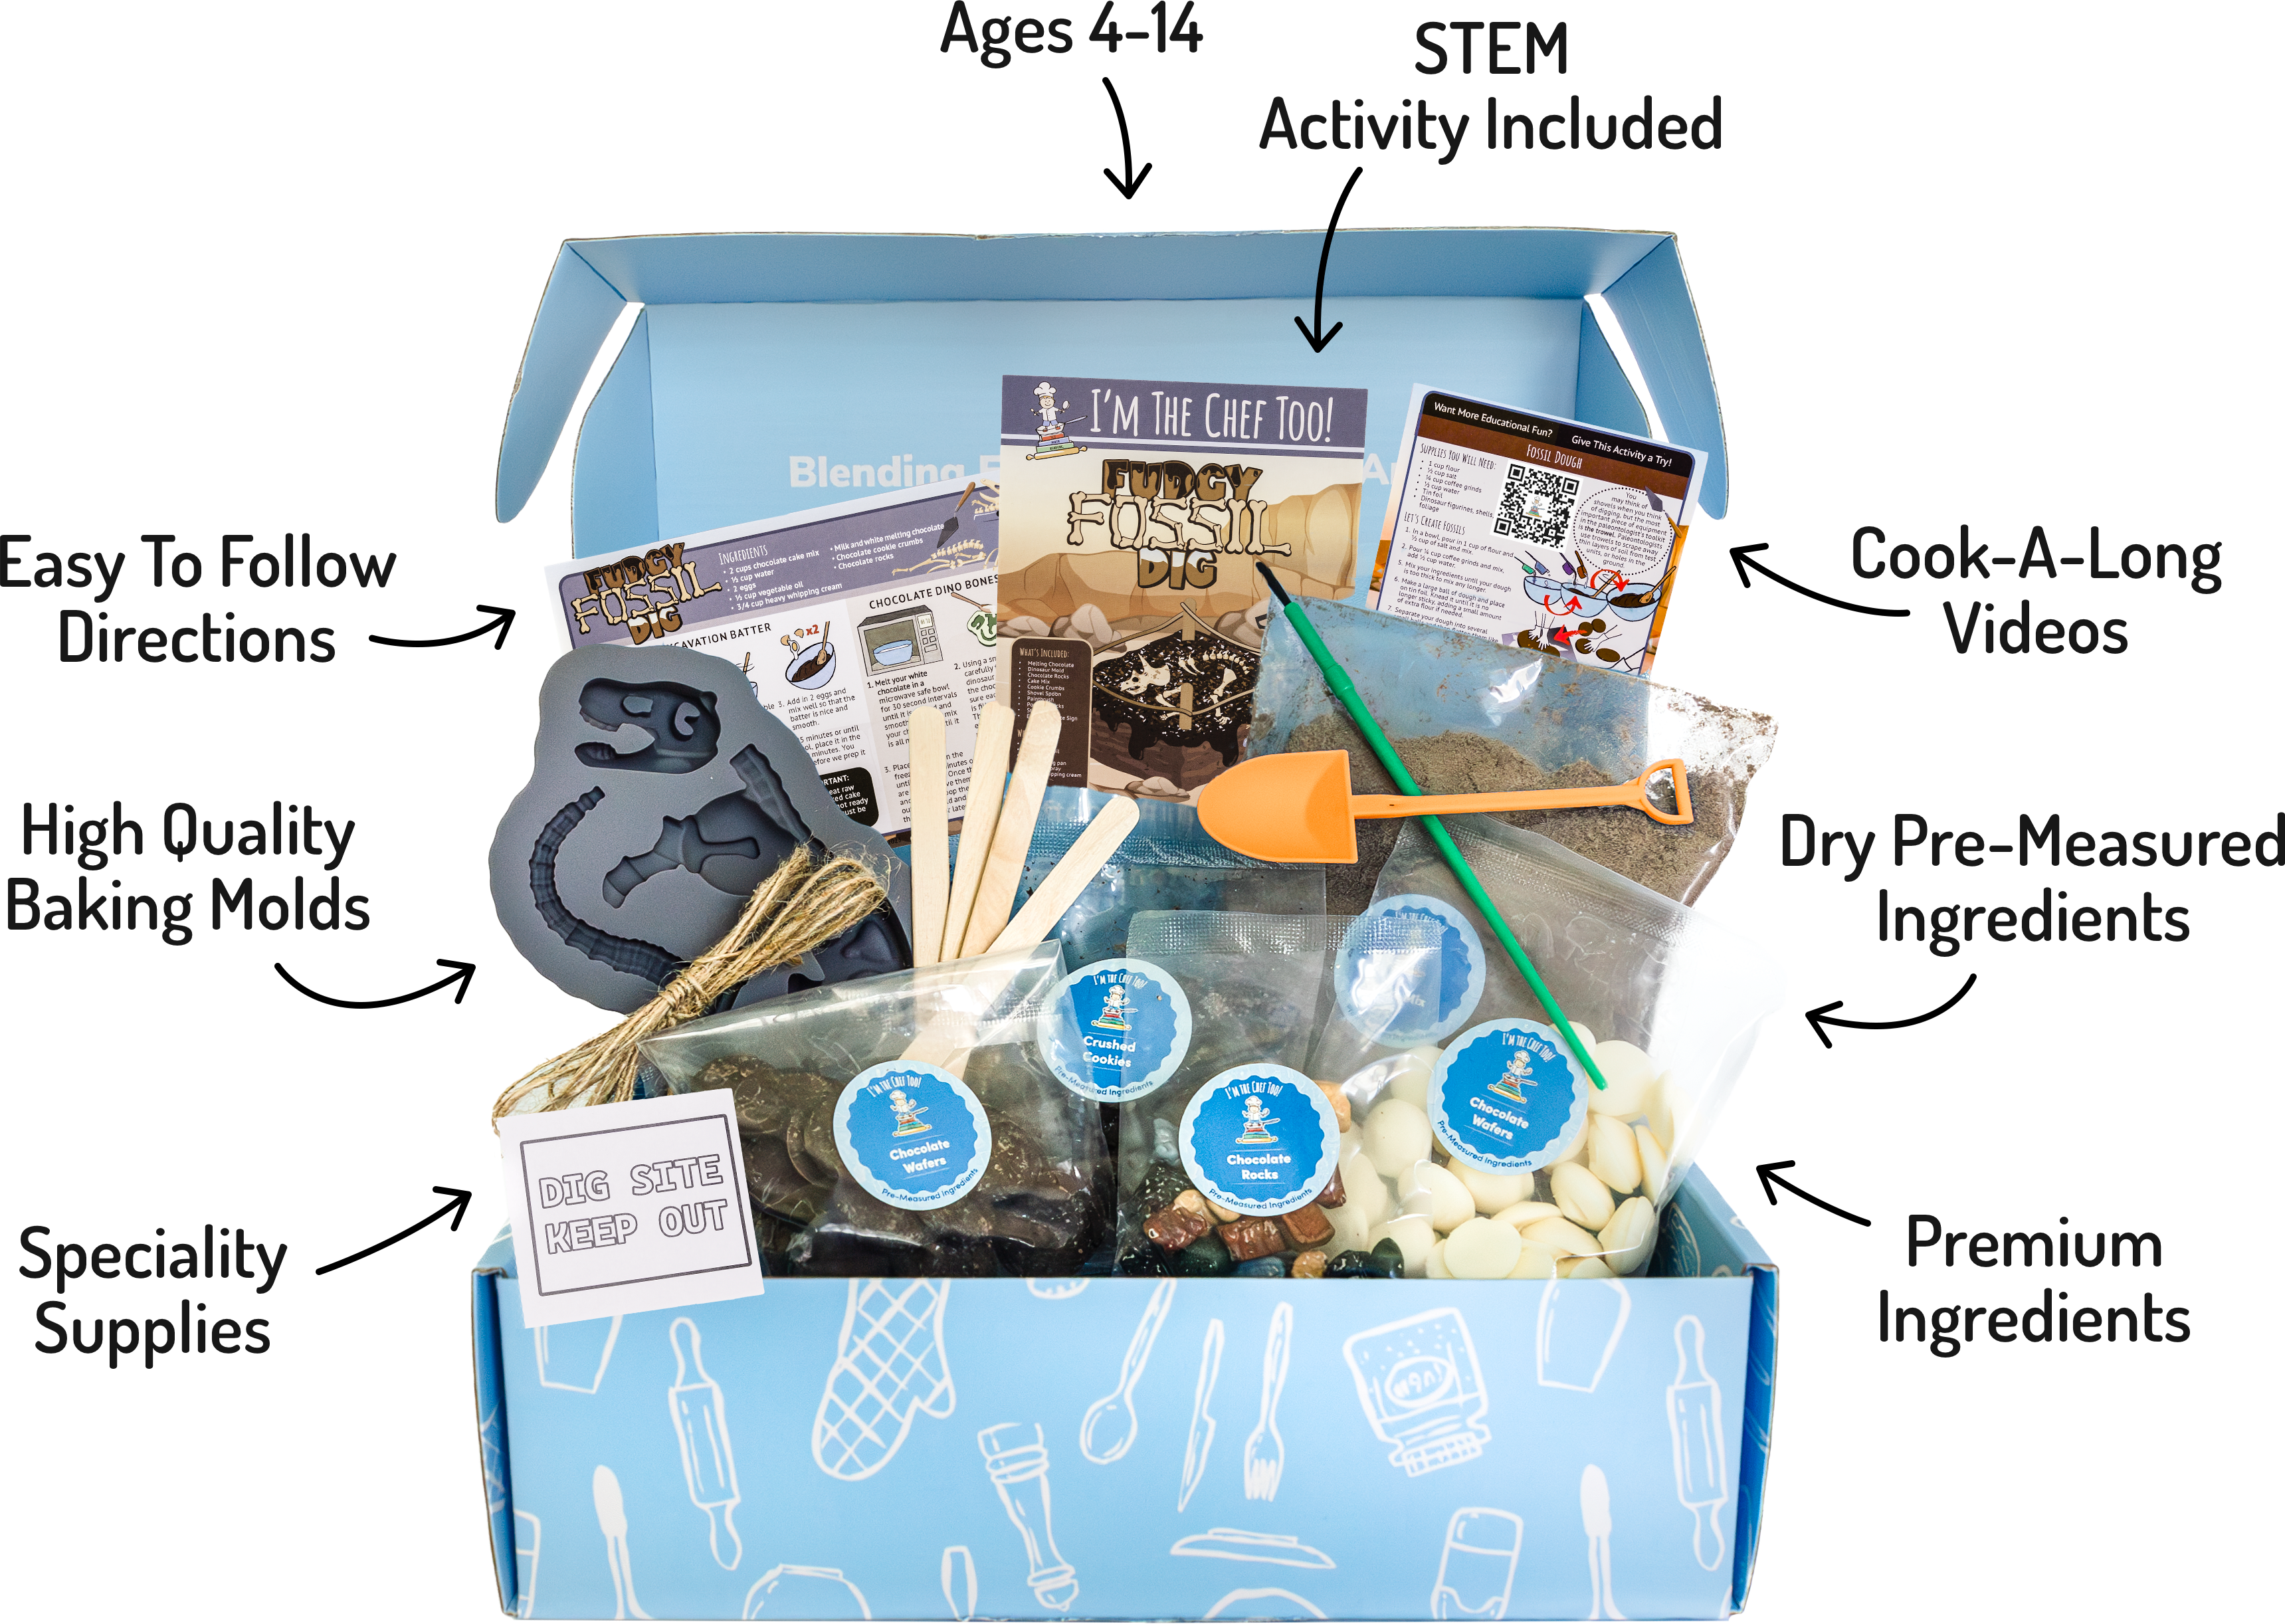
To keep the momentum going, consider joining The Chef's Club. Our monthly subscription delivers a new cooking STEM adventure to your door, complete with pre-measured ingredients and all the specialty supplies you need to start your next creative journey together.
FAQ
What age is best for mosaic crafts?
Children as young as three can enjoy basic mosaics using contact paper and tissue paper. As they develop better fine motor skills and patience, usually around ages seven or eight, they can move on to using liquid glue, air-dry clay, or even real ceramic tiles with adult supervision.
Are mosaic crafts too messy for the kitchen?
They don't have to be! To manage the mess, use a "contained" base like a shallow tray or a heavy piece of cardboard. Using "dry" materials like beans, pasta, or paper scraps makes cleanup as easy as a quick sweep, and muffin tins are great for keeping small pieces from rolling away.
How do I teach my child about patterns through mosaics?
Start by creating a simple "AB" pattern (e.g., red tile, blue tile, red tile) and ask them what comes next. You can then progress to more complex sequences or "radial symmetry," where the pattern grows outward from the center like a snowflake or a flower. For more ideas, explore these shape-based STEM activities.
Can I do mosaic crafts without buying expensive tiles?
Absolutely! Some of the best mosaics are made from recycled materials like magazine clippings, old CDs, or eggshells. You can also use items from your pantry, such as colorful lentils, dried beans, or different shapes of dry pasta, to create beautiful and budget-friendly art.