Table of Contents
- Introduction
- Why Tie Craft for Kids is a Winning Activity
- A Universe of Tie Craft Ideas: Beyond the Basics
- Essential Materials for Your Tie Craft Journey
- Step-by-Step Guide: Crafting Your First Tie Masterpiece
- Integrating STEM and Art into Tie Crafts
- Making it a Family Affair: Bonding Over Tie Crafts
- Safety First: Tips for Crafting with Kids
- Expanding the Creative Horizons with I'm the Chef Too!
- Conclusion
- FAQ Section
Have you ever looked at a tie and seen more than just an accessory? What if we told you it's a blank canvas, a launchpad for imagination, and a powerful tool for learning? In a world buzzing with digital distractions, finding truly engaging, hands-on activities for our children can sometimes feel like a treasure hunt. But what if the treasure was something as simple, yet profound, as a tie craft for kids?
This isn't just about cutting and pasting; it's about unlocking a universe of creativity, honing essential skills, and creating cherished memories together. This guide will take you on a journey through the wonderful world of tie crafts, exploring everything from why they're so beneficial for young minds to a plethora of ideas, essential materials, and step-by-step instructions. We'll delve into how these seemingly simple projects brilliantly weave together STEM principles with artistic expression, making learning an exciting adventure. At I'm the Chef Too!, our mission is to blend food, STEM, and the arts into one-of-a-kind "edutainment" experiences, and we believe that the principles of discovery and hands-on engagement we champion in our kitchen adventures can be found in countless creative endeavors, including the humble tie craft. Get ready to discover how a simple tie can transform into a masterpiece of learning and fun, fostering a love for discovery that extends far beyond the craft table.
Introduction
Imagine the sheer delight on a child's face as they proudly present a handmade gift, something they've poured their heart and creativity into. Now, imagine that gift is a vibrant, uniquely designed tie, created just for a special person. This isn't just a sweet gesture; it's a profound learning experience disguised as play. We understand the challenges parents and educators face in finding activities that are both captivating and genuinely educational. Screen time often dominates, but the desire for tactile, imaginative engagement remains strong.
That's where the magic of tie crafts comes in. This blog post is dedicated to showing you how a simple "tie craft for kids" can be transformed into a rich, multi-faceted learning journey. We'll explore the incredible educational benefits, offer a diverse range of creative ideas, guide you through the essential materials and steps, and reveal how these crafts beautifully integrate concepts from science, technology, engineering, and mathematics (STEM) with the arts. Our aim is to equip you with the knowledge and inspiration to foster curiosity, build confidence, and create joyful family moments through the power of hands-on creation. At its core, this post champions the idea that crafting a tie is much more than a seasonal activity; it's a powerful avenue for developing creativity, fine motor skills, and an appreciation for design, all while strengthening family bonds and providing a meaningful, screen-free educational alternative.
Why Tie Craft for Kids is a Winning Activity
When we think about children's activities, we often look for things that are "fun." But what if that fun could also be a powerful engine for development and learning? Tie crafts for kids offer exactly that: a delightful blend of entertainment and rich educational opportunities that align perfectly with our philosophy at I'm the Chef Too!. We believe in teaching complex subjects through tangible, hands-on experiences, and a tie craft is a fantastic example of this in action.
Beyond Just Fun: The Educational Perks
Engaging in tie crafts taps into a wide array of developmental areas, often without children even realizing they're learning!
- Fine Motor Skills Development: This is perhaps the most obvious benefit. From holding crayons and markers with precision to carefully cutting along lines, children are constantly refining their fine motor skills. Activities like gluing small embellishments, punching holes, or threading yarn through a handmade tie all contribute to improved hand-eye coordination, dexterity, and the pincer grip – crucial for writing and many daily tasks. For instance, a child meticulously cutting out a small patterned tie template is exercising the same hand muscles they'll need for writing their name or buttoning their shirt.
- Creativity and Imagination: A blank tie template is an invitation to imagine. Children get to choose colors, patterns, and themes. Do they want a tie covered in dinosaurs, abstract swirls, or a scene from their favorite book? This process fosters imaginative thinking, allowing them to express their unique personality and ideas. It's about building confidence in their artistic voice.
- Color Recognition and Theory: Tie crafts are a vibrant playground for exploring colors. Children learn to identify primary and secondary colors, experiment with mixing, and understand how different color combinations evoke various moods or themes. They might choose bright, bold colors for a "happy tie" or cooler tones for a "calm tie," intuitively exploring basic color theory.
- Design Thinking: This is a fantastic introduction to problem-solving. How can they make their tie unique? How will the different elements fit together? If they want a wearable tie, how can they make it sturdy? Children engage in planning, experimenting, and sometimes even iterating on their designs until they achieve their desired outcome. This foundational design thinking is crucial for innovation in any field, from art to engineering.
- Pattern Recognition and Creation: Ties often feature patterns. Children can replicate existing patterns (stripes, polka dots), create symmetrical designs, or invent their own repeating motifs. This not only enhances their visual discrimination skills but also introduces them to mathematical concepts of repetition, sequence, and symmetry in a concrete way.
- Following Instructions: Many tie craft ideas involve sequential steps. Children learn to listen, follow directions, and complete tasks in order, which is a vital skill for both academic success and everyday life. This can range from "first color, then cut" to more complex multi-step processes.
- Patience and Focus: Completing a craft project requires sustained attention and patience. Children learn the satisfaction of seeing a project through from start to finish, understanding that effort yields a rewarding outcome. This builds concentration and self-discipline.
- Self-Expression: Art is a powerful outlet for self-expression. A tie craft allows children to communicate their feelings, interests, and creativity without words. It's a tangible representation of their inner world, boosting their self-esteem and sense of accomplishment.
The Power of Tangible Creation
In an increasingly digital world, the importance of hands-on, tangible creation cannot be overstated. When children physically manipulate materials, they engage more senses, strengthen neural pathways, and deepen their understanding of how things work. This is at the heart of what we do at I'm the Chef Too!. We believe that there's no substitute for the feeling of mixing ingredients, watching a chemical reaction unfold, or creating something delicious from scratch. A tie craft provides a similar experience: a child can touch the paper, feel the texture of the fabric, smell the glue, and see their design come to life in three dimensions. This multi-sensory engagement fosters deeper learning and a more profound connection to the creative process.
Screen-Free Engagement
Looking for meaningful activities that pull kids away from screens? Tie crafts are an excellent, enriching alternative. They provide a focused, creative outlet that encourages children to interact with their physical environment and engage in imaginative play. This dedicated screen-free time not only promotes healthier habits but also offers a valuable opportunity for family bonding, which brings us to our next point.
Ready to bring more creative, screen-free, and deliciously educational experiences into your home? Discover the joy of learning with our Chef's Club subscription! Imagine a new adventure delivered to your door every month, sparking curiosity and creativity in your child, all without a screen in sight.
A Universe of Tie Craft Ideas: Beyond the Basics
While printable tie templates are a fantastic starting point, the world of tie crafts for kids is vast and exciting, limited only by imagination. Let's explore how to go beyond basic coloring and truly unleash your child's creative genius.
Classic Paper Tie Crafts: The Foundation
These are the most accessible and often the first foray into tie crafting, perfect for all ages, especially preschoolers and K-2 students.
-
Using Printable Tie Templates: Start with a good foundation! There are countless free printable tie templates available online in various shapes and sizes—from broad, traditional ties to slimmer, modern ones, and even adorable bow ties. You can find them with thick black outlines for easy cutting, or pre-designed patterns (polka dots, stripes, stars) for coloring.
- Tip: Print on cardstock for durability, especially if the tie is meant to be worn or kept as a keepsake. You can find templates that feature one large tie per page, four medium ties, or eight small ties, making it easy to accommodate individual projects or large groups.
-
Coloring and Decorating: This is where the magic begins!
- Markers, Crayons, Colored Pencils: The simplest tools offer endless possibilities. Encourage unique patterns, abstract designs, or even drawing mini-scenes.
- Paint: Finger painting for younger kids, or using brushes for more detailed work. Consider tempera paint for easy cleanup.
- Glitter, Stickers, Sequins: Add sparkle and texture! These are wonderful for developing precision in placement.
- Collage Effect: Cut out interesting shapes from old magazines, colored paper, or even fabric scraps and glue them onto the tie for a unique textured look.
- Personalized Messages: Turn the tie into a heartfelt card. This is especially popular for Father's Day, but can also be used for birthdays, teacher appreciation, or just to say "I love you." Kids can write "World's Best Dad," "Thank You," or draw pictures illustrating their favorite memories. Some templates even come with a dedicated questionnaire section for kids to fill out about their dad or grandpa, making the gift even more personal.
-
Making Them Wearable:
- Hole Punch & String/Yarn: Once decorated, carefully punch a hole in each of the top corners of the tie. Thread a piece of yarn or ribbon through the holes, long enough to go around the neck and tie comfortably. This transforms a flat piece of paper into a fun accessory!
- Elastic: For a more secure, easy-to-wear option, use a small piece of elastic instead of string.
- Crafting a Card: Instead of making a wearable tie, attach the decorated paper tie to the front of a folded piece of cardstock to create a charming Father's Day or birthday card. You can even create a small pocket on the card for the tie to slide into.
Upcycled Tie Creations: Sustainability Meets Art
This approach not only sparks creativity but also teaches children about resourcefulness and sustainability.
- Fabric Scraps Ties: Gather old clothing, fabric scraps, or even remnants from sewing projects. Children can cut out tie shapes from these materials. They can then decorate them with fabric markers, iron-on patches, or by gluing on smaller fabric cutouts for a patchwork effect. This is a great way to explore different textures.
- Old Clothing Transformation: Got an old T-shirt with a cool graphic or a shirt that's seen better days? Cut out tie shapes from these. Kids can use the existing patterns or add their own flair. Imagine a tie made from a favorite (but too-small) superhero T-shirt!
- Newspaper/Magazine Ties: A fantastic way to explore collage. Children can cut out interesting words, images, or patterned sections from newspapers and magazines to create a unique, narrative tie. This also introduces them to different print media.
- Felt Ties: Felt is a wonderful material for kids' crafts because it's easy to cut, doesn't fray, and comes in a rainbow of colors. Felt ties can be glued, sewn (simple running stitch for older kids), or decorated with other felt shapes. They're soft and durable, making great wearable pieces.
3D Tie Art: Adding Dimension
Take tie crafts into a new dimension by incorporating sculptural elements.
- Origami Ties: Introduce a basic origami tie fold. While it might seem complex, many simple folds are accessible to kids. This teaches precision, spatial reasoning, and patience. The finished origami tie can then be decorated.
- Stuffed Felt Ties: Cut two identical tie shapes from felt. Children can decorate one or both sides. Then, using craft glue or simple stitches, join the edges, leaving a small opening. Stuff with cotton balls or fabric scraps, then seal the opening. This creates a soft, plush tie.
- Mixed Media Ties: Encourage children to combine various materials. A paper tie could have fabric elements glued on, adorned with buttons, beads, or even small natural items like dried leaves or twigs. This exploration of textures and materials is incredibly enriching.
Thematic Tie Adventures: Connecting to Interests
Tie crafts become even more engaging when they connect to a child's passions.
- Nature Ties: Go on a nature walk to collect leaves, small twigs, petals, or seeds. Children can then glue these natural treasures onto a paper or cardstock tie. This activity fosters an appreciation for the natural world and combines it with art.
- Superhero Ties: Encourage kids to design a tie that represents their favorite superhero, or even their own invented hero! They can incorporate emblems, colors, or power symbols.
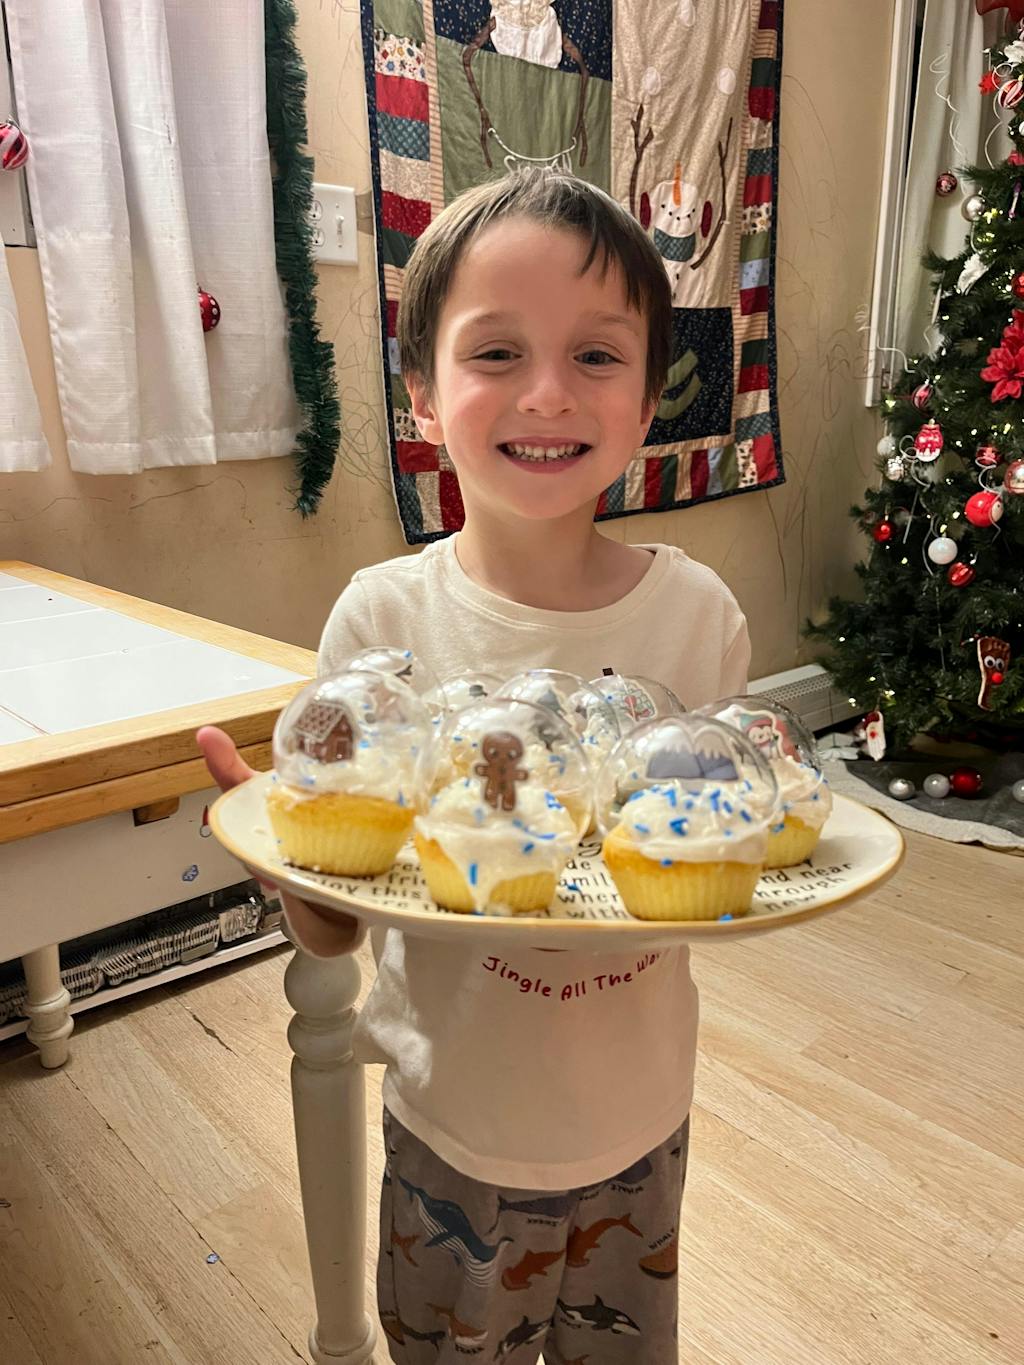
- Science-Inspired Ties: This is where we truly connect with the I'm the Chef Too! spirit! Imagine a tie covered in planets, stars, or even a simplified diagram of a chemical reaction. Children can draw atoms, molecules, or constellations. This sparks curiosity about the world around them. For instance, creating your own edible solar system with our Galaxy Donut Kit provides a similar hands-on exploration of astronomy, showing how themes can be explored both on a tie and in the kitchen!
- History Ties: Explore different historical periods or cultures through tie designs. Perhaps a tie inspired by ancient Egyptian hieroglyphs, Roman mosaics, or a specific art movement.
- Storytelling Ties: Divide a long tie into sections, and have the child draw a sequence of events, telling a story from top to bottom. This combines narrative skills with visual art.
If your little designer loves bringing their creations to life, they'll be thrilled with the imaginative culinary adventures in our one-time kits. We offer a wide variety of themed experiences, perfect for exploring new concepts and unleashing creativity!
Essential Materials for Your Tie Craft Journey
One of the beautiful things about tie crafts is their flexibility when it comes to materials. You likely have many of these items already at home! This makes it an accessible and often budget-friendly activity.
Basic Supplies: The Foundation of Every Craft
These are the non-negotiables, the starting blocks for almost any tie craft project.
-
Paper:
- Cardstock: Essential for durability, especially if the tie is meant to be worn or handled frequently. It holds up well to coloring, painting, and gluing.
- Construction Paper: Comes in a wide range of colors, great for cutting out tie shapes or for adding colorful collage elements.
- Printer Paper: Perfect for printing out free tie templates. If you're using plain printer paper, consider gluing it onto a piece of cardstock later for added sturdiness.
-
Scissors:
- Child-Safe Scissors: Always prioritize safety. Look for blunt-tipped scissors designed for little hands.
- Adult Scissors: For precision cutting or tougher materials, an adult should assist or handle this part.
-
Glue:
- Glue Sticks: Ideal for younger children, less messy, and great for paper-to-paper adhesion.
- Liquid School Glue (PVA Glue): Stronger hold, better for attaching heavier embellishments like fabric scraps, buttons, or glitter. Ensure it's non-toxic.
-
Coloring Tools:
- Crayons: Classic, versatile, and easy for all ages.
- Markers: Offer vibrant colors and smooth application. Washable markers are a parent's best friend!
- Colored Pencils: Great for detailed work and shading.
Enhancing the Experience: Taking Your Ties to the Next Level
Once you have the basics, these materials can elevate your tie crafts, adding texture, sparkle, and unique flair.
- Fabric Scraps and Felt: Perfect for adding texture, color, and different patterns. Old clothing, blankets, or craft store remnants are excellent sources. Felt is particularly easy for kids to cut without fraying.
- Yarn, String, Ribbon: Essential for making wearable ties, adding decorative bows, or creating fringe.
- Buttons, Beads, Sequins: These tiny treasures add sparkle and tactile interest. Always supervise young children due to choking hazards. They're fantastic for developing fine motor skills as children pick up and place them.
- Glitter: A little sparkle goes a long way! Glitter glue pens can be less messy than loose glitter.
-
Paint:
- Tempera or Acrylic Paints: Great for broader color application. Use sponges, cotton swabs, or paintbrushes for different effects.
- Fabric Paint: If you're working with fabric ties, fabric paints allow the design to become permanent and washable.
- Stickers and Stamps: Theme-based stickers (animals, letters, shapes) can instantly add character. Craft stamps with ink pads are also a fun way to create repetitive patterns.
- Craft Punches: Shaped craft punches (stars, hearts, circles) can create unique confetti-like decorations or small cutouts to layer onto the tie.
- Recycled Items: Encourage resourcefulness! Think bottle caps, aluminum foil, cut-up cereal boxes (for sturdier backings), or even small pieces of corrugated cardboard for texture.
- Nature Finds: Dried leaves, small flat stones, thin twigs, or pressed flowers can add an organic touch to a nature-themed tie.
- Printable Templates: While we don't offer generic printable templates, remember that many sites provide free tie outlines. Alternatively, you can always freehand draw a tie shape, which adds another layer of creative expression!
Remember, you don't need every single item on this list for every project. The beauty of tie crafts is in adapting to what you have available and encouraging children to experiment with different materials. This exploratory approach is something we deeply value at I'm the Chef Too!, where our kits provide pre-measured dry ingredients and specialty supplies, taking the guesswork out of preparation so families can focus on the joy of discovery and creation together.
Step-by-Step Guide: Crafting Your First Tie Masterpiece
Ready to roll up your sleeves and dive into creating a fantastic tie craft for kids? This simple, adaptable guide will walk you through the process, ensuring a fun and rewarding experience for both you and your child.
Step 1: Choose Your Foundation (Template or Freehand)
The very first step is to decide on the basic shape of your tie.
-
Using Printable Templates: This is often the easiest starting point, especially for younger children or if you want consistent tie shapes for a group.
- Select and Print: Search online for "free printable tie templates." You'll find a variety of styles, sizes (large, medium, small), and designs (plain, patterned, bow ties). Choose one that fits your child's age and the complexity you desire. Print it out on sturdy cardstock if possible, as this will make the finished craft more durable.
- Cut (Optional at this stage): For some projects, it might be easier to decorate the tie while it's still attached to the full paper, then cut it out later. For others, cutting first might allow for more freedom, especially with mixed media.
-
Drawing Your Own Tie Outline: Encourage creativity from the get-go!
- Sketch: Provide your child with a piece of paper (cardstock is best) and a pencil. Talk about the basic shape of a tie – wider at the bottom, tapering towards the top, with a knot shape. Let them experiment with different sizes and proportions.
- Refine: An adult can help refine the lines with a ruler or by freehand if needed, ensuring a clear outline for cutting and decorating. This also teaches basic geometry and symmetry.
Step 2: Unleash the Colors and Creativity
This is the most exciting part, where your child's personality truly shines through!
-
Coloring Techniques:
- Classic Coloring: Use crayons, markers, or colored pencils to fill in the tie. Encourage different patterns: stripes, polka dots, zig-zags, swirls, or even drawing tiny pictures.
- Painting: Lay down some newspaper or a craft mat. Use tempera or acrylic paints. Children can paint the entire tie a solid color, create abstract designs, or use sponges for textured effects.
- Mixed Media Art: Combine different coloring tools! For example, color with crayons and then add painted details, or use markers for outlines and watercolor for washes of color.
-
Adding Textures and Embellishments:
- Collage: Provide a variety of materials: fabric scraps, colored paper cutouts, magazine clippings, felt shapes. Let your child arrange and glue them onto the tie. This adds tactile interest and a unique visual story.
- Sparkle and Shine: Glue on glitter (glitter glue pens are great for less mess!), sequins, or small beads.
- Nature's Touch: If you went on a nature walk, carefully glue pressed leaves, small petals, or thin twigs onto the tie.
- Stickers and Stamps: Use themed stickers or craft stamps to create repetitive patterns or add focal points.
- Writing Messages: If the tie is a gift, this is the perfect time to add a personal touch. Write "Best Dad Ever," a heartfelt note, or the child's name and age. For younger children, you can write the message for them to trace or copy.
Step 3: Precision Cutting
Once the tie is decorated and any glue has dried completely, it's time to cut it out.
- Guidance is Key: Remind children to cut slowly and carefully along the outlines. This is excellent practice for fine motor skills and hand-eye coordination.
- Adult Supervision: For younger children, an adult might need to do the cutting or provide close supervision and assistance, especially with intricate parts. Use child-safe scissors appropriate for their age.
Step 4: Assembling and Adding Details
Now, let's turn the decorated piece of paper into a functional (or decorative) tie!
-
Making it Wearable (Optional):
- Hole Punch: Using a standard hole punch, make one hole in each of the two top corners of the tie, where the knot would typically sit.
- Thread String/Yarn: Cut a piece of yarn, string, or ribbon long enough to comfortably fit around the wearer's neck, with extra length to tie a bow. Thread one end through each hole and tie a knot on the back to secure it.
-
Attaching to a Card:
- Fold Cardstock: Take a piece of cardstock and fold it in half to create a card base.
- Glue Tie: Glue the decorated tie onto the front of the card. You can glue the entire tie down or just the top portion, allowing the bottom to hang slightly for a more dynamic look.
- Adding Further Embellishments: Once assembled, take a moment to see if any final touches are desired. Perhaps a small bow at the "knot" of the tie, or some additional glitter on the edges.
Step 5: Displaying Your Creation
The best part of any craft is seeing the finished product!
- As a Gift: Present the tie to the intended recipient – a proud moment for any child! The joy of giving a handmade gift is immense.
- As Decoration: Hang the tie in a child's room, on a bulletin board, or use it as classroom decor.
- As a Keepsake: Date and sign the back of the tie and keep it in a memory box. These handmade items become precious mementos over the years, capturing a snapshot of your child's creativity at a particular age.
Remember, the goal isn't perfection, but participation and enjoyment. Every tie craft is a testament to your child's unique imagination and growing skills. And just like crafting a tie, our I'm the Chef Too! kits guide children through tangible, step-by-step experiences that result in delicious, edible creations, fostering a similar sense of pride and accomplishment. Ready for a new adventure every month? Join The Chef's Club and enjoy free shipping on every box, bringing structured, fun-filled learning directly to your home!
Integrating STEM and Art into Tie Crafts
At I'm the Chef Too!, we believe that the most profound learning happens when subjects are not taught in isolation but are interwoven into holistic, hands-on experiences. Tie crafts are a perfect example of this "edutainment" philosophy, seamlessly blending Science, Technology, Engineering, and Mathematics (STEM) with the Arts (STEAM). Let's break down how this simple craft becomes a powerful cross-curricular tool.
Science (S)
- Color Mixing and Properties: When children experiment with different paints or markers on their ties, they are implicitly exploring primary and secondary colors. What happens when blue and yellow mix? How does the color appear differently on white paper versus colored paper? They observe how different materials (paper, fabric, glitter) absorb or reflect light, influencing the final look.
- Material Properties: Discussing why cardstock is sturdier than printer paper, or why felt is easier to cut than denim, introduces basic material science concepts. They learn about adhesion when glue sticks or liquid glues behave differently on various surfaces.
- Symmetry and Balance: Observing the natural symmetry of a tie shape introduces geometric concepts. When decorating, children might consciously or unconsciously strive for balance in their designs, understanding that distributing colors and elements evenly creates a pleasing aesthetic.
Technology (T)
- Using Printable Templates: While seemingly simple, accessing and printing templates involves engaging with technology. It's an introduction to how digital resources can be translated into physical tools for creation. Children see the direct link between a digital file and a tangible outcome.
- Design Tools (Optional): For older kids, they might even explore basic digital drawing programs to design their tie patterns before printing them out. This is a step towards understanding graphic design and digital fabrication.
Engineering (E)
- Structural Integrity: If children are making a wearable tie, they become engineers! How do they ensure the tie is sturdy enough to hang without tearing? Should they use thicker paper, reinforce it, or add a backing? How do they design the hole placement and string attachment so it's comfortable and functional? This involves problem-solving, planning, and testing.
- Design and Function: Thinking about how a tie needs to function (e.g., hanging neatly, being visually appealing) introduces principles of design for usability. They might consider the optimal length or width, or how a bow tie differs from a necktie in construction.
- Problem-Solving: What if the glitter doesn't stick? What if the fabric frays? These small challenges are opportunities for children to brainstorm solutions, adapt their approach, and think critically, just like engineers do when facing design constraints.
Mathematics (M)
- Measurement: Cutting string for a wearable tie requires estimation and measurement. "Is this long enough to go around their neck and tie a bow?" When drawing freehand ties, children use estimation to gauge width and length. For symmetrical designs, they might unconsciously measure distances or proportions.
- Geometry: The tie itself is a geometric shape. Exploring patterns introduces concepts of repetition, tessellation, and symmetry. Children might count the number of polka dots, stripes, or layers of fabric they use.
- Patterns and Sequences: Creating patterns on a tie (e.g., alternating colors, repeating shapes) reinforces understanding of sequences and spatial reasoning.
Art (A)
-
Elements of Design: Tie crafts are a direct application of art fundamentals:
- Line: Straight, curved, jagged lines used in patterns or outlines.
- Shape: The overall tie shape, plus any shapes cut out for collage.
- Color: Exploration of hue, saturation, and value.
- Texture: Adding felt, fabric, glitter, or natural items creates tactile interest.
-
Principles of Design:
- Pattern: Repeating elements to create visual rhythm.
- Balance: Arranging elements so the tie doesn't look "lopsided."
- Emphasis: Using a bold color or large shape to draw the eye.
- Contrast: Placing light colors next to dark, or rough textures next to smooth.
- Self-Expression and Aesthetics: Ultimately, art is about expressing oneself. The tie becomes a canvas for a child's unique vision, allowing them to communicate ideas, feelings, and personal style. It's about developing an aesthetic sense and pride in their own creation.
Consider how these concepts play out in our I'm the Chef Too! kits. For instance, creating a chemical reaction that makes our Erupting Volcano Cakes Kit bubble over with deliciousness directly applies scientific principles in a fun, tangible way, just as a tie craft applies geometry and design. Or, imagine the joy of making Peppa Pig Muddy Puddle Cookie Pies, where beloved characters make learning about ingredients and measurements an absolute delight. These culinary adventures demonstrate that learning is everywhere, and engaging multiple senses makes it unforgettable.
Making it a Family Affair: Bonding Over Tie Crafts
At I'm the Chef Too!, we wholeheartedly believe in the power of shared experiences to create lasting memories and strengthen family bonds. Our kits are designed to be a catalyst for family fun, providing a screen-free educational alternative that encourages working together. Tie crafts for kids offer a similar, wonderful opportunity to connect, learn, and create as a family.
Collaborative Projects: Everyone Contributes
Instead of individual projects, turn tie crafting into a family collaboration.
- The Giant Family Tie: Get a large sheet of paper or even an old bedsheet. Draw a huge tie outline. Each family member can be assigned a section to decorate, perhaps representing their personality or a family memory. This teaches teamwork, negotiation, and celebrating individual contributions to a collective masterpiece.
- Theme-Based Collaboration: Choose a family theme – perhaps "Our Family Adventures Tie" – where each person adds drawings or pictures representing places you've been, things you love to do, or even inside jokes.
- Assembly Line Fun: One person cuts, another colors, another glues embellishments. This fosters a sense of shared purpose and efficiency, much like a real-world team project.
Gift-Giving with Heart: The Joy of a Handmade Present
There’s something uniquely special about receiving a handmade gift. The effort, thought, and love poured into it make it priceless.
- The Ultimate Father's Day Gift: As the top search results indicate, Father's Day is the prime occasion for tie crafts. A personalized, hand-decorated tie for Dad or Grandpa is a guaranteed tear-jerker (in the best way!). It's a tangible expression of love and appreciation that he'll cherish far more than any store-bought item.
-
Beyond Father's Day: Don't limit the joy to just one day! Tie crafts make fantastic gifts for:
- Teachers: A "Super Teacher Tie" for teacher appreciation.
- Grandparents: A tie covered in drawings of grandkids for Grandma or Grandpa.
- Friends: A friendship tie with inside jokes or shared symbols.
- Birthdays: A festive tie for a birthday boy or girl.
- Just Because: Sometimes, the best gifts are given without a reason, simply to show someone you care.
Creating a "Design Studio" at Home: Fostering a Creative Environment
Setting aside a dedicated space, even if it's just a corner of the dining table, can signal that creativity is valued.
- Gather Materials: Keep a "craft station" with paper, scissors, glue, and coloring supplies readily available. Our I'm the Chef Too! kits provide all the unique dry ingredients and specialty supplies needed, making it easy to jump straight into the fun without hunting for obscure items. You can replicate this by having your tie craft supplies organized.
- Inspire, Don't Dictate: Offer suggestions and examples, but allow your child to lead the creative process. If they want a tie covered in googly eyes and pipe cleaners, celebrate that unique vision!
- Process Over Product: Focus on the joy of making, the experimentation, and the skills learned, rather than striving for a "perfect" outcome. The beauty of a child's craft often lies in its imperfect, heartfelt charm.
This emphasis on hands-on, screen-free, family bonding, and sparking curiosity aligns perfectly with our mission at I'm the Chef Too!. We know that these shared moments of discovery are what truly build a love for learning and create strong family connections.
Are you ready to bring more creative, screen-free, and delightfully educational experiences into your home on an ongoing basis? Our Chef's Club subscription delivers a new, exciting adventure right to your door every month. With free shipping in the US and flexible 3, 6, and 12-month pre-paid plans, it's the perfect way to provide consistent enrichment and create countless joyful family memories, developed by mothers and educators just like you!
Safety First: Tips for Crafting with Kids
While tie crafts are generally very safe and enjoyable, a little foresight goes a long way in preventing minor mishaps and ensuring a positive experience for everyone. Safety is paramount in all hands-on activities, whether you're crafting a paper tie or whipping up a delicious treat with one of our I'm the Chef Too! kits.
- Adult Supervision is Key: This is the golden rule for any children's activity involving tools or small parts. An adult should always be present to guide, assist, and monitor. For younger children, direct, active supervision is essential.
- Child-Safe Scissors: Invest in blunt-tipped scissors specifically designed for children's hands. Teach proper scissor safety, such as always cutting away from the body and passing scissors handle-first. For intricate cuts or thicker materials, an adult should do the cutting.
- Non-Toxic Materials: Always check that glues, paints, markers, and other art supplies are labeled "non-toxic." This is especially important for younger children who might still put things in their mouths.
- Small Parts Caution: Beads, sequins, buttons, glitter, and other tiny embellishments can pose a choking hazard for children under three. For this age group, opt for larger decorations that cannot be swallowed, or ensure these items are used only with very close, constant supervision.
-
Workspace Organization and Cleanup:
- Protect Surfaces: Lay down old newspapers, a plastic tablecloth, or a craft mat to protect tables from glue, paint, or marker stains.
- Keep it Tidy: Encourage children to keep their workspace organized, putting caps back on markers and glue, and keeping materials within reach but not overcrowded.
- Immediate Cleanup: Address spills or sticky messes right away to prevent slips or spreading messes. Have wet wipes or a damp cloth handy.
- Hand Washing: Always encourage thorough hand washing before and after crafting, especially if paints or glues were used.
- Ventilation: If using any strong-smelling glues or paints, ensure the crafting area is well-ventilated.
- Teach Respect for Tools: Explain that craft tools are not toys. Scissors are for cutting, not poking. Glue is for sticking, not tasting. This builds an understanding of responsibility and proper tool usage.
By following these simple safety guidelines, you can ensure that your tie crafting sessions are not only creative and educational but also secure and stress-free for everyone involved. It’s all about creating a positive environment for exploration and discovery, much like the safe and engaging culinary adventures we design at I'm the Chef Too! for every child.
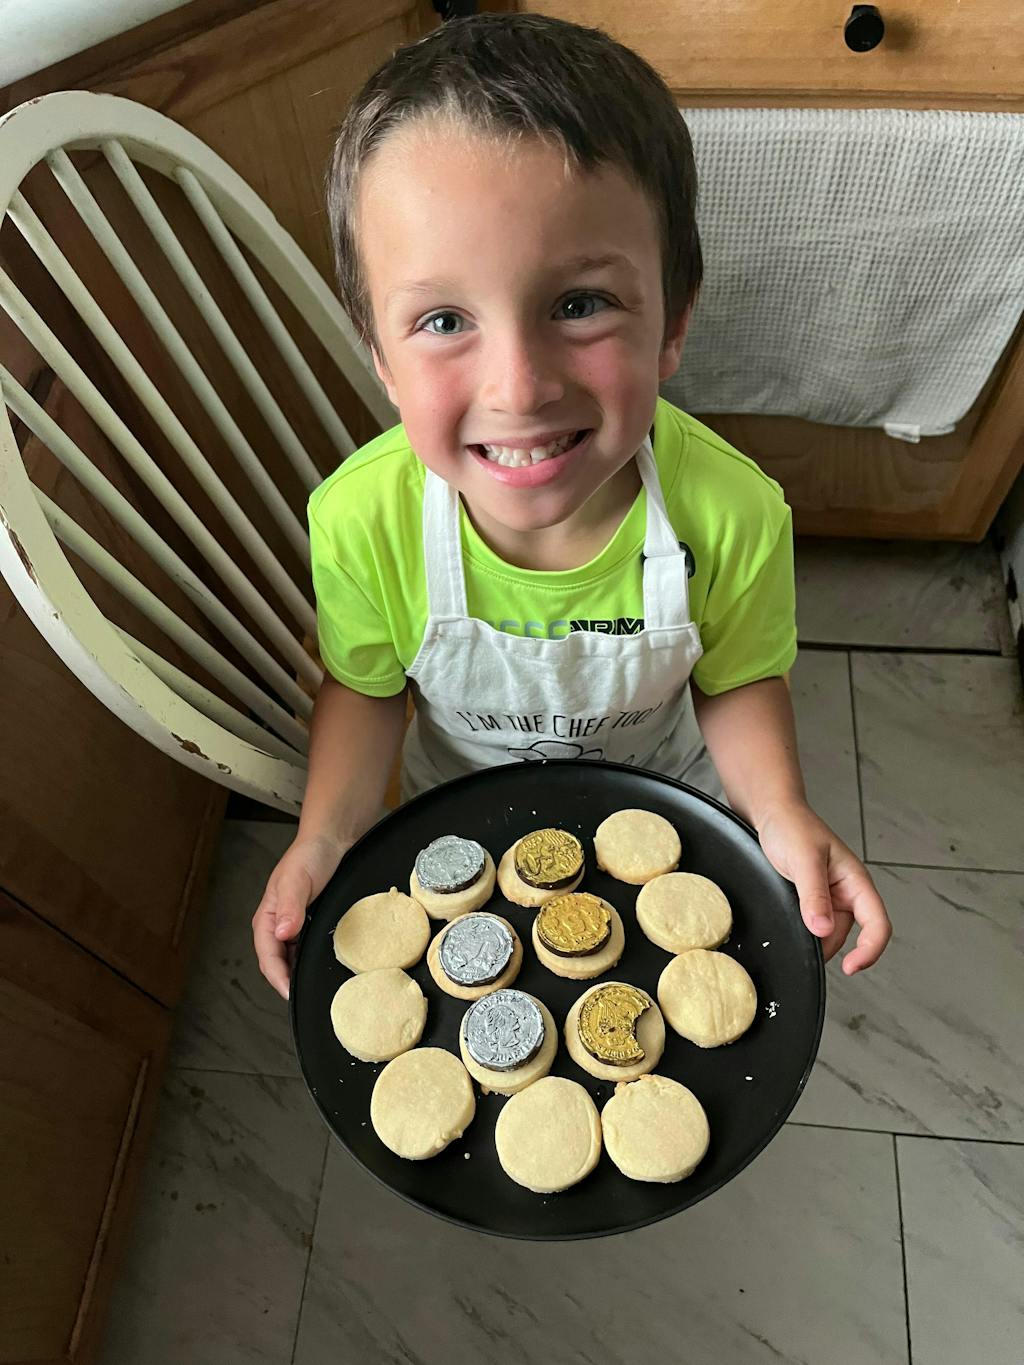
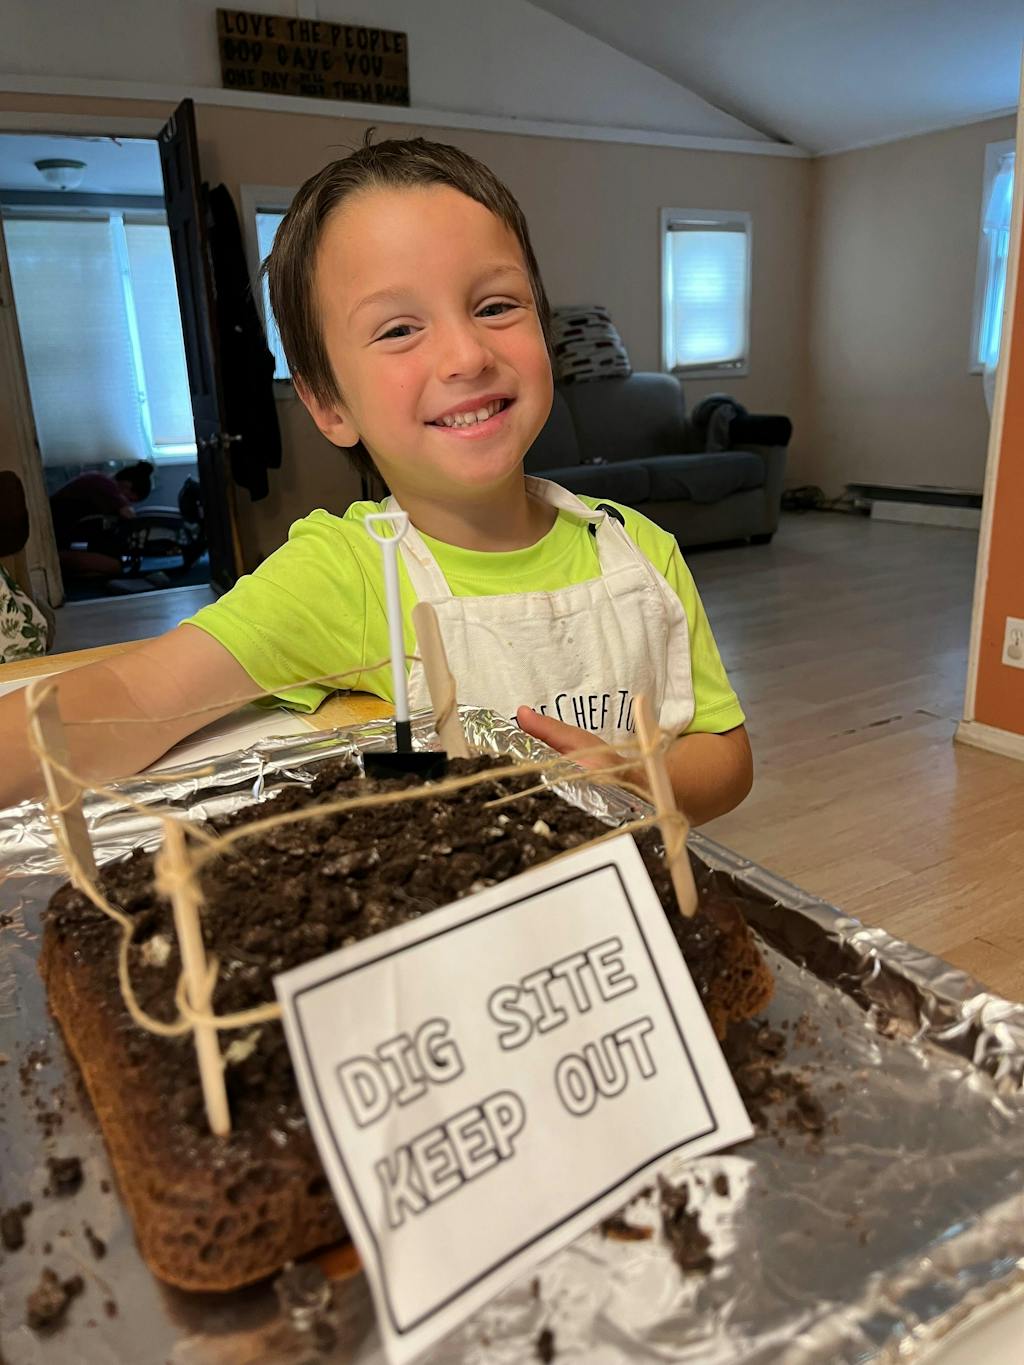
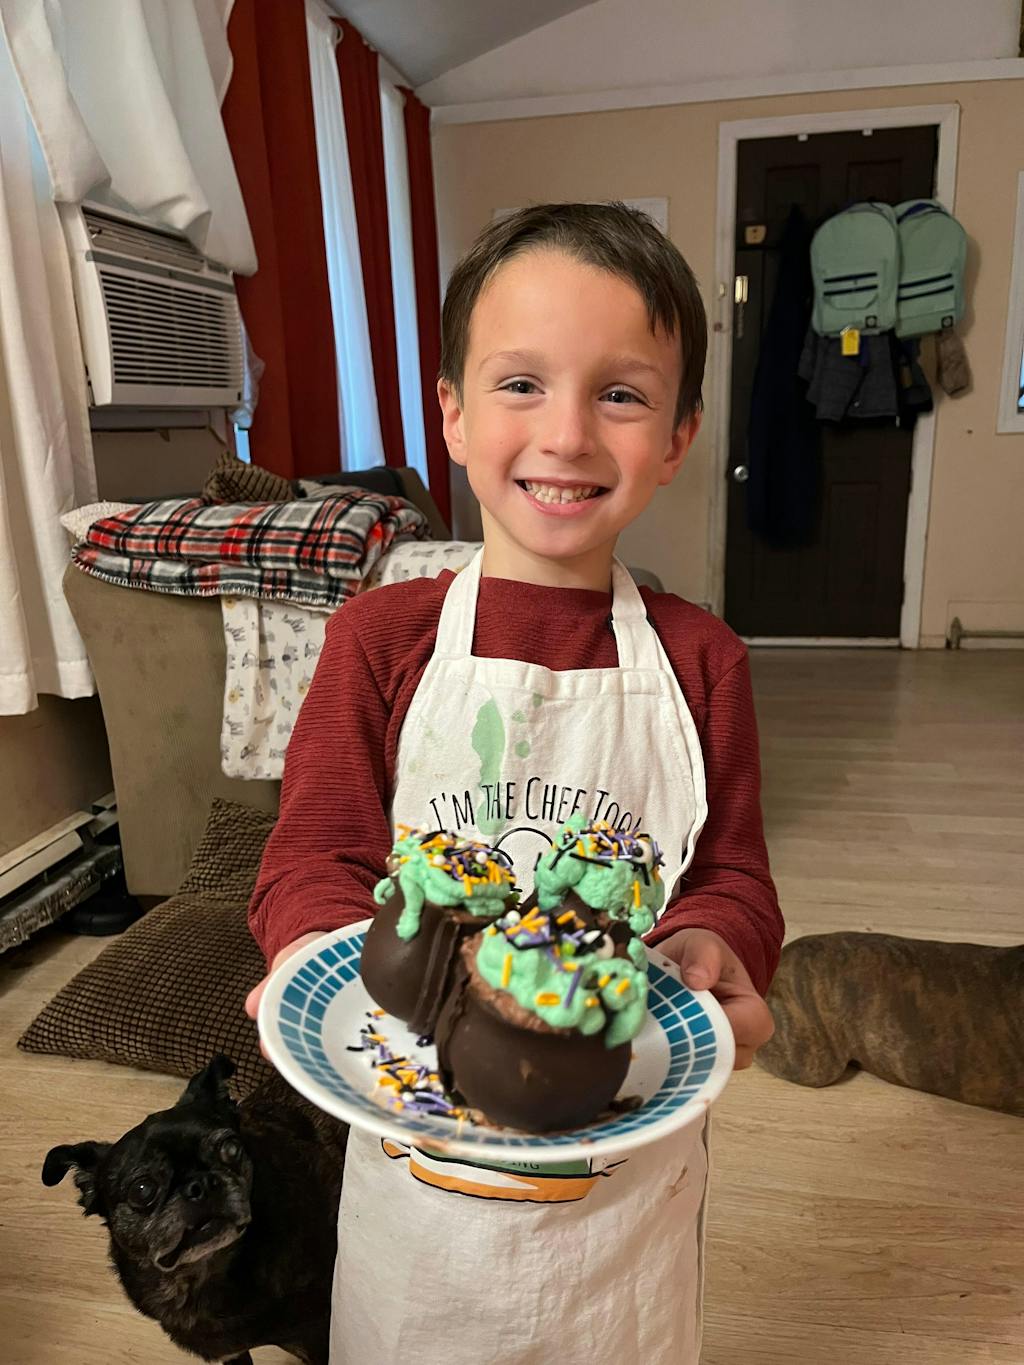
Expanding the Creative Horizons with I'm the Chef Too!
Just as a tie craft combines art, design, and fine motor skills, our I'm the Chef Too! kits take this multi-disciplinary approach to a whole new level by blending food, STEM, and the arts. We believe in providing unique "edutainment" experiences that spark curiosity and creativity, much like the imaginative possibilities we've explored with tie crafts. Our unique approach means teaching complex subjects through tangible, hands-on, and delicious cooking adventures developed by mothers and educators.
Think about it: when you're designing a tie, you're considering aesthetics, structure, and materials. When you're baking with I'm the Chef Too!, you're doing something similar, but with edible results!
- Design a "Delicious" Tie: Imagine a tie craft where the designs are made with edible elements! While perhaps not practical for everyday wear, consider a cookie shaped like a tie that kids can decorate with frosting "patterns" and sprinkle "textures." This directly connects the artistic design of a tie to the culinary arts, mirroring how we make learning about science and math delicious.
- Exploring Chemical Reactions and Geology: A tie craft might inspire a discussion about volcanoes. How about a tie decorated with erupting lava patterns? This naturally leads to hands-on experimentation, like our Erupting Volcano Cakes Kit! In this kit, children learn about chemical reactions (baking soda and vinegar creating fizz!) as they bake and decorate cakes that truly erupt. It's a perfect example of how a concept seen in a simple drawing can come to life through a delicious, scientific adventure.
- Astronomy and Art: If your child loves drawing planets and stars on their tie, they'll be captivated by our Galaxy Donut Kit. Here, they don't just draw a galaxy; they create an edible one! By mixing colors for frosting and strategically placing sprinkles and edible glitter, they explore astronomical concepts while engaging in artistic expression and culinary skills. It's hands-on astronomy you can eat!
- Character-Themed Learning: Even beloved characters can make learning fun, just like kids might draw their favorite cartoon on a tie. With our Peppa Pig Muddy Puddle Cookie Pies, children join Peppa in a muddy (but delicious!) adventure, learning about measurements and following recipes while bringing their favorite character to life in the kitchen. It shows how any theme can be an entry point for rich educational experiences.
These examples highlight how I'm the Chef Too! extends the benefits of hands-on creativity into the kitchen. We provide all the pre-measured dry ingredients and specialty supplies needed, ensuring convenience and making it easy for families to jump right into the fun. Our approach is about fostering a love for learning, building confidence in new skills, and creating joyful family memories that go beyond a single activity.
If your little designer loves bringing their creations to life, they'll be thrilled with the imaginative culinary adventures in our one-time kits. Browse our complete collection of delicious STEM cooking adventures to find the perfect theme for your little learner!
Conclusion
We've journeyed through the vibrant world of tie crafts for kids, uncovering how this seemingly simple activity is a powerful catalyst for growth, learning, and family bonding. From refining fine motor skills and sparking imaginative creativity to integrating fundamental concepts from science, technology, engineering, and mathematics with the arts, tie crafts offer immense educational value. They stand as a testament to the power of tangible, screen-free engagement, providing opportunities for self-expression and the immeasurable joy of giving a handmade gift.
At I'm the Chef Too!, our core philosophy mirrors this holistic approach: we blend food, STEM, and the arts into one-of-a-kind "edutainment" experiences, designed by mothers and educators. We are committed to sparking curiosity and creativity in children, facilitating family bonding, and providing screen-free educational alternatives that make learning delicious and exciting. Just as a child meticulously designs a tie, they engage in problem-solving and creative expression when baking our themed kits. We focus on fostering a love for learning, building confidence through hands-on success, and creating those irreplaceable family memories that truly last a lifetime.
Are you ready to transform ordinary moments into extraordinary learning adventures that arrive right at your doorstep? Give the gift of learning that lasts all year with a 12-month subscription to our STEM cooking adventures! Join The Chef's Club today and embark on a delicious journey of discovery every month, where every box is a complete experience, filled with pre-measured dry ingredients and specialty supplies. It's time to cook up some fun and foster a lifelong love for learning with I'm the Chef Too!
FAQ Section
What age are tie crafts suitable for?
Tie crafts are incredibly versatile and can be adapted for a wide range of ages.
- Toddlers (1-3 years): Focus on large, pre-cut tie shapes and simple activities like scribbling with chunky crayons, finger painting, or gluing large, safe embellishments (like large pom-poms or fabric scraps) with close supervision. Avoid small parts.
- Preschoolers (3-5 years): Introduce child-safe scissors for cutting along thick lines, more precise coloring, and gluing stickers or sequins. They can follow simple step-by-step instructions.
- Early Elementary (K-2nd Grade): Kids at this age can typically cut more complex shapes, engage in detailed coloring and painting, write short messages, and participate in making wearable ties. They can also start exploring more varied materials.
- Older Children (6+): They can design their own templates, work with more intricate embellishments, incorporate advanced artistic techniques (like shading or collage), and even experiment with different materials like fabric or origami.
Do I need special materials for tie crafts?
Not at all! One of the beauties of tie crafts is that they can be made with very basic household items. You likely already have paper, scissors, glue, and coloring tools. To enhance the experience, you might want to add fabric scraps, yarn, buttons, or glitter, but these are optional. The key is to be resourceful and creative with what you have.
How can I make tie crafts more educational?
- Incorporate STEM: Discuss shapes (geometry), patterns (math), material properties (science), and how to construct a wearable tie (engineering).
- Storytelling: Ask children to draw a story on their tie, or decorate it with symbols that represent their interests or family history.
- Vocabulary: Introduce new art terms (e.g., symmetry, texture, primary colors) as you craft.
- Problem-Solving: Encourage children to think about how to fix "mistakes" or how to make their tie stand out.
- Cultural Exploration: Research traditional patterns or clothing from different cultures and incorporate those elements into a tie design.
Can tie crafts be done outside of Father's Day?
Absolutely! While Father's Day is a very popular occasion for tie crafts, they are wonderful for many other purposes:
- Birthdays: A personalized tie for anyone celebrating a birthday.
- Teacher Appreciation: A "Thank You" tie for a beloved teacher.
- Grandparents' Day: A special tie for Grandma or Grandpa.
- Classroom Decor: Ties can be used as bulletin board decorations, classroom labels, or to celebrate achievements.
- Dress-Up Play: Kids love to wear their creations!
- Just for Fun: Sometimes, the best crafts are done simply for the joy of creating and expressing oneself.
How can I store my child's tie crafts?
If the tie is a special keepsake, consider framing it, laminating it (especially if it's paper-based), or placing it in a clear plastic sleeve in a memory binder. For wearable paper ties, hanging them gently can help maintain their shape. Fabric ties can be folded and stored with other keepsakes. For a collection of ties, a designated "craft box" or an art portfolio can keep them organized and protected.
What if my child isn't interested in traditional ties?
No problem! The concept of a "tie" can be interpreted broadly.
- Bow Ties: Offer templates for bow ties, which are often perceived as playful and fun.
- Cravats/Ascots: Explore different neckwear styles.
- Abstract "Tie" Shapes: Encourage your child to design a unique, fanciful neck adornment that isn't strictly a traditional tie but draws inspiration from the idea of a decorative piece worn around the neck.
- Other Themed Crafts: If the tie shape isn't appealing, perhaps another themed craft would spark their interest. Our I'm the Chef Too! kits offer a wide range of themes, from science to fantasy, all delivered through delicious cooking adventures that are sure to engage any child's imagination. You can explore our full library of adventure kits available for a single purchase in our shop.