Awesome Cool Science Experiments for Kids

Table of Contents
- Introduction
- Why Hands-On Science Matters for Kids
- Kitchen Chemistry: Deliciously Fun Reactions
- Physics Fun: Forces, Motion, and Marvels
- Biological & Earth Science Adventures
- The Scientific Method: A Guide for Young Scientists
- Safety First: Essential Tips for At-Home Experiments
- Taking the Learning Further with I'm the Chef Too!
- Conclusion
- FAQ: Your Science Experiment Questions Answered
Have you ever watched a child’s eyes light up with pure wonder, asking, "Why did that happen?" or "How does that work?" That spark of curiosity, that innate desire to understand the world around them, is the very heart of science. It’s not about memorizing complex formulas or sitting in a stuffy classroom; it’s about discovery, exploration, and the thrilling "aha!" moments that happen when you get your hands a little messy.
Here at I'm the Chef Too!, we believe that the best learning happens when it's fun, engaging, and delightfully delicious. Our mission is to blend food, STEM (Science, Technology, Engineering, and Math), and the arts into one-of-a-kind "edutainment" experiences that spark curiosity and creativity in children. We're committed to facilitating genuine family bonding and providing a screen-free educational alternative that truly captivates young minds. This post will delve into a fantastic world of cool science experiments for kids, showing you how everyday items can become tools for incredible scientific adventures right in your own home. Get ready to transform your kitchen into a laboratory and witness the magic of learning unfold!
Introduction
Imagine a rainy afternoon, the kids are restless, and the screens are calling their names. What if, instead, you could whisk them away on an adventure where potions bubble, colors dance, and hidden forces are revealed? This isn't just wishful thinking; it's the reality of hands-on science experiments. Children are natural scientists, constantly observing, questioning, and experimenting with their environment. Providing them with opportunities to explore scientific concepts through play not only nurtures this innate curiosity but also lays a strong foundation for future learning.
This blog post is your comprehensive guide to unlocking the wonders of science with cool science experiments for kids that are easy to set up, safe to conduct (with adult supervision, of course!), and incredibly impactful. We'll explore various scientific principles, from the fizzing reactions of chemistry to the fascinating forces of physics and the living wonders of biology. You’ll discover how simple household ingredients can lead to profound discoveries, making learning an unforgettable, joyful experience. Our goal is to empower you to create these memorable moments, fostering a love for learning that extends far beyond the kitchen table.
Why Hands-On Science Matters for Kids
Science isn't just a subject; it's a way of thinking, a method of inquiry that encourages observation, critical thinking, and problem-solving. For children, engaging in hands-on science experiments offers a multitude of benefits that go far beyond rote memorization.
First and foremost, hands-on activities make abstract concepts tangible. It’s one thing to read about acids and bases in a book; it’s another entirely to watch baking soda and vinegar react to create an erupting "volcano" that bubbles over with deliciousness, much like our Erupting Volcano Cakes kit. When children physically manipulate materials and observe real-time reactions, they build deeper, more meaningful connections to the scientific principles at play. This active engagement transforms learning from a passive reception of facts into an exciting process of discovery.
Furthermore, these experiences are powerful tools for fostering curiosity. When a child sees something unexpected happen – milk turning into "plastic" or a drawing floating on water – it naturally sparks questions: "Why did that happen?" "Can we try it again?" "What if we change something?" This inquisitive mindset is the cornerstone of scientific inquiry and a valuable life skill. It encourages children to ask "why," to explore possibilities, and to seek answers independently, building confidence in their ability to understand the world.
Hands-on science also significantly develops essential practical skills. Measuring ingredients for a chemical reaction, carefully pouring liquids for a density tower, or designing a structure for an egg drop challenge all require precision, fine motor control, and the ability to follow instructions. These are not just scientific skills but fundamental life skills that contribute to a child's overall development. Moreover, working on experiments together, whether with a parent, sibling, or friend, promotes collaboration, communication, and patience – all vital social-emotional skills.
At I'm the Chef Too!, we wholeheartedly embrace this philosophy. Our approach is unique: we teach complex subjects through tangible, hands-on, and delicious cooking adventures developed by mothers and educators. We understand the power of combining the joy of creating something edible with the thrill of scientific discovery. This fusion creates an unparalleled "edutainment" experience that keeps children engaged and excited about learning, providing a wonderful screen-free alternative for family time. The shared laughter, the surprising outcomes, and the delicious rewards create lasting memories and strengthen family bonds.
These experiments don't just teach science; they teach resilience, the value of observation, and the joy of discovery. They show children that learning is an exciting journey, not just a destination. Ready for a new adventure every month? Join The Chef's Club and enjoy free shipping on every box, bringing these incredible learning experiences right to your door.
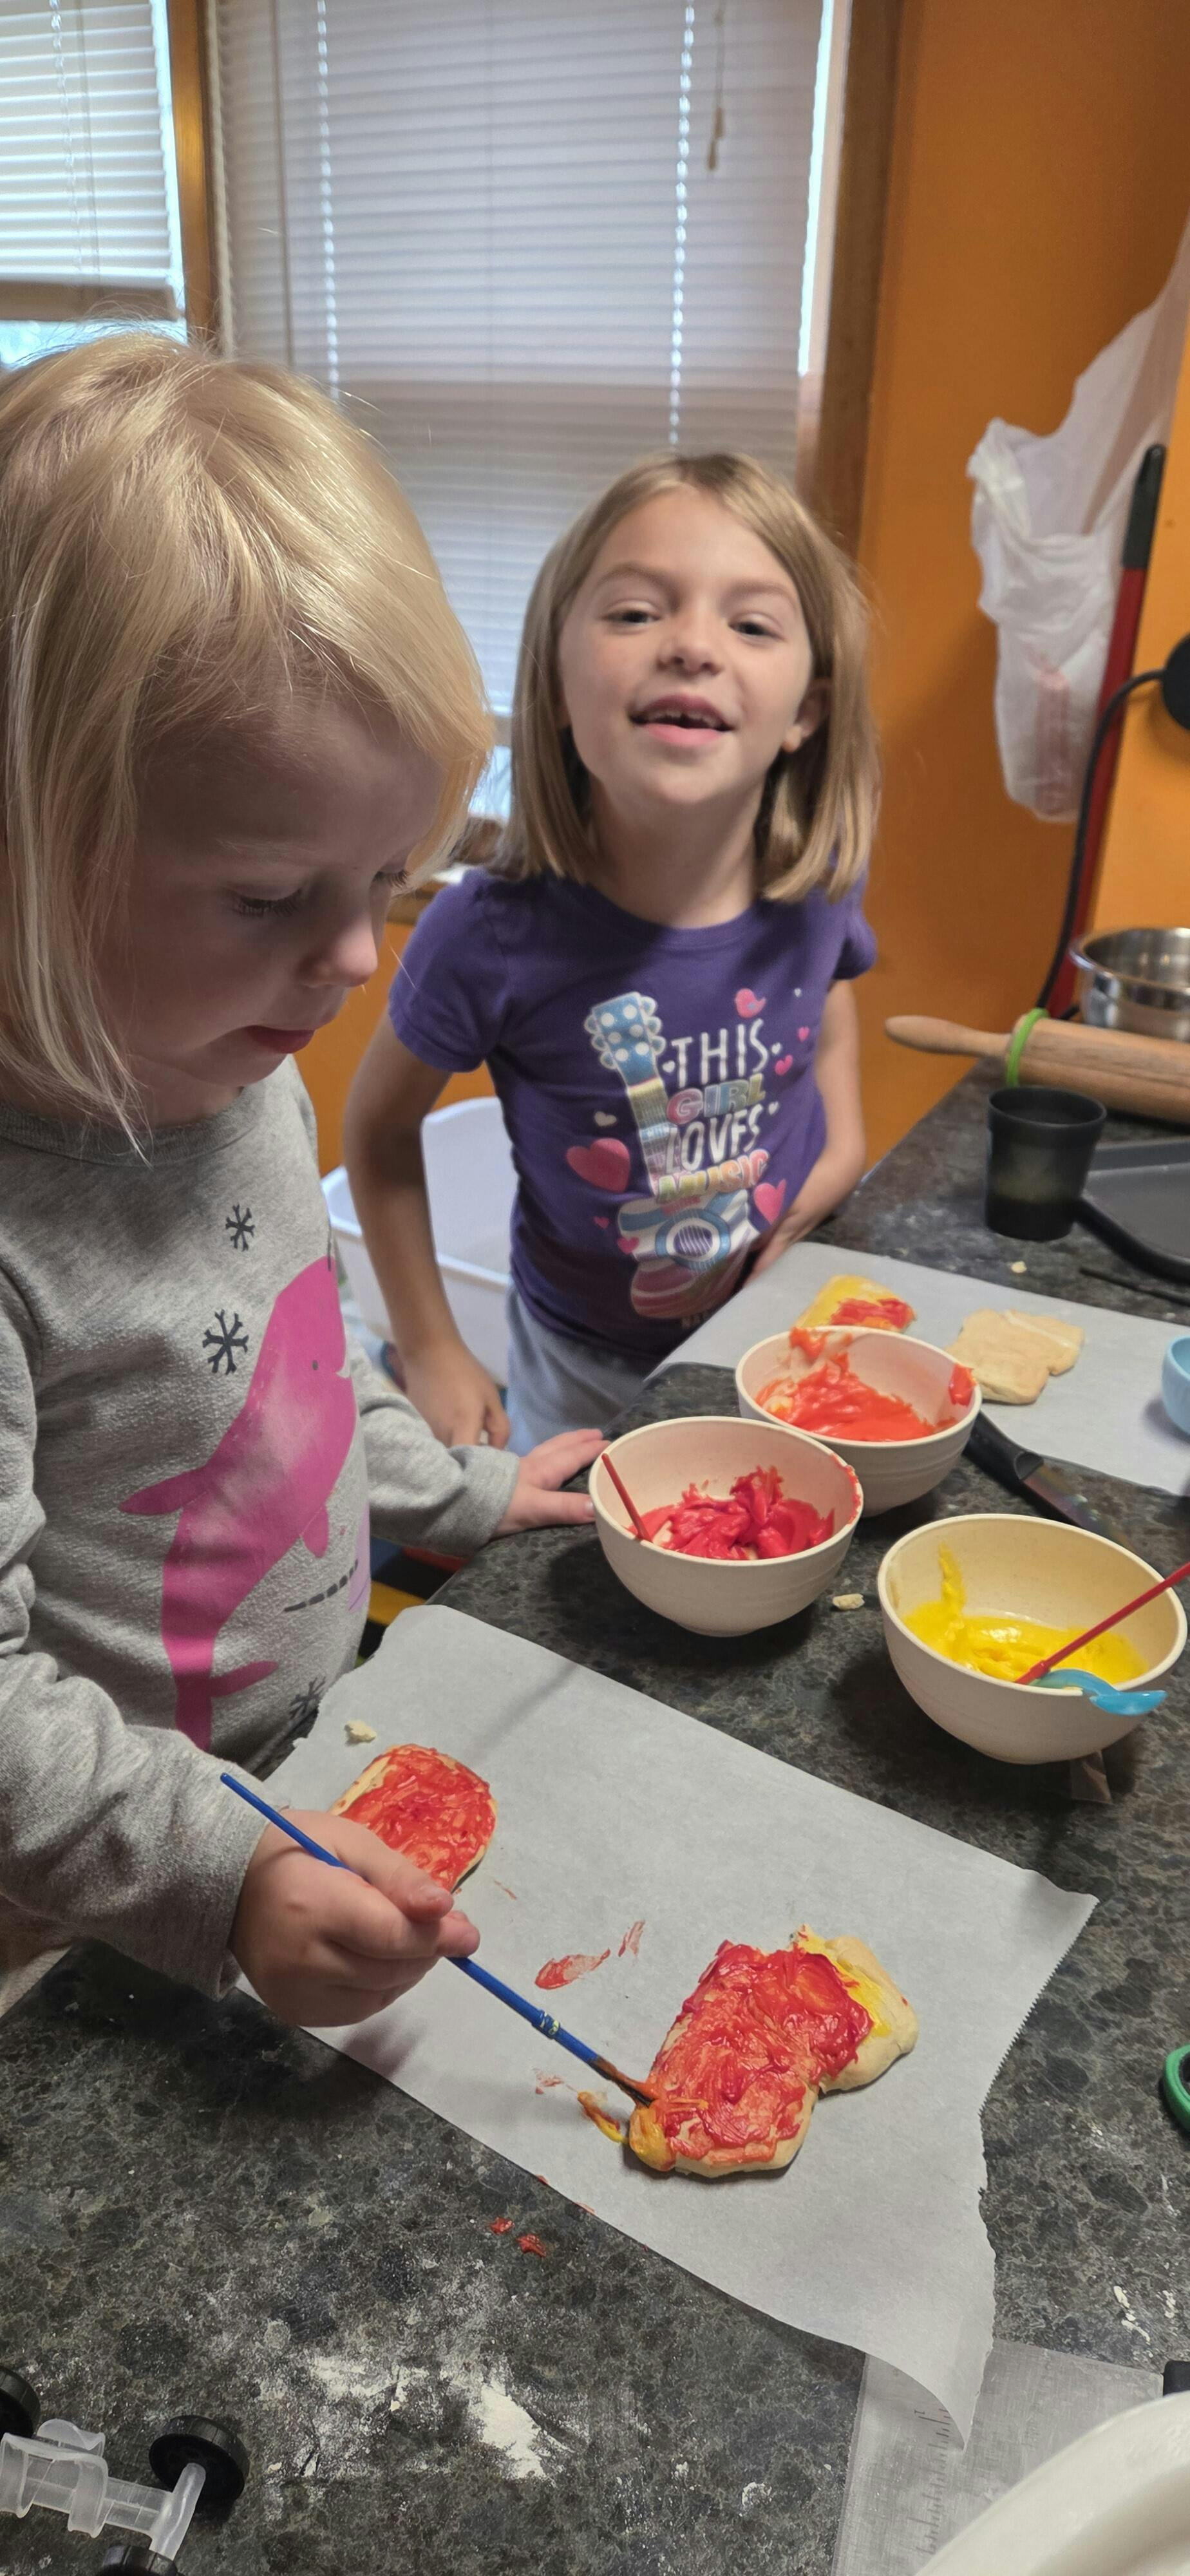
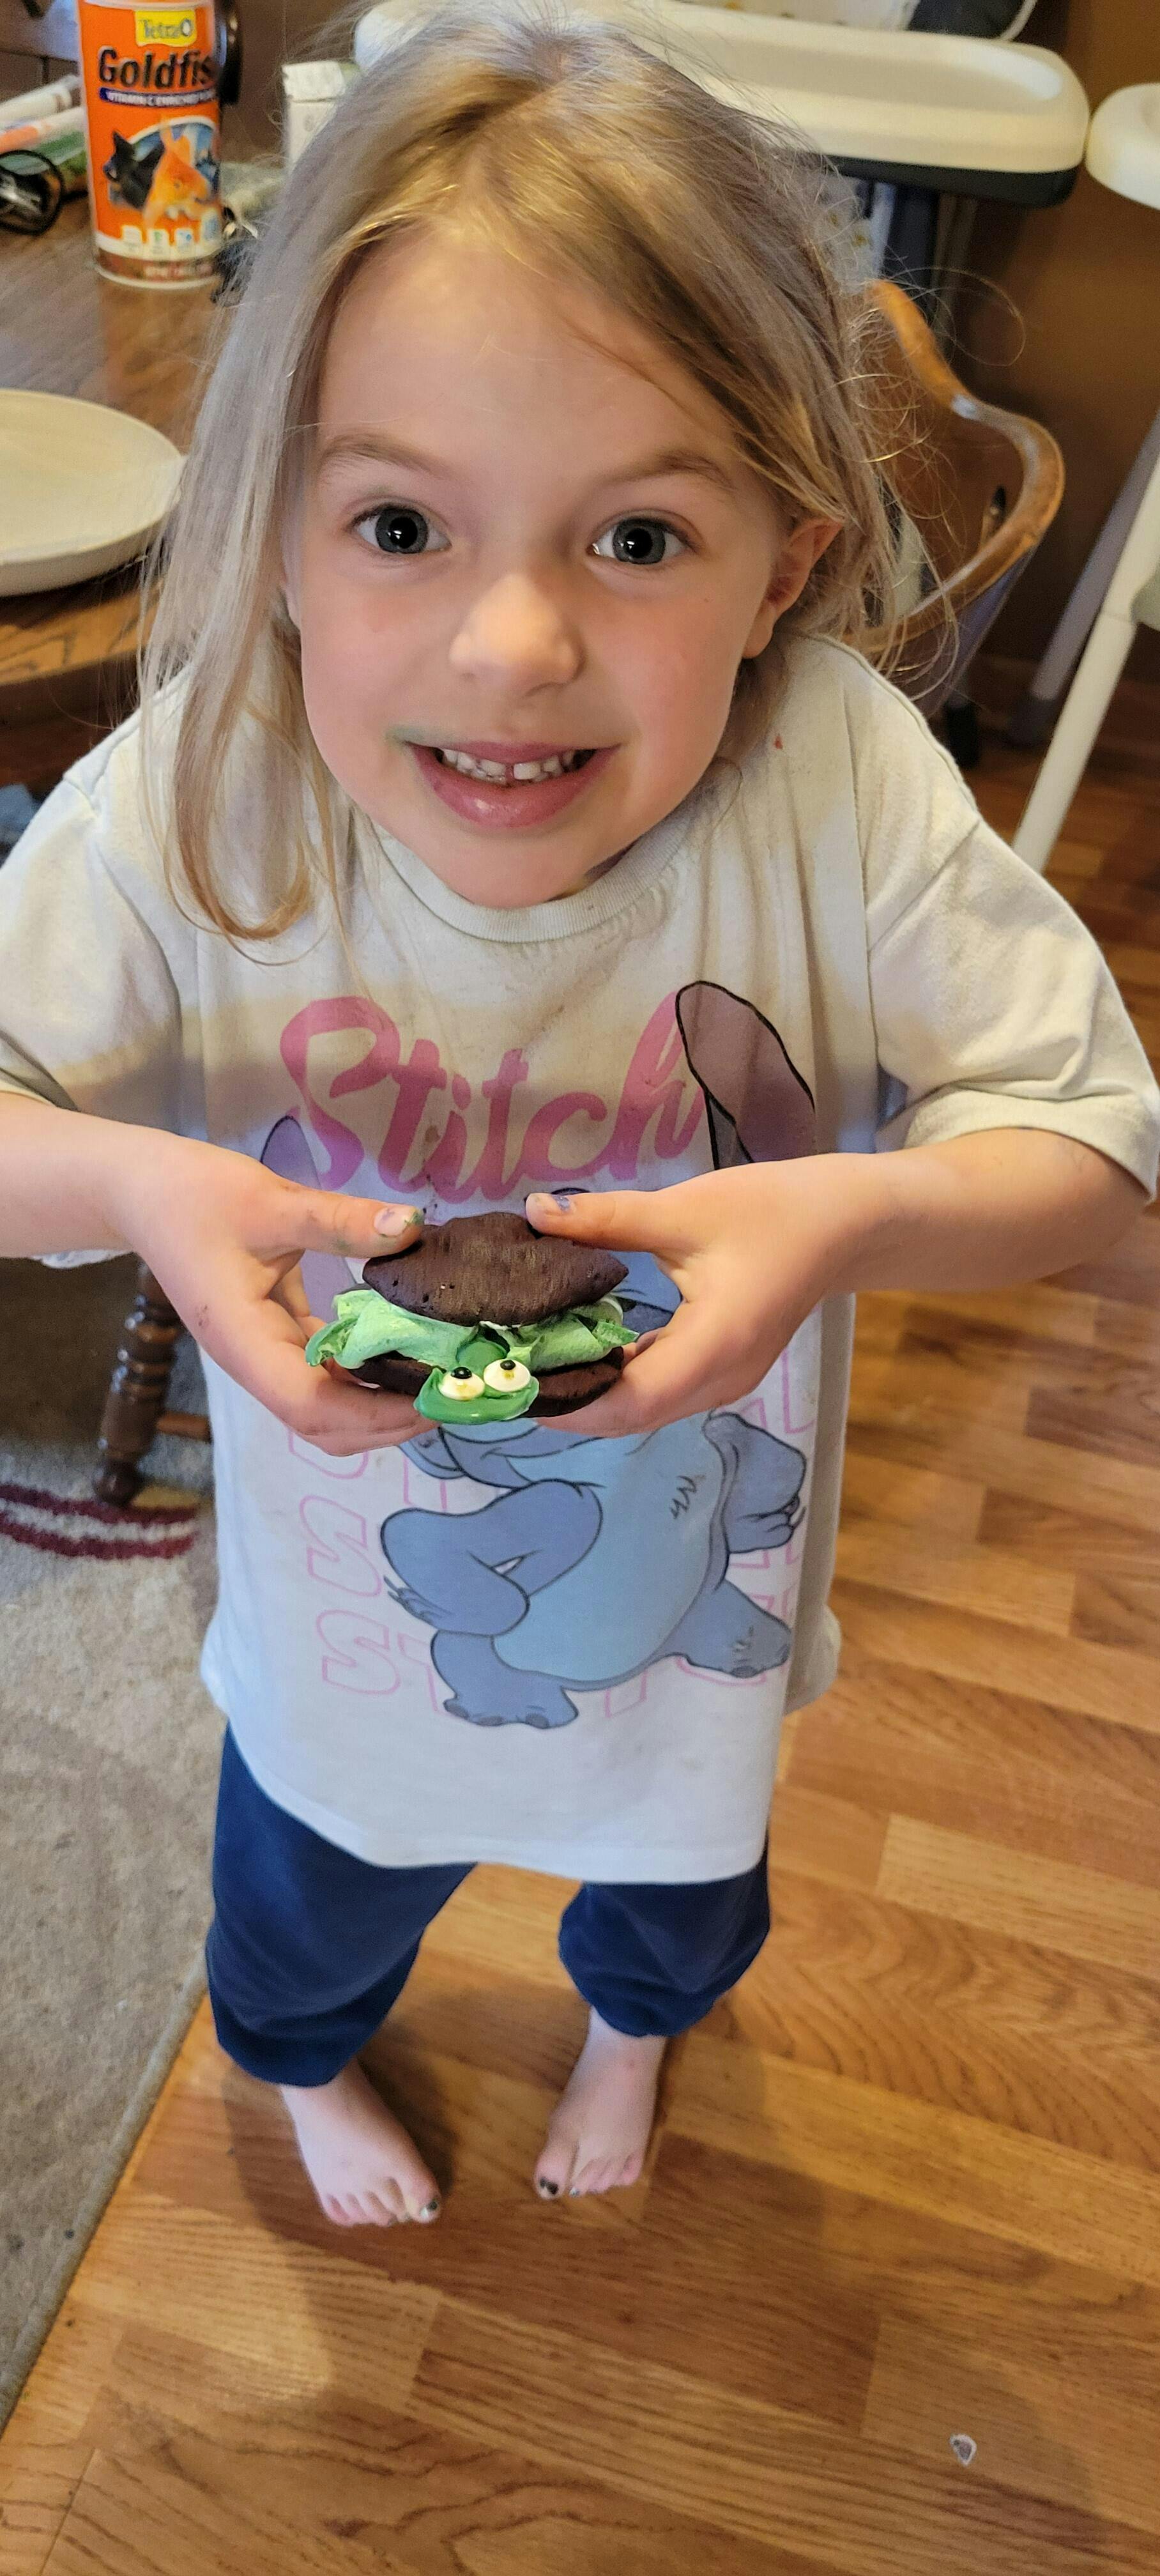
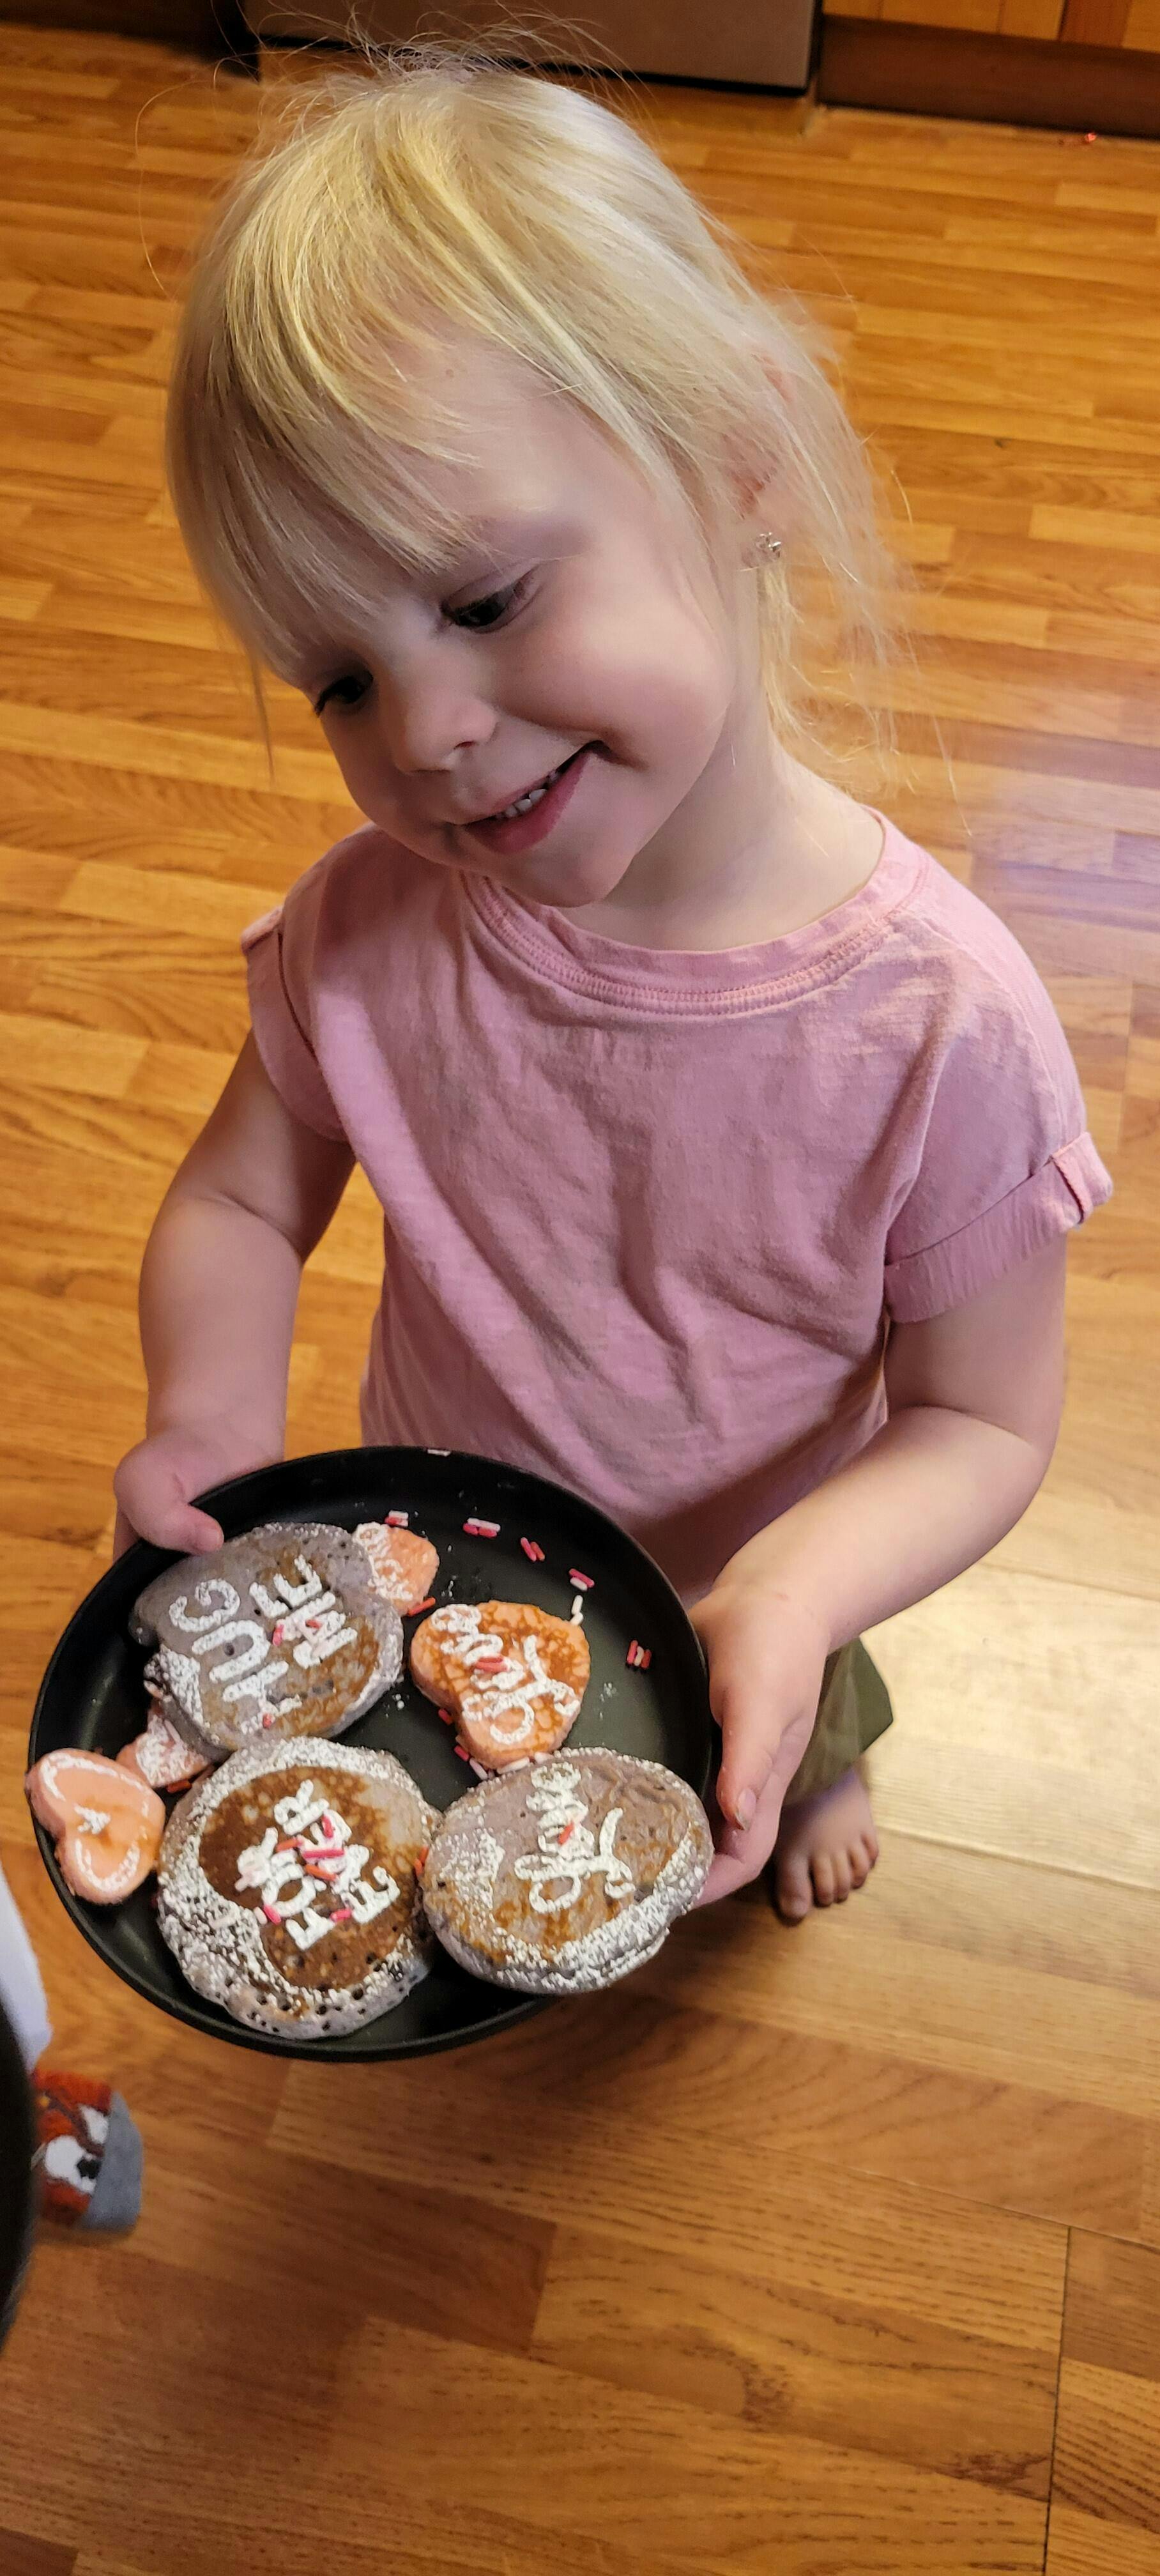
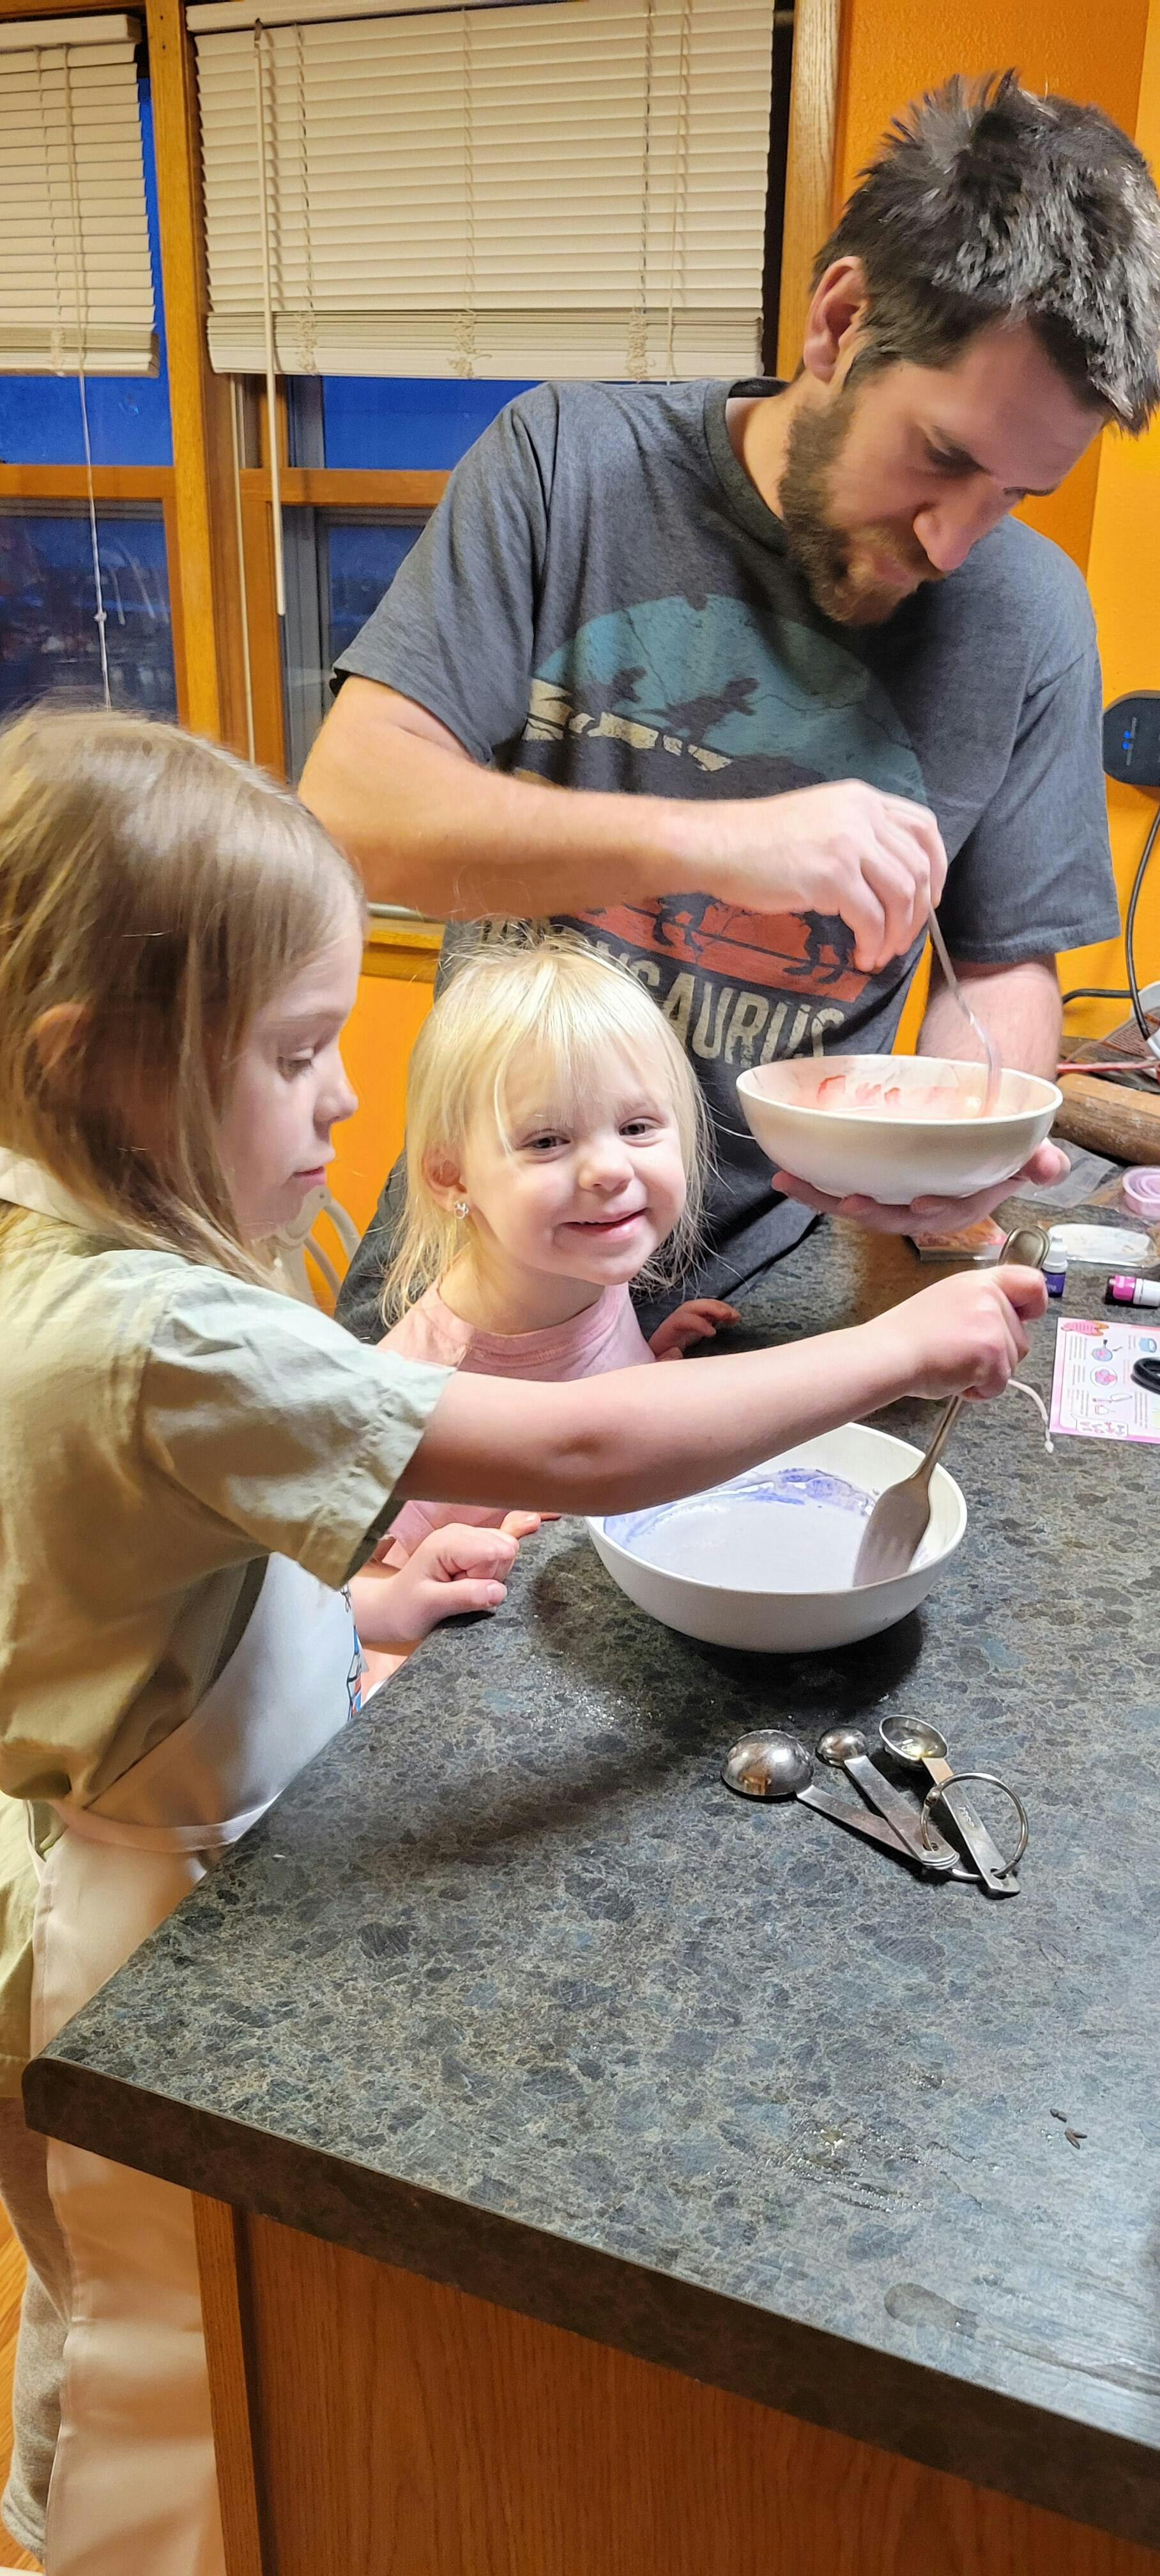
Kitchen Chemistry: Deliciously Fun Reactions
The kitchen is arguably the best science lab! It’s filled with everyday ingredients that can create spectacular chemical reactions, teaching kids about acids, bases, gases, and more, all while having a blast.
Volcanoes & Fizz: Acids, Bases, and Beyond
The classic baking soda and vinegar volcano is a rite of passage for any budding scientist, and for good reason! This simple yet dramatic reaction teaches fundamental chemistry concepts. Baking soda is a base (sodium bicarbonate), and vinegar is an acid (acetic acid). When they mix, they produce carbon dioxide gas, which causes the bubbling, fizzing, and "eruption."
How to make it happen: You’ll need:
- Baking soda
- Vinegar
- Dish soap (optional, but makes more foam!)
- Food coloring (optional, for visual effect)
- A container (a small bottle or cup inside a larger tray works well)
The experiment: Pour a few tablespoons of baking soda into your container. Add a squirt of dish soap and a few drops of food coloring if desired. Then, pour in the vinegar and watch the magic unfold! The gas rapidly expands, creating a foamy eruption.
What kids learn:
- Acid-Base Reactions: How different substances react when combined.
- Gas Production: Carbon dioxide is a gas that can't be seen but takes up space.
- Observation: Noticing changes, like fizzing, bubbling, and color changes.
I'm the Chef Too! Connection: Our Erupting Volcano Cakes kit takes this classic experiment to a delicious new level, allowing kids to bake and decorate their own edible volcanoes, then make them "erupt" with a tasty, fizzy reaction. It’s a perfect example of blending science with culinary arts!
Lava Lamps & Density Towers: Exploring Density
Density is a fascinating property of matter that explains why some things float and others sink. A homemade lava lamp or a colorful density tower is a visually stunning way to explore this concept. Density is essentially how much "stuff" is packed into a given space. Denser liquids sink below less dense liquids.
How to make a lava lamp: You’ll need:
- A clear bottle or jar
- Vegetable oil
- Water
- Food coloring
- Alka-Seltzer tablets (or similar effervescent tablets)
The experiment: Fill your bottle about two-thirds full with vegetable oil. Then, slowly add water until the bottle is nearly full. Notice how the water sinks to the bottom because it is denser than the oil. Add several drops of food coloring to the water. Finally, break an Alka-Seltzer tablet into a few pieces and drop them into the bottle. Watch as colored blobs of water rise and fall, creating a mesmerizing lava lamp effect. The Alka-Seltzer reacts with the water to produce carbon dioxide gas bubbles, which attach to the colored water droplets, making them less dense and rise. When the bubbles pop at the surface, the water becomes denser again and sinks.
How to make a density tower: You’ll need:
- A tall, clear glass
- Several liquids of varying densities (e.g., honey, corn syrup, dish soap, water, vegetable oil, rubbing alcohol)
- Food coloring for some layers
The experiment: Carefully pour each liquid into the glass, one by one, starting with the densest (honey) and moving to the least dense (rubbing alcohol). Pour slowly and gently down the side of the glass to prevent mixing. You can add food coloring to the water and rubbing alcohol for more distinct layers. Observe how the liquids stack up, creating a beautiful rainbow tower.
What kids learn:
- Density: Understanding that different liquids have different weights for the same volume.
- Immiscibility: Why oil and water don't mix.
- States of Matter (gas): How gas bubbles can affect density.
Magic Milk & Surface Tension Art: Molecular Interactions
This experiment is not only beautiful but also a fantastic way to introduce concepts like surface tension and molecular interactions.
How to make it happen: You’ll need:
- Milk (whole milk works best due to fat content)
- Food coloring
- Dish soap
- A shallow dish or plate
- Cotton swabs
The experiment: Pour enough milk into the shallow dish to cover the bottom. Let it sit undisturbed for a moment. Add several drops of different food colors to the surface of the milk, spreading them out slightly. Dip one end of a cotton swab into dish soap. Gently touch the soapy end of the cotton swab to the center of one of the food coloring drops. Watch the colors burst and swirl! Move the cotton swab to different spots to create new patterns.
What kids learn:
- Surface Tension: The "skin" on the surface of the milk that holds it together.
- Molecular Interactions: Dish soap breaks down the fat in the milk, reducing surface tension and causing the food coloring to spread as the fat molecules are pushed around.
- Observation & Creativity: The beautiful patterns encourage artistic expression alongside scientific observation.
Bouncy Eggs & Naked Eggs: Calcium Carbonate, Acid Reactions, and Osmosis
This multi-day experiment is a fantastic way to explore chemical reactions and the process of osmosis.
How to make it happen: You’ll need:
- Raw eggs
- White vinegar
- Clear glass or jar
- Corn syrup or salt water (for osmosis part)
The experiment (Part 1: Naked Egg): Carefully place a raw egg into a clear glass. Pour enough white vinegar over the egg to completely submerge it. You’ll immediately see small bubbles forming on the eggshell. Cover the glass loosely and let it sit for 24-48 hours. The vinegar (acetic acid) reacts with the calcium carbonate in the eggshell, dissolving it and releasing carbon dioxide gas (the bubbles!). After 24-48 hours, gently remove the egg from the vinegar. Rinse it carefully under running water, gently rubbing away any remaining shell residue. You'll be left with a "naked" egg, encased only by its semi-permeable membrane. It will feel squishy and bouncy!
The experiment (Part 2: Osmosis - Optional): Once you have your naked egg, you can place it in different liquids to observe osmosis (the movement of water across a semi-permeable membrane from an area of higher water concentration to lower water concentration).
- Place one naked egg in a glass of plain water: The egg will swell as water moves into it.
- Place another naked egg in a glass of corn syrup or very salty water: The egg will shrink as water moves out of it. Observe the changes over several hours or overnight.
What kids learn:
- Acid-Base Reactions: How vinegar dissolves calcium carbonate.
- Gas Production: The bubbles are carbon dioxide.
- Semi-Permeable Membranes: The membrane allows some substances (like water) to pass through, but not others.
- Osmosis: The movement of water to equalize concentration.
- Patience & Observation: This experiment requires waiting and careful observation over time.
Homemade Playdough & Slime: Polymers and States of Matter
These classic activities are more than just fun sensory play; they are excellent introductions to the chemistry of polymers and the fascinating concept of non-Newtonian fluids.
How to make playdough (cook-free version): You’ll need:
- 2 cups all-purpose flour
- 1/2 cup salt
- 2 tablespoons cream of tartar
- 2 tablespoons vegetable oil
- 1.5 cups boiling water
- Food coloring (optional)
- Essential oils (optional, for scent)
The experiment: In a large bowl, whisk together the flour, salt, and cream of tartar. Add the vegetable oil to the dry ingredients. Carefully pour in the boiling water and stir well with a spoon until combined. Add food coloring now if desired. Once the mixture is cool enough to handle, knead it thoroughly for about 5-10 minutes until it forms a smooth, elastic dough. Store in an airtight container.
What kids learn:
- Mixtures: Combining ingredients to create a new substance.
- Texture & Properties: Exploring how different ingredients affect the final texture.
- Sensory Play: Engaging multiple senses, which aids learning.
How to make slime (basic borax-free): You’ll need:
- 1/2 cup PVA glue (like Elmer's white glue)
- 1/2 cup water
- 1/2 teaspoon baking soda
- 1 tablespoon contact lens solution (must contain boric acid and sodium borate)
- Food coloring or glitter (optional)
The experiment: In a bowl, mix the glue and water until well combined. Stir in the baking soda until dissolved. Add food coloring or glitter if desired. Slowly add the contact lens solution, stirring constantly. You'll notice the mixture beginning to thicken and pull away from the sides of the bowl. Once it's too thick to stir, take it out and knead it with your hands for a few minutes until it reaches the desired slime consistency. If it's too sticky, add a few more drops of contact lens solution.
What kids learn:
- Polymers: Understanding that glue is a polymer (long chains of molecules) and the contact lens solution acts as an activator, cross-linking these chains to create the slime.
- Non-Newtonian Fluids: Slime is a perfect example! It behaves like both a solid and a liquid depending on the force applied (e.g., you can pull it slowly like a liquid, but it breaks if you snap it quickly like a solid).
- Chemical Reactions: Observing how two liquids combine to form a new, distinct substance.
Not ready to subscribe? Explore our full library of adventure kits available for a single purchase in our I'm the Chef Too! shop. You might find a kit perfectly suited for your next kitchen chemistry adventure!
Physics Fun: Forces, Motion, and Marvels
Physics is all about how things move, interact, and the forces that govern them. These experiments demonstrate principles like air pressure, buoyancy, inertia, and more, turning everyday objects into tools for incredible discoveries.
Balloon Rockets & Hovercrafts: Newton's Laws and Air Pressure
These activities are fantastic for demonstrating fundamental physics principles like Newton's Third Law of Motion (for every action, there is an equal and opposite reaction) and the power of air pressure.
How to make a balloon rocket: You’ll need:
- A long string or fishing line
- A straw
- A balloon
- Tape
The experiment: Thread the string through the straw. Tie one end of the string to a fixed object (like a chair or doorknob). Inflate the balloon but do not tie it off. While holding the balloon's opening closed, tape the straw to the top of the balloon. Pull the string taut and tie the other end to another fixed object, creating a "zip line" for your rocket. Release the balloon's opening and watch it zoom across the string!
What kids learn:
- Newton's Third Law: The air rushing out of the balloon (action) pushes the balloon forward (reaction).
- Propulsion: Understanding how rockets and jets move.
- Air Pressure: The compressed air inside the balloon creates the force.
How to make a simple hovercraft: You’ll need:
- An old CD
- A pop-top bottle cap (from a water bottle or sports drink)
- Hot glue gun (adult supervision required)
- A balloon
The experiment: Carefully hot glue the pop-top bottle cap to the center hole of the CD, ensuring a tight seal. Make sure the cap is closed. Inflate the balloon and twist the neck to keep the air in. Stretch the opening of the balloon over the pop-top bottle cap. Place the CD on a smooth, flat surface (like a table or tile floor). Open the pop-top cap and give the CD a gentle push. It will glide smoothly, almost as if it's floating!
What kids learn:
- Air Cushion: The air escaping from the balloon creates a thin layer of air between the CD and the surface, reducing friction.
- Friction: How friction normally slows things down and how reducing it allows for smoother movement.
- Engineering Design: Thinking about how to make something move more efficiently.
Dancing Popcorn & Floating Dry Erase Art: Buoyancy and Density
These experiments vividly illustrate the concepts of buoyancy (the ability to float) and density in engaging ways.
How to make dancing popcorn: You’ll need:
- Clear glass or jar
- Unpopped popcorn kernels
- Vinegar
- Baking soda
- Water
The experiment: Fill the glass about two-thirds full with water. Add a handful of popcorn kernels. They will sink to the bottom. Add a tablespoon of baking soda to the water and stir until dissolved. Now, slowly pour in about 1/4 cup of vinegar. Watch the kernels! As the vinegar and baking soda react, they produce carbon dioxide bubbles. These bubbles attach to the rough surfaces of the popcorn kernels, making them buoyant enough to rise. When the bubbles pop at the surface, the kernels sink again, creating a "dancing" effect.
What kids learn:
- Buoyancy: What makes objects float or sink.
- Density: How the addition of gas bubbles changes an object's effective density.
- Chemical Reactions: Another example of an acid-base reaction producing gas.
How to make floating dry erase art: You’ll need:
- A smooth ceramic plate or glass dish (must be very smooth)
- Dry erase markers (dark colors work best)
- Water
The experiment: Draw a simple picture or shape on the smooth surface of the plate with a dry erase marker. Let the drawing dry for about 10-15 seconds. Slowly and gently pour water onto the plate, starting from the edge and letting it flow under the drawing. As the water covers the drawing, the dry erase ink will lift off the plate and float on the surface of the water! You can even gently swirl the water to make your drawing "dance."
What kids learn:
- Solubility: Dry erase ink is not soluble in water, meaning it doesn't dissolve.
- Density: The ink is less dense than water, so it floats.
- Adhesion: The ink's special properties make it adhere to the smooth surface when dry, but release easily when water gets underneath.
Egg Drop Challenges & Paper Bridges: Engineering Principles
These challenges introduce basic engineering concepts like structural integrity, force distribution, and problem-solving through design.
Egg Drop Challenge: You’ll need:
- Raw eggs
- Various materials for protection (e.g., straws, tape, cotton balls, newspaper, plastic bags, small boxes)
- A high point to drop from (with adult supervision!)
The experiment: Challenge kids to design and build a protective "contraption" around a raw egg that will prevent it from breaking when dropped from a certain height. Encourage them to brainstorm ideas, sketch designs, and experiment with different materials. Test their designs by dropping them. Discuss what worked, what didn't, and why.
What kids learn:
- Impact Force: Understanding how force affects objects.
- Shock Absorption: How materials can cushion a fall.
- Engineering Design Process: Brainstorming, designing, building, testing, and redesigning.
- Problem-Solving: Identifying challenges and finding creative solutions.
Paper Bridge Challenge: You’ll need:
- Sheets of paper (printer paper or cardstock)
- Books or blocks (to act as supports)
- Pennies or small weights
The experiment: Set up two books or blocks a short distance apart. Challenge kids to build a bridge using only paper that can span the gap and hold as many pennies as possible. Encourage them to experiment with folding, rolling, or stacking the paper in different ways to increase its strength.
What kids learn:
- Structural Integrity: How shape and form affect strength (e.g., folds, tubes, and arches are stronger than flat sheets).
- Load Bearing: Understanding how structures support weight.
- Trial and Error: Learning from failures and refining designs.
This kind of hands-on exploration is exactly what we champion at I'm the Chef Too!. We believe in giving children the tools and inspiration to explore, create, and learn in a way that truly resonates with them. Browse our complete collection of one-time kits in our I'm the Chef Too! shop to find more exciting STEM and arts adventures!
Biological & Earth Science Adventures
Science isn't just about chemicals and forces; it's also about the living world around us and the planet we inhabit. These experiments bring biology, geology, and environmental science to life.
Growing Crystals & Crystal Candy: Saturation and Crystallization
Growing crystals is a mesmerizing process that demonstrates supersaturation and the formation of solid structures from a liquid solution.
How to grow salt crystals: You’ll need:
- Epsom salts (magnesium sulfate) or Borax (sodium borate)
- Hot water
- A clear jar or glass
- A string or pipe cleaner (for crystal growth)
- A pencil or stick
The experiment: Boil water. In the clear jar, add Epsom salts or Borax to the hot water, stirring constantly until no more dissolves (this is a supersaturated solution). Tie one end of the string or pipe cleaner to the pencil and rest the pencil across the top of the jar, so the string hangs down into the solution without touching the bottom or sides. Place the jar in a cool, undisturbed place. Over several hours or days, crystals will begin to form on the string.
What kids learn:
- Saturation & Supersaturation: Understanding how much solute can dissolve in a solvent.
- Crystallization: The process by which solid crystals form from a solution.
- Observation of Growth: Watching a physical change occur over time.
How to make crystal candy (Rock Candy): You’ll need:
- 2 cups sugar
- 1 cup water
- Food coloring (optional)
- Flavoring extract (optional)
- Wooden skewers or string with a paperclip weight
- Tall, narrow glass jars
The experiment: Heat the water in a saucepan until it boils. Gradually add sugar, stirring constantly, until it dissolves completely and the solution is clear (this is a supersaturated solution). Do not add any more sugar than will dissolve. Remove from heat and let cool slightly. Add food coloring and flavoring if desired. Dip your skewers or weighted string into the sugar solution and let them dry completely. This provides a "seed" for the crystals to grow on. Carefully pour the cooled sugar solution into the jars. Place the prepared skewers or strings into the jars, ensuring they don't touch the sides or bottom. Cover loosely and place in a cool, undisturbed spot. Over 1-2 weeks, sugar crystals will grow on the skewers/strings.
What kids learn:
- Supersaturation: The concept of dissolving more solute than normal at high temperatures.
- Crystal Growth: Observing how molecules arrange themselves into repeating patterns.
- Patience: This experiment requires a longer waiting period, teaching patience and delayed gratification.
Walking Water & Dyed Flowers: Capillary Action and Plant Biology
These vibrant experiments beautifully illustrate capillary action, a crucial process in plant biology.
How to make walking water: You’ll need:
- 7 clear glasses or jars
- Paper towels
- Red, yellow, and blue food coloring
- Water
The experiment: Arrange the seven glasses in a circle. Fill glasses 1, 3, 5, and 7 about two-thirds full with water. Leave glasses 2, 4, and 6 empty. Add red food coloring to glass 1, yellow to glass 3, blue to glass 5, and red to glass 7. Cut paper towels into long strips. Fold each strip in half lengthwise and then fold it again. Place one end of a paper towel strip into glass 1 (red) and the other end into glass 2 (empty). Repeat for glasses 2-3 (yellow), 3-4 (empty), 4-5 (blue), 5-6 (empty), and 6-7 (red). Over several hours, watch as the colored water "walks" up the paper towels and into the empty glasses, mixing to create new colors (orange, green, purple).
What kids learn:
- Capillary Action: The ability of a liquid to flow in narrow spaces against the force of gravity (due to adhesion and cohesion).
- Color Mixing: A fun, visual way to learn about primary and secondary colors.
- Observation: Noticing slow, gradual changes.
How to dye flowers: You’ll need:
- White flowers (carnations or daisies work best)
- Food coloring
- Vases or clear glasses
- Water
The experiment: Fill each vase/glass with water and add a generous amount of different food coloring to each. Trim the stems of the flowers at an angle. Place one flower in each colored water solution. Over 24-48 hours, the petals of the flowers will begin to change color as they absorb the dyed water. For an extra challenge, split the stem of a single flower partway up and place each split half into a different color to create a multi-colored flower!
What kids learn:
- Capillary Action in Plants: How plants draw water up through their stems to their leaves and flowers (transpiration).
- Plant Structure: Understanding the role of the stem in water transport.
- Observation of Biological Processes: Seeing a living organism change due to a scientific process.
Rain Cloud in a Jar & Make It Rain: The Water Cycle
Understanding the water cycle is fundamental to Earth science, and these experiments provide a miniature, observable model.
How to make a rain cloud in a jar: You’ll need:
- A clear jar or glass
- Shaving cream
- Blue food coloring
- Water
- Dropper or spoon
The experiment: Fill the jar about two-thirds full with water. Top the water with a thick layer of shaving cream (this will be your "cloud"). In a separate small bowl, mix a few drops of blue food coloring with a little water. Use the dropper or spoon to gently drip the colored water onto the shaving cream cloud. As the "cloud" becomes saturated with water, the colored water will start to "rain" down through the shaving cream into the water below.
What kids learn:
- Condensation: The shaving cream represents the cloud, where water vapor condenses.
- Precipitation: When the cloud becomes too heavy with water, it "rains."
- The Water Cycle (simplified): A visual representation of how rain forms.
Fossil Stamps & Moldy Apples: Decomposition and Paleontology
These experiments introduce concepts related to geology, biology, and the passage of time.
How to make fun fossil stamps: You’ll need:
- Air-dry clay or salt dough (see recipe above)
- Small objects with interesting textures (e.g., toy dinosaurs, leaves, shells, small rocks, plastic insects)
The experiment: Roll out a piece of clay or salt dough. Press your chosen objects firmly into the clay to make an impression. Carefully remove the objects to reveal your "fossil" imprints. Let the clay/dough dry completely. You can also make a salt dough with coffee grounds to give it a more "earthy" look, similar to what you might find in our Fudgy Fossil Dig kit (a hypothetical kit that blends geology with baking!).
What kids learn:
- Fossil Formation: How imprints of organisms can be preserved in sediment over time.
- Paleontology (introduction): The study of ancient life.
- Observation of Detail: Noticing the unique patterns and textures of different objects.
How to observe moldy apples: You’ll need:
- Apples (or bread, oranges)
- Plastic bags or clear containers
- Water (optional, to speed up mold)
The experiment: Place a slice of apple (or a piece of bread, or an orange slice) into a plastic bag or clear container. Seal it. For comparison, you can prepare another slice and leave it exposed to air, or add a few drops of water to one bag to see if it speeds up mold growth. Observe the apple daily over several days or a week. Note any changes in color, texture, and the appearance of mold.
What kids learn:
- Decomposition: The natural process of breaking down organic matter.
- Microbiology: Introduction to the concept of fungi (mold) and bacteria that cause decomposition.
- Environmental Factors: How moisture and air affect decomposition.
- Patience & Observation: Another experiment that unfolds over time.
These biological and earth science adventures are just a glimpse into the vast world of discovery awaiting your child. They help connect scientific principles to the natural world they experience every day. Give the gift of learning that lasts all year with a 3, 6, or 12-month subscription to our STEM cooking adventures. Join The Chef's Club today and let the educational fun begin!
The Scientific Method: A Guide for Young Scientists
While conducting cool science experiments for kids, it's a perfect opportunity to introduce them to the scientific method – the systematic approach scientists use to explore and explain phenomena. You don't need to use formal jargon; just guide them through the steps naturally.
Ask a Question: Sparking Curiosity
Every great scientific discovery begins with a question. Encourage your child to ask "why?" or "what if?"
- Example: "Why does the baking soda volcano fizz?" or "What if we use hot water instead of cold for the walking water experiment?"
Form a Hypothesis: Educated Guesses
A hypothesis is an educated guess or a prediction about what will happen. It's not about being right or wrong, but about thinking critically.
- Example: "I think the volcano fizzes because the vinegar is eating the baking soda," or "I predict the hot water will make the colors walk faster."
Experiment: Hands-On Exploration
This is the fun part – doing the actual experiment! Follow the steps carefully, but also encourage safe exploration and slight variations.
- Example: Gather your ingredients and follow the steps for your lava lamp. Try adding more or less Alka-Seltzer.
Observe & Record: Using Senses and Journals
Observation is key. Encourage children to use all their senses (sight, smell, touch – safely!) to note what's happening. Keeping a simple "science journal" where they can draw what they see, write down their observations, or even just describe them verbally, is incredibly valuable.
- Example: "The bubbles are really big!" or "The blue and yellow mixed to make green."
Analyze & Conclude: What Happened and Why?
After the experiment, discuss the results. Did their hypothesis match the outcome? Why or why not? Help them connect their observations to the underlying scientific principles.
- Example: "The volcano fizzed because the vinegar and baking soda made a gas called carbon dioxide. That gas needed space, so it pushed the liquid out!"
Iterate: What's Next?
Science is an ongoing process. Encourage them to think about what they would do differently next time, or what new questions arose from the experiment.
- Example: "Now that we know how density works with oil and water, what other liquids could we try in our density tower?"
By guiding children through these steps, even informally, you're not just doing an experiment; you're teaching them a powerful way to approach problems, think critically, and satisfy their natural curiosity.
Safety First: Essential Tips for At-Home Experiments
While cool science experiments for kids are incredibly fun and educational, safety should always be the top priority. Most kitchen-based experiments are safe, but adult supervision is crucial.
Here are some essential safety tips to keep in mind:
- Adult Supervision is Key: Never leave children unattended during experiments, especially those involving heat, sharp objects, or chemicals (even common household ones).
- Read Instructions Carefully: Before starting any experiment, read through all the steps. Make sure you understand them and have all necessary materials.
- Wear Protective Gear: For messy or potentially splashy experiments, encourage children to wear old clothes, an apron, or even a lab coat (they often love this!). Safety goggles are a great idea for any experiment involving liquids that might splash or reactions that produce gas.
- Designate a "Science Zone": Choose a dedicated area for experiments, preferably one that's easy to clean, like a kitchen counter or a table covered with newspaper or a plastic tablecloth.
- Know What's Edible and What's Not: Many science experiments use food ingredients, but not all experiments are meant to be tasted. Make it clear to children which parts are for eating and which are strictly for observing. For instance, while our Galaxy Donut Kit is entirely edible and helps kids explore astronomy, a homemade lava lamp is definitely not!
- Handle Chemicals (Household) with Care: Even common household items like vinegar, baking soda, and dish soap should be handled responsibly. Avoid direct contact with eyes, and wash hands thoroughly after the experiment.
- Proper Cleanup and Disposal: Know how to safely clean up any spills and dispose of experimental materials. Most kitchen experiments can go down the drain, but always check if specific instructions are given.
- Keep a First Aid Kit Handy: Just in case of minor cuts or scrapes, it's always good to have a basic first aid kit nearby.
By following these simple guidelines, you can ensure that your cool science experiments for kids are not only educational and engaging but also safe and worry-free, allowing everyone to focus on the joy of discovery.
Taking the Learning Further with I'm the Chef Too!
We hope this deep dive into cool science experiments for kids has sparked your imagination and given you plenty of ideas for hands-on learning at home. At I'm the Chef Too!, we are passionate about making learning an adventure, blending the excitement of discovery with the joy of creating delicious treats. Our unique approach allows children to explore complex STEM subjects, from the chemistry of baking to the engineering of structures, all through tangible, hands-on, and utterly delicious cooking experiences.
Our kits are developed by mothers and educators who understand the importance of sparking curiosity, fostering creativity, and facilitating meaningful family bonding. We believe in providing screen-free educational alternatives that truly captivate young minds and make learning an unforgettable journey. Each I'm the Chef Too! box is a complete experience, containing pre-measured dry ingredients and specialty supplies, making it incredibly convenient for busy families. Imagine a parent looking for a screen-free weekend activity for their 7-year-old who loves beloved characters – our Peppa Pig Muddy Puddle Cookie Pies kit could be the perfect solution, blending fun characters with baking and simple science!
Whether your child is fascinated by erupting volcanoes, the mysteries of outer space with our Galaxy Donut Kit, or the magic of crystal growth, our kits offer a structured yet creative way to explore these topics. We focus on the benefits of the process: fostering a love for learning, building confidence through successful creations, developing key motor and cognitive skills, and creating joyful family memories that last a lifetime.
Ready to bring a new adventure to your door every month? Join The Chef's Club and enjoy free shipping in the US on every box! It's the perfect way to ensure a steady supply of exciting, educational, and delicious activities. We offer flexible 3, 6, and 12-month pre-paid plans, perfect for gifting or long-term enrichment. Don't let the learning stop – let us help you continue to ignite that spark of curiosity in your child!
Conclusion
The world is a magnificent laboratory, and children are its most enthusiastic scientists. Engaging in cool science experiments for kids is more than just a way to pass the time; it's an investment in their development, fostering critical thinking, problem-solving skills, and an enduring love for learning. From the fizzing reactions of kitchen chemistry to the hidden forces of physics and the wonders of the natural world, every experiment offers a chance for a new discovery, a new "aha!" moment, and a new reason to ask "why?"
At I'm the Chef Too!, we are dedicated to making these discoveries accessible, engaging, and incredibly fun. Our unique blend of food, STEM, and arts provides a hands-on, screen-free way for children to explore complex concepts, build confidence, and create cherished memories with their families. We believe that learning should be an adventure, filled with wonder, creativity, and delicious outcomes.
So, gather your ingredients, put on your metaphorical lab coats, and prepare for a journey of discovery. The joy on your child's face as they witness a scientific principle in action is truly priceless. Take the next step in nurturing their inner scientist and creating unforgettable family moments.
Ready to embark on a culinary and scientific adventure every month? Don't miss out on the fun, learning, and deliciousness! Join The Chef's Club today and let us deliver the magic of "edutainment" right to your doorstep.
FAQ: Your Science Experiment Questions Answered
Q1: What age are these cool science experiments for kids suitable for?
A1: Most of the experiments mentioned are suitable for preschoolers (with significant adult assistance) through elementary school-aged children (ages 4-10). The level of understanding and independence will vary with age. Younger children will enjoy the sensory experience and visual results, while older children can delve deeper into the scientific principles and engage more in the hypothesis and observation stages. Always ensure adult supervision, regardless of age.
Q2: Do I need special equipment for these experiments?
A2: Not at all! A major benefit of these cool science experiments for kids is that they primarily use common household items and kitchen ingredients. You'll find most of what you need in your pantry, refrigerator, or recycling bin. Basic items like clear glasses, bowls, spoons, food coloring, baking soda, vinegar, and dish soap are frequently used.
Q3: How can I make these experiments more educational for my child?
A3: To maximize the educational value, encourage your child to engage with the scientific method. Before starting, ask them: "What do you think will happen?" (Hypothesis). During the experiment, prompt them with: "What do you see happening?" "What do you hear/feel?" (Observation). After, discuss: "Why do you think that happened?" "What did we learn?" (Analysis/Conclusion). You can also encourage them to draw or write about their observations in a simple "science journal."
Q4: Are I'm the Chef Too! kits suitable for beginners, or do they require prior science knowledge?
A4: Our I'm the Chef Too! kits are designed for all levels, especially beginners! We believe in making STEM accessible and fun. Each kit comes with easy-to-follow, step-by-step instructions, and all the pre-measured dry ingredients and specialty supplies you need. No prior science knowledge is required; we guide you and your child through the entire "edutainment" experience, explaining the scientific principles in simple, engaging terms as you go.
Q5: How messy are these experiments, and how can I minimize cleanup?
A5: Some science experiments can be messy, which is part of the fun! To minimize cleanup, we recommend setting up your "science zone" in an area that's easy to wipe down, like a kitchen counter, or by covering your workspace with newspaper, a plastic tablecloth, or an old sheet. Having paper towels, sponges, and a trash can nearby is also helpful. For our I'm the Chef Too! kits, we provide pre-measured dry ingredients, which helps reduce spills and waste compared to measuring from large containers.
Q6: What if an experiment doesn't work as expected?
A6: That's science! Sometimes experiments don't go as planned, and that's a valuable learning opportunity. Use it as a chance to troubleshoot: "What do you think went wrong?" "Did we follow all the steps?" "Could we try a different amount of an ingredient?" This teaches resilience, problem-solving, and the iterative nature of scientific inquiry.
Q7: Can I adapt these experiments for a group setting, like a classroom or party?
A7: Absolutely! Many of these cool science experiments for kids are perfect for groups. For larger groups, you might prepare materials in advance or set up multiple stations for different experiments. For educational institutions or larger groups, I'm the Chef Too! also offers programs for schools and groups, available with or without food components, to bring our unique hands-on STEM adventures to your classroom, camp, or homeschool co-op.