Table of Contents
- Introduction
- The Developmental Power of Crafting
- Essential Supplies for Your Bunny Crafting Station
- 1. The Classic Cotton Ball Paper Plate Bunny
- 2. Paper Bag Bunny Puppets
- 3. The "Bunny Butt" Paper Plate Craft
- 4. Nature-Inspired Leafy Bunnies
- 5. Toilet Paper Roll Bunny Family
- 6. Handprint Bunny Cards
- 7. Fork-Painted Fluffy Bunnies
- 8. Egg Carton Bunny Cups
- 9. Footprint Bunny Art
- 10. Shape Bunny: A Math-Meets-Art Project
- 11. Masking Tape Resist Bunny
- 12. Paper Plate Bunny Mask
- 13. Sticky Contact Paper Bunny
- 14. Salt Dough Bunny Ornaments
- 15. Cupcake Liner Bunnies
- 16. Doily Bunny Craft
- 17. Fingerprint Carrot & Bunny Garden
- 18. Cardboard Box Bunny Tunnel
- 19. Spatula-Painted Bunnies
- 20. Yarn-Wrapped Bunny Silhouettes
- 21. Sponge-Stamped Bunnies
- 22. Pom-Pom Popping Bunnies
- 23. Felt Board Bunnies
- 24. Cereal Box Bunny Mask
- 25. Edible Bunny Pancakes (The "Kitchen Craft")
- Fostering a Love for STEM Through Crafting
- Planning a "Bunny Day" for Your Toddler
- Safety First: A Note on Supervision
- Creating Joyful Family Memories
- FAQ: Frequently Asked Questions About Toddler Crafting
- Conclusion
Introduction
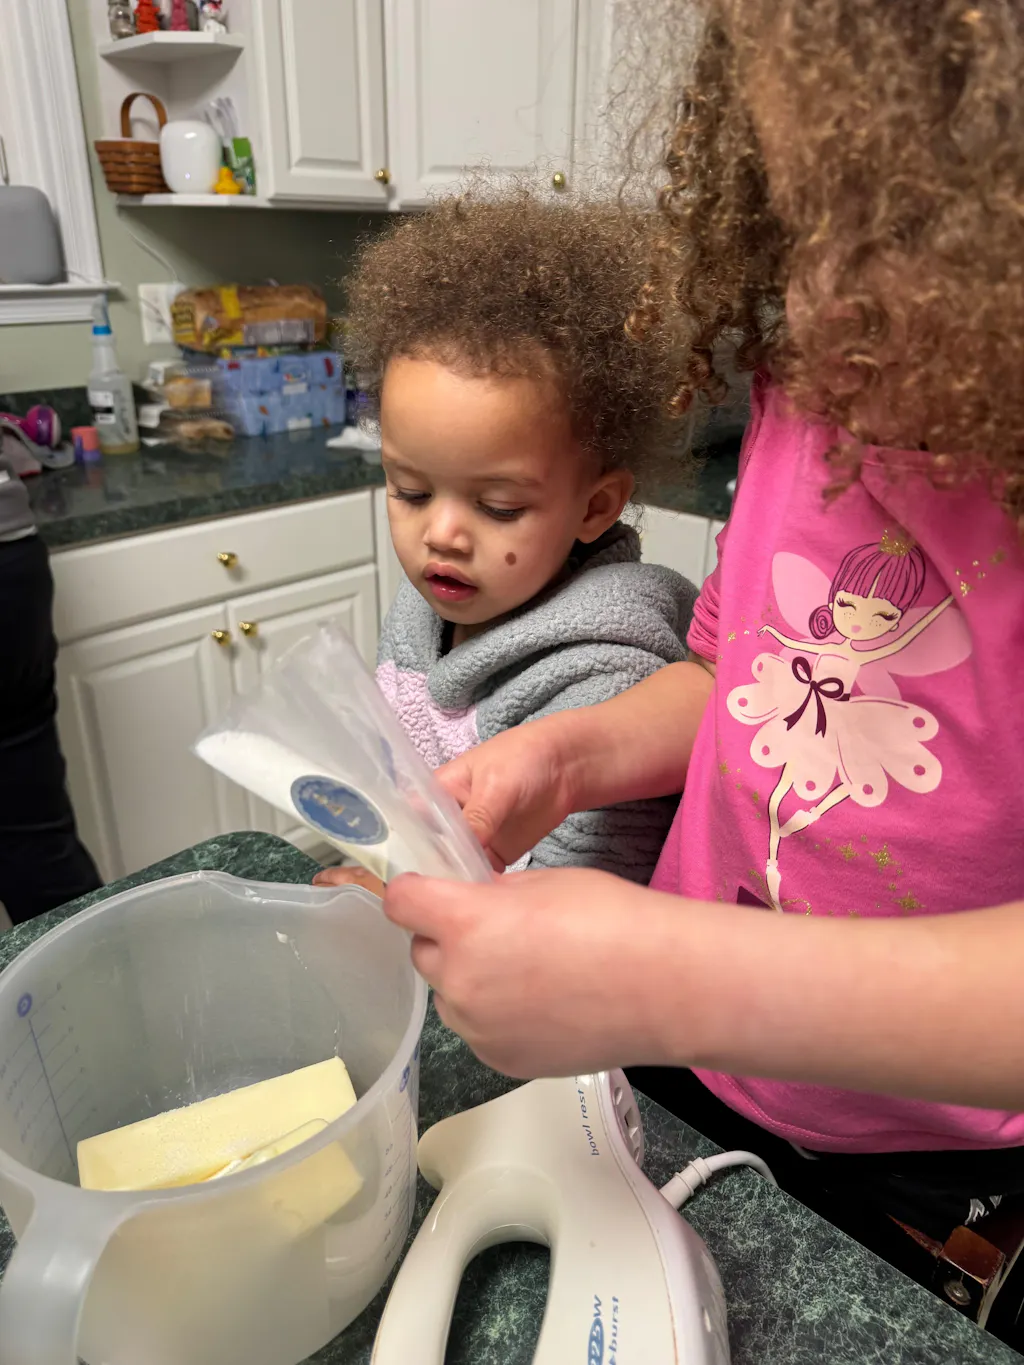
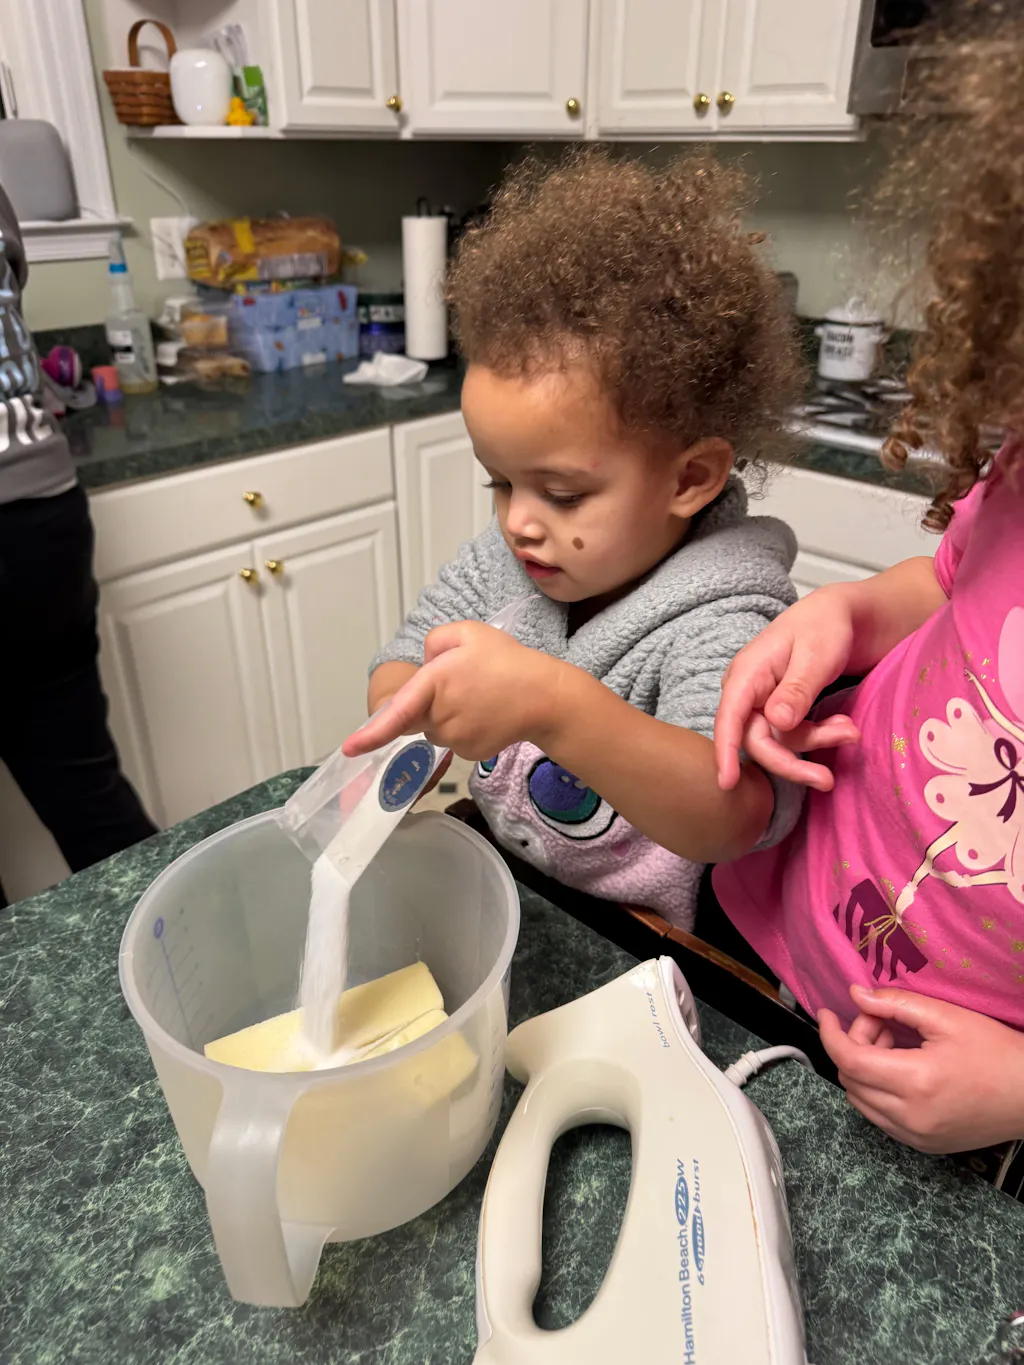
Have you ever watched the pure, unadulterated focus on a toddler's face when they are trying to press a single cotton ball onto a sticky glob of glue? It is a moment of profound discovery, where textures, cause-and-effect, and artistic expression all collide. As spring approaches and the world outside begins to bloom, there is no better way to celebrate the season of renewal than by bringing that same sense of wonder into your home. At I’m the Chef Too!, we believe that the best way to learn is by doing—whether that’s measuring flour for a cake or choosing the perfect shade of pink for a bunny’s ears.
The purpose of this guide is to provide you with a treasure trove of easter bunny toddler crafts that are not only fun but also deeply rooted in developmental benefits. We will cover everything from simple paper plate creations to nature-inspired art projects that get your little ones exploring the outdoors. Our mission is to blend food, STEM, and the arts into one-of-a-kind "edutainment" experiences, and these crafts are designed to spark that same curiosity and creativity. By the end of this post, you will have a full itinerary of screen-free activities that foster family bonding and create joyful memories.
We believe that every child is a natural-born explorer. Whether they are investigating the "hop" of a rabbit or the "fizz" of a chemical reaction, our goal is to facilitate a love for learning that lasts a lifetime. Ready for a new adventure every month? Join The Chef's Club and enjoy free shipping on every box. This blog post is your roadmap to a spring season filled with hands-on, "hoppy" adventures that your toddlers will absolutely love.
The Developmental Power of Crafting
Before we dive into our list of crafts, it is important to understand why these activities are so beneficial for your little learner. At I’m the Chef Too!, our kits are developed by educators and mothers who understand that play is the work of childhood. When a toddler engages in easter bunny toddler crafts, they aren't just making a decoration for the fridge; they are building the foundations of essential skills.
Fine Motor Skill Development
Every time a child uses a pair of safety scissors, peels a sticker, or pinches a pom-pom, they are strengthening the small muscles in their hands and fingers. These fine motor skills are the precursors to writing, buttoning clothes, and eventually, the precise measurements needed in the kitchen.
Sensory Exploration
Toddlers learn through their senses. Feeling the fluffiness of a cotton ball, the roughness of corrugated cardboard, or the smoothness of a river stone provides vital sensory input. This exploration helps their brains make sense of the world around them.
Cognitive Growth and Following Directions
Crafting often involves a sequence of steps. "First, we glue. Next, we press. Then, we wait." Learning to follow these simple instructions builds cognitive flexibility and patience. It’s the same logic we use when teaching kids to follow a recipe—a skill that builds confidence and a sense of accomplishment.
Essential Supplies for Your Bunny Crafting Station
To make your crafting sessions as stress-free as possible, we recommend putting together a "Bunny Craft Box." Having these items on hand ensures that when inspiration strikes (or when you just need a rainy-day activity), you’re ready to go.
- Paper Bases: Paper plates (white and colored), construction paper, cardstock, and brown paper lunch bags.
- Adhesives: Non-toxic school glue, glue sticks, and perhaps some double-sided tape for the trickier parts.
- Textures: Cotton balls, colorful pom-poms, pipe cleaners, and felt scraps.
- The "Faces": Googly eyes (various sizes), buttons, and yarn for whiskers.
- Coloring Tools: Washable markers, crayons, and finger paints.
- Natural Elements: Leaves, small twigs, and flowers collected from your backyard.
- Recyclables: Empty toilet paper rolls, egg cartons, and cereal boxes.
If you find that your child loves these tactile experiences, they might also enjoy exploring astronomy by creating their own edible solar system with our Galaxy Donut Kit. It’s a wonderful way to transition from paper crafts to the delicious world of STEM in the kitchen!
1. The Classic Cotton Ball Paper Plate Bunny
This is the quintessential easter bunny toddler crafts project for a reason. It is highly sensory and results in an adorable, fluffy bunny that toddlers love to pet.
Instructions:
- Provide your toddler with a sturdy white paper plate.
- Spread a thin layer of glue across the entire surface.
- Let them press cotton balls all over the plate until it’s completely covered.
- Cut two long ear shapes out of white cardstock and two smaller pink "inner ear" shapes.
- Have your child glue the pink shapes onto the white ones, then attach them to the top of the plate.
- Finish with googly eyes, a pink pom-pom nose, and pipe cleaner whiskers.
Pro-Tip: If your child loves the fluffy texture, emphasize words like "soft," "squishy," and "white" to build their vocabulary while they work.
2. Paper Bag Bunny Puppets
Transform a simple lunch bag into a character! This craft is great because it encourages imaginative play long after the glue has dried.
Instructions:
- Using a white or brown paper lunch bag, keep the bag folded flat.
- The "flap" (the bottom of the bag) will be the bunny’s face.
- Cut two ears and glue them to the back of the flap so they stand up.
- Decorate the flap with eyes, a nose, and whiskers.
- When you put your hand inside, the "mouth" of the bunny is the fold under the flap!
This is a fantastic "edutainment" activity that bridges the gap between art and storytelling. Give the gift of learning that lasts all year with a 12-month subscription to our STEM cooking adventures to keep that creative momentum going every month.
3. The "Bunny Butt" Paper Plate Craft
This one always gets a giggle! It depicts a bunny hopping into its burrow, showing only its fluffy tail and feet.
Instructions:
- Glue cotton balls to a paper plate as before.
- Instead of a face, cut out two oval shapes from cardstock to serve as the feet.
- Add three small pink circles (toes) and one large pink circle (the heel) to each foot.
- Glue the feet near the bottom of the plate.
- Add one extra-large, extra-fluffy pom-pom in the center for the tail.
4. Nature-Inspired Leafy Bunnies
Get outside and explore! This craft combines a nature walk with artistic creation, helping toddlers connect with the changing seasons.
Instructions:
- Take a walk and collect large, sturdy leaves (for the body) and long, thin leaves (for the ears).
- Back inside, glue the large leaf to a piece of cardstock.
- Glue the two long leaves at the top for ears.
- Use a marker or small pebbles to create eyes and a nose.
This activity is a great introduction to botany. You can talk about why leaves change color or how plants grow, much like how we explore geology with our Erupting Volcano Cakes Kit.
5. Toilet Paper Roll Bunny Family
Don't throw away those cardboard tubes! They are the perfect size for toddler hands to grasp and decorate.
Instructions:
- Paint a cardboard tube a bright spring color.
- Once dry, cut two ear shapes from construction paper and glue them inside the top of the rim.
- Draw a face directly onto the tube.
- Glue a pom-pom to the back for a tail so the bunny can stand upright.
6. Handprint Bunny Cards
These make wonderful keepsakes for grandparents. A toddler’s handprint is transformed into a bunny with just a few snips.
Instructions:
- Trace your toddler's hand on a piece of cardstock.
- Cut out the handprint.
- Fold down the middle finger and the thumb. The index and ring fingers become the ears, and the folded-down fingers create the "paws" or the face.
- Draw on the facial features.
7. Fork-Painted Fluffy Bunnies
If your toddler loves "messy" art, this is the craft for them. Using a plastic fork creates a unique texture that looks exactly like rabbit fur.
Instructions:
- Dip the back of a plastic fork into white tempera paint.
- Press the fork repeatedly in a circle on blue or purple construction paper.
- The tines of the fork will create a "furry" edge.
- Add paper ears and googly eyes once the paint is dry.
8. Egg Carton Bunny Cups
Recycle your cardboard egg cartons into tiny bunny holders that can even hold a small treat or a hard-boiled egg.
Instructions:
- Cut out a single cup from the egg carton.
- Paint it.
- Attach two paper ears to the back rim.
- Draw a tiny face on the front.
9. Footprint Bunny Art
Similar to the handprint craft, but uses those adorable toddler toes!
Instructions:
- Paint the bottom of your child's foot with washable white paint.
- Press it onto a piece of colored paper.
- The heel will be the bunny’s head, and the toes will be the bottom.
- Add long ears at the heel end to complete the look.
10. Shape Bunny: A Math-Meets-Art Project
We love incorporating STEM concepts into our kits, and you can do the same with easter bunny toddler crafts. Use this project to teach your child about circles, ovals, and triangles.
Instructions:
- Cut out one large circle (body), one medium circle (head), two long ovals (ears), and one small triangle (nose).
- Work with your toddler to "assemble" the bunny by gluing the shapes in the correct order.
- Identify each shape as you go.
This foundational learning is exactly what we strive for in our monthly kits. Ready for a new adventure every month? Join The Chef's Club and enjoy free shipping on every box.
11. Masking Tape Resist Bunny
This is a "magic" art project that toddlers find fascinating.
Instructions:
- Use masking tape to create the outline of a bunny on a piece of white paper.
- Let your toddler paint all over the paper, covering the tape and the surrounding areas.
- Once the paint is dry, gently peel away the tape to reveal a clean, white bunny silhouette amidst the colorful background.
12. Paper Plate Bunny Mask
Encourage roleplay with a mask that turns your toddler into the Easter Bunny himself.
Instructions:
- Cut the center out of a paper plate, leaving just the rim (or keep it whole and cut eye holes, depending on the toddler's comfort).
- Attach ears to the top.
- Glue a craft stick (Popsicle stick) to the bottom so they can hold it up to their face.
- Add yarn whiskers to the sides.
13. Sticky Contact Paper Bunny
This is a great "no-glue" mess-free option for younger toddlers.
Instructions:
- Cut a bunny silhouette out of a piece of contact paper.
- Tape it to a table or window, sticky side out.
- Provide your toddler with scraps of tissue paper, cotton balls, and bits of yarn.
- They can press the items onto the sticky surface to "color" their bunny.
14. Salt Dough Bunny Ornaments
Salt dough is a classic "kitchen science" activity that results in a permanent keepsake.
Instructions:
- Mix 2 cups flour, 1 cup salt, and 1 cup water.
- Knead until smooth and roll out.
- Use a bunny-shaped cookie cutter (or freehand it).
- Bake at 250°F for 2 hours or until hard.
- Once cool, let your toddler paint their bunny.
15. Cupcake Liner Bunnies
Cupcake liners aren't just for baking! Their pleated edges make for wonderful, textural ears.
Instructions:
- Flatten a large white cupcake liner and glue it to paper as the body.
- Fold another liner in half to create a semi-circle for the head.
- Cut a third liner into strips to create ears.
- Decorate with markers.
If your little one enjoys working with cupcake liners and kitchen supplies, they will love our Main Shop Collection, where they can find kits that use real kitchen tools to create magic.
16. Doily Bunny Craft
For a more delicate, "vintage" look, use paper doilies. The intricate patterns look like beautiful lace fur.
Instructions:
- Glue a large doily for the body and a smaller one for the head.
- The "lacy" edges provide a built-in decorative border.
- Add simple construction paper ears and a nose.
17. Fingerprint Carrot & Bunny Garden
This craft focuses on the bunny’s favorite snack!
Instructions:
- Have your child dip their thumb in orange paint and press it onto paper to create carrots.
- Use their pinky finger dipped in white paint to create little bunnies hopping between the carrots.
- Draw green tops on the carrots once dry.
18. Cardboard Box Bunny Tunnel
If you have a large appliance box, this is the ultimate toddler activity. It combines crafting with physical gross motor play.
Instructions:
- Open both ends of a large box to create a tunnel.
- Help your toddler paint the outside of the box with giant bunny faces and ears.
- They can "hop" through the tunnel like a bunny in a burrow.
19. Spatula-Painted Bunnies
At I’m the Chef Too!, we love using kitchen tools in unexpected ways. A silicone spatula makes for a great "stamp."
Instructions:
- Dip a flat kitchen spatula into paint.
- Press it onto paper to create a long, rectangular body.
- Use a smaller spoon to "stamp" a circular head.
- Finish with paper ears.
20. Yarn-Wrapped Bunny Silhouettes
This is excellent for developing the "pincer grasp."
Instructions:
- Cut a bunny shape out of thick cardboard.
- Tape one end of a piece of yarn to the back.
- Show your toddler how to wrap the yarn around and around the cardboard until the bunny is "dressed" in colorful yarn.
21. Sponge-Stamped Bunnies
Kitchen sponges can be cut into various shapes to create a DIY stamping kit.
Instructions:
- Cut a sponge into an oval and a long rectangle.
- Let your toddler dip the sponge shapes into paint and "stamp" their bunny onto cardstock.
- This teaches them about repeating patterns and spatial awareness.
22. Pom-Pom Popping Bunnies
Use a clothespin to hold a pom-pom, creating a DIY "paintbrush" that is easier for tiny hands to control.
Instructions:
- Clip a large pom-pom into a clothespin.
- Dip the pom-pom in paint and "dab" it onto a bunny template.
- The texture is soft and bubbly, perfect for a spring project.
23. Felt Board Bunnies
This is a reusable craft that can be used for quiet time play.
Instructions:
- Cut bunny bodies, ears, and accessories (hats, carrots, bows) out of various colors of felt.
- Toddlers can "dress" the bunny and move the pieces around on a felt board.
- Since felt sticks to felt, no glue is needed!
24. Cereal Box Bunny Mask
Using the thin cardboard from a cereal box provides a sturdy base for a more "advanced" mask.
Instructions:
- Cut a large bunny face out of a cereal box.
- Let your toddler glue scraps of fabric or colored paper to "collage" the bunny.
- Punch holes in the sides and tie a piece of elastic or yarn to fit it around their head.
25. Edible Bunny Pancakes (The "Kitchen Craft")
We couldn't have a list without at least one delicious, hands-on cooking adventure! This is a great way to start Easter morning.
Instructions:
- Make one large circular pancake (the body) and one smaller circular pancake (the head).
- Cut a third pancake into two long strips for ears.
- Use blueberries for eyes, a strawberry for a nose, and banana slices for the feet.
- Add a dollop of whipped cream for a fluffy tail!
Cooking together is the ultimate way to facilitate family bonding. Find the perfect theme for your little learner by browsing our complete collection of one-time kits.
Fostering a Love for STEM Through Crafting
You might wonder how easter bunny toddler crafts relate to Science, Technology, Engineering, and Math. At I’m the Chef Too!, we see STEM everywhere! When a child builds a bunny out of a toilet paper roll, they are engaging in engineering—figuring out how to make a 3D object stand upright. When they mix red and white paint to get the perfect pink for a nose, they are practicing chemistry.
By encouraging these activities, you are fostering a love for learning that goes beyond the craft table. You are showing them that they have the power to create, experiment, and solve problems. This builds confidence and curiosity, which are the most important tools a young learner can have.
If you’re looking for a way to bring this same educational philosophy into your home every month, Join The Chef's Club and enjoy free shipping on every box. Our adventures are designed to be tangible, delicious, and deeply educational.
Planning a "Bunny Day" for Your Toddler
To make the most of these easter bunny toddler crafts, consider turning them into a themed "Bunny Day." A themed day provides structure and excitement, making the learning feel like a grand adventure.
- Morning: Start with the Bunny Pancakes to fuel up for the day.
- Mid-Morning: Go on a nature walk to collect leaves for the Leafy Bunnies.
- Lunch: Have a "crunchy" lunch with carrots and celery, talking about what real bunnies like to eat.
- Afternoon: Set up a craft station for the Paper Plate Bunny or the TP Roll Family.
- Quiet Time: Read bunny-themed books like The Runaway Bunny or Pat the Bunny while playing with the Felt Board Bunnies.
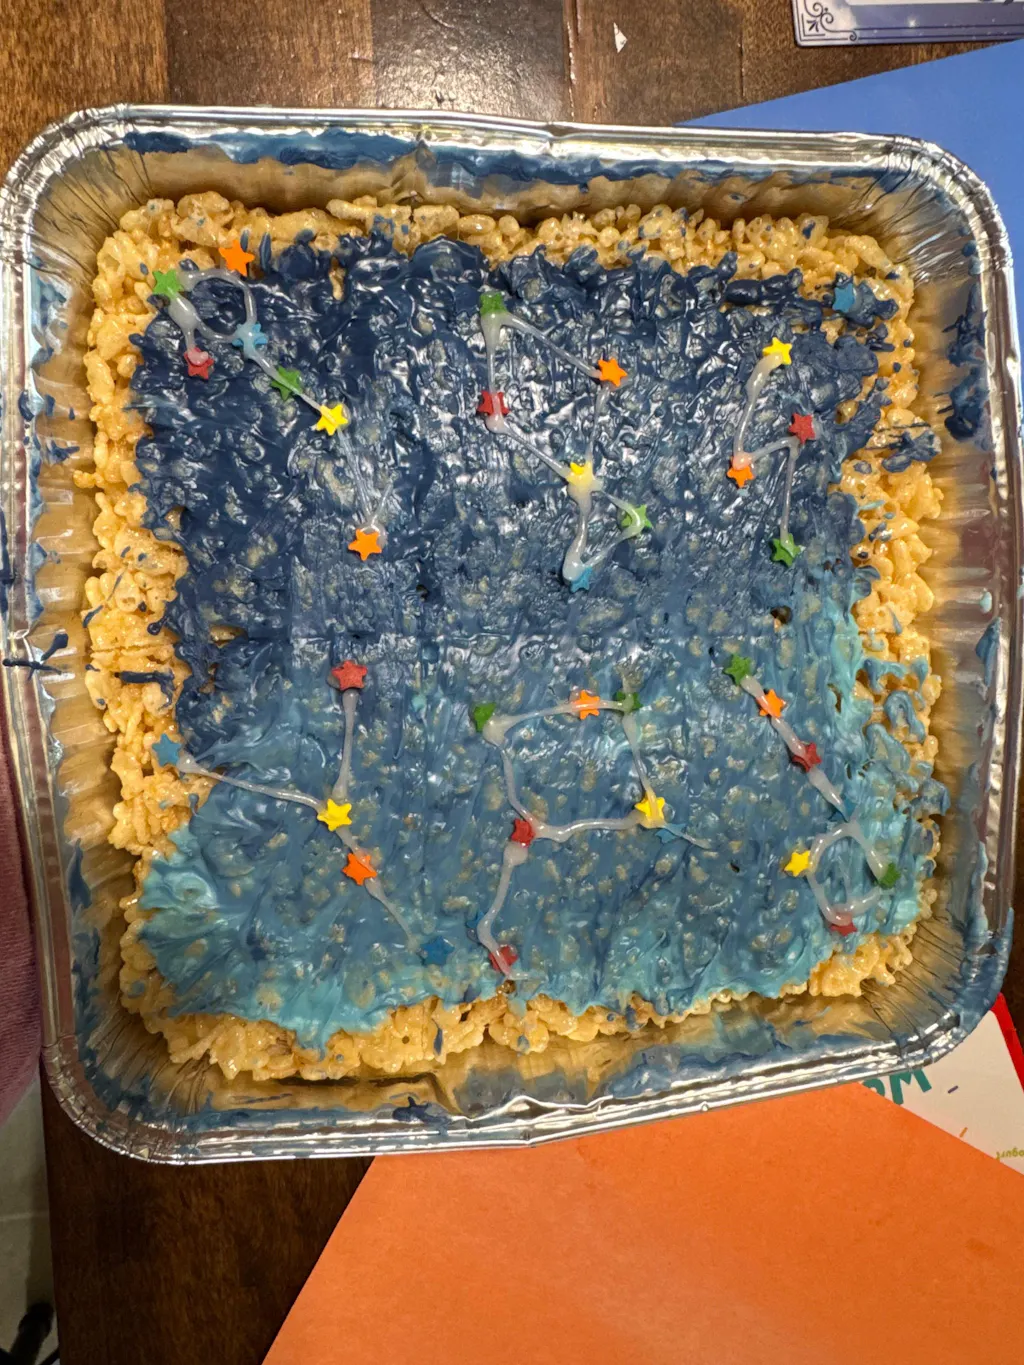
- Evening: If you have older siblings, they might enjoy a more complex project, like our Galaxy Donut Kit, while the toddler helps "decorate" with stars (sprinkles).
Safety First: A Note on Supervision
While we encourage toddlers to take the lead in their crafting, adult supervision is always required.
- Scissors: Always use age-appropriate safety scissors and stay within arm's reach.
- Small Parts: Items like googly eyes, buttons, and small pom-poms can be choking hazards for children who still put things in their mouths. Always monitor closely or substitute these items with marker drawings or larger pieces of paper.
- Glue and Paint: Ensure all materials are labeled non-toxic and washable.
Creating Joyful Family Memories
The most important takeaway from any of these easter bunny toddler crafts isn't the final product. It’s the sound of your child’s laughter when they get paint on their nose. It’s the pride they feel when they show off their "masterpiece" to a parent coming home from work. It’s the quiet moments of connection as you sit together on the floor, surrounded by scraps of paper and cotton balls.
At I’m the Chef Too!, our mission is to facilitate these moments. We want to provide you with the tools to be the "guide on the side," helping your child discover the world through their own two hands. Whether you are crafting a bunny or baking a cake, you are building a foundation of love and learning.
Give the gift of learning that lasts all year with a 12-month subscription to our STEM cooking adventures. It’s a convenient, flexible, and high-value way to ensure your family always has a new adventure waiting at the door.
FAQ: Frequently Asked Questions About Toddler Crafting
What are the best types of glue for toddlers?
For toddlers, a washable purple glue stick is often the best choice because it allows them to see where they have applied the glue before it dries clear. For heavier items like cotton balls, a non-toxic liquid school glue is better, though it requires more supervision.
How can I minimize the mess during Easter bunny toddler crafts?
Cover your workspace with a disposable plastic tablecloth or old newspapers. You can also use a rimmed baking sheet as a "craft tray" for each child to contain the glitter, glue, and scraps in one area.
My toddler has a short attention span. Which crafts are best?
Focus on "process art" rather than "product art." The Sticky Contact Paper Bunny or Sponge-Stamped Bunnies are great because they can be done in short bursts, and there is no "wrong" way to do them.
What if my child isn't interested in following the steps?
That's perfectly okay! If they want to put five eyes on their bunny or glue the ears to the bottom, let them. The goal is to spark creativity and confidence, not to create a "perfect" bunny.
Are these crafts suitable for a classroom or group setting?
Absolutely! Many of these, like the Paper Bag Bunny or Egg Carton Cups, are very budget-friendly and use common household items, making them perfect for schools or homeschool co-ops. Bring our hands-on STEM adventures to your classroom, camp, or homeschool co-op by learning more about our group programs.
Conclusion
Creating easter bunny toddler crafts is about so much more than just celebrating a holiday. It is an opportunity to slow down, engage with your child, and watch them develop into curious, confident learners. From the sensory delight of cotton balls to the "kitchen science" of baking pancakes, every activity in this guide is designed to spark curiosity and creativity.
At I’m the Chef Too!, we are committed to providing screen-free, educational alternatives that make learning delicious and fun. We hope these 25 ideas inspire you to clear off the kitchen table, grab some glue, and start hopping into a world of spring-themed "edutainment."
Remember, the goal isn't a perfect result; it's the joy found in the process. We are here to support you in creating those joyful family memories, one craft and one recipe at a time.
Ready for a new adventure every month? Join The Chef's Club and enjoy free shipping on every box. Let’s make this spring the most creative one yet!