Table of Contents
- Introduction
- Why Sewing is a STEM Superpower
- Setting Up Your "Maker Station"
- Project 1: The Friendly Felt Monster
- Project 2: Scented Lavender Sachets
- Project 3: DIY Hair Scrunchies
- Project 4: The Pocket Pillow
- Project 5: Fabric Bookmarks
- Project 6: Drawstring Treasure Bags
- Project 7: Personalized Keychains or Zipper Pulls
- Project 8: Button Art and "Sewing On a Button"
- Project 9: Hand-Sewn Heart Ornaments
- Project 10: The Simple Superhero Cape
- Bridging the Gap: From Sewing to the Kitchen
- Troubleshooting Common Sewing Snafus
- How Educators Can Use Sewing in the Classroom
- Tips for Encouraging a Reluctant Maker
- The Long-Term Benefits of Hands-On Hobbies
- FAQs About Small Sewing Projects for Kids
- Conclusion
Introduction
Have you ever watched a child’s eyes light up when they realize they’ve created something tangible with their own two hands? There is a certain kind of magic that happens when a flat piece of fabric and a simple length of thread transform into a stuffed friend, a useful pouch, or a wearable accessory. At I'm the Chef Too!, we believe that this "aha!" moment is the cornerstone of learning. Just as we use flour and sugar to teach the wonders of chemistry and math, sewing offers a beautiful, tactile way to explore geometry, fine motor skills, and the art of patience.
While many parents today feel the pressure to keep up with high-tech gadgets, there is an incredible, lasting value in returning to "slow" crafts. Sewing is more than just a life skill; it’s a form of edutainment that bridges the gap between creative expression and logical thinking. In this post, we are going to dive deep into ten wonderful, small sewing projects for kids that are perfect for beginners. Whether you are a seasoned pro with a sewing machine or you haven’t touched a needle since middle school, these projects are designed to be accessible, low-stress, and—most importantly—fun for the whole family.
Our goal is to help you foster a love for making in your children, building their confidence one stitch at a time. By the end of this guide, you’ll have a roadmap for screen-free weekends filled with creativity and connection. We want to empower your little ones to see themselves as makers and problem solvers. Ready for a new adventure every month? Join The Chef's Club and enjoy free shipping on every box, where we continue the journey of hands-on learning through the lens of delicious STEM-based cooking.
Why Sewing is a STEM Superpower
Before we thread our needles, let’s talk about the "why." At I'm the Chef Too!, our mission is to blend food, STEM, and the arts into one-of-a-kind experiences. You might be wondering how sewing fits into the world of Science, Technology, Engineering, and Math.
First, consider the Engineering aspect. When a child looks at a 2D pattern and realizes it will become a 3D object, they are practicing spatial reasoning. They have to plan the order of assembly—if you sew the top closed before you put the stuffing in, you’ve got a problem! This logical sequencing is the same skill used in computer programming and recipe following.
Next, there is the Math. Sewing is all about measurement and geometry. Kids learn about "seam allowances" (the space between the edge of the fabric and the stitches), which teaches them about fractions and precision. Measuring out a ribbon or calculating how much fabric is needed for a pillow is a real-world application of the math concepts they learn in school.
Finally, the Science of textiles is fascinating. Different fabrics behave in different ways because of their molecular structure. Cotton is breathable and easy to pin; felt is sturdy and doesn't fray; spandex is stretchy and requires a different tension. Discussing why we choose certain materials for certain projects is a great introduction to materials science.
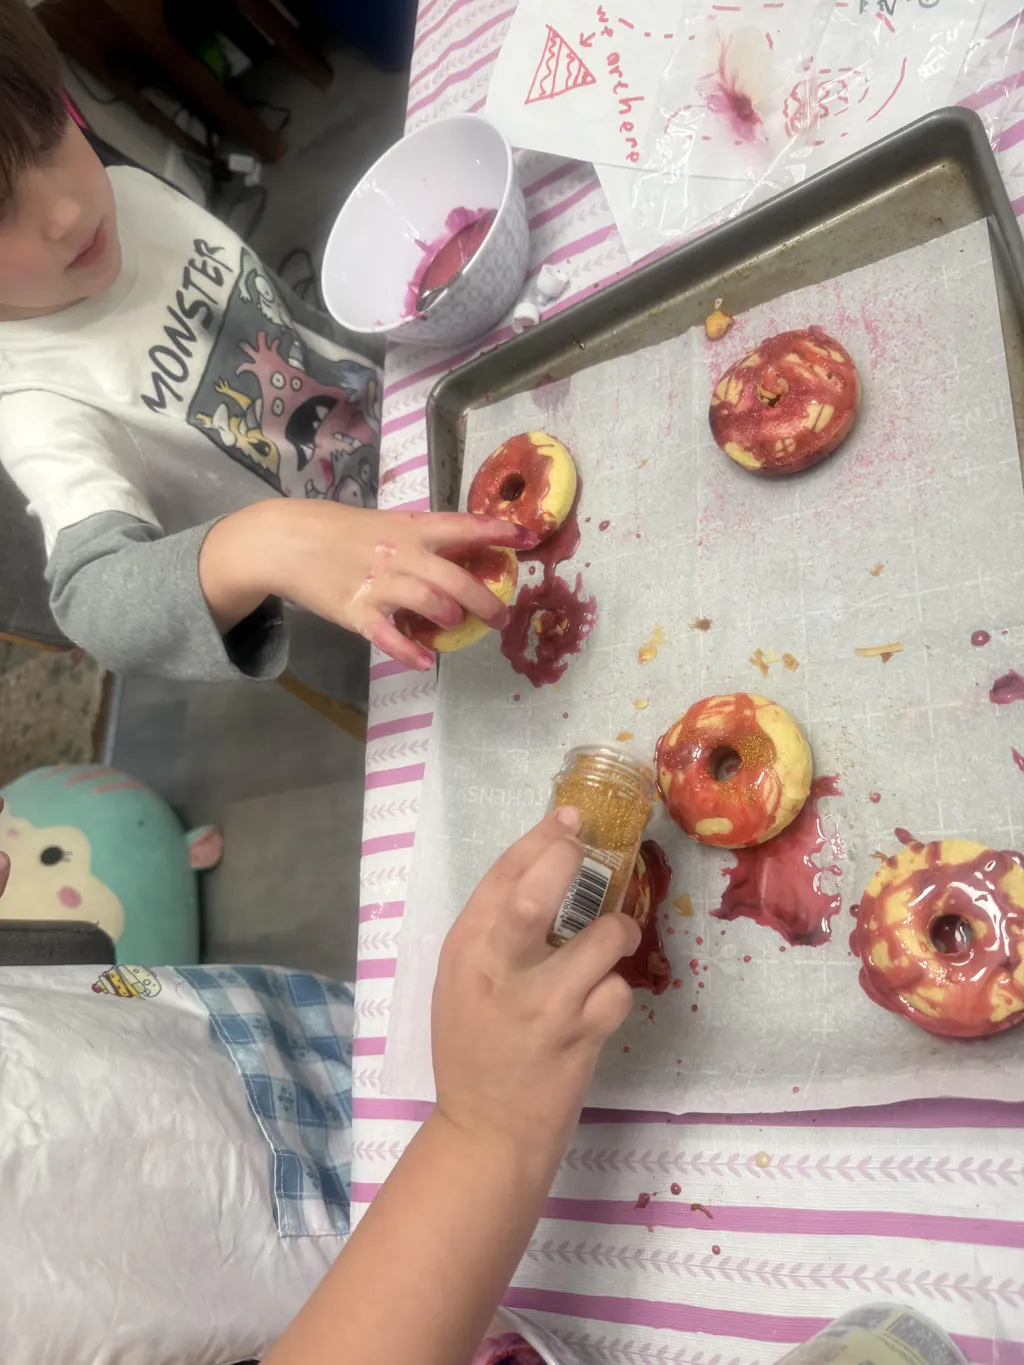
Focusing on these benefits helps foster a love for learning and develops key skills without the pressure of a classroom. If your child loves discovering how things work, they might also love to explore astronomy by creating your own edible solar system with our Galaxy Donut Kit. It’s all about making those connections between different fields of study in a way that feels like play.
Setting Up Your "Maker Station"
You don’t need a dedicated craft room to get started with small sewing projects for kids. A kitchen table or a cleared-off desk works perfectly. However, having the right tools on hand will make the process much smoother and prevent frustration.
The Essential Tool Kit
- Needles: For beginners, especially younger children (ages 5-8), look for "embroidery needles" or "tapestry needles." They have larger eyes, making them much easier to thread, and some tapestry needles have blunt tips which are safer for tiny fingers.
- Thread: All-purpose polyester or cotton thread is fine, but for hand-sewing felt, "embroidery floss" is wonderful. It comes in every color imaginable and is thick enough for kids to see their progress easily.
- Fabric Scissors: This is one area where quality matters. Dull scissors lead to jagged edges and frustrated kids. Keep a pair of sharp fabric scissors that are only used for fabric.
- Pins and Pincushions: Pins hold the fabric in place. A classic "tomato" pincushion is a fun addition to the kit, and "wonder clips" are a great alternative for younger children who might be nervous about sharp pins.
- Felt: If you are just starting, felt is your best friend. It doesn't fray, it’s easy to cut, and it comes in inexpensive sheets.
- A Seam Ripper: As the saying goes, "To err is human; to rip out a seam is divine." Teach your kids that making mistakes is a natural part of the learning process. Even the experts use seam rippers!
Remember, the goal isn't perfection. We want to create joyful family memories. If a stitch is a little wonky or a monster has one eye higher than the other, that just adds character! If you’re looking for more ways to build a library of hands-on activities, you can find the perfect theme for your little learner by browsing our complete collection of one-time kits.
Project 1: The Friendly Felt Monster
This is the quintessential first sewing project. Felt monsters are incredibly forgiving because they should look a little silly.
Educational Focus: Fine motor skills and creative expression.
How to do it:
- Sketching: Have your child draw a simple monster shape on a piece of paper. Think circles, blobs, or rectangles with "horns."
- Cutting: Use the paper sketch as a template. Pin it to two layers of felt and cut around it. Now you have a front and a back.
- Decorating: Before sewing the two halves together, have your child sew on eyes (buttons or felt circles) and a mouth. This is much easier to do on a single layer.
- The Running Stitch: Teach the "running stitch"—simply going up through the fabric and down, like a needle hopping over a fence.
- Stuffing: Sew almost all the way around the edge, leaving a two-inch gap. Stuff the monster with poly-fill or even scrap fabric, then sew the gap closed.
Takeaway: This project teaches children that they have the power to bring their imagination to life. There are no "wrong" monsters!
Project 2: Scented Lavender Sachets
These make wonderful gifts and teach kids about the "S" in STEM—Science! You can discuss how the scent of lavender is released from the dried flowers.
Educational Focus: Measuring and sensory exploration.
How to do it:
- Measuring: Cut two squares of fabric (cotton works best here) that are 4 inches by 4 inches. Using a ruler is a great way to sneak in some math.
- Sewing: Place the "pretty sides" of the fabric together. Sew around three sides using a straight stitch.
- The Flip: Turn the pouch right-side out. This "magic trick" is always a hit with kids.
- Filling: Use a funnel to fill the pouch with dried lavender.
- Closing: Fold the raw edges of the open side inward and sew it shut.
Small sewing projects for kids like these are perfect for building confidence. Much like how our kits provide everything you need to succeed, starting with a simple square allows a child to master the basics before moving on to complex curves.
Project 3: DIY Hair Scrunchies
Scrunchies are back in style, and they are surprisingly easy to make. This project introduces the concept of elastic and "casing."
Educational Focus: Understanding tension and elasticity.
How to do it:
- The Strip: Cut a piece of fabric about 3 inches wide and 18 inches long.
- The Tube: Fold the fabric in half lengthwise (pretty sides together) and sew a long straight line down the side to create a tube.
- Turning: Use a safety pin attached to one end to pull the tube right-side out.
- The Elastic: Thread a 6-inch piece of elastic through the tube using a safety pin.
- The Knot: Tie the ends of the elastic in a very tight knot.
- Finishing: Tuck one end of the fabric tube into the other and sew across the join.
This project is a great way to use up "scrap" fabric. If your child enjoys the process of making things from scratch, they might also enjoy our monthly adventures. Give the gift of learning that lasts all year with a 12-month subscription to our STEM cooking adventures.
Project 4: The Pocket Pillow
A pocket pillow is a standard pillow with a secret "pocket" on the front for holding a favorite book or a tooth for the tooth fairy.
Educational Focus: Layering and sequencing.
How to do it:
- The Pieces: You’ll need one large square for the back (e.g., 12x12 inches) and two pieces for the front. One front piece should be 12x12, and the "pocket" piece should be 12x8 inches.
- Hemming the Pocket: Sew a line across the top of the 12x8 piece so the edge doesn't fray.
- Layering: This is the tricky part! Lay the back piece down (face up). Lay the large front piece on top (face down). Then lay the pocket piece on top of that.
- Sewing: Sew all the way around, leaving a gap for stuffing.
- The Reveal: Turn it right-side out, and suddenly you have a pillow with a pocket!
A parent looking for a screen-free weekend activity for their 8-year-old who loves cozy bedrooms could try this project. It pairs perfectly with a rainy afternoon and a good book. To keep that momentum of "edutainment" going, consider how a chemical reaction makes our Erupting Volcano Cakes kit bubble over with deliciousness. Both activities turn a regular afternoon into a memorable experiment!
Project 5: Fabric Bookmarks
If your child is a bookworm, they will love making their own bookmarks. This is one of the fastest small sewing projects for kids.
Educational Focus: Precision and aesthetics.
How to do it:
- The Base: Cut two strips of fabric or felt (2 inches by 7 inches).
- Interfacing (Optional): If you want a stiff bookmark, you can put a piece of thin cardboard or "fusible interfacing" between the layers.
- Stitching: Sew around the perimeter. You can use a decorative "blanket stitch" or a simple running stitch.
- Tassel: Punch a hole in the top and tie on some yarn or ribbon.
These are great for gifting to teachers or grandparents. We love projects that encourage children to think about others!
Project 6: Drawstring Treasure Bags
Every child has "treasures"—rocks, marbles, or tiny plastic figures. A drawstring bag is the perfect place to keep them.
Educational Focus: Mechanics of a drawstring.
How to do it:
- The Rectangle: Cut a large rectangle of fabric.
- The Top Edge: Fold down the top two inches and sew across, leaving the ends open. This creates a "tunnel" (casing) for the string.
- The Sides: Fold the fabric in half and sew the side and bottom, making sure not to sew the "tunnel" closed.
- The String: Use a safety pin to thread a piece of ribbon or twine through the top tunnel.
This project introduces the idea of "utility" in sewing. We aren't just making something pretty; we are making something that works. This is a core value at I'm the Chef Too!—providing practical, hands-on learning.
Project 7: Personalized Keychains or Zipper Pulls
These are fantastic for identifying school backpacks.
Educational Focus: Small-scale detail work.
How to do it:
- Shapes: Cut out two small identical shapes (stars, hearts, or initials) from felt.
- Initialing: Sew the child's initial onto the front piece.
- Joining: Sew the two pieces together, adding a small loop of ribbon at the top before you finish.
- Hardware: Slide a metal key ring through the ribbon loop.
Even beloved animals can make learning fun, like when kids make Wild Turtle Whoopie Pies. You could even try to sew a little turtle keychain to match the baking adventure!
Project 8: Button Art and "Sewing On a Button"
Learning to sew on a button is a vital life skill. But it can also be art!
Educational Focus: Dexterity and "over-under" logic.
How to do it:
- The Canvas: Take a piece of sturdy fabric and put it in an embroidery hoop (optional).
- The Design: Have the child draw a simple tree or a bunch of flowers.
- The Buttons: Sew various colorful buttons onto the fabric to represent leaves or blossoms.
- The Technique: Show them how to go up through one hole and down through the other, repeating several times until the button is secure.
Takeaway: This activity helps kids develop the hand-eye coordination needed for more complex tasks later in life.
Project 9: Hand-Sewn Heart Ornaments
While these are popular during the holidays, heart ornaments are lovely year-round as "pocket hugs" for friends.
Educational Focus: Consistency in stitch length.
How to do it:
- The Pattern: Use a cookie cutter to trace a heart shape onto felt.
- The Stitching: Use a contrasting thread color to make the stitches stand out.
- The Stuffing: Add just a tiny bit of stuffing to give it a "puffy" look.
If you aren't ready to subscribe yet, you can explore our full library of adventure kits available for a single purchase in our shop. Much like these felt hearts, our kits are designed to be standalone moments of joy.
Project 10: The Simple Superhero Cape
While this is slightly larger than the other projects, it uses very basic skills and provides hours of imaginative play.
Educational Focus: Scaling up and functional design.
How to do it:
- The Fabric: Use a large piece of non-fraying fabric like jersey (an old XL t-shirt works!) or felt.
- The Shape: Cut a large trapezoid shape.
- The Neck: Cut a curved notch at the top.
- The Fastener: Sew two long ribbons to the corners of the neck. (Important: Always supervise children with capes to ensure they don't tie them too tightly).
- The Logo: Let the child design their own superhero logo and sew (or glue) it onto the back.
This project is the ultimate "edutainment." It combines the technical skill of sewing with the creative world of roleplay. At I'm the Chef Too!, we love seeing kids step into different roles—whether they are superheroes, scientists, or chefs!
Bridging the Gap: From Sewing to the Kitchen
You might be wondering why a cooking-focused company is talking so much about sewing. The answer lies in our educational philosophy. We believe that hands-on learning is the best way for children to absorb complex subjects.
When a child sews, they are following a "recipe" (a pattern). When they cook, they are "sewing" ingredients together to create a final product. Both require:
- Following Multi-Step Directions: Missing a step in sewing means a hole in your project; missing a step in baking might mean a cake that doesn't rise.
- Patience: You can't rush a good seam, and you can't rush a preheating oven.
- Creative Problem Solving: "Oh no, I ran out of blue thread! What color should I use instead?" is very similar to "We're out of milk! Can we use yogurt?"
Our Chef's Club is designed to keep this spirit of discovery alive. Each box is a complete experience, containing pre-measured dry ingredients and specialty supplies, making it easy for parents to say "yes" to an afternoon of learning. Ready for a new adventure every month? Join The Chef's Club and enjoy free shipping on every box.
Troubleshooting Common Sewing Snafus
Even with the best preparation, small sewing projects for kids can hit a few bumps. Here’s how to handle them with grace:
- The "Birds Nest" (Tangled Thread): This usually happens when the thread is too long. A good rule of thumb is to cut a piece of thread no longer than the distance from your child’s fingertips to their elbow.
- Knots at the End: Teaching a child to tie a starting knot can be tricky. You can do the knot for them initially, or teach them the "wrap and roll" method.
- Lost Needles: Always have a dedicated spot for needles. A magnet is a great "science tool" to help find a dropped needle on the floor!
- Frustration: If the stitches aren't straight and the child is getting upset, take a break. Remind them that at I'm the Chef Too!, we focus on the process, not just the product. The goal is to build confidence, not to become a master tailor overnight.
How Educators Can Use Sewing in the Classroom
If you are a teacher or a homeschool co-op leader, sewing projects are a goldmine for integrated learning. You can tie sewing into:
- History: Discuss how people made clothes before sewing machines.
- Geography: Look at different textile patterns from around the world.
- Economics: Talk about the cost of materials vs. the cost of a finished product.
We offer programs that are perfect for larger groups. Bring our hands-on STEM adventures to your classroom, camp, or homeschool co-op. Learn more about our versatile programs for schools and groups, available with or without food components.
Tips for Encouraging a Reluctant Maker
Not every child will jump at the chance to pick up a needle. If your child seems hesitant, try these tips:
- Let Them Pick the Fabric: A child who loves dinosaurs will be much more excited to sew a "Dino-Pillow" if the fabric has T-Rexes on it.
- Model the Behavior: Sit down and sew something yourself! Your curiosity will spark theirs.
- Keep it Short: For a first project, aim for something that takes less than 30 minutes.
- Combine Interests: If they love baking, suggest sewing a custom apron or a "handle cover" for a pretend skillet.
Our mission is to spark curiosity and creativity, and sometimes that means starting small. Each of our boxes is a complete experience, providing everything you need to spark that initial interest. Give the gift of learning that lasts all year with a 12-month subscription to our STEM cooking adventures.
The Long-Term Benefits of Hands-On Hobbies
In an increasingly digital world, the ability to create something physical is a grounding experience. Sewing teaches children:
- Resilience: When the thread breaks, you just re-thread the needle and keep going.
- Focus: It’s hard to look at a screen while you’re trying to hit a specific spot with a needle. It provides a natural screen-free alternative.
- Self-Reliance: There is an immense sense of pride in saying, "I made this myself."
These are the same values we weave into every I'm the Chef Too! kit. We don't just want to teach kids to cook; we want to teach them to be confident explorers of the world around them. Whether they are exploring the kitchen or the sewing basket, they are developing the tools they need for a lifetime of learning.
FAQs About Small Sewing Projects for Kids
What is the best age to start sewing?
Most children can start with very basic hand sewing around ages 4 or 5 using blunt plastic needles and burlap or lacing cards. By age 7 or 8, many have the coordination to use real (but embroidery-style) needles and felt. Sewing machine use usually begins around age 9 or 10 with close adult supervision.
Is sewing safe for kids?
With adult supervision, sewing is very safe. Using thimbles can protect fingers, and tapestry needles are less sharp than standard sewing needles. Always emphasize "slow and steady" movements.
What is the easiest stitch for a child to learn?
The "running stitch" is the easiest. It’s a simple up-and-down motion. Once they master that, the "whipstitch" (going over the edge of two pieces of fabric) is great for closing up stuffed toys.
Do I need a sewing machine?
Not at all! All the projects listed here can be done entirely by hand. Hand sewing is actually better for developing fine motor skills and patience in younger children.
What if my child isn't interested in "crafty" things?
Try framing it as "engineering." You are building a structure. For kids who prefer science or mechanics, emphasize the way the stitches hold tension or how the pattern pieces fit together like a puzzle.
How can I make sewing more exciting?
Incorporate their favorite themes! If they love space, make a felt rocket ship. If they love cooking, find the perfect theme for your little learner by browsing our complete collection of one-time kits and see if you can sew a mascot to go with your "Galaxy Donuts."
Conclusion
Small sewing projects for kids are more than just a way to pass a rainy afternoon; they are a gateway to a world of creativity, logic, and self-confidence. From the simple joy of a hand-sewn felt monster to the functional pride of a DIY scrunchie, these activities provide children with the opportunity to see themselves as creators. At I'm the Chef Too!, we are dedicated to these "edutainment" experiences, whether they happen at the sewing table or in the kitchen.
We’ve seen how hands-on adventures can foster a love for learning that lasts a lifetime. By blending the arts with STEM concepts, we help children develop key skills while creating joyful family memories. Sewing encourages patience, precision, and problem-solving—traits that will serve your child well in every area of their life.
If you’re ready to bring this kind of hands-on magic into your home every single month, we invite you to join our community. Ready for a new adventure every month? Join The Chef's Club and enjoy free shipping on every box. Let’s continue to spark curiosity, one stitch and one recipe at a time!