Table of Contents
- Introduction
- The Science of Staying Toasty
- Choosing the Right Equipment
- The "Golden Rule" of Packing Hot Lunches
- Food Safety: The Temperature Danger Zone
- What Foods Stay Warm the Longest?
- Creative Hot Lunch Ideas Your Kids Will Love
- Practical Tips for Success
- Building Confidence in the Kitchen
- Maintenance and Care for Your Gear
- Hypothetical Case Study: The Dinosaur Lover's Lunch
- Troubleshooting Common Issues
- Summary of the "Keep it Warm" Strategy
- FAQ
- Conclusion
Introduction
Have you ever opened your child’s lunchbox at the end of the day only to find a soggy, untouched sandwich or a container of cold pasta that was meant to be a cozy midday treat? If so, you are certainly not alone. Many parents face the daily struggle of choosing between lackluster cafeteria options and home-packed meals that lose their appeal the moment they lose their temperature. Especially during those chilly winter months, a warm meal can provide a much-needed boost of comfort and energy for a busy student. But the question remains: how do you ensure that the macaroni and cheese you packed at 7:00 AM is still steaming and delicious when the lunch bell rings at noon?
At I'm the Chef Too!, we understand that food is more than just fuel; it is a gateway to learning, creativity, and connection. Our mission is to blend food, STEM, and the arts into one-of-a-kind "edutainment" experiences that spark curiosity in children. While we often focus on the magic of creating food through our hands-on kits, we also know that the practical side of eating—like keeping that hard-earned meal warm—is just as important for a happy, healthy learner.
In this guide, we will explore the science and strategy behind heat retention in lunchboxes. We will cover everything from the essential gear you need to the "boiling water trick" that changes everything, and even provide kid-approved recipe ideas that stay warm for hours. By understanding the basics of food safety and insulation, you can transform your child’s lunch experience from a cold disappointment into a highlight of their school day. Our goal is to provide you with the tools to foster a love for nutritious, home-cooked food while making your morning routine a little smoother.
The Science of Staying Toasty
Before we dive into the "how-to," it helps to understand the "why." Heat moves in three ways: conduction, convection, and radiation. In a lunchbox setting, we are mostly fighting against conduction (heat escaping through physical contact) and convection (heat escaping through the air).
When you put hot food into a cold plastic container, the heat immediately begins to transfer from the food to the container. This is why many traditional lunch setups fail. To keep food warm, we have to create a barrier that slows down this energy transfer. This is where vacuum insulation comes in. Most high-quality food jars use double-wall construction with a vacuum-sealed space in between. Since heat cannot easily travel through a vacuum, the temperature inside stays stable for much longer.
Learning about these concepts can be a fun "kitchen science" moment for your kids! If you’re looking to dive deeper into the world of science and food, you might explore our full library of adventure kits to see how we turn everyday ingredients into educational discoveries.
Choosing the Right Equipment
The foundation of a warm lunch is the container itself. While there are many options on the market, not all are created equal.
Insulated Food Jars (Thermoses)
A dedicated insulated food jar, often called a thermos, is your best friend. Look for stainless steel options with a wide mouth, which makes it easier for kids to eat out of and easier for you to clean.
- Size Matters: A 10-ounce container is usually perfect for younger children, while older kids or those with bigger appetites might need a 16-ounce jar.
- The Lid Factor: Consider your child’s dexterity. A lid that is too wide might be difficult for small hands to grip and twist. If your child is in kindergarten, test the container at home first to make sure they can open it independently.
Insulated Lunch Bags
A thermos alone is great, but placing it inside an insulated lunch bag provides an extra layer of protection. This secondary barrier helps maintain the ambient temperature around the container, preventing the outside air from cooling it down too quickly.
High-Quality Spoons and Accessories
Don't forget the utensils! A warm soup or stew is hard to enjoy without a sturdy spoon. We recommend using stainless steel or heavy-duty BPA-free plastic spoons. If you're worried about utensils getting lost, you can find inexpensive sets that won't cause stress if they don't make it back home in the backpack.
Ready to start a journey of discovery every month? Join The Chef's Club and enjoy free shipping on every box, where we bring the excitement of the kitchen right to your doorstep.
The "Golden Rule" of Packing Hot Lunches
If there is one secret to success when learning how to keep kids lunch warm, it is this: Preheat your container.
If you put hot food into a room-temperature stainless steel jar, the jar will immediately "steal" the heat from the food to warm itself up. By the time lunch rolls around, the food will be lukewarm at best. Here is the step-by-step method we recommend:
- Boil Water: Bring a pot of water to a rolling boil or use an electric kettle.
- Prime the Jar: Pour the boiling water into the empty insulated food jar until it is nearly full.
- Wait: Close the lid and let the hot water sit for 5 to 10 minutes. This allows the internal walls of the container to reach a high temperature.
- Heat the Food: While the jar is warming up, heat your child's lunch until it is piping hot—slightly hotter than they would normally eat it.
- Empty and Dry: Pour out the hot water and quickly wipe the inside of the jar with a clean towel.
- Pack Quickly: Immediately transfer the hot food into the preheated jar and seal the lid tightly.
By following this simple ritual, you ensure that the container is working with the food rather than against it. This method can keep meals at a safe and pleasant temperature for 4 to 6 hours.
Food Safety: The Temperature Danger Zone
When we talk about packing lunches, safety is our top priority. The USDA and FDA refer to the temperature range between 40°F and 140°F as the "Danger Zone." In this range, bacteria can grow rapidly, potentially leading to foodborne illnesses.
To keep your child safe:
- Keep Hot Foods Hot: Aim to keep hot food at or above 140°F. While it's hard to measure this at school, the preheating method described above is the best way to stay in the safe zone.
- Keep Cold Foods Cold: If you are packing a cold lunch, use at least two ice packs and an insulated bag to keep the temperature below 40°F.
- One-Time Use: If your child brings home leftovers in their thermos, it is best to discard them. The food has likely spent too much time in the Danger Zone by the end of the school day to be safely reheated.
At I'm the Chef Too!, we believe that kitchen safety is a vital part of the learning process. Our kits are designed by educators and mothers to ensure that every "edutainment" experience is both fun and secure. Whether you are using one of our kits or packing a school lunch, fostering these healthy habits early on builds confidence and life skills.
If you are an educator looking to bring these types of hands-on lessons into your environment, you can learn more about our programs for schools and groups, available with or without food components.
What Foods Stay Warm the Longest?
Not all foods are created equal when it comes to heat retention. Generally, liquids and "saucy" foods hold their temperature much better than solid, dry foods.
The Winners: Liquid-Based Meals
Soups, stews, chili, and pasta with plenty of sauce are the champions of the thermos. Because water has a high heat capacity, these items stay warm for a significantly longer time.
- Chicken Noodle Soup: A classic for a reason! Add extra noodles or veggies to make it more filling.
- Pasta with Marinara: Ensure the pasta is tossed in plenty of sauce to create a heat-retaining blanket.
- Rice and Beans: This dense combination holds heat exceptionally well.
The Challenges: Solid Foods
Items like chicken nuggets, grilled cheese, or pizza can be trickier. They have more surface area exposed to the air inside the jar, which causes them to cool down faster.
- Pro Tip for Nuggets: Line the bottom of the preheated thermos with a folded paper towel to absorb any steam. This helps keep the nuggets from getting soggy while they stay warm.
- Pro Tip for Pizza: Cut the pizza into strips or "fingers" that can fit vertically into the jar.
For parents looking for more ways to engage their children with food beyond the lunchbox, a Chef's Club Subscription is the perfect way to explore new textures and flavors every month.
Creative Hot Lunch Ideas Your Kids Will Love
Stuck in a lunch rut? Here are some ideas to break the cycle of cold sandwiches.
1. "Breakfast for Lunch"
Many kids love the novelty of eating breakfast foods in the middle of the day.
- Mini Pancakes or Waffles: Keep them warm in a thermos and send a small container of syrup on the side.
- Scrambled Eggs and Sausage: These stay surprisingly warm and provide a great protein boost.
2. Deconstructed Tacos
Pack hot seasoned ground turkey or beef in the thermos. In a separate container, send taco shells or chips, shredded cheese, and lettuce. Your child can build their own tacos at the lunch table! This is a great way to make lunch interactive and fun.
3. Leftover Makeovers
The easiest way to pack a hot lunch is to use leftovers from the night before.
- Roasted Chicken and Veggies: Reheat them thoroughly in the morning.
- Stir-fry: Rice and stir-fried vegetables hold heat well and are packed with nutrients.
- Baked Potatoes: You can even wrap a hot baked potato in foil and place it inside an insulated bag, or cut it into chunks for the thermos.
4. Macaroni and Cheese
This is a universal favorite. To keep it from drying out, add a splash of extra milk before reheating it in the morning. This ensures it stays creamy and warm until lunchtime.
If your child loves exploring the "why" behind their food, they might enjoy our STEM-based activities. Give the gift of learning that lasts all year with a 12-month subscription to our STEM cooking adventures.
Practical Tips for Success
Packing the food is only half the battle. We also want to make sure the school day goes smoothly for our little learners.
Mind the Clock
Most school lunch periods are quite short—often only 20 to 30 minutes. If a child has to spend ten minutes struggling with a lid or digging through a cluttered bag, they won't have time to finish their meal.
- Keep it Simple: Try to pack one main warm dish and save snacks for later in the day.
- Practice at Home: Make "thermos lunch" a weekend activity to help your child practice opening their container and using their utensils.
The "Soggy Factor"
Steam is the enemy of crispiness. If you’re packing something like breaded chicken or a toasted sandwich, remember that the enclosed environment of a thermos will create moisture. While we can’t eliminate steam entirely, using the paper towel trick mentioned earlier or letting the food "off-gas" for 30 seconds before closing the lid can help.
Label Everything
School lunchrooms can be chaotic. Make sure your child’s name is clearly marked on their thermos and lunch bag. Since high-quality insulated jars can be an investment, you’ll want to make sure they find their way back home!
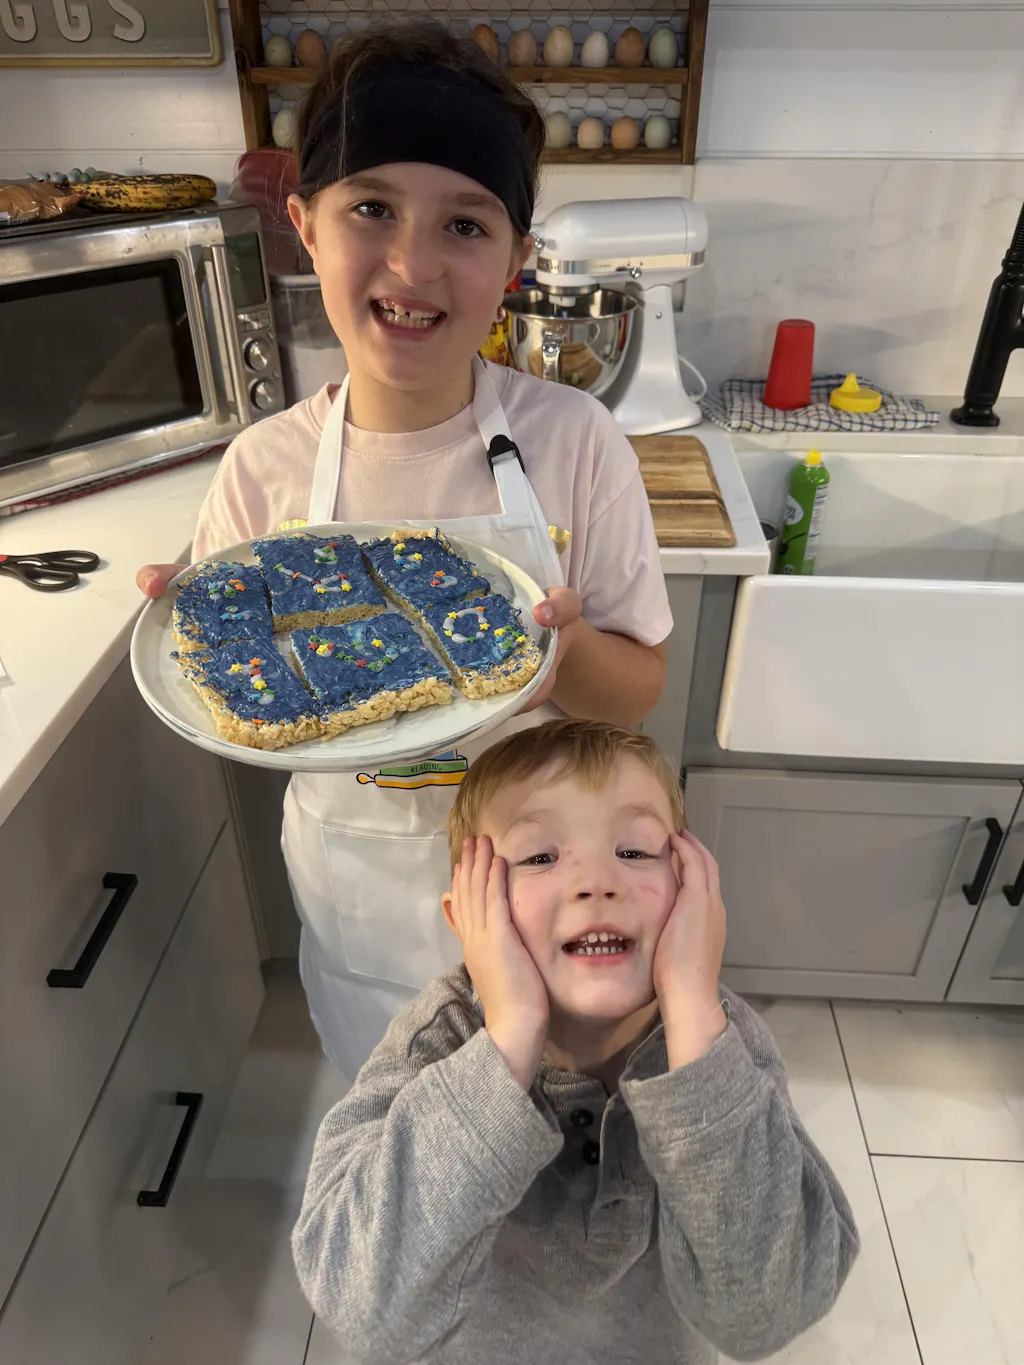
Building Confidence in the Kitchen
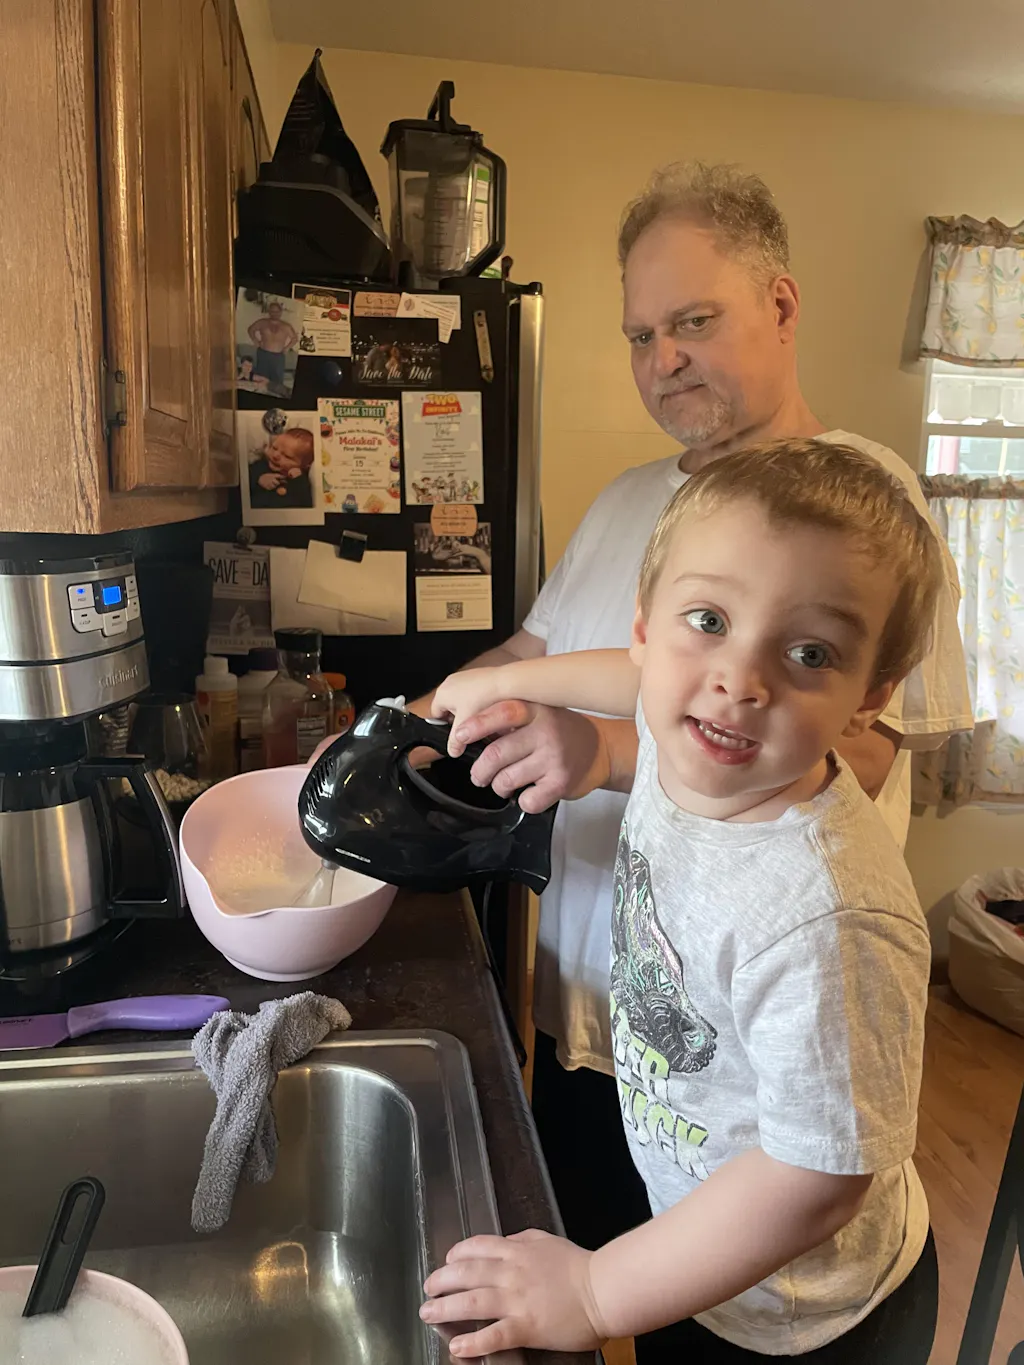
At I'm the Chef Too!, we believe that involving children in the process of preparing their lunch can build their confidence and make them more likely to eat what is packed. While an adult should always handle the boiling water and the reheating of the food, children can help with:
- Choosing the menu for the week.
- Washing vegetables.
- Placing the lid on the lunch bag.
- Testing the temperature (with supervision).
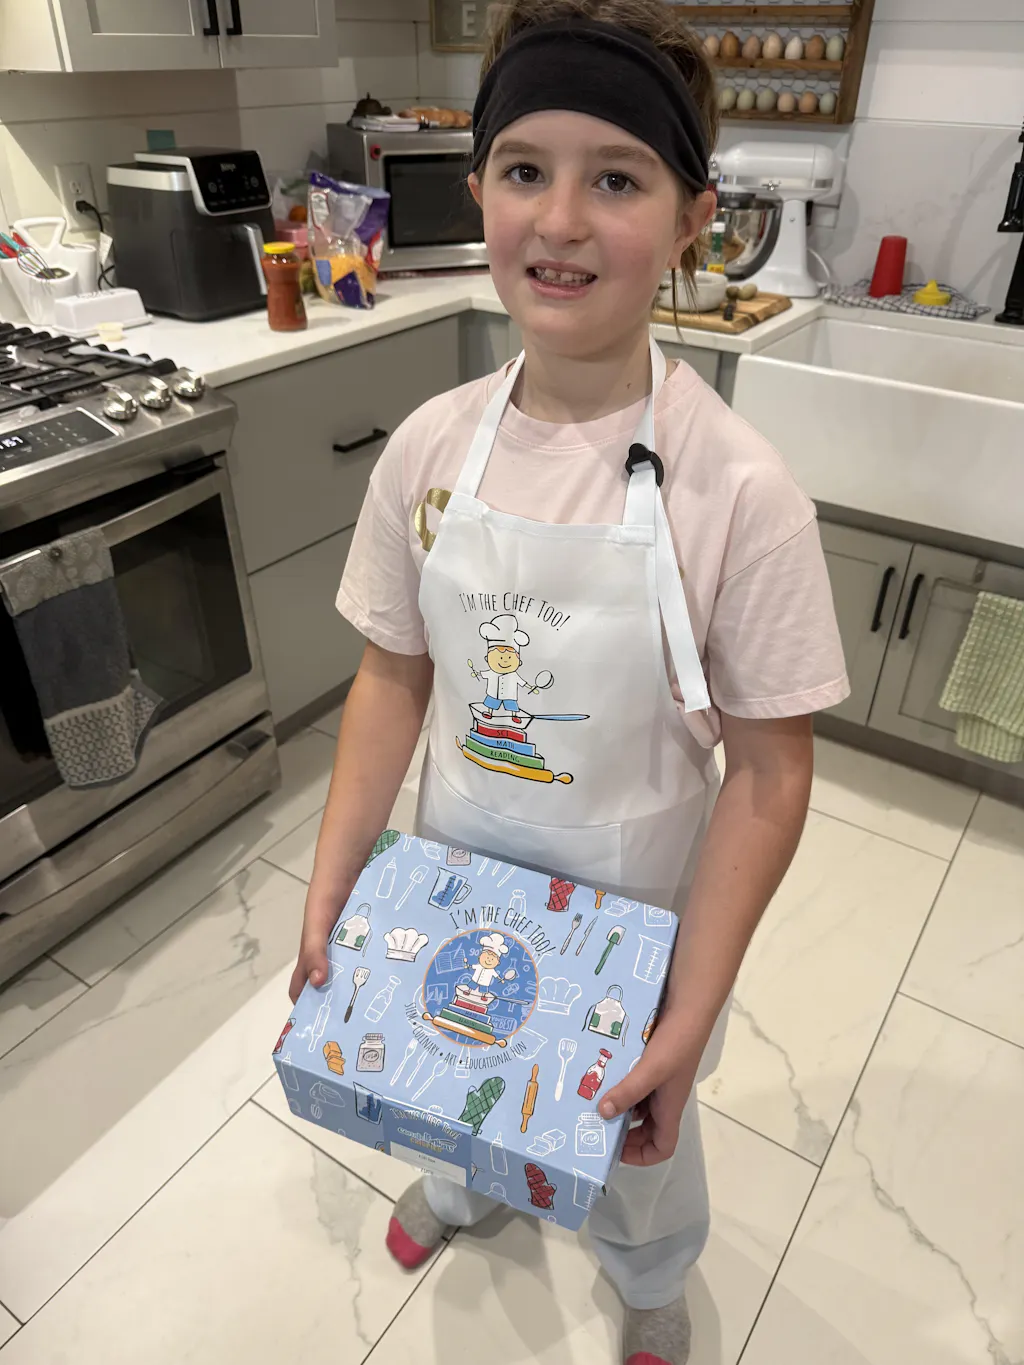
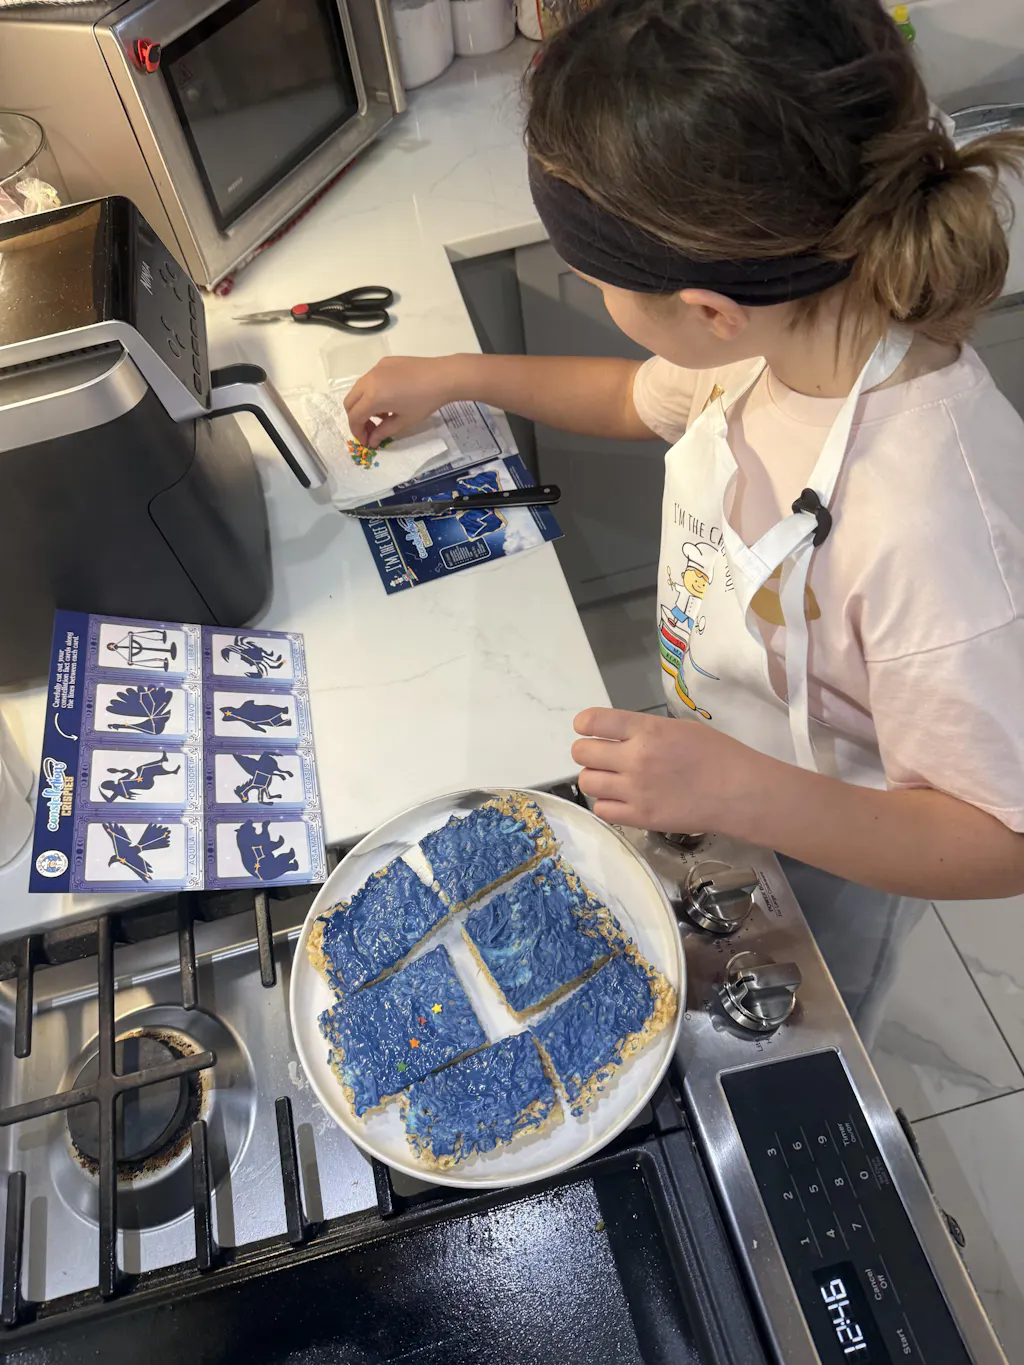
Our kits are designed to foster this same sense of agency. We don't just provide recipes; we provide a journey. For example, a child might learn about geology while making "Erupting Volcano Cakes" or explore the stars while decorating "Galaxy Donuts." This hands-on approach builds a positive relationship with food that carries over into their daily school lunches.
If you want to bring this kind of excitement into your home or classroom, consider our versatile programs for schools and groups. It's a fantastic way to engage a whole group of children in the wonders of STEM through the lens of cooking.
Maintenance and Care for Your Gear
To ensure your insulated containers last for years, proper care is essential.
- Hand Washing is Best: Even if a thermos says it is "dishwasher safe," the high heat and harsh detergents of a dishwasher can eventually break down the vacuum seal. To keep the insulation at its best, wash it by hand with warm, soapy water.
- Deep Clean the Seals: Most lids have a silicone gasket or ring to prevent leaks. These can occasionally trap food particles or mold. Periodically remove the seal and clean it thoroughly to keep everything hygienic.
- Dry Completely: Store your containers with the lids off to allow them to air out completely. This prevents any musty odors from developing.
Hypothetical Case Study: The Dinosaur Lover's Lunch
Imagine a 7-year-old named Leo who is absolutely obsessed with dinosaurs. His parents have been struggling to get him to eat his school lunch. He finds sandwiches "boring" and often comes home with an untouched bag.
His parents decide to try a new approach. On Sunday, they use the I'm the Chef Too! Fudgy Fossil Dig kit as a fun, screen-free weekend activity. Leo learns about paleontology while "excavating" delicious treats. This spark of interest leads to a conversation about what a T-Rex might eat for lunch.
On Monday, his parents pack a "Dino-Stew" (actually a hearty beef and vegetable stew) in a preheated thermos. Because Leo was involved in the cooking process over the weekend and helped "approve" the stew, he is excited to open his lunchbox. The meal stays warm until his 12:15 PM lunch break, and for the first time all year, Leo comes home with an empty container and stories about his "paleontologist fuel."
This is the power of blending food, STEM, and a little bit of strategy. By making the meal an experience rather than a chore, we foster a love for learning that lasts a lifetime. To find the perfect theme for your little learner, browse our complete collection of one-time kits.
Troubleshooting Common Issues
Even with the best preparation, you might run into a few hurdles. Here is how to handle them:
"The lid is stuck!"
Sometimes, the air inside the thermos cools slightly and creates a vacuum, making the lid hard to turn. To prevent this, don't over-tighten the lid. If it does get stuck, running the lid under warm water can sometimes help expand the seal just enough to release it.
"The food is too hot!"
If your child is very young, they might be sensitive to heat. In this case, don't pack the food quite as hot, but be aware that it won't stay warm for as many hours. Always remind your child to test the food with a small bite first.
"My child won't eat soup."
If your child isn't a fan of liquids, stick to dense solids like pasta or rice-based dishes. These provide the best middle ground between heat retention and kid-friendly textures.
Ready for a new adventure every month? Join The Chef's Club and enjoy free shipping on every box. Each box is a complete experience, containing pre-measured dry ingredients and specialty supplies to make your kitchen a laboratory of fun.
Summary of the "Keep it Warm" Strategy
To recap, here is your daily checklist for a successful hot lunch:
- The Gear: Use a high-quality, stainless steel insulated food jar and an insulated lunch bag.
- The Prime: Fill the jar with boiling water for 5-10 minutes before packing.
- The Heat: Ensure the food is heated past the point of immediate consumption.
- The Pack: Dry the jar, add the food, and seal it immediately.
- The Safety: Remind your child not to eat leftovers that come home at the end of the day.
FAQ
Q: Can I put hot dogs in a thermos? A: Yes! A great trick is to put the hot dogs in the preheated thermos and fill the remaining space with the hot water used to boil them. Your child can then take them out and put them in a bun at lunch. Just make sure they have a way to safely pour out or dispose of the hot water, or simply pack the hot dogs "dry" after preheating the jar.
Q: How long can food stay warm in a thermos? A: Most high-quality insulated jars will keep food at a safe temperature for 4 to 6 hours, provided you follow the preheating method.
Q: Is it safe to put milk-based soups in a thermos? A: Yes, as long as the soup is heated to a boil before being packed and is consumed within the 4-to-6-hour window. Dairy can be more sensitive to temperature drops, so extra care should be taken to preheat the container well.
Q: What if I don't have time to boil water in the morning? A: Even using hot tap water is better than nothing, though it won't be as effective as boiling water. If you're in a rush, let the hot tap water sit in the jar for a few minutes while you prepare the rest of the lunch.
Q: Can I pack a hot sandwich? A: You can, but it's challenging. Wrapping a hot sandwich in foil and then placing it in an insulated bag is often more effective than putting it in a jar, as it prevents the bread from becoming too soggy from trapped steam.
Conclusion
Mastering how to keep kids lunch warm is a game-changer for parents and educators alike. It opens up a world of nutritious, comforting possibilities that go far beyond the standard cold sandwich. By investing in the right equipment and taking a few extra minutes to preheat your containers, you can ensure your child enjoys a delicious, home-cooked meal that fuels their body and mind.
At I'm the Chef Too!, we are dedicated to making every meal and every kitchen activity an opportunity for growth and joy. We believe that when children are engaged with their food—whether they are learning the science of heat retention or "baking" their way through a STEM adventure—they develop a lifelong curiosity and a healthy relationship with eating.
We hope these tips help you create many "empty lunchbox" days and wonderful family memories. Ready to take your kitchen adventures to the next level? We invite you to become a part of our community. Ready for a new adventure every month? Join The Chef's Club and enjoy free shipping on every box! Let's make learning delicious, one warm meal at a time.