Table of Contents
- Introduction
- The Magic of the Homemade Toddler Bar
- Recipe 1: Blueberry and Carrot Oatmeal Bars
- Recipe 2: Applesauce and Strawberry "Soft-Bake" Bars
- STEM in the Kitchen: More Than Just a Recipe
- Customizing Your Bars for Picky Eaters
- Recipe 3: The 3-Ingredient "No-Bake" Wonder
- Building Confidence and Family Bonds
- Recipe 4: Banana and Date "Sweetened by Nature" Bars
- Safety and Supervision in the Kitchen
- How to Store and Meal Prep Your Bars
- The Educational Philosophy of I'm the Chef Too!
- Troubleshooting Common Issues
- Bringing STEM Adventures to Your Community
- Nutritional Deep Dive: What’s Inside?
- Creating a Screen-Free Kitchen Environment
- Frequently Asked Questions (FAQ)
- Conclusion
Introduction
How many times have you reached into your pantry for a quick snack, only to find that every pre-packaged bar is loaded with mysterious syrups, artificial colors, and more sugar than a birthday cake? It is a common struggle for parents who want to provide wholesome nutrition without spending every waking hour in the kitchen. If you have ever wondered how to bridge the gap between "healthy" and "something my child will actually eat," you are in the right place.
At I’m the Chef Too!, we believe that the kitchen is the most important laboratory in the house. Our mission is to blend food, STEM, and the arts into one-of-a-kind "edutainment" experiences that get kids excited about what they are eating and how it’s made. We are committed to sparking curiosity and creativity in children, facilitating family bonding, and providing a screen-free educational alternative to the usual afternoon routine.
In this post, we are going to explore the wonderful world of the homemade toddler bar recipe. We will cover everything from a nutrient-dense Blueberry Carrot Oat Bar to soft Applesauce Strawberry Squares and even a simple 3-ingredient peanut butter snack. Beyond just the recipes, we’ll dive into the science of baking, the math of measuring, and how you can turn a simple snack-making session into a lasting memory for your little learner. By the time you finish reading, you’ll have a full toolkit of recipes and educational tips to make snack time the best part of your day.
The Magic of the Homemade Toddler Bar
When we think about toddler snacks, convenience is usually the top priority. However, homemade bars offer something that store-bought versions simply can’t: total control. When you follow a toddler bar recipe at home, you aren’t just making food; you are curating the fuel your child needs for growth, brain development, and play.
At I'm the Chef Too!, our unique approach involves teaching complex subjects through tangible, hands-on, and delicious cooking adventures. Making bars is a fantastic way to introduce these concepts. Why do oats get soft? How does an egg help things stick together? These are the building blocks of early childhood STEM.
Ready for a new adventure every month? Join The Chef's Club and enjoy free shipping on every box.
Why Oats are the Perfect Base
Most of the recipes we love for toddlers use oats as a foundation. Oats are a nutritional powerhouse for growing bodies. They provide complex carbohydrates for sustained energy, meaning your toddler won’t have that dreaded sugar crash twenty minutes after eating. They are also packed with fiber, which is essential for a healthy digestive system.
From a culinary perspective, oats are incredibly versatile. You can use quick oats for a softer, more uniform texture, or rolled oats for a heartier, chewier bite. If your child is sensitive to textures, you can even pulse oats in a blender to create "oat flour," which acts as a nutritious binder for the bars.
Recipe 1: Blueberry and Carrot Oatmeal Bars
This is one of our favorite ways to sneak in a serving of vegetables while keeping things sweet and vibrant. The carrots blend beautifully into the batter, providing vitamin A and a lovely moistness, while the blueberries offer bursts of antioxidants and natural sweetness.
Ingredients You’ll Need
- Quick or Instant Oats (3/4 cup): These provide the structure. If you only have rolled oats, just give them a quick pulse in the food processor.
- Whole Wheat Flour (1/2 cup): This helps the bars hold their shape. You can substitute a gluten-free all-purpose blend if needed.
- Baking Powder (1/2 tsp): For a little bit of lift.
- Cinnamon (1/2 tsp): For that warm, comforting aroma.
- Melted Coconut Oil or Butter (1/4 cup): Provides healthy fats for brain development.
- Almond Butter (1/4 cup): Adds protein and creaminess. Use sunflower seed butter for a nut-free version.
- Maple Syrup (1/4 cup): A natural sweetener. Remember to avoid honey for children under one year old.
- Grated Carrot (1/2 cup): Use a fine grater so they melt into the bars.
- Blueberries (1/2 cup): Fresh or frozen work well!
Step-by-Step Instructions
- Preparation: Preheat your oven to 375°F. Line an 8x8-inch pan with parchment paper. We recommend leaving a little overhang on the sides so you can easily lift the bars out later.
- Mixing the Base: In a medium bowl, combine the oats, flour, baking powder, cinnamon, and salt.
- Adding the Wet Ingredients: Stir in the melted oil, almond butter, maple syrup, and an optional egg (if you want a cakier texture).
- Folding in the Produce: Gently fold in the grated carrots and blueberries. Try not to smash the berries so they stay intact for those delicious "pops" of flavor.
- Baking: Press the mixture firmly into the pan. Bake for 24-26 minutes until the edges are golden.
- The Hardest Part: Let them cool completely! If you cut them while warm, they may crumble.
Pro Tip: Involving your toddler in the grating process (with a child-safe grater and supervision) is a great way to talk about the biology of plants. "Look how the carrot changes from a solid stick into tiny ribbons!"
Recipe 2: Applesauce and Strawberry "Soft-Bake" Bars
If your toddler prefers the texture of a soft-baked granola bar, this recipe is a winner. It uses applesauce as a natural sweetener and moisture-maker, creating a texture that is easy for little teeth to chew.
The Power of Applesauce
Applesauce is a secret weapon in healthy baking. It allows you to reduce the amount of oil or butter needed while adding fiber and vitamin C. For this toddler bar recipe, we use unsweetened applesauce to keep the sugar content low.
Ingredients
- Rolled Oats (1.5 cups)
- All-Purpose Flour (1 cup)
- Unsweetened Applesauce (1 cup)
- Melted Butter or Coconut Oil (1/2 cup)
- Brown Sugar or Coconut Sugar (1/4 cup)
- Egg (1)
- Diced Strawberries (1/2 cup)
- Vanilla and Cinnamon (1 tsp each)
Instructions
This is a true one-bowl wonder. Simply mix your dry ingredients, stir in your wet ingredients, and fold in the strawberries last. Spread the batter into a greased pan and bake at 350°F for about 30 minutes.
These bars are fantastic for on-the-go snacking. Because they are so soft, they mimic the texture of popular commercial bars but with ingredients you can actually pronounce.
STEM in the Kitchen: More Than Just a Recipe
At I'm the Chef Too!, we see every recipe as a lesson plan. When you are making a toddler bar recipe, you are introducing your child to the foundations of science and math.
Mathematics of Measuring
Even a two-year-old can start to understand volume. "Can you help me fill this 1/2 cup with oats?" As they pour and level off the ingredients, they are practicing fine motor skills and early spatial awareness. For older toddlers, you can talk about fractions—showing how two half-cups make one whole cup.
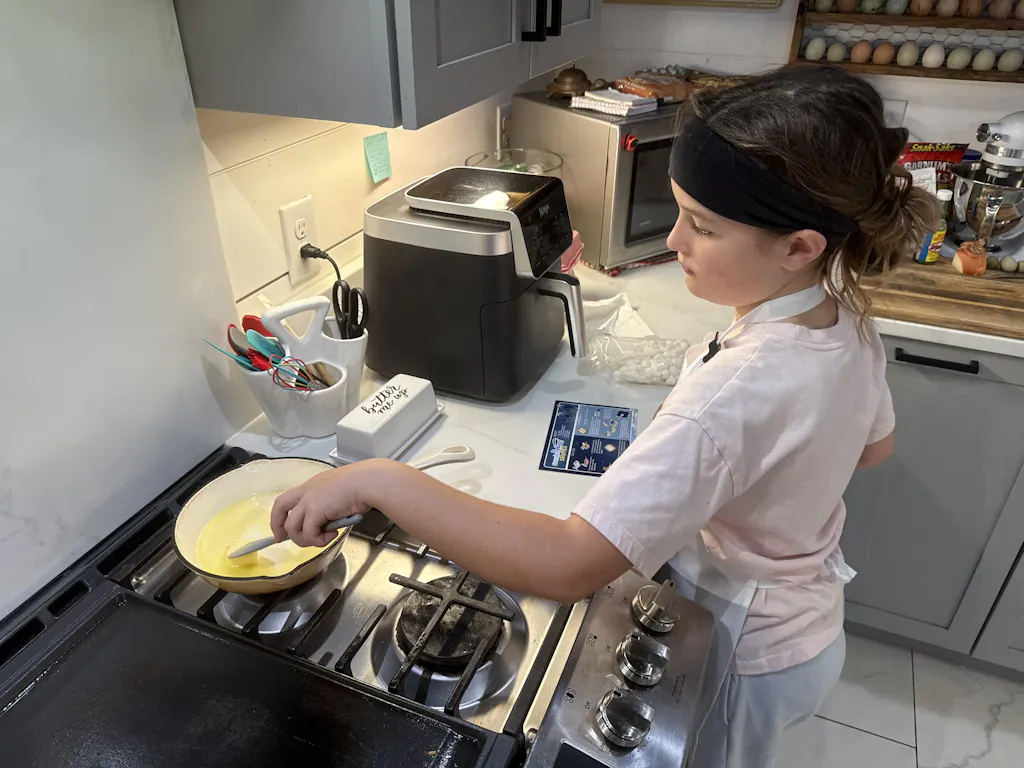
The Chemistry of Heat
Baking is essentially a series of chemical reactions. When you put a wet, gooey batter into a hot oven and it comes out as a solid, golden bar, that is magic to a child. You can explain that the heat makes the "baking powder bubbles" grow, which is what makes the bars light and airy.
If your child is fascinated by how things change state, they might love exploring geology through food with a chemical reaction that makes our Erupting Volcano Cakes bubble over with deliciousness. It’s the same principle as the baking powder in your bars, but on a much more dramatic scale!
Customizing Your Bars for Picky Eaters
Every child is different. Some love the crunch of seeds, while others will pick out every single "green bit" or "red bit" they see. The beauty of a homemade toddler bar recipe is its flexibility.
The "Mix-In" Strategy
Think of the oat and binder base as a blank canvas. Here are some nutrient-dense add-ins to consider:
- Ground Flax or Chia Seeds: These add Omega-3 fatty acids, which are crucial for brain health.
- Hemp Hearts: A great source of plant-based protein.
- Shredded Coconut: Adds a fun texture and healthy fats.
- Finely Chopped Spinach: If you have a very picky eater, you can steam and puree a handful of spinach and mix it into the applesauce. The bars might turn a funny shade of green, but you can call them "Monster Bars" or "Dinosaur Bars" to make it exciting!
Speaking of dinosaurs, if you have a little one who loves prehistoric adventures, they could try our Fudgy Fossil Dig kit for a screen-free weekend activity that turns baking into an archeological exploration. Find the perfect theme for your little learner by browsing our complete collection of one-time kits.
Recipe 3: The 3-Ingredient "No-Bake" Wonder
Sometimes, you just don't want to turn on the oven. Or perhaps it's a hot summer day and the idea of a 375°F kitchen is unbearable. This no-bake toddler bar recipe is perfect for those moments.
Ingredients
- Quick Oats (2 cups)
- Natural Peanut Butter (1 cup)
- Honey or Maple Syrup (1/4 cup)
Instructions
- Warm the Binder: In a microwave-safe bowl, combine the peanut butter and honey. Heat for 30 seconds until "drippy" and easy to stir.
- Combine: Pour the oats into the peanut butter mixture and stir until every oat is coated.
- Press and Set: Press the mixture into a parchment-lined pan and refrigerate for at least an hour.
- Slice: Once set, slice into small bite-sized squares.
This recipe is incredibly dense and filling, making it a great "bridge" snack between lunch and dinner. It’s also very easy for toddlers to help with, as there is no raw egg or hot oven involved in the mixing stage.
Building Confidence and Family Bonds
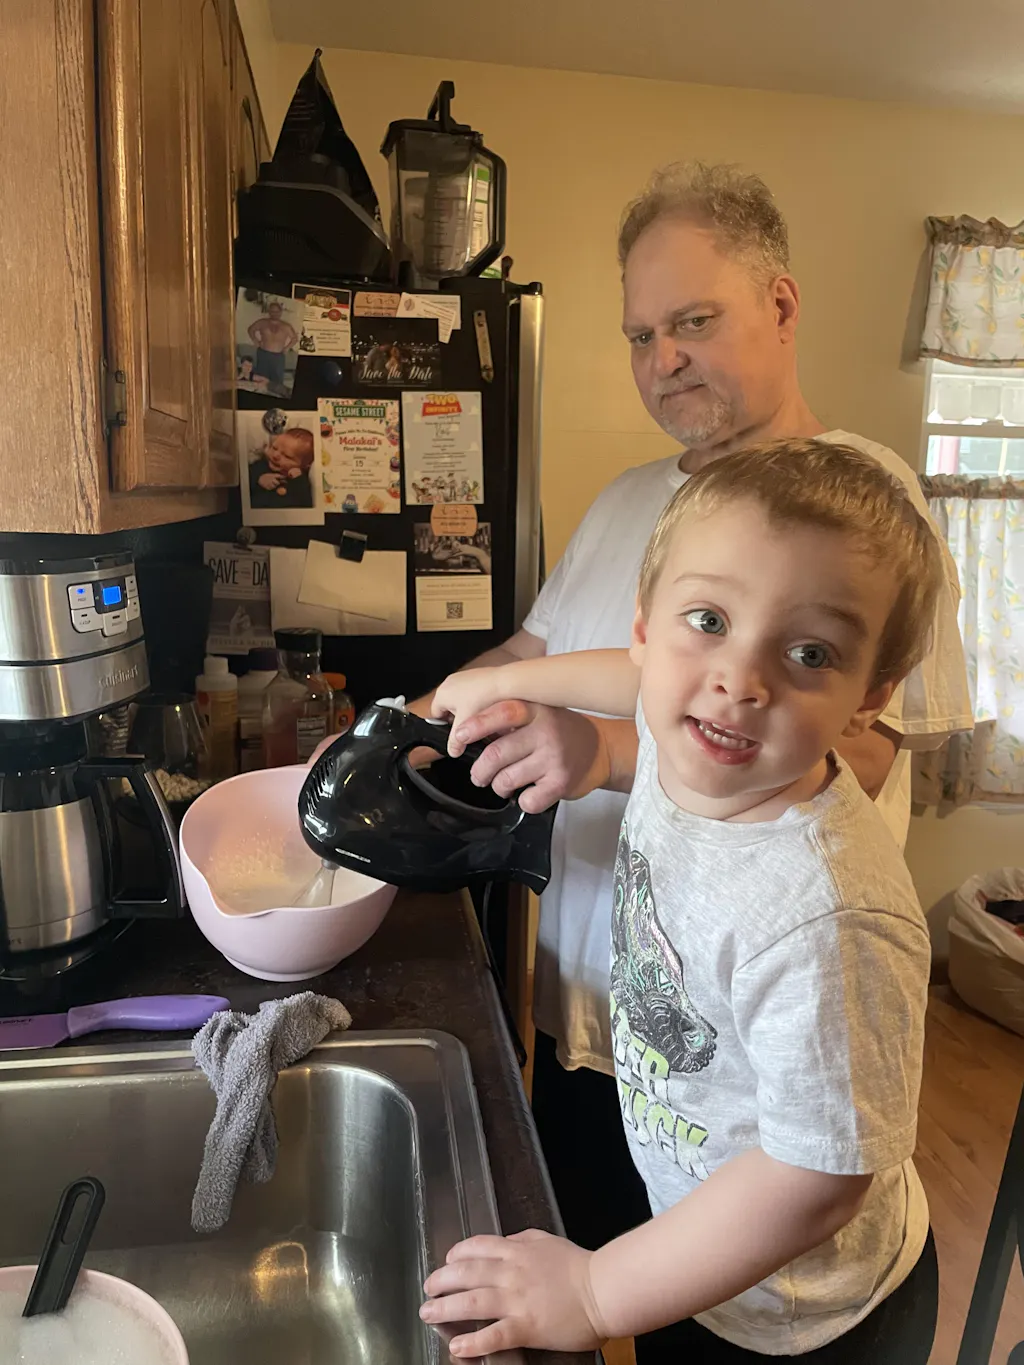
One of our core values at I’m the Chef Too! is fostering family bonding. In a world of screens and digital distractions, the kitchen offers a rare opportunity for tactile, face-to-face interaction.
When a toddler helps mash a banana or stir a bowl of oats, they aren't just "helping"—they are building confidence. They see a tangible result of their hard work. "I made this!" is a powerful sentiment for a small child. This sense of agency can even lead to a greater willingness to try new foods. If they helped grate the carrot, they are much more likely to eat the carrot!
Ready for a new adventure every month? Join The Chef's Club and enjoy free shipping on every box.
Recipe 4: Banana and Date "Sweetened by Nature" Bars
If you are looking for a bar that feels like a treat but contains zero added sugar, this banana and date version is the answer. Dates are often called "nature's candy" because of their deep, caramel-like sweetness.
Ingredients
- 3 Ripe Bananas: The spottier, the better!
- Rolled Oats (2 1/4 cups)
- Peanut Butter (1/2 cup)
- Pitted Dates (1/2 cup): Chopped into very small pieces.
- Dried Cranberries (1/2 cup)
Instructions
- Mash: Let your toddler go to town mashing the bananas in a large bowl.
- Stir: Add the peanut butter and stir until smooth.
- Fold: Add the oats, dates, and cranberries.
- Bake: Press into a 9x9 pan and bake at 350°F for 20-25 minutes.
The dates provide a chewy texture that toddlers find interesting. It’s also a great way to talk about where food comes from. Do dates grow on trees? How do they get so sticky? Every ingredient is an opportunity for a mini-lesson.
Safety and Supervision in the Kitchen
While we want kids to be as hands-on as possible, safety is always our first priority. Here are a few tips for keeping your kitchen adventures joyful and injury-free:
- The "Safe Zone": Establish a spot on the counter or a sturdy kitchen tower where the child stays. This keeps them away from the hot stove and sharp knives.
- Tasting Rules: Teach them that we don't taste anything until an adult says it's okay (especially if the recipe contains raw eggs).
- Heat Awareness: Use the oven light! Kids love to watch their bars bake through the glass. This satisfies their curiosity without them needing to get close to the heat.
- Choking Hazards: For very young toddlers, ensure that nuts are finely ground or replaced with smooth nut butters, and large berries are halved.
Even beloved animals can make learning fun, like when kids make Wild Turtle Whoopie Pies. This kit is a perfect example of how we frame kitchen activities with safety and adult supervision in mind, while still letting the child's creativity shine through.
How to Store and Meal Prep Your Bars
One of the best things about a toddler bar recipe is that it’s almost always freezer-friendly. As parents, we know that some days are just too busy for baking.
Refrigeration
Most homemade bars will last in an airtight container in the fridge for about 5 to 7 days. Because they contain fresh fruit and vegetables (like carrots or blueberries), they don't have the shelf life of highly processed store-bought bars. Keeping them in the fridge also helps them maintain their structure and stay "chewy" rather than "crumbly."
Freezing for the Future
To freeze, we recommend slicing the bars first. Place them on a baking sheet in a single layer and freeze for an hour. Once they are "flash-frozen," you can toss them all into a freezer bag. This prevents them from sticking together in one big clump.
When you need a snack, just pull one out! It will thaw in a lunchbox by mid-morning, or you can give it a 15-second zap in the microwave for a warm treat.
The Educational Philosophy of I'm the Chef Too!
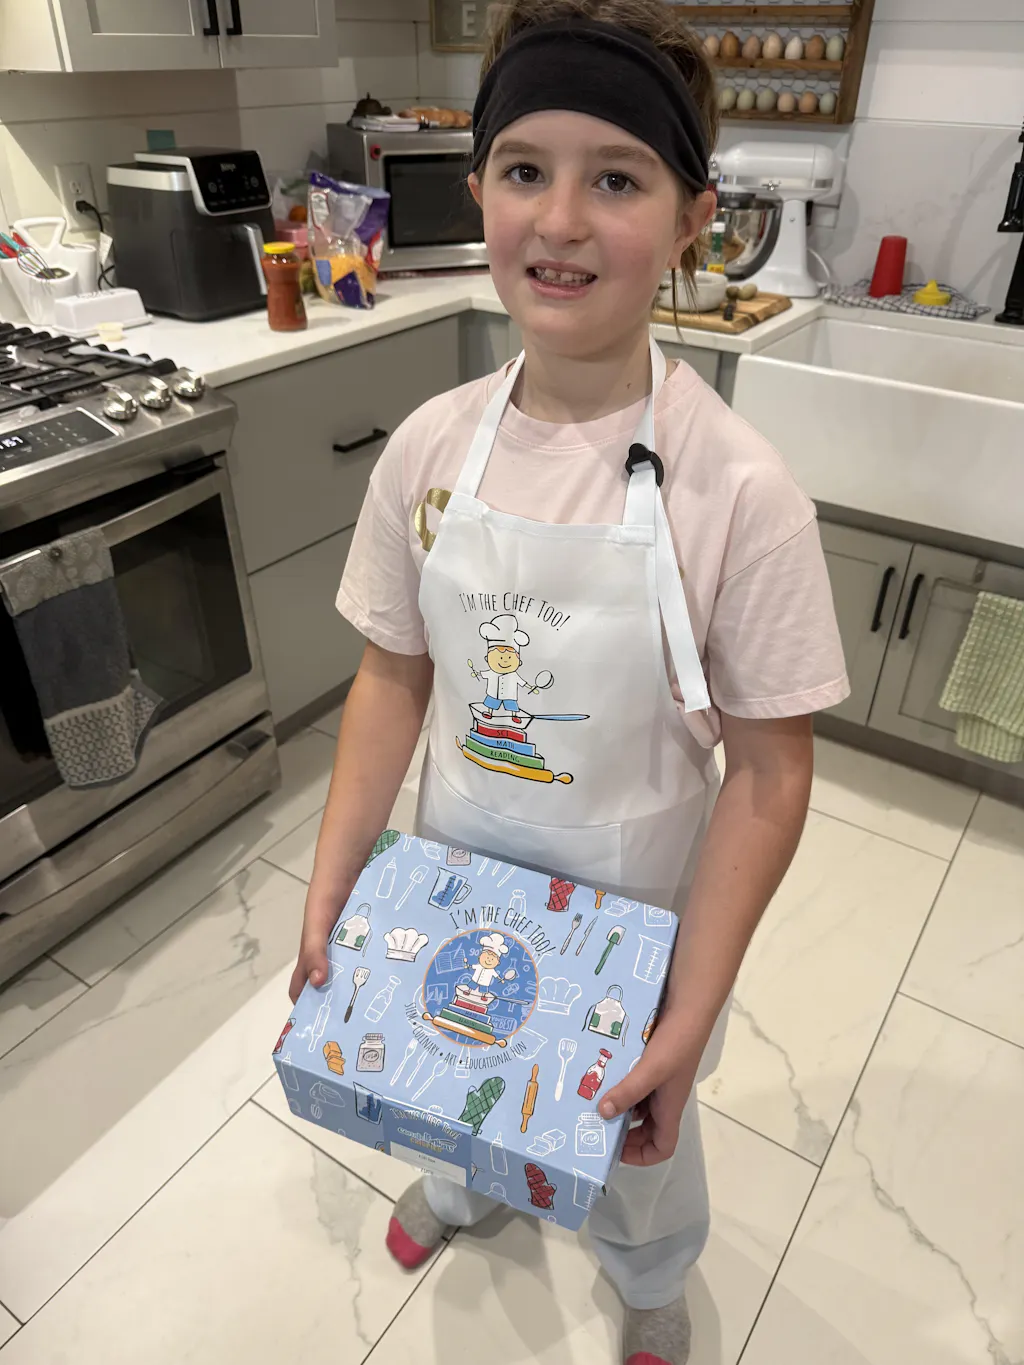
At the heart of every recipe we share is a commitment to "edutainment." We don’t just want to give you a toddler bar recipe; we want to give you a gateway to learning.
Our approach is developed by mothers and educators who understand that children learn best when they can see, touch, and taste the concepts being taught. Whether you are exploring astronomy by creating your own edible solar system with our Galaxy Donut Kit or simply measuring oats for a snack, you are building a foundation of literacy, numeracy, and scientific inquiry.
We focus on fostering a love for learning and building confidence. While we don't suggest that one batch of oatmeal bars will turn your child into a world-renowned scientist overnight, we do believe that these small, joyful moments in the kitchen create a lifetime of curiosity.
Troubleshooting Common Issues
Even the best toddler bar recipe can sometimes go awry. Here is how to fix the most common "oops" moments in the kitchen:
"My bars are falling apart!"
This usually happens for two reasons: they haven't cooled enough, or there wasn't enough "binder." Next time, try adding an extra egg or a tablespoon more of nut butter/honey. Also, make sure you press the mixture into the pan very firmly before baking.
"The bars are too hard/dry."
You might have overbaked them. Oven temperatures can vary, so start checking your bars 5 minutes before the recipe says they'll be done. They should look set and slightly golden, but still feel a little soft to the touch in the center. They will firm up as they cool.
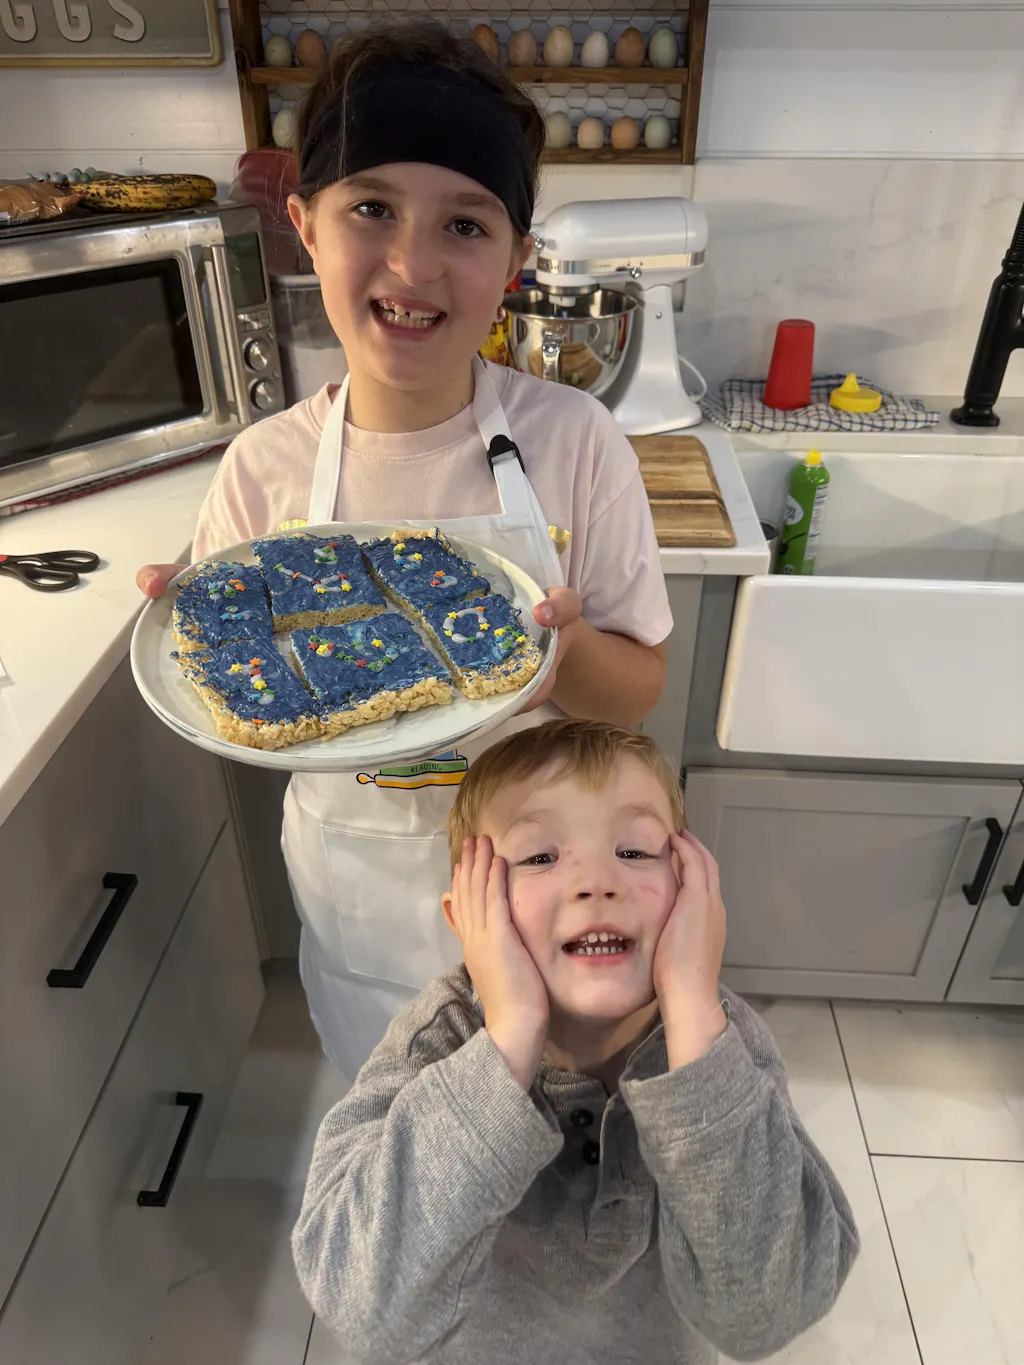
"My toddler won't touch them!"
Don't give up! Sometimes it takes several exposures to a new food before a child is willing to try it. Try changing the shape—use cookie cutters to make "Star Bars" or "Dinosaur Bites." Presentation is everything!
Bringing STEM Adventures to Your Community
Are you an educator or a homeschool co-op leader? Our hands-on learning doesn't have to stay in your home kitchen. We offer specialized programs designed for larger groups that bring the same level of engagement and "edutainment" to the classroom.
Bring our hands-on STEM adventures to your classroom, camp, or homeschool co-op. Learn more about our versatile programs for schools and groups, available with or without food components.
Nutritional Deep Dive: What’s Inside?
Let’s take a closer look at the "Big Three" macronutrients in these bars and why they matter for your toddler.
1. Complex Carbohydrates (Oats and Whole Wheat)
Carbs are the primary fuel for the brain. For a toddler who is constantly learning new words and navigating social situations, a steady supply of glucose is essential. Complex carbs break down slowly, providing a "slow burn" of energy rather than a spike and crash.
2. Healthy Fats (Coconut Oil, Nut Butters, Seeds)
Did you know that about 60% of the human brain is made of fat? Toddlers need high-quality fats for myelination—the process of insulating nerve fibers so that brain signals can travel faster. Using ingredients like almond butter or flax seeds in your toddler bar recipe directly supports this development.
3. Protein (Eggs, Nuts, Oats)
Protein is the building block of muscles, skin, and enzymes. While toddlers don't need massive amounts of protein, having a little bit in every snack helps them feel full and satisfied.
Creating a Screen-Free Kitchen Environment
One of the biggest challenges modern parents face is the lure of the tablet or TV. By making the kitchen a "Learning Lab," you provide an alternative that is just as engaging but far more beneficial.
When you are working on a toddler bar recipe, turn off the background noise. Listen to the sound of the whisk against the bowl. Smell the cinnamon as it hits the warm batter. Ask questions: "What does this feel like?" "What do you think will happen when we put this in the oven?"
These sensory experiences are the foundation of mindfulness and focus—skills that will serve your child well into their school years and beyond.
Frequently Asked Questions (FAQ)
Can I make these bars nut-free for school?
Absolutely. In any toddler bar recipe that calls for peanut or almond butter, you can use sunflower seed butter (SunButter) or tahini. Both provide a similar texture and plenty of healthy fats without the allergy risk.
Are these bars okay for babies who are just starting solids?
For babies under 12 months, you must omit the honey (to avoid botulism risk) and ensure the bars are very soft. The Applesauce and Strawberry "Soft-Bake" recipe is usually a good choice for older babies who have mastered chewing, but always consult with your pediatrician first.
How do I stop my blueberries from sinking to the bottom?
A classic baker's trick! Toss your blueberries in a teaspoon of flour before folding them into the batter. The flour coating helps them "grip" the dough so they stay suspended throughout the bar rather than sinking to the bottom.
Can I use frozen fruit?
Yes! Frozen blueberries or strawberries work well. Just be aware that they can sometimes add extra moisture to the batter, so you might need to bake the bars for an extra 2-3 minutes. Don't thaw them before adding; toss them in while they are still frozen to prevent the juice from turning the whole batter purple (unless you want "Purple Monster Bars"!).
What is the best way to cut the bars cleanly?
Wait until the bars are completely cool—room temperature is okay, but chilled from the fridge is even better. Use a large, sharp knife and wipe it clean between each cut. This will give you those perfect, Instagram-worthy squares.
Conclusion
Creating the perfect healthy toddler bar recipe is about more than just filling a lunchbox. It’s about taking a moment to slow down and connect with your child over the simple wonder of ingredients becoming a meal. At I'm the Chef Too!, we are honored to be a part of that journey. Our mission to blend food, STEM, and the arts is fueled by the belief that every child is a natural-born scientist and artist, just waiting for the right tools to express themselves.
By choosing to make your own snacks, you are prioritizing your child's health, fostering their curiosity, and creating memories that will last far longer than the snack itself. Whether you're mashing bananas, measuring oats, or watching "lava" erupt from a cake, you are providing your child with a rich, screen-free educational experience that nourishes both the body and the mind.
We hope these recipes and tips inspire you to get into the kitchen this weekend. Remember, it doesn't have to be perfect—it just has to be fun!