Table of Contents
- Introduction
- The Science of Stickiness: Why Rice Balls Work
- The Basic Cheesy Veggie Rice Ball Recipe
- Exploring Japanese Culture with Traditional Onigiri
- The Baked Salmon and Dill Rice Ball: A Nutritional Powerhouse
- Sensory Play and Fine Motor Skills in the Kitchen
- Tips for Success with Your Toddler Rice Ball Recipe
- Incorporating Rice Balls into a Balanced Lunchbox
- Encouraging Picky Eaters through "Food Art"
- Safety First in the Kitchen
- How Rice Balls Foster Long-term Learning
- Frequently Asked Questions
- Conclusion
Introduction
Have you ever finished a meal only to find more rice on the floor, in the chair cracks, and in your toddler’s hair than actually made it into their tummy? We have all been there. Rice is a fantastic, energy-giving grain, but for little hands still mastering the art of the spoon, those tiny individual grains can be a logistical nightmare. This is where the magic of the toddler rice ball recipe comes into play. By transforming loose grains into compact, easy-to-grip shapes, we turn a messy meal into a handheld adventure.
At I’m the Chef Too!, we believe that the kitchen is the ultimate laboratory for learning. Our mission is to blend food, STEM, and the arts into one-of-a-kind "edutainment" experiences that spark curiosity in children of all ages. Whether you are a seasoned home cook or a busy parent looking for a quick lunch solution, making rice balls is a wonderful way to facilitate family bonding while sneaking in some extra nutrition.
In this blog post, we will explore the science behind what makes rice sticky, provide several variations of a toddler rice ball recipe—ranging from cheesy veggie bites to traditional Japanese-inspired onigiri—and discuss how these kitchen activities help develop fine motor skills and a love for healthy eating. By the end of this guide, you will have a toolkit of recipes and tips to make rice balls a staple in your household. Our main goal is to show you how a simple kitchen task can foster a love for learning, build confidence in your little chef, and create joyful family memories without the stress of a screen.
The Science of Stickiness: Why Rice Balls Work
Before we dive into the cooking, let’s talk about the "why" behind the recipe. This is a perfect moment to introduce a little STEM (Science, Technology, Engineering, and Math) into your day. Have you ever wondered why some rice stays fluffy and separate while other types stick together in a big clump? It all comes down to starch.
Rice contains two main types of starch: amylose and amylopectin. Long-grain rice, like Basmati, is high in amylose, which keeps the grains firm and distinct. Short-grain rice, such as sushi rice or Arborio, is higher in amylopectin. When cooked, amylopectin breaks down and becomes sticky, acting like a natural glue.
When we create a toddler rice ball recipe, we are essentially acting as edible engineers. We are using the chemical properties of starch—and sometimes binders like cheese or eggs—to create a structural form that can withstand the "grip test" of a hungry two-year-old. This hands-on exploration of textures is a core part of our educational philosophy. We love teaching complex subjects through tangible, hands-on, and delicious cooking adventures.
If your child is fascinated by how things stick together or change shape, they might love exploring other "edible engineering" projects. Ready for a new adventure every month? Join The Chef's Club and enjoy free shipping on every box. It is the perfect way to keep that curiosity alive with new themes delivered right to your doorstep.
The Basic Cheesy Veggie Rice Ball Recipe
This is our go-to "beginner" toddler rice ball recipe. it is incredibly versatile, uses common pantry staples, and is a fantastic way to use up leftover rice from last night’s dinner.
Ingredients:
- 1 cup fully cooked rice (Short-grain white or jasmine works best for stickiness)
- 1/2 cup shredded cheddar cheese (or your toddler's favorite mild cheese)
- 1/4 cup finely minced steamed broccoli or carrots
- 1 teaspoon unsalted butter
- A pinch of garlic powder (optional for flavor)
Instructions:
- Warm the Rice: If you are using leftover rice, place it in a heat-safe bowl and warm it for 30-60 seconds. Warm rice is essential because it helps melt the cheese, which acts as the binder.
- Mix in the Magic: Add the shredded cheese, butter, and finely minced vegetables to the warm rice. Stir vigorously. You will see the cheese start to melt and the mixture become tacky.
- Seasoning: If you want to expand your toddler's palate, add a tiny bit of garlic powder or cumin.
- Forming the Balls: Use a mini ice cream scoop or a tablespoon to portion out the rice. With slightly damp hands (this prevents sticking to your skin!), roll the portion into a firm ball, about the size of a golf ball.
- Serve: Let them cool slightly so they firm up even more.
These bite-sized treats are perfect for little fingers and provide a balanced mix of carbohydrates, fats, and vitamins. If you find your little one loves the process of shaping and creating, they might be ready to find the perfect theme for your little learner by browsing our complete collection of one-time kits.
Exploring Japanese Culture with Traditional Onigiri
While the cheesy version is a modern Western favorite, rice balls have a long and beautiful history in Japan, known as Onigiri. Traditionally, these are made with plain steamed sushi rice and often feature a hidden filling in the center. They are a staple of bento boxes because they are portable and stay fresh at room temperature for several hours.
Introducing your toddler to Onigiri is a wonderful way to celebrate global flavors and cultural traditions. It also introduces the concept of "hidden" surprises in food, which can be very exciting for a curious child.
The Ingredients for Onigiri:
- 1 cup short-grain sushi rice
- 1 1/4 cups water
- Filling ideas: Canned tuna mixed with a tiny bit of mayo, flaked cooked salmon, or even a small piece of avocado.
- Optional: Small strips of Nori (seaweed) for a handle.
The Traditional Method:
- Wash the Rice: This is a great sensory activity! Place the dry rice in a bowl and cover it with water. Have your toddler "swish" the rice around. Drain the cloudy water and repeat 4-5 times until the water runs clear. This removes excess surface starch, ensuring the rice is sticky but not "mushy."
- The Soak: Let the rice soak in the measured water for about 30 minutes before turning on the heat. This helps the grains cook evenly.
- The Steam: Bring to a boil, then reduce to low, cover, and simmer for 15 minutes. Turn off the heat and—this is the hard part—leave the lid on for another 15 minutes to let it steam perfectly.
- The Shaping: While the rice is still warm, take a small handful. Make a small indentation with your thumb and place a tiny amount of filling inside. Close the rice over the filling and press firmly.
Pro Tip: In Japan, Onigiri are often shaped into triangles. You can use an onigiri mold to make this easier, or just stick to the classic ball shape. If you use a piece of seaweed at the bottom, it gives your toddler a non-sticky place to hold!
Creating these beautiful, functional shapes is a form of art. At I'm the Chef Too!, we love how the arts can be integrated into the kitchen. For more artistic and edible adventures, you can give the gift of learning that lasts all year with a 12-month subscription to our STEM cooking adventures.
The Baked Salmon and Dill Rice Ball: A Nutritional Powerhouse
For parents looking to introduce more Omega-3 fatty acids and protein, the baked salmon rice ball is a game-changer. This recipe uses an egg as a binder and is finished in the oven, giving the outside a slightly golden, firm texture that toddlers love to gnaw on.
Why Salmon?
Salmon is excellent for brain development, but its strong flavor can sometimes be intimidating for kids. When flaked into a rice ball with mild rice and familiar peas, it becomes much more approachable.
Ingredients:
- 1/4 lb cooked salmon filet, flaked (ensure all bones are removed!)
- 1 cup cooked brown rice (for extra fiber)
- 1/2 cup frozen peas, thawed
- 1/4 cup grated parmesan cheese
- 1 large egg, beaten
- 1/2 teaspoon dried dill
Instructions:
- Prep: Preheat your oven to 350°F and line a baking sheet with parchment paper.
- Combine: In a large bowl, mix the cooked rice, flaked salmon, peas, parmesan, and dill.
- Bind: Pour the beaten egg over the mixture and stir until everything is well-coated. The egg will act as a "glue" when it bakes.
- Scoop and Bake: Form 1.5-inch balls and place them on the baking sheet.
- The Finish: Bake for about 18-20 minutes. The balls should feel firm to the touch but still be moist on the inside.
This recipe is a great example of how we can use heat to change the state of our ingredients—another fun STEM concept! Just like how a chemical reaction makes our Erupting Volcano Cakes kit bubble over with deliciousness, the heat in the oven transforms a loose rice mixture into a solid, portable snack.
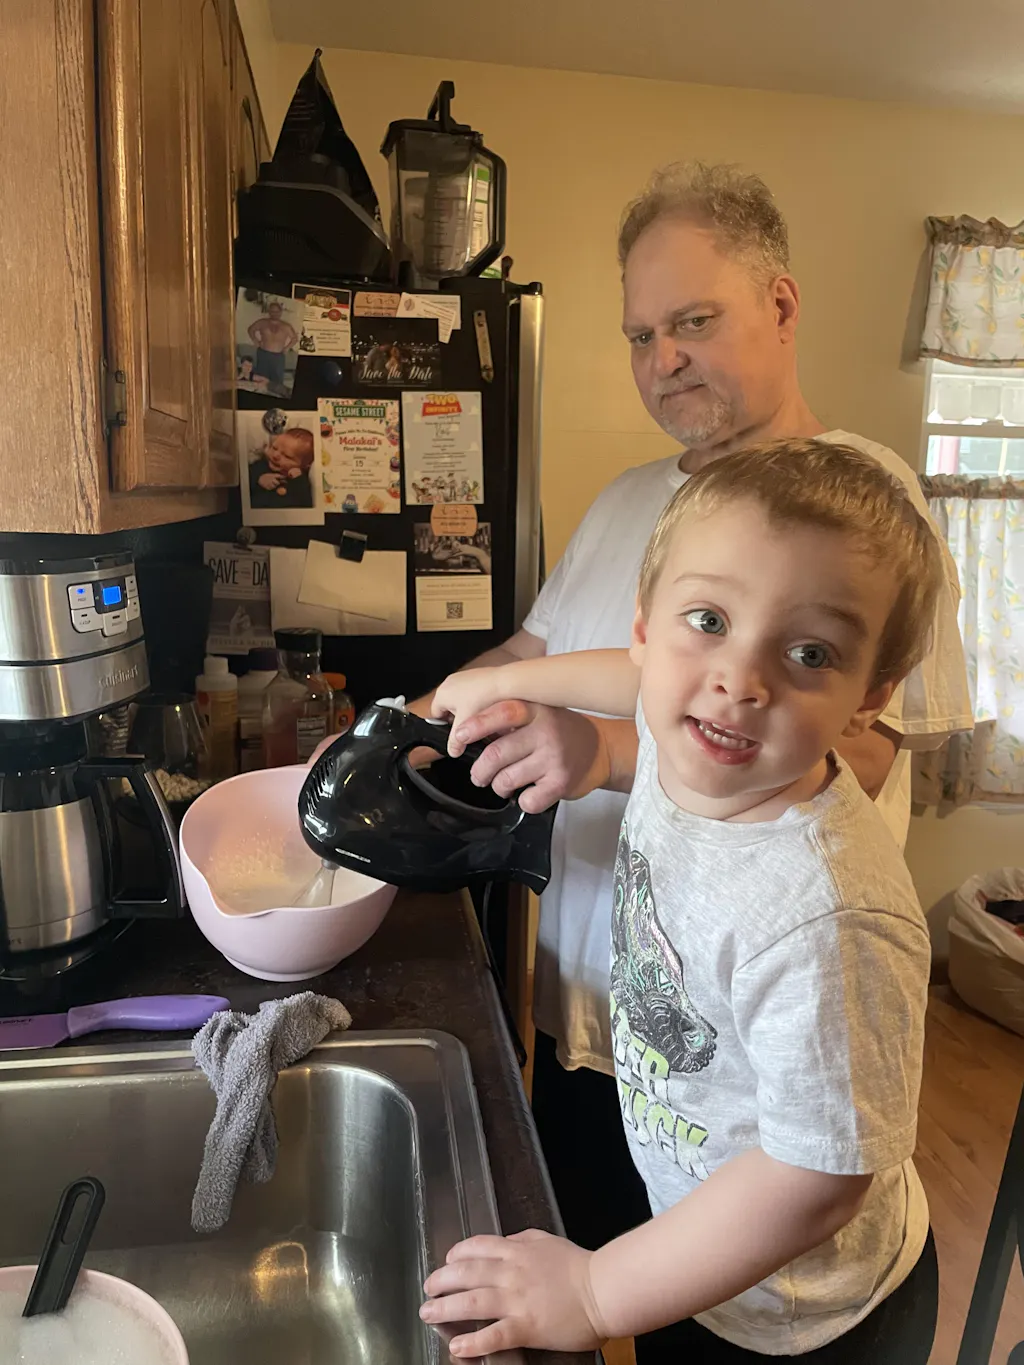
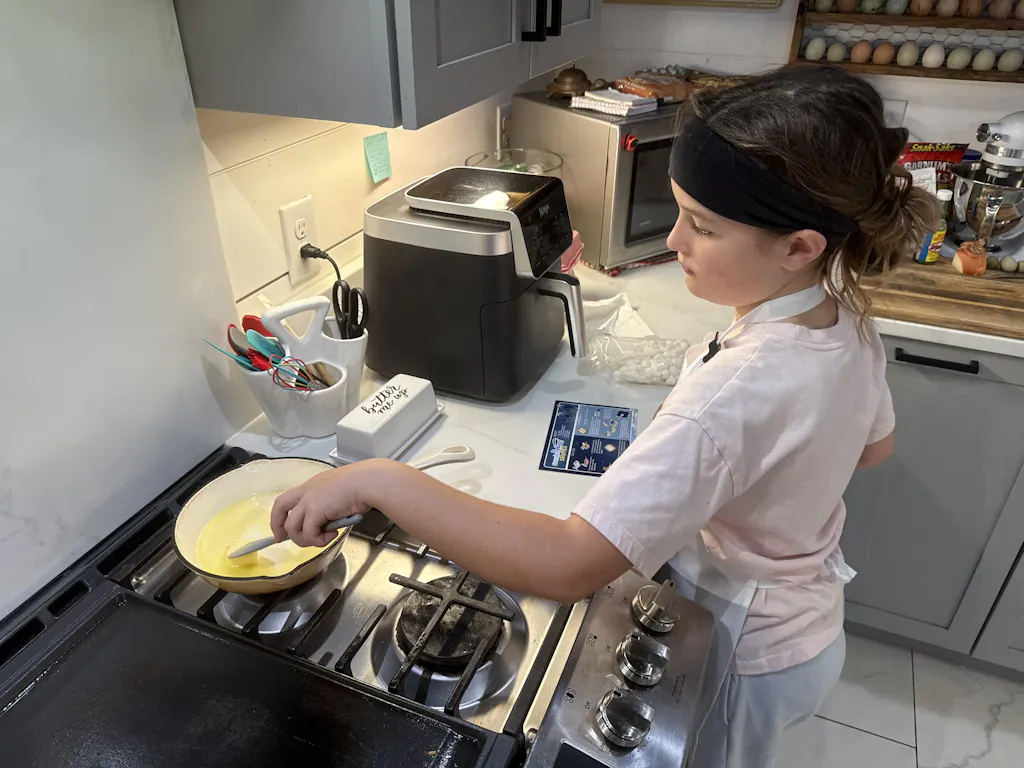
Sensory Play and Fine Motor Skills in the Kitchen
Making a toddler rice ball recipe isn’t just about the final meal; it’s about the process. For a young child, the kitchen is a playground of textures, smells, and sounds.
Developmental Benefits:
- Fine Motor Skills: Rolling the rice into balls requires bilateral coordination (using both hands together) and a "pincer grasp" to pick up small ingredients.
- Sensory Integration: Feeling the sticky rice, the cold veggies, and the warm cheese helps children process different tactile sensations. This is especially helpful for kids who might be "sensory defensive" or picky eaters.
- Math Skills: Counting the rice balls as you make them or measuring out a "half cup" of cheese introduces basic mathematical concepts in a real-world setting.
- Confidence: There is a huge sense of pride when a toddler sees a meal they "helped" make. It empowers them to try new foods.
At I’m the Chef Too!, we are committed to sparking curiosity and creativity. We know that when kids are involved in the "making," they are much more likely to be involved in the "eating." We want to provide a screen-free educational alternative that gets the whole family involved.
Tips for Success with Your Toddler Rice Ball Recipe
To make this experience as stress-free as possible, we’ve gathered some expert tips from our educators and mothers here at I’m the Chef Too!.
1. The "Wet Hand" Rule
Sticky rice is... well, sticky! It will often stick more to your hands than to itself. Keep a small bowl of water on the counter. Dip your fingers in the water before rolling each ball. The thin layer of moisture prevents the rice from adhering to your skin.
2. Packing is Key
When forming the balls, don't be afraid to give them a good squeeze. If they are loosely packed, they will crumble the moment your toddler takes a bite. Think of it like making a snowball—you need a bit of pressure to make it hold.
3. Size Matters
For toddlers, "bite-sized" usually means the size of a golf ball or even a bit smaller. This makes it easy for them to hold in one hand and take small, manageable bites.
4. Flavor Transitions
If your child is wary of vegetables, start with just rice and cheese. Once they are comfortable with that, add a tiny bit of finely minced "green" (like spinach or broccoli). Gradually increasing the amount helps them get used to the flavor and texture without overwhelming them.
5. Storage and Meal Prep
Rice balls are a meal-prepper's dream. You can make a big batch on Sunday and keep them in an airtight container in the fridge for up to 3 days. They also freeze surprisingly well! To freeze, place them on a tray in the freezer for an hour (so they don't stick together), then transfer them to a freezer bag. They can stay frozen for up to a month.
If you love the idea of having everything you need for a kitchen adventure ready to go, a new adventure is delivered to your door every month with free shipping in the US when you join the Chef’s Club. It takes the guesswork out of planning and lets you focus on the fun.
Incorporating Rice Balls into a Balanced Lunchbox
As your toddler grows and perhaps starts preschool or daycare, the rice ball remains a fantastic lunchbox staple. They fit perfectly into bento-style boxes and don't require reheating to be delicious.
Lunchbox Pairing Ideas:
- The Protein Pair: Serve veggie rice balls alongside some sliced hard-boiled eggs or a few cubes of tofu.
- The Fruit Side: A side of sliced strawberries or mandarin oranges provides a sweet contrast to the savory rice.
- The Crunch: Add some snap peas or cucumber slices for a textural variety.
Rice balls are also great because they are "clean" finger foods. Unlike a sandwich that might fall apart or a pasta dish that requires a fork and creates sauce splatters, a well-made rice ball stays together.
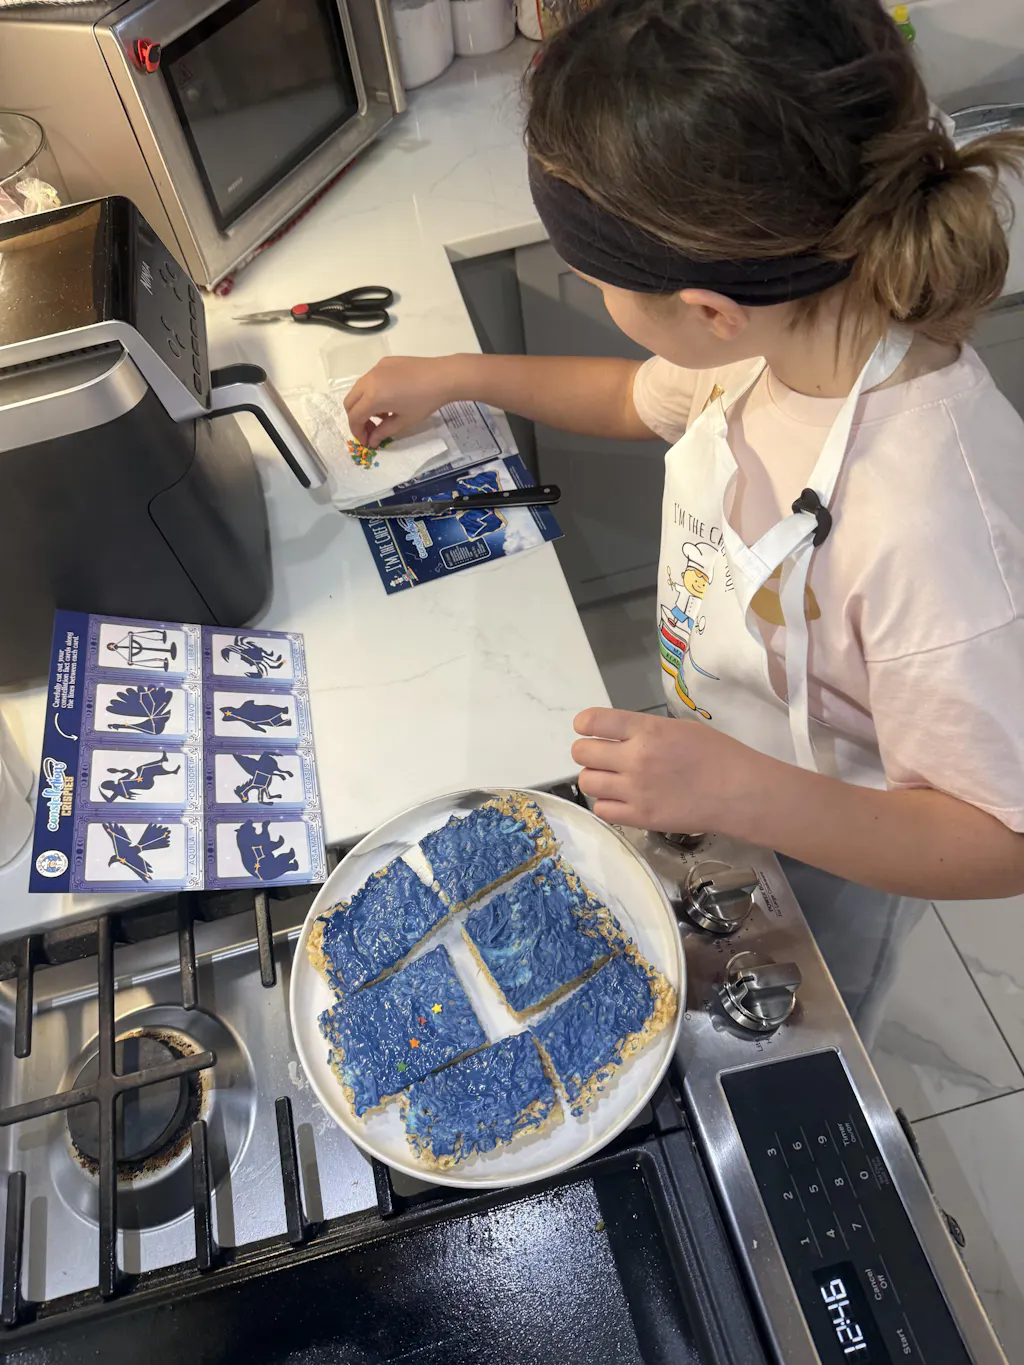
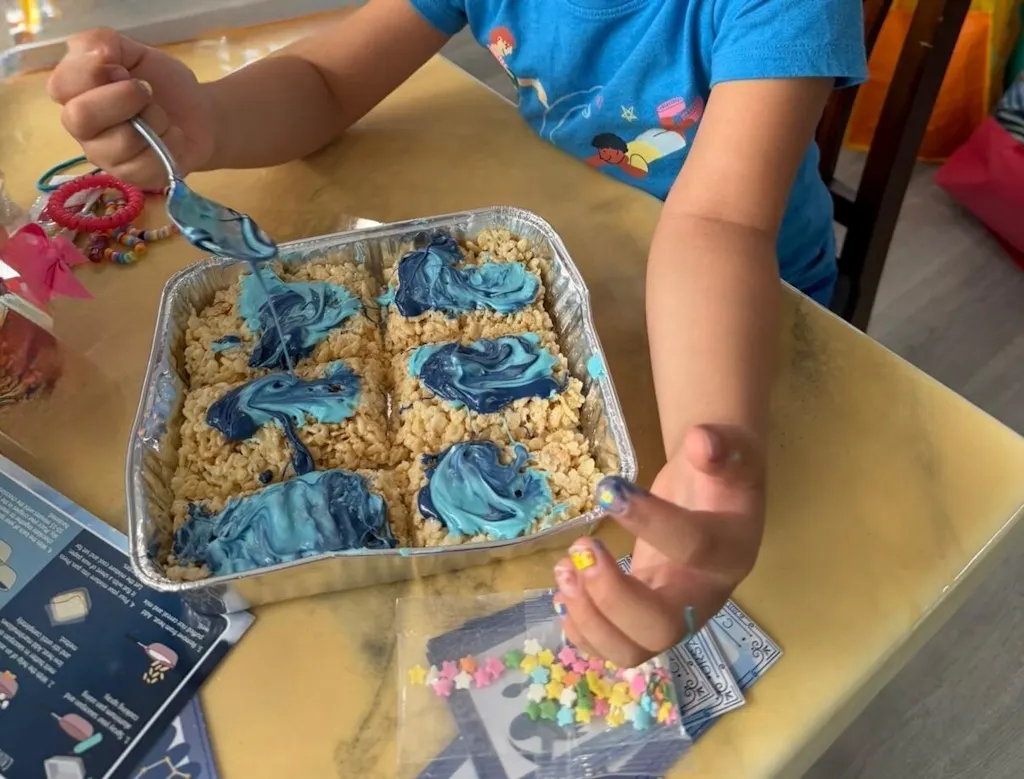
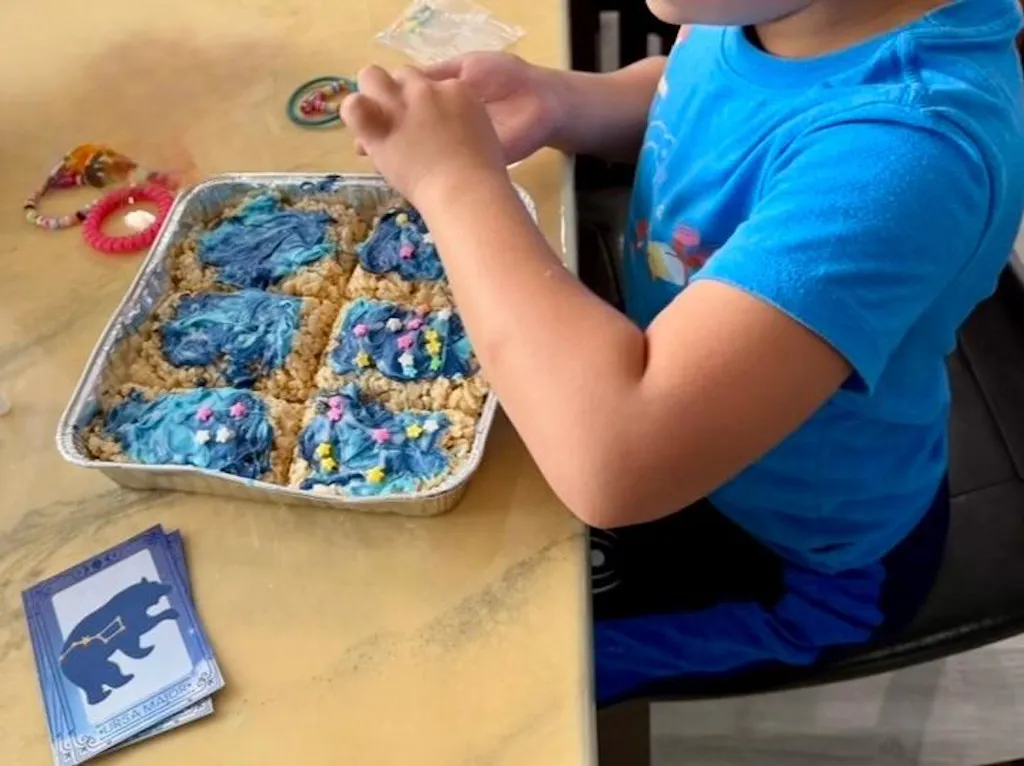
For older kids who might want to explore more complex themes while they eat their lunch, they can explore astronomy by creating their own edible solar system with our Galaxy Donut Kit. It’s all about making every meal and snack a moment of discovery.
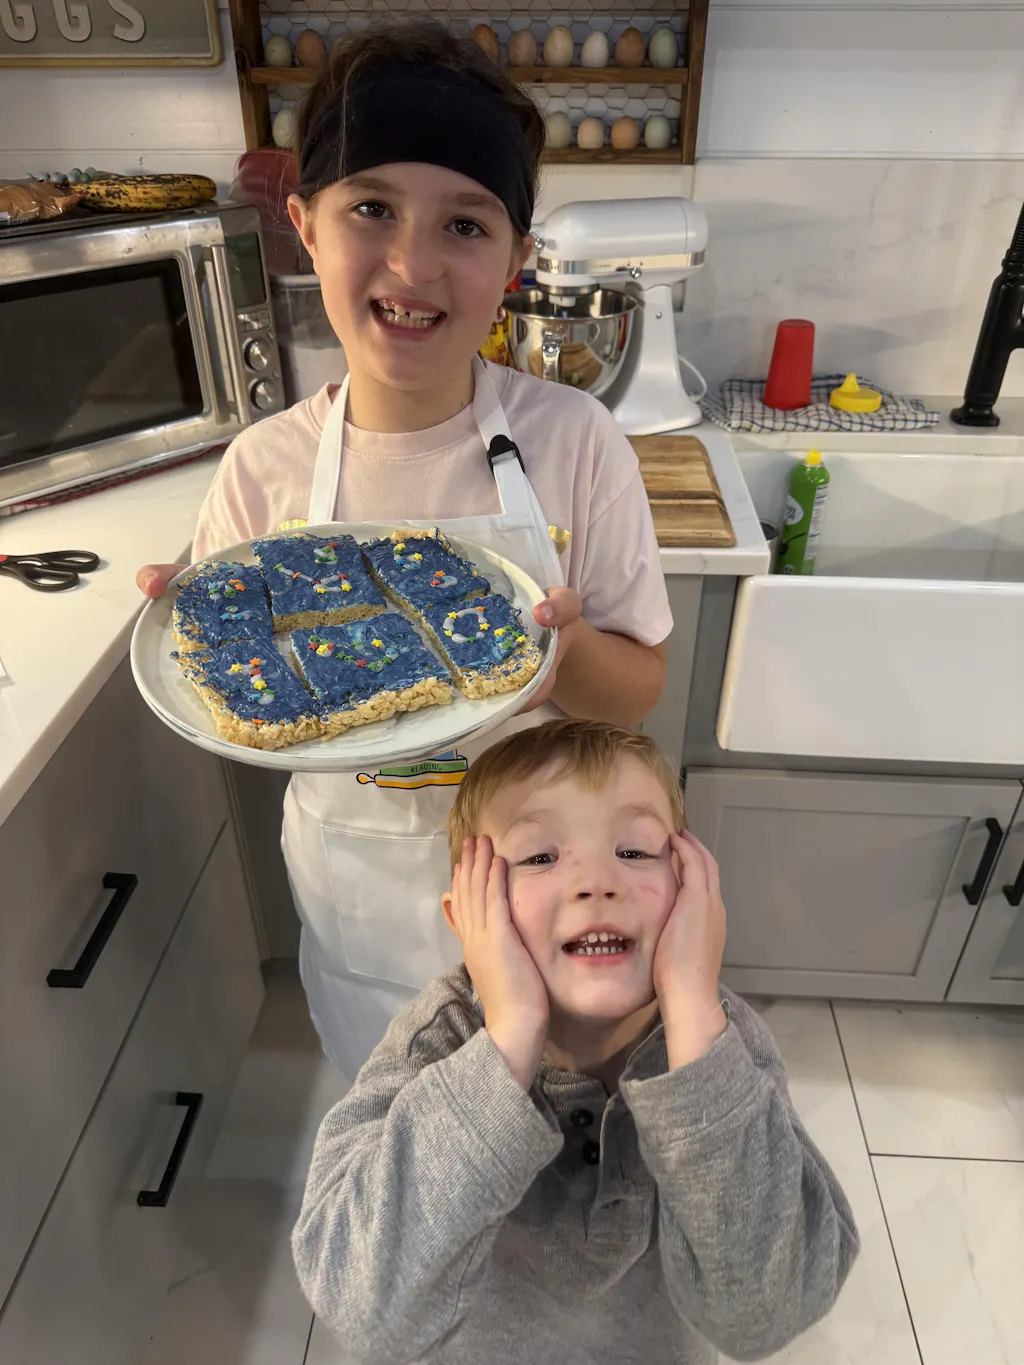
Encouraging Picky Eaters through "Food Art"
We know that some toddlers can be quite particular about what they eat. If the standard ball shape isn't exciting enough, you can use the rice mixture to create "food art."
- Animal Shapes: Use small pieces of olives for eyes or a slice of carrot for a nose to turn a rice ball into a little bear or kitty.
- Colorful Rice: You can naturally dye the rice by adding a little beet juice (for pink) or turmeric (for yellow) to the cooking water.
- Cookie Cutters: If the rice is sticky enough, you can press it into a cookie cutter on a plate to make stars, hearts, or even dinosaurs.
Even beloved animals can make learning fun, like when kids make Wild Turtle Whoopie Pies. Using familiar shapes and characters is a proven way to engage a child's imagination and make them more open to the culinary experience.
Safety First in the Kitchen
While we want to encourage independence, safety is always our top priority. When making a toddler rice ball recipe with your little one, keep these safety tips in mind:
- Heat Check: Always ensure the rice has cooled down enough for a child to touch. While we want it warm for the cheese to melt, it should never be "hot."
- Supervision: An adult should handle all stovetop cooking and oven work. Toddlers are great at "mixing" and "rolling," but they should stay a safe distance from heat sources.
- Choking Hazards: Ensure all vegetables are minced very finely and that the rice balls themselves are a size that your child can safely manage. If your toddler is very young, you may want to break the balls into smaller pieces before they eat.
- Allergies: Always be mindful of allergies. This recipe is naturally gluten-free (if using pure rice), but if your child has a dairy or egg allergy, you can substitute the cheese with a dairy-free version or use avocado as a binder instead of egg.
By following these guidelines, you can ensure that your "edutainment" time remains a positive and safe experience for everyone. If you’re not quite ready for a full subscription and want to try a single project first, explore our full library of adventure kits available for a single purchase in our shop.
How Rice Balls Foster Long-term Learning
At I’m the Chef Too!, we don't just teach recipes; we teach a way of looking at the world. When a child learns to make a rice ball, they are learning about:
- Persistence: Sometimes the ball falls apart, and you have to try again. This builds resilience.
- Planning: You have to wash the rice, soak it, cook it, and then shape it. This teaches the importance of steps and sequences.
- Creativity: "What if we added peas this time?" "What if we made them into triangles?" This encourages divergent thinking.
We aren't promising that your child will become a world-renowned chef overnight, but we do focus on the benefits of the process: fostering a love for learning, building confidence, and developing key life skills. These are the building blocks of a bright future.
Give the gift of learning that lasts all year with a 12-month subscription to our STEM cooking adventures. It’s a wonderful way to ensure that the learning doesn't stop with the last bite of a rice ball.
Frequently Asked Questions
What is the best type of rice for a toddler rice ball recipe?
Short-grain rice is the gold standard. Sushi rice, Arborio (used for risotto), or even standard Jasmine rice work well because they have the high starch content needed to stick together. Long-grain varieties like Basmati tend to stay too separate.
Can I make rice balls with brown rice?
Yes! Brown rice is more nutritious because it contains the bran and germ. However, it is naturally less sticky than white rice. If you use brown rice, we recommend using a binder like a beaten egg and baking them (as in our Salmon Rice Ball recipe) or adding plenty of melted cheese to help them hold their shape.
How do I stop the rice from sticking to my hands?
The "Wet Hand" trick is your best friend. Keep a bowl of water nearby and dampen your palms before rolling each ball. You can also use a bit of plastic wrap to help squeeze and shape the balls if you want to keep your hands completely clean.
Are rice balls okay for babies doing Baby Led Weaning (BLW)?
Generally, yes! Once a baby has started solids (usually around 6 months) and has developed the ability to grasp items, rice balls can be a great option. However, for very young babies, you should make the balls larger (log-shaped) so they can hold them easily, and ensure the rice is very soft to prevent choking. Always consult with your pediatrician before introducing new textures.
Can I pack rice balls in a school lunch?
Absolutely. They are designed to be portable. Just make sure they are kept in a cool lunchbox if they contain perishables like fish, meat, or cheese. They are much less messy than a standard rice bowl, making them a teacher’s favorite!
How long do rice balls last?
In the refrigerator, they are best consumed within 2 to 3 days. In the freezer, they can last up to a month. Always reheat them thoroughly before serving if they have been refrigerated or frozen.
Conclusion
The humble rice ball is so much more than just a convenient snack; it is a gateway to exploration, a lesson in chemistry, and a tool for building independence in your little one. Whether you are mashing steamed carrots into a cheesy rice mixture or carefully tucking a piece of salmon into a traditional Onigiri, you are participating in a meaningful "edutainment" experience.
By choosing a toddler rice ball recipe, you are choosing a meal that is nutritious, mess-free, and developmentally stimulating. You are teaching your child that food can be fun, that science is everywhere (even in a sticky grain of rice), and that they are capable of creating something delicious with their own two hands.
We hope this guide has inspired you to get into the kitchen and start rolling! Remember, the goal isn't perfection—it's about the joy of the process and the memories you make together. We invite you to continue this journey of discovery with us. From geology to astronomy, we have a world of flavors and facts waiting for your family.
Ready for a new adventure every month? Join The Chef's Club and enjoy free shipping on every box. Let’s make learning delicious!