Table of Contents
- Introduction
- The Science and Benefits of Sensory Play for Toddlers
- Safety First: What Makes a Slime "Toddler Safe"?
- Recipe 1: The Magic Chia Seed Slime
- Recipe 2: The Fiber-Optic "Metamucil" Slime
- Recipe 3: The Fluffy Soap Slime (Lux Flakes)
- Recipe 4: The Edible Marshmallow Slime
- Recipe 5: The "Oobleck" Goop (Cornstarch & Water)
- Recipe 6: The Gelatin Jiggly Slime
- Recipe 7: The No-Cook Flour Slime
- Managing the Mess: Tips for Parents
- Taking it Further: Creative Ways to Play with Slime
- The I'm the Chef Too! Philosophy: Why Tactile Learning Matters
- Storing Your Slime for Future Use
- Bringing the Experience to Your Group
- The Connection Between Slime and Cooking
- Troubleshooting Common Slime Issues
- Encouraging Screen-Free Exploration
- FAQs About Toddler Safe Slime
- Conclusion
Introduction
Have you ever watched a toddler’s face the first time they press their tiny fingers into something cold, squishy, and wonderfully weird? That look of pure, unadulterated wonder is exactly why we do what we do. At I'm the Chef Too!, we believe that the kitchen is the ultimate laboratory, and sensory play is the gateway to a lifelong love of STEM. Whether it’s the sticky pull of dough or the slippery slide of a homemade concoction, these tactile experiences are more than just messy fun—they are fundamental building blocks for cognitive development.
Many parents and educators find themselves hesitant when it comes to the "S" word: Slime. We get it! Traditional slime recipes often rely on Borax, heavy glues, or laundry starches that aren't ideal for little ones who still explore the world with their mouths. However, you don't have to miss out on the incredible benefits of sensory play just because you have a "mouther" at home. Our goal today is to provide you with a comprehensive guide to creating a toddler safe slime recipe that prioritizes safety without sacrificing the "ooey-gooey" factor.
In this post, we will explore the developmental science behind sensory play, provide seven distinct, easy-to-make recipes using household ingredients, and offer tips for keeping the mess manageable. We want to empower you to transform your kitchen counter into a hub of "edutainment," where curiosity is sparked and creativity knows no bounds. By the end of this guide, you’ll have a full toolkit of safe, engaging activities that prove learning can be—and should be—absolutely delicious and tactile. Ready for a new adventure every month? Join The Chef's Club and enjoy free shipping on every box.
The Science and Benefits of Sensory Play for Toddlers
Before we dive into the specific ingredients for your toddler safe slime recipe, it’s important to understand why we encourage this type of play. At I'm the Chef Too!, our mission is to blend food, STEM, and the arts into experiences that facilitate family bonding and provide screen-free educational alternatives. Slime is a perfect example of a "non-Newtonian fluid"—a substance that acts like both a liquid and a solid depending on how much pressure you apply.
Cognitive and Physical Development
When a child interacts with slime, they aren't just making a mess; they are conducting a series of mini-experiments. They are learning about cause and effect: "If I pull this fast, it snaps. If I pull it slowly, it stretches." This is the foundation of scientific inquiry.
From a physical standpoint, kneading, poking, and stretching slime builds fine motor skills. These activities strengthen the small muscles in the hands and fingers, which are the same muscles your child will eventually use to hold a pencil, use scissors, or tie their shoes. It’s also a fantastic way to develop hand-eye coordination as they try to catch the "drips" or mold the slime into specific shapes.
Language and Social Skills
Sensory play is also a massive driver for language development. As you play alongside your child, you’ll find yourself using descriptive "Tier 2" vocabulary words. You might describe the slime as viscous, transparent, gritty, or elastic. For a toddler, hearing these words in context helps them expand their internal dictionary far more effectively than looking at a picture in a book.
Furthermore, these activities create space for joyful family memories. Instead of being hunched over a screen, you are eye-to-eye with your little learner, sharing in the surprise of a new texture. This bonding is at the heart of our philosophy, as we aim to provide tangible, hands-on adventures developed by mothers and educators who know exactly what it’s like to balance education with daily life.
Safety First: What Makes a Slime "Toddler Safe"?
When searching for a toddler safe slime recipe, the primary concern is usually "what happens if they eat it?" While we always frame kitchen activities with an implicit understanding of adult supervision, we know that toddlers are lightning-fast. One second they are poking the slime, and the next, they are conducting a "taste test."
Avoiding Borax and Harsh Chemicals
Most viral slime recipes for older children use Borax (sodium borate) as an activator. While Borax is a common household cleaner, it can be irritating to sensitive toddler skin and is definitely not something you want them ingesting. Similarly, many liquid starches and contact lens solutions contain boric acid. While some older toddlers can use these under strict supervision, for the "under 3" crowd, we prefer to stick to food-grade ingredients.
The "Taste-Safe" vs. "Edible" Distinction
It is important to manage expectations here. In this guide, we use the term "taste-safe." This means that if your child sneaks a lick or a small bite, it is made of non-toxic, food-based ingredients and won't cause harm. However, these are not snacks! Most of them won't taste very good (intentionally so), and we don't want to encourage children to eat their play materials as a meal.
Give the gift of learning that lasts all year with a 12-month subscription to our STEM cooking adventures and you'll see how we transition from taste-safe play to actually delicious, educational treats!
Recipe 1: The Magic Chia Seed Slime
This is perhaps the most popular toddler safe slime recipe because it is 100% food-based and has a fascinating, "bubbly" texture that mimics frog eggs or alien goo. It’s excellent for very young toddlers (12 months+) because the texture is so unique.
Ingredients:
- 1/4 cup chia seeds
- 1 3/4 cups water
- Food coloring (optional)
- 3–4 cups cornstarch
Instructions:
- The Overnight Soak: In a sealable container, mix your chia seeds, water, and food coloring. Shake it up and let it sit in the refrigerator overnight. The chia seeds will absorb the water and create a thick, gelatinous "slime" on their own.
- The Thickening: The next day, pour the chia mixture into a large bowl. Start adding cornstarch one cup at a time.
- The Knead: Use your hands to incorporate the cornstarch. You are looking for a consistency that is stretchy but doesn't stick excessively to your hands.
- Play Tip: This slime is "long-lasting" if kept in the fridge, but it will dry out over time. Just add a splash of water to revive it!
This recipe is a wonderful way to introduce biology. You can talk about how seeds absorb water to grow, much like how we explore botany and life cycles in our various gardening-themed kits. Find the perfect theme for your little learner by browsing our complete collection of one-time kits.
Recipe 2: The Fiber-Optic "Metamucil" Slime
This recipe feels the most like "real" store-bought slime. It’s stretchy, jiggly, and completely taste-safe. The secret ingredient is psyllium husk, a natural fiber supplement.
Ingredients:
- 1 tablespoon psyllium husk powder (like Metamucil—the "natural" unflavored kind is best if you want to add your own colors).
- 1 cup water
- A drop of food coloring
Instructions:
- Mix: Combine the powder, water, and coloring in a large microwave-safe bowl. Make sure the bowl is much larger than the liquid, as it will bubble up significantly.
- Heat: Microwave on high for 2 minutes. Stop and stir.
- Repeat: Microwave for another 1–2 minutes, watching it closely. It will rise like a volcano!
- Cool: This is the most important step. The slime will be very hot. Let it cool completely. As it cools, it transforms from a liquid into a rubbery, stretchy polymer.
Speaking of things that rise and bubble, this thermal reaction is a great precursor to understanding the chemical reaction that makes our Erupting Volcano Cakes kit bubble over with deliciousness.
Recipe 3: The Fluffy Soap Slime (Lux Flakes)
If you prefer a slime that is "cleaner" and smells fresh, this soap-based version is a classic used in early childhood centers for decades. It's less about "stretch" and more about "squish."
Ingredients:
- 3 cups soap flakes (or a grated bar of pure ivory soap)
- 2 liters of warm water
- Whisk or eggbeater
Instructions:
- Dissolve: Add the soap flakes to a large tub and pour in the warm water.
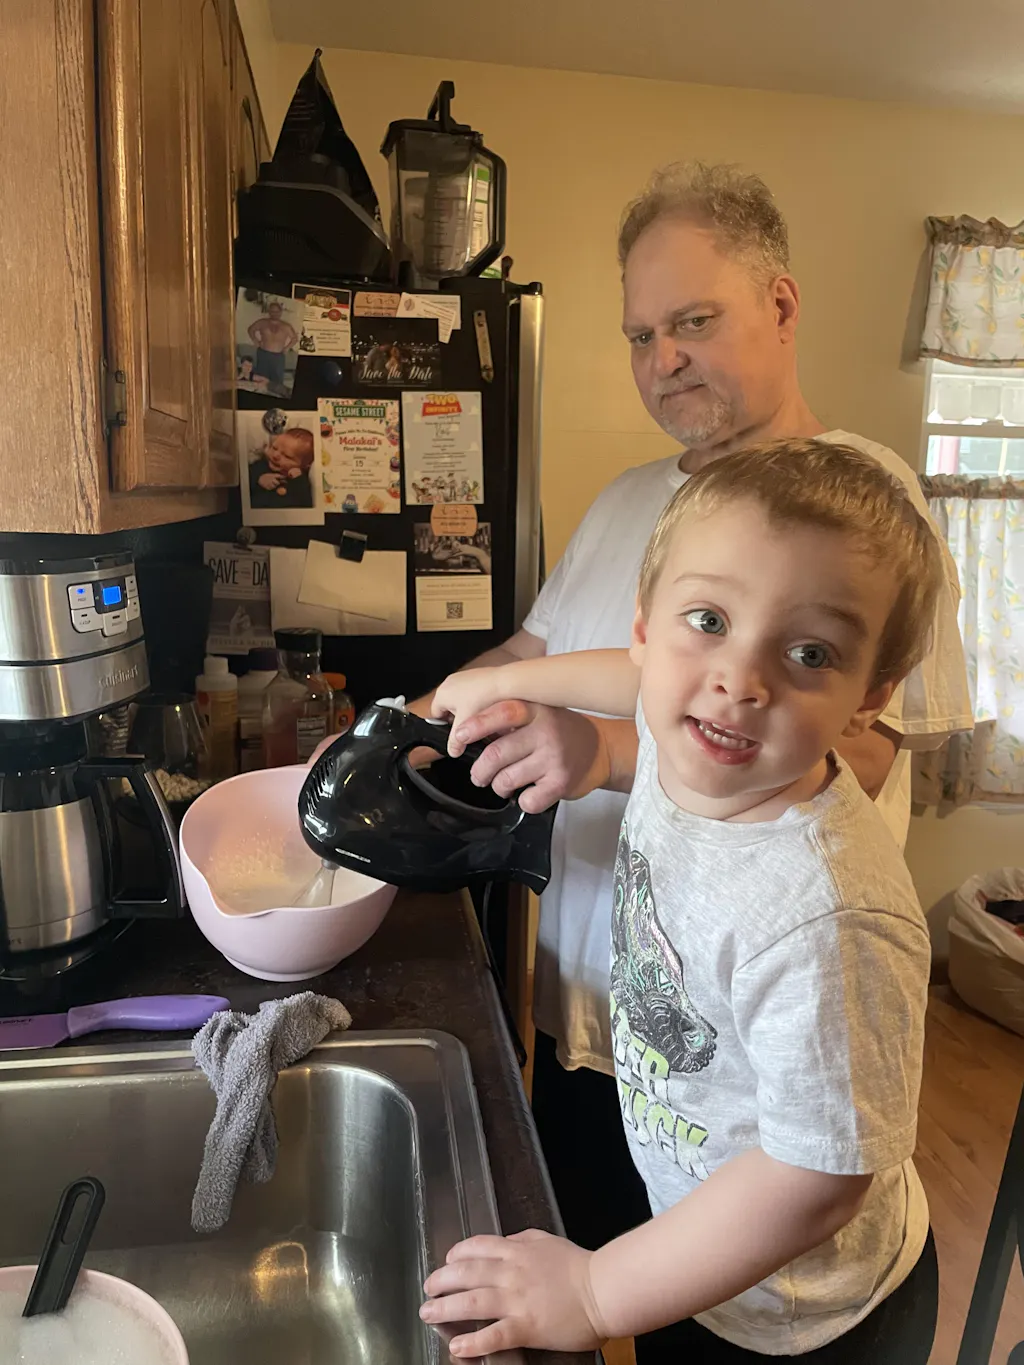
- Whip: This is the fun part for the kids! Use whisks or even an electric hand mixer to whip the mixture until it becomes thick, foamy, and holds its shape.
- Set: Let it sit for a few hours (or overnight). It will turn into a thick, slimy "glop" that feels like a cloud.
- Clean Play: This is great for "washing" plastic toy animals or cars. It’s a sensory experience that doubles as a cleaning activity!
Recipe 4: The Edible Marshmallow Slime
For a toddler safe slime recipe that is truly tempting, look no further than the pantry staple: marshmallows. This is a great "kitchen chemistry" lesson.
Ingredients:
- 1 bag of large marshmallows
- 2 tablespoons of coconut oil (or vegetable oil)
- 1/2 cup to 1 cup of powdered sugar (or cornstarch)
Instructions:
- Melt: Place marshmallows and oil in a microwave-safe bowl. Microwave in 30-second intervals until melted and puffy.
- Stir: Mix the oil and marshmallows until smooth.
- Knead: Slowly add powdered sugar to the sticky mess until it becomes a dough-like slime.
- Warning: It’s very sweet! While it’s the most "edible" on the list, the high sugar content means it should be a special treat play session.
Recipe 5: The "Oobleck" Goop (Cornstarch & Water)
While technically a "non-Newtonian fluid" rather than a traditional slime, Oobleck is a must-have in your sensory repertoire. It’s the simplest toddler safe slime recipe in existence.
Ingredients:
- 2 cups cornstarch
- 1 cup water
- Food coloring
Instructions:
- Combine: Mix the water and cornstarch in a shallow tray.
- Observe: If you poke it quickly, it feels hard like a rock. If you pick it up and let it sit in your palm, it melts like a liquid.
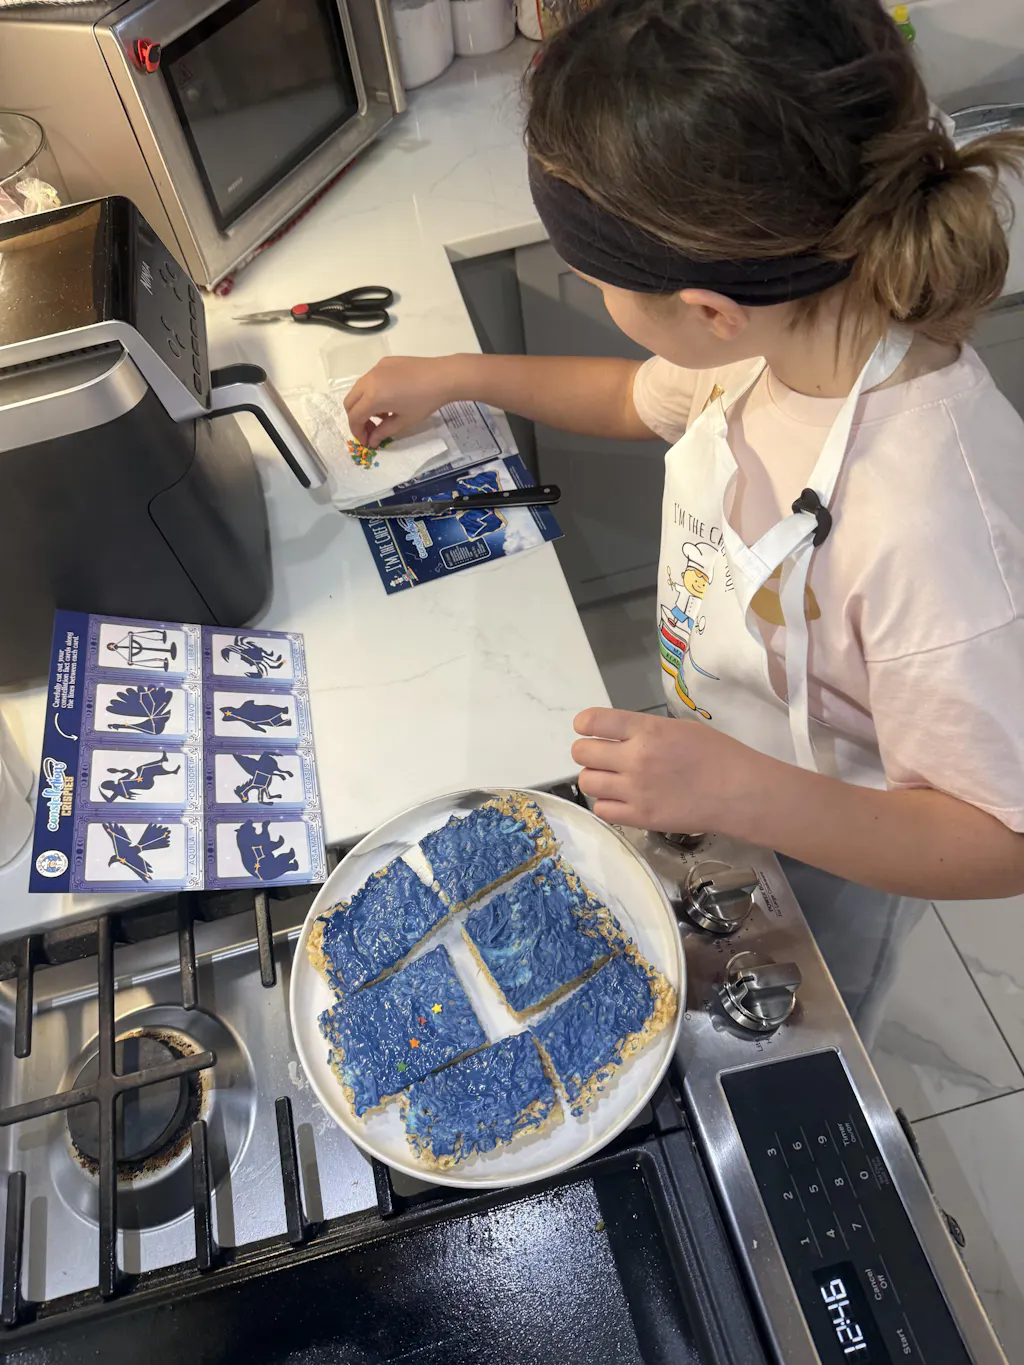
- STEM Connection: This is a fantastic way to talk about states of matter. Is it a solid? Is it a liquid? It’s both! We love these types of "mind-blowing" moments that spark curiosity, similar to how we explore astronomy by creating your own edible solar system with our Galaxy Donut Kit.
Recipe 6: The Gelatin Jiggly Slime
This recipe uses unflavored gelatin to create a slime that is translucent and wiggly, perfect for "swamp" themed play.
Ingredients:
- 3 packets of unflavored gelatin
- 1 cup boiling water (adults only for this step!)
- 1/2 cup cold water
- Green food coloring
Instructions:
- Bloom: Dissolve the gelatin in the cold water first.
- Dissolve: Add the boiling water and stir until completely clear.
- Chill: Place in the fridge for about 2–3 hours. You want it to be "under-set"—not as firm as Jell-O, but not liquid.
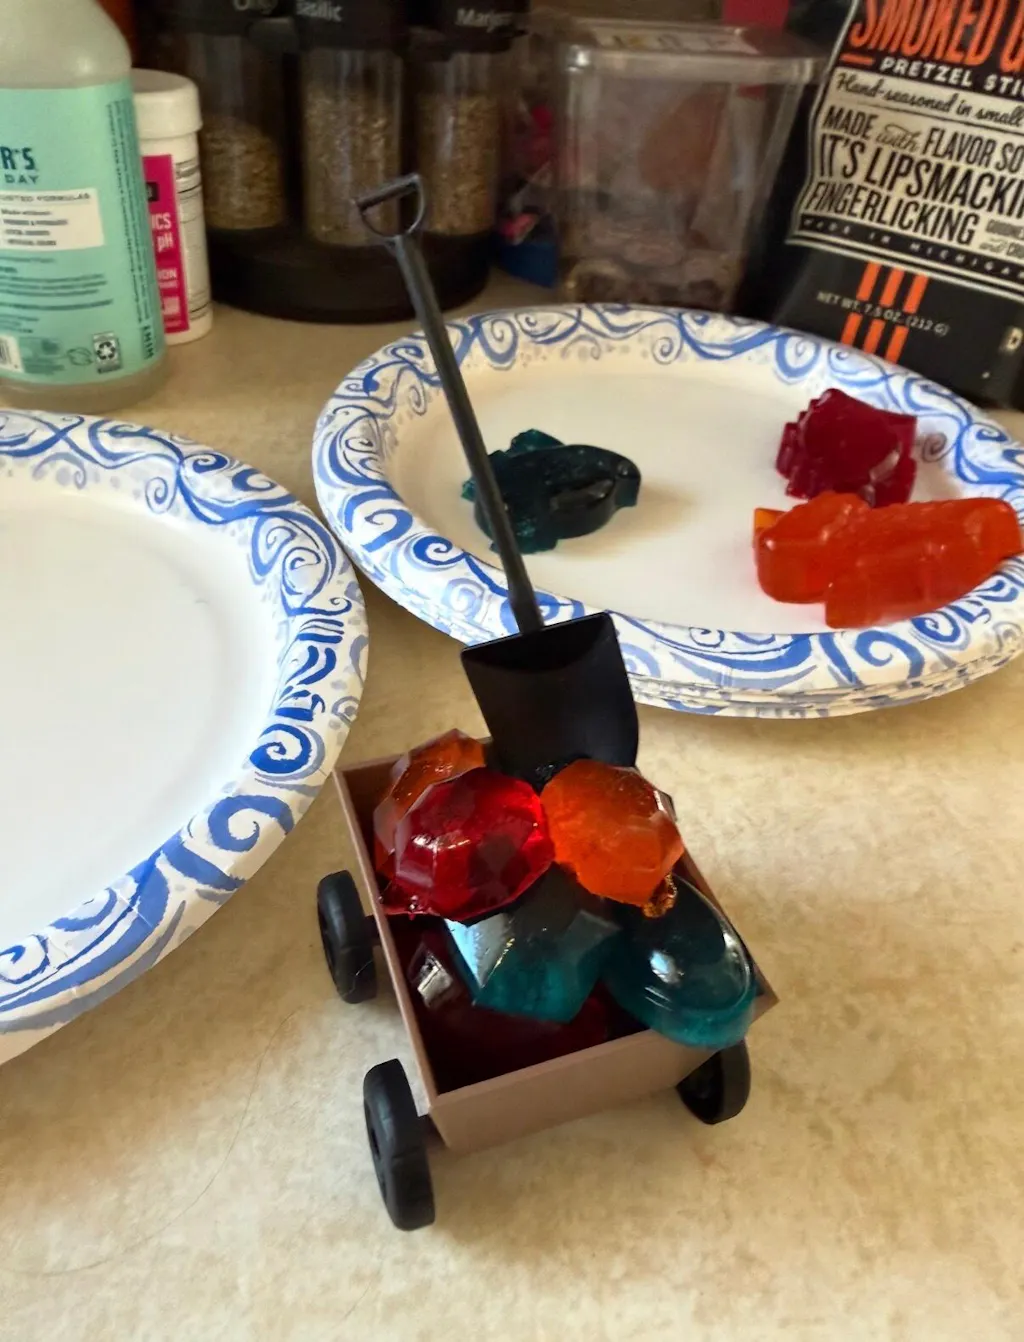
- Break it up: Use a fork to break up the gelatin into a messy, slimy consistency. Add plastic frogs or insects for a "swamp" sensory bin.
Recipe 7: The No-Cook Flour Slime
If you don't want to use the microwave or wait overnight, this flour-based slime is a quick fix.
Ingredients:
- 1 cup flour
- 1/3 cup dish soap (use a clear, gentle brand)
- 1/4 cup water (add slowly)
Instructions:
- Mix: Combine flour and dish soap.
- Hydrate: Add water one tablespoon at a time until you reach a stretchy consistency.
- Note: Since this contains raw flour and dish soap, this is for toddlers who have moved past the "putting everything in their mouth" phase. It is non-toxic but definitely not for eating!
Managing the Mess: Tips for Parents
We understand that the thought of green slime on your microfiber sofa is enough to keep the ingredients in the pantry. However, mess is often where the best learning happens! Here is how we manage sensory play at I'm the Chef Too!:
- The "Mess Zone": Use a large, shallow plastic bin or a dedicated "splat mat" (an old shower curtain works wonders).
- Outdoor Play: When the weather is nice, take the slime outside! It’s much easier to hose down a patio than to scrub a rug.
- Keep it Contained: Use high-walled trays to keep the "flow" of the slime from reaching the edges of the table.
- Clean-up Kit: Keep a bowl of warm soapy water and a towel nearby before you start. This prevents "slime hands" from touching doorknobs or walls when the play is over.
Not ready to subscribe? Explore our full library of adventure kits available for a single purchase in our shop. Many of our kits come with specialty supplies that help keep the experience organized and educational!
Taking it Further: Creative Ways to Play with Slime
Once you’ve mastered the toddler safe slime recipe, how do you keep the engagement going? Sensory play shouldn't be static.
The Hidden Treasure Hunt
Hide "treasures" inside the slime. For toddlers, this could be large plastic blocks or chunky puzzle pieces. For older children, you could hide "fossils" (small plastic dinosaurs). This encourages "digging" and builds hand strength. It’s a simplified version of the geological wonders kids discover in our Earth Science themed kits.
The Color Mixing Lab
Start with two batches of slime in primary colors (like red and blue). Encourage your child to knead them together and watch as they "magically" turn purple. This is a tactile way to teach color theory and art.
The Car Wash
Use the soap-based slime (Recipe 3) to create a "dirty" car wash. Put the cars in the "mud" (brown-colored cornstarch slime) and then move them to the "soap" (white soap slime) to get them clean. This narrative play builds storytelling skills and imaginative thinking. Ready for a new adventure every month? Join The Chef's Club and enjoy free shipping on every box.
The I'm the Chef Too! Philosophy: Why Tactile Learning Matters
At the heart of every toddler safe slime recipe is our core belief: children learn best when they can touch, smell, and see the results of their work. We call this "edutainment." When a child is elbow-deep in chia seed slime, they aren't thinking about "fine motor development"—they are thinking about how cool it feels.
As educators and mothers, we’ve seen how these screen-free alternatives calm anxious children and provide a focused outlet for high-energy toddlers. By facilitating these experiences, you aren't just "getting through the afternoon"—you are building confidence. You are showing your child that they are a "maker" and a "scientist."
While we don't promise that a afternoon of slime will turn your toddler into a Nobel Prize winner tomorrow, we do know that these moments of joy and discovery foster a lifelong love for learning. We want to help you create those joyful family memories one "glop" at a time.
Storing Your Slime for Future Use
To get the most out of your toddler safe slime recipe, proper storage is key.
- Airtight is Best: Use Ziploc bags or Tupperware containers.
- Refrigeration: Because many of these are food-based (chia seeds, gelatin, marshmallows), they will mold if left at room temperature for too long. Keep them in the fridge.
- Life Span: Most taste-safe slimes last about 3–5 days. If the slime starts to smell "sour" or looks different, it’s time to toss it and start a new batch!
- Revival: If a flour or cornstarch-based slime gets too crumbly, add a few drops of water or oil and knead it back to life.
Bringing the Experience to Your Group
Are you a preschool teacher or a homeschool co-op leader? These recipes are perfect for group settings because they are inexpensive and safe for various ages. Bring our hands-on STEM adventures to your classroom, camp, or homeschool co-op. Learn more about our versatile programs for schools and groups, available with or without food components. We love seeing our kits and concepts used to inspire larger groups of little learners!
The Connection Between Slime and Cooking
You might wonder why a "Chef" brand is talking about slime. The truth is, cooking is sensory play. When we bake bread, we are making a polymer. When we make a sauce, we are dealing with viscosity. Every time a child helps in the kitchen, they are essentially playing with edible "slime."
By starting with these safe, non-food-waste recipes, you are training your toddler to follow "recipes," measure ingredients, and observe changes. These are the exact skills they will use when they graduate to our more advanced kits, like making Wild Turtle Whoopie Pies. Even beloved animals can make learning fun, and the transition from "play slime" to "tasty treats" is a natural progression of their kitchen confidence.
Troubleshooting Common Slime Issues
Sometimes, despite our best efforts, the slime doesn't come out quite right. Here’s how to fix it:
- Too Sticky: This usually means there is too much liquid. Add a little more "activator" (cornstarch, flour, or more psyllium powder depending on the recipe).
- Too Hard/Brittle: You’ve added too much dry ingredient. Add water, one teaspoon at a time, and knead thoroughly.
- Staining Hands: Some food colorings are stronger than others. If you're worried about stained hands, use "washable" liquid watercolors instead of food coloring, or simply stick to the natural colors of the ingredients.
- Slime in the Hair: Don't panic! Because these are mostly food-based or soap-based, they dissolve easily. Use a little coconut oil or olive oil to break down the slime, then comb it out and wash with regular shampoo.
Encouraging Screen-Free Exploration
In an era of tablets and television, the tactile resistance of slime offers a "grounding" experience. It requires a child's full attention. They have to use their hands, their eyes, and their sense of smell. This type of "deep play" is essential for developing focus and patience.
At I'm the Chef Too!, we are committed to providing these screen-free alternatives. Every kit we design, and every blog post we write, is intended to pull the family away from the couch and toward the kitchen table. We want to see kids with messy hands and big smiles! Give the gift of learning that lasts all year with a 12-month subscription to our STEM cooking adventures.
FAQs About Toddler Safe Slime
1. Can I use glitter in toddler safe slime?
Yes, but we recommend using "bio-glitter" or large sequins that are easier to clean up and less likely to be inhaled. For very young toddlers, it’s best to skip the fine glitter to avoid it getting in their eyes.
2. Is "borax-free" slime really safe?
"Safe" is relative! While it’s safer for skin and accidental ingestion than borax-based slime, it still requires supervision. No slime is meant to be a meal.
3. My slime smells weird—is it still good?
If it's a food-based slime (like the chia or marshmallow recipes) and it has a sour or "off" smell, throw it away. This means bacteria has started to grow. Always wash your child's hands before they play to help the slime last longer!
4. How do I get slime out of the carpet?
For these specific recipes, warm water and a bit of white vinegar usually do the trick. Since they don't contain permanent glues, they are much more forgiving than traditional slime.
5. What age is best for these recipes?
The "Soap Slime" and "Oobleck" are great for as young as 6–9 months (with heavy supervision). The "Metamucil Slime" and "Flour Slime" are better for 18 months and up. You know your child's habits best—if they are still in a "heavy mouthing" phase, stick to the chia seed or marshmallow versions.
Conclusion
Creating a toddler safe slime recipe is about more than just filling an hour on a rainy Tuesday. It’s about creating a safe, stimulating environment where your child feels free to explore the physical world. By using simple, everyday language and household ingredients, you can demystify the "science" of play and focus on what really matters: curiosity, creativity, and connection.
At I'm the Chef Too!, we are honored to be a part of your family’s educational journey. From the first squish of slime to the first batch of galaxy donuts, we are here to provide the tools, the kits, and the inspiration to make learning the most delicious adventure of your child's life. We hope these seven recipes spark a new wave of fun in your home and help you build those key developmental skills in a way that feels like pure play.
Ready for a new adventure every month? Join The Chef's Club and enjoy free shipping on every box. Let's make something amazing together!