Table of Contents
- Introduction
- Why Fewer Ingredients Lead to More Fun
- 1. The Magic 3-Ingredient Peanut Butter Cookie
- 2. Simple Cut-Out Sugar Cookies
- 3. 3-Ingredient Shortbread Buttons
- 4. Easy Cake Mix Christmas Cookies
- 5. No-Bake Graham Cracker Santas
- 6. Flourless Chocolate Cloud Cookies
- 7. 3-Ingredient Coconut Macaroons
- 8. Easy Jam Thumbprints
- 9. Reindeer Pretzel Cookies
- 10. Festive Cornflake Wreaths
- Tips for a Stress-Free Holiday Kitchen
- Educational Extensions: Taking it Beyond the Cookie
- Storing Your Holiday Treats
- Frequently Asked Questions
- Conclusion
Introduction
Does the thought of flour-covered countertops and a sink full of dishes make you want to skip holiday baking this year? We have all been there. The holiday season is often a whirlwind of schedules, shopping, and high expectations, which can sometimes push the simple joy of kitchen time to the back burner. However, what if you could create lasting holiday memories without a massive grocery list or a complicated twelve-step process?
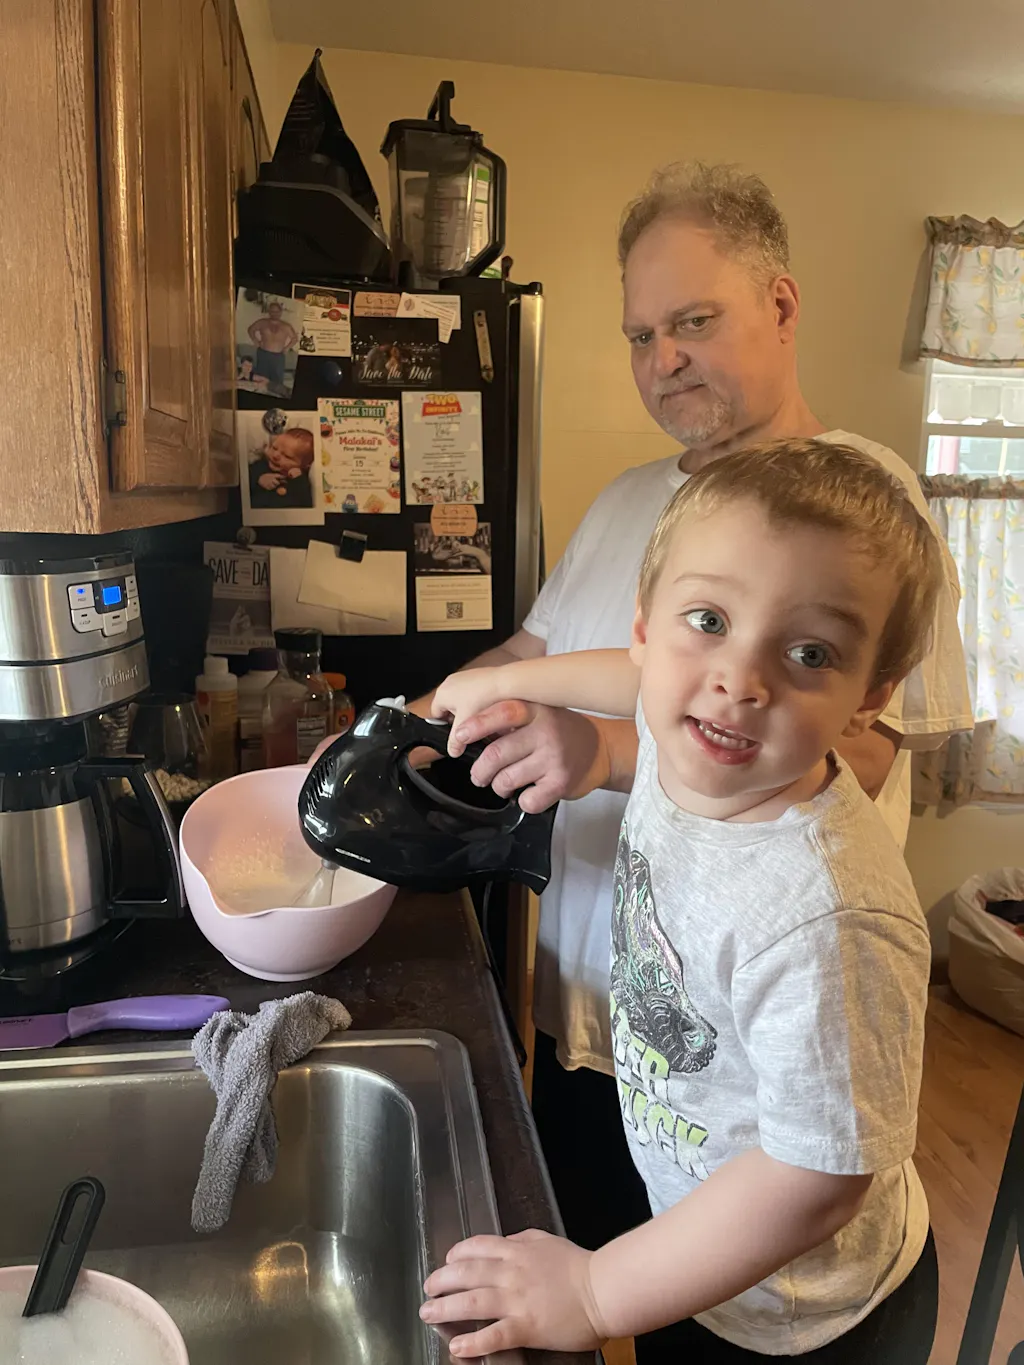
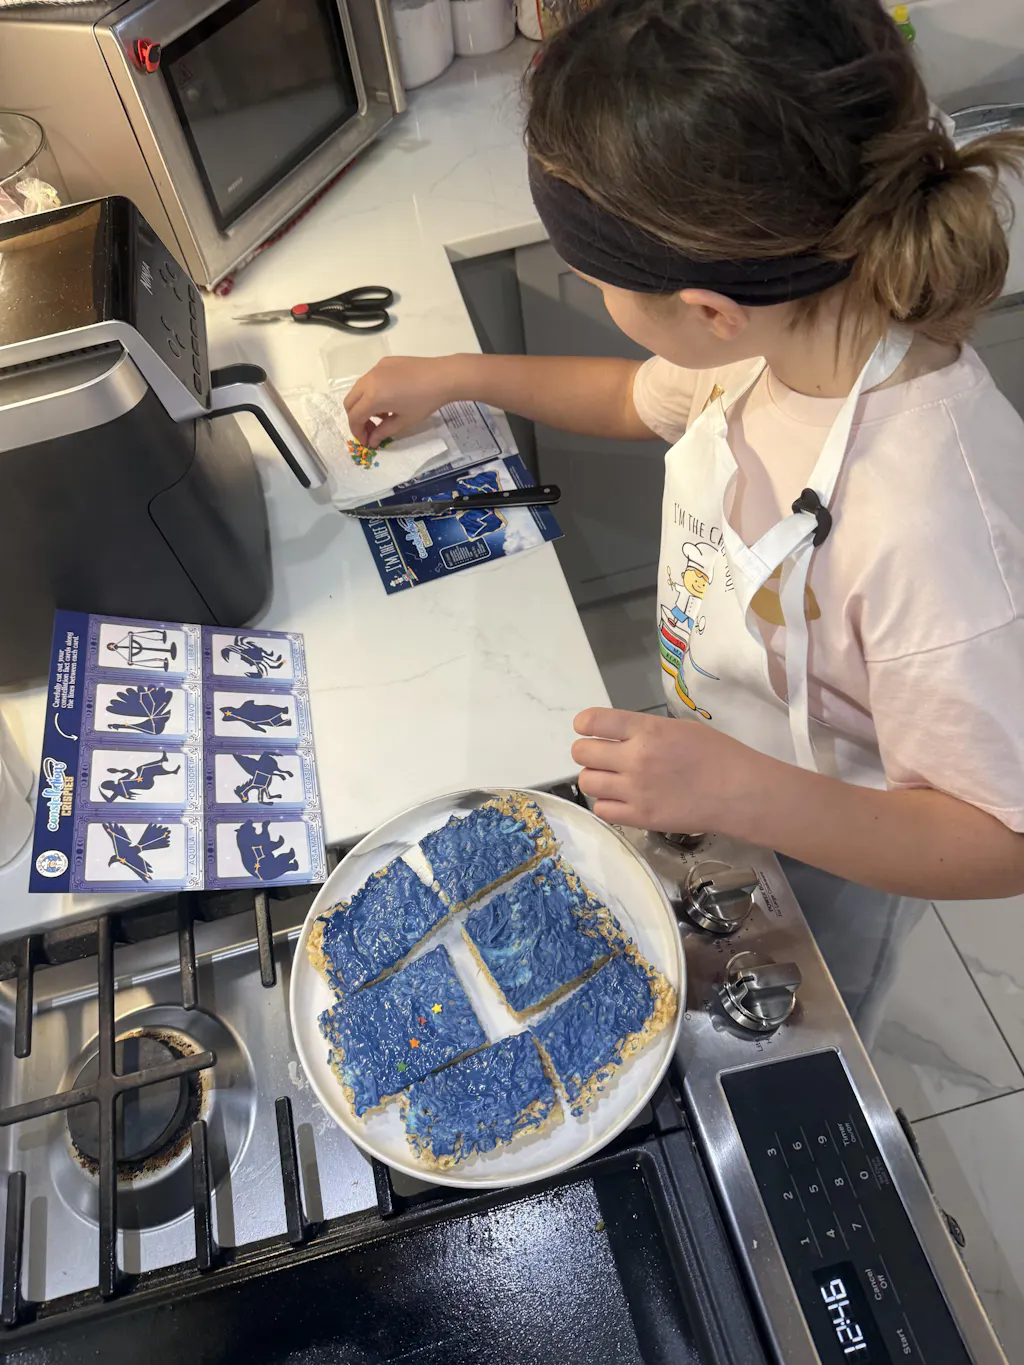
At I'm the Chef Too!, we believe that the kitchen is the most exciting laboratory in the house. Our mission is to blend food, STEM, and the arts into one-of-a-kind "edutainment" experiences that spark curiosity and creativity. We know that the best learning happens when children can get their hands messy and see immediate, delicious results. You don't need to be a professional pastry chef or have a pantry stocked with exotic extracts to teach your child the basics of chemistry, math, and art through baking.
In this blog post, we are going to share ten fantastic recipes for easy Christmas cookies for kids with few ingredients. We will move beyond the basic "how-to" and explore the educational benefits of each treat, from measuring volume to observing physical changes in matter. We will cover everything from classic three-ingredient peanut butter stars to no-bake graham cracker masterpieces. By the end of this guide, you will have a toolkit of stress-free recipes that allow you to focus on what matters most: spending quality, screen-free time together as a family. Our goal is to show you that simple ingredients can lead to extraordinary learning adventures.
Why Fewer Ingredients Lead to More Fun
When we think about baking with children, we often imagine the "Pinterest-perfect" scene that quickly devolves into chaos. One major reason for this is over-complexity. When a recipe has fifteen ingredients, the adult spends most of the time measuring and hovering, while the child loses interest.
By choosing easy Christmas cookies for kids with few ingredients, you are actually enhancing the educational experience. With fewer components, each one becomes more significant. Your child can clearly see how the butter makes the dough rich, how the sugar provides the sweetness, and how the flour provides the structure. This clarity is the foundation of scientific observation.
Furthermore, fewer ingredients mean a quicker path to the "fun part"—decorating and, of course, eating! It reduces the cognitive load for young learners, allowing them to master one skill at a time, like cracking an egg or stirring a heavy batter. This builds confidence and a genuine love for the culinary arts. Ready for a new adventure every month? Join The Chef's Club and enjoy free shipping on every box.
1. The Magic 3-Ingredient Peanut Butter Cookie
It sounds almost impossible, but you can create a soft, delicious cookie with just peanut butter, sugar, and an egg. This is a staple in many households because it is naturally gluten-free and incredibly simple for small hands to mix.
The Ingredients:
- 1 cup peanut butter (creamy or crunchy)
- 1 cup granulated sugar
- 1 large egg
The Kitchen Science:
This recipe is a wonderful lesson in "binding agents." Ask your child what they think will hold the peanut butter and sugar together. When you add the egg, explain that the proteins in the egg act like glue when they are heated in the oven. This is a physical change where a liquid becomes a solid!
The Process:
- Preheat your oven to 350°F.
- Have your little chef stir the three ingredients together in a large bowl until smooth.
- Roll the dough into small balls (about one inch in diameter).
- The most iconic part of this cookie is the "criss-cross" pattern. Let your child use a fork to press down on each ball, first one way and then the other. This isn't just for looks; it helps the dense dough bake evenly.
- Bake for 10-12 minutes.
Parent Tip: For a festive twist, press a chocolate kiss into the center of each cookie immediately after they come out of the oven to make "Peanut Butter Blossoms."
2. Simple Cut-Out Sugar Cookies
Cut-out cookies are a holiday essential, but many recipes require chilling the dough for hours or using a long list of leavening agents. We love this simplified version because it is forgiving and focuses on the joy of the shapes.
The Ingredients:
- 2 cups all-purpose flour
- 1/2 cup sugar
- 1/2 cup unsalted butter (softened)
- 1/4 cup milk
- 1 teaspoon vanilla extract
- 1 teaspoon baking powder
The Educational Angle:
This is the perfect time to talk about "volume." Let your child help level off the measuring cups with a flat knife. Explain why we need "softened" butter instead of cold butter—it’s all about how the molecules move and mix! Soft butter can trap air, which helps make the cookies light.
The Process:
- Mix the dry ingredients first. This ensures the baking powder is distributed so the cookies rise evenly.
- Add the butter, milk, and vanilla. Use your hands to squish the butter into the flour until a dough forms.
- Roll the dough between two sheets of parchment paper. This prevents sticking without adding too much extra flour, which can make the cookies tough.
- Use your favorite holiday cutters!
If your child loves exploring shapes and themes, they might enjoy exploring our full library of adventure kits available for a single purchase in our shop, where we take these concepts to the next level. Find the perfect theme for your little learner by browsing our complete collection of one-time kits.
3. 3-Ingredient Shortbread Buttons
Shortbread is a classic for a reason. It is rich, buttery, and requires almost no effort to put together. Because it has no eggs and no leavening agents, it’s a great way to show how the ratio of fat to flour creates texture.
The Ingredients:
- 2 cups all-purpose flour
- 3/4 cup unsalted butter (softened)
- 1/2 cup powdered sugar
The STEM Connection:
Observe the difference between powdered sugar and granulated sugar. Powdered sugar contains a little bit of cornstarch, which contributes to the "melt-in-your-mouth" texture of shortbread. This is a great lesson in food textures and how different grinds of the same ingredient can change a recipe.
The Process:
- Cream the butter and sugar together until light and fluffy.
- Gradually add the flour. The dough will look crumbly at first but will come together as you work it.
- Roll into a log, wrap in plastic, and chill for 30 minutes.
- Slice into rounds and bake at 325°F for 15-18 minutes.
Our approach at I'm the Chef Too! is all about these tangible, hands-on moments. Give the gift of learning that lasts all year with a 12-month subscription to our STEM cooking adventures.
4. Easy Cake Mix Christmas Cookies
If you are looking for the ultimate "shortcut" that still feels like homemade baking, cake mix cookies are your best friend. They require only three main ingredients and result in a soft, cake-like texture that kids adore.
The Ingredients:
- 1 box of vanilla or chocolate cake mix
- 1/2 cup vegetable oil
- 2 large eggs
- Optional: Christmas sprinkles or M&Ms
The Science of Shortcuts:
Explain to your child that a cake mix is a "pre-mix" of flour, sugar, and leavening agents (like baking soda). By adding oil and eggs, we are changing the ratios to turn a "cake" into a "cookie." It’s all about the moisture content!
The Process:
- Mix the cake mix, oil, and eggs until a thick dough forms.
- Stir in the festive sprinkles.
- Drop rounded tablespoons onto a baking sheet.
- Bake at 350°F for 8-10 minutes.
This is a great activity for a rainy afternoon. Just like how you can transform a simple cake mix, you can explore astronomy by creating your own edible solar system with our Galaxy Donut Kit. It's amazing what a few ingredients and a little imagination can do!
5. No-Bake Graham Cracker Santas
Sometimes, the "baking" doesn't actually require an oven. For our youngest chefs, the heat of an oven can be intimidating. No-bake options allow them to take total control of the process, which is wonderful for building independence.
The Ingredients:
- Graham cracker squares
- Vanilla frosting (store-bought or homemade)
- Red food coloring
- Mini marshmallows
- Red M&Ms or gumdrops
The Art Aspect:
This is where the "Arts" in STEM really shines. Your child will use the frosting as "paint" and the candies as "sculpture materials" to create a Santa face. This helps with fine motor skills and spatial awareness.
The Process:
- Color a small portion of the frosting red for Santa’s hat.
- Frost the top third of the graham cracker with red frosting.
- Frost the bottom two-thirds with white frosting for the face and beard.
- Use mini marshmallows to create the "fur" on the hat and a big fluffy beard.
- Add M&Ms for eyes and a gumdrop for the nose.
Hypothetical Case Study: Imagine a parent looking for a screen-free weekend activity for their 4-year-old who has a short attention span. These Graham Cracker Santas provide immediate gratification. There is no waiting for the oven to preheat or the cookies to cool. Within ten minutes, the child has created a piece of "edible art" and practiced their pincer grasp by placing the mini marshmallows.
6. Flourless Chocolate Cloud Cookies
These cookies are often called "Cool Whip Cookies" or "Cloud Cookies" because of their light, airy texture. They use a secret ingredient that provides a wonderful lesson in chemistry.
The Ingredients:
- 1 container (8 oz) whipped topping (like Cool Whip), thawed
- 1 box chocolate cake mix
- 1 egg
- Powdered sugar for rolling
The Chemistry of Air:
The whipped topping is full of air bubbles. When you mix it with the cake mix and egg, you are creating a stable foam. When these hit the oven, the air bubbles expand, making the cookies puff up. This is similar to the chemical reaction that makes our Erupting Volcano Cakes bubble over with deliciousness.
The Process:
- Mix the whipped topping, egg, and cake mix. The dough will be very sticky!
- Drop a spoonful of dough into a bowl of powdered sugar and roll it around until coated.
- Place on a baking sheet and bake at 350°F for 10-12 minutes.
- As they bake, the cookies will crack, creating a beautiful "snowy" mountain effect.
7. 3-Ingredient Coconut Macaroons
For families who like a little tropical flair during the winter, macaroons are a fantastic option. They are chewy, sweet, and require very little precision, making them perfect for kids.
The Ingredients:
- 1 bag (14 oz) sweetened shredded coconut
- 1 can (14 oz) sweetened condensed milk
- 1 teaspoon vanilla extract
The Sticky Science:
Discuss the properties of sweetened condensed milk. Why is it so thick? (Because the water has been removed!). It acts as a powerful adhesive that keeps the loose coconut shreds together.
The Process:
- Mix all three ingredients in a bowl.
- Use a small ice cream scoop or tablespoon to drop mounds onto a parchment-lined sheet.
- Bake at 325°F for 10-12 minutes until the edges are golden brown.
- Optional: Dip the bottoms in melted chocolate once they are cool for an extra treat.
8. Easy Jam Thumbprints
Thumbprint cookies are an interactive favorite. They allow children to literally leave their mark on the food they create.
The Ingredients:
- 1/2 cup softened butter
- 1/4 cup sugar
- 1 cup flour
- Your favorite holiday jam (strawberry or raspberry works great)
Fine Motor Skill Development:
Pressing the "thumbprint" into the center of the dough ball requires just the right amount of pressure. Too hard, and the dough cracks; too soft, and the jam won't stay. This is a great exercise in tactile feedback and motor control.
The Process:
- Mix the butter, sugar, and flour until a soft dough forms.
- Roll into small balls.
- Have your child press their thumb into the center of each ball.
- Fill the indentation with a small spoonful of jam.
- Bake at 350°F for 12-15 minutes.
Ready for a new adventure every month? Join The Chef's Club and enjoy free shipping on every box.
9. Reindeer Pretzel Cookies
This "recipe" is more of a construction project, making it ideal for kids who love to build. It uses pre-made components to create a festive character.
The Ingredients:
- Round chocolate-covered cookies (like Oreos or similar)
- Small pretzel twists
- Candy eyeballs
- Red M&Ms
The Engineering Perspective:
How do we make the antlers stay on? This is a lesson in "friction" and "adhesion." We use a little bit of frosting or melted chocolate as the "mortar" to hold our reindeer parts together.
The Process:
- Use a tiny dab of frosting to stick two candy eyeballs onto the cookie.
- Add a dab of frosting below the eyes for the red M&M nose (Rudolph!).
- Carefully break a pretzel twist in half and "glue" them to the top of the cookie for antlers.
Even beloved animals can make learning fun, like when kids make Wild Turtle Whoopie Pies. Taking a base cookie and turning it into an animal is a fantastic way to bridge the gap between biology and baking!
10. Festive Cornflake Wreaths
These are a nostalgic favorite that look impressive but are incredibly simple to assemble. They offer a unique crunchy texture that differs from standard baked goods.
The Ingredients:
- 1/2 cup butter
- 1 bag (10 oz) marshmallows
- Green food coloring
- 6 cups cornflakes
- Red cinnamon candies (for the "berries")
The Polymer Lesson:
When you melt marshmallows, you are working with polymers. The heat breaks down the structure of the sugar and gelatin, creating a sticky, stretchy substance. When it cools, it sets back into a solid. This is a classic example of a phase change!
The Process:
- Melt the butter and marshmallows in a large pot (this part requires adult supervision).
- Add green food coloring until you reach a vibrant "evergreen" shade.
- Stir in the cornflakes gently so you don't crush them.
- Drop spoonfuls onto wax paper and use buttered fingers to shape them into circles with a hole in the middle.
- Add three red cinnamon candies to each wreath while they are still sticky.
Tips for a Stress-Free Holiday Kitchen
While the goal is to find easy Christmas cookies for kids with few ingredients, the environment in which you bake is just as important as the recipe itself. Here are some of our favorite strategies for keeping the experience joyful:
1. The "Mise en Place" Method
This is a fancy French culinary term that simply means "everything in its place." Before you even call the kids into the kitchen, get your few ingredients out on the counter. Pre-measure if your children are very young, or have the measuring cups ready if they are older. This prevents the "waiting around" period where boredom often leads to mischief.
2. Embrace the Mess
Baking with kids is messy. Flour will spill, and frosting will end up on noses. If you go into the activity expecting a mess, you won't be stressed when it happens. Keep a damp cloth nearby and involve the children in the "Clean-Up Science" afterward. Discuss how soap bubbles work to lift away grease and sugar!
3. Focus on the Process, Not the Product
At I'm the Chef Too!, we don't focus on making "perfect" treats. We focus on the love for learning and the confidence built during the process. If a reindeer has one antler or a Santa has a lopsided beard, it doesn't matter. What matters is that your child can say, "I made this!"
4. Safety First
Always supervise children near the stove and oven. Explain why things are hot and how we use oven mitts to protect our skin. This is an important lesson in heat transfer and safety.
Educational Extensions: Taking it Beyond the Cookie
Baking is the perfect springboard for other educational discussions. While your cookies are in the oven, you can keep the learning going with these simple ideas:
- Geography: Where does chocolate come from? Where does vanilla grow? Look at a map together and talk about how ingredients travel from around the world to your kitchen.
- Math: If a recipe makes 12 cookies and we have 4 people in our family, how many cookies does each person get? This is a delicious way to practice basic division.
- Literacy: Have your child "write" the menu for your holiday cookie plate. For younger kids, they can draw the cookies and label them with the first letter of the cookie's name.
- Sensory Exploration: Close your eyes and smell the cinnamon, the vanilla, and the peppermint. How do these smells make you feel? Sensory play is a huge part of early childhood development.
If you find that your child is hungry for more than just cookies, you might consider broadening your horizons. Not ready to subscribe? Explore our full library of adventure kits available for a single purchase in our shop. Our kits are designed by educators to ensure that every activity is packed with these kinds of learning moments.
Storing Your Holiday Treats
Once you have finished your easy Christmas cookies for kids with few ingredients, you’ll want to make sure they stay fresh.
- Airtight Containers: Most cookies should be stored in airtight containers at room temperature. They will usually stay fresh for 3-5 days.
- Freezing: Many of these doughs (especially the sugar cookie and shortbread) can be frozen for up to two months. This is a great way to prep for the holidays in advance.
- Separation: If you are storing decorated cookies, use parchment paper between the layers to prevent the icing from sticking or the colors from bleeding.
Frequently Asked Questions
Can I make these cookies gluten-free?
Most of these recipes can be adapted. For the flour-based cookies, you can usually swap the all-purpose flour for a 1:1 gluten-free baking blend. The 3-ingredient peanut butter cookies and the coconut macaroons are naturally gluten-free!
My dough is too crumbly. What did I do wrong?
Don't worry! Crumbly dough usually means it needs a little more moisture or more mixing. If you are making the sugar cookies or shortbread, try adding a teaspoon of milk at a time until the dough holds together. Sometimes the heat from your hands is all you need to melt the butter slightly and bring the dough together.
How can I make these cookies as a gift?
Cookies make wonderful, heartfelt gifts. You can stack them in a clear mason jar, tie it with a festive ribbon, and include a hand-drawn card from your child. It’s a great way to teach children about the joy of giving.
What is the best age to start baking with kids?
Children as young as two can help with simple tasks like pouring pre-measured ingredients into a bowl or stirring. As they get older (ages 4-7), they can begin measuring and cracking eggs. By age 8 and up, they can follow recipes with minimal guidance. The key is to always provide adult supervision and choose age-appropriate tasks.
Do I really need an electric mixer?
For most of these few-ingredient recipes, a sturdy wooden spoon and some "elbow grease" (muscle power!) are all you need. In fact, mixing by hand is a great way for kids to feel the change in the dough's texture as the ingredients combine.
Conclusion
The holiday season doesn't have to be defined by stress and over-complicated plans. By choosing easy Christmas cookies for kids with few ingredients, you are choosing to prioritize connection, creativity, and the simple joy of discovery. Whether you are observing the "magic" of a 3-ingredient peanut butter cookie or engineering a pretzel-antlered reindeer, you are providing your child with a rich, hands-on educational experience that they will remember long after the last crumb is gone.
At I'm the Chef Too!, our mission is to make these moments as accessible and exciting as possible. We are committed to sparking curiosity through the wonderful world of "edutainment," providing you with screen-free alternatives that the whole family can enjoy. We hope these recipes inspire you to clear off a small space on your counter, grab a bowl, and start a new holiday tradition of learning through delicious play.
Ready to keep the adventure going all year long? Give your child a gift that fosters a love for learning, builds confidence, and creates joyful family memories. Give the gift of learning that lasts all year with a 12-month subscription to our STEM cooking adventures. We can't wait to see what you create in your kitchen!