Table of Contents
- Introduction
- The Educational Value of Upcycling
- Safety and Preparation
- Sensory Crafts for Young Children
- STEM-Focused Bottle Projects
- Engineering and Aerodynamics
- Creative Art and Home Utility
- Organizing the Maker Space
- Incorporating Art and Color Theory
- Tips for Educators and Homeschoolers
- Connecting Crafts to the Kitchen
- Cleaning and Prepping Your Bottles
- Final Thoughts on Upcycled Creativity
- FAQ
Introduction
We have all stood in front of the recycling bin, looking at a stack of empty water bottles and wondering if there is more to them than just waste. For parents and educators, these clear plastic containers are not just trash; they are blank canvases for creativity and scientific discovery. Turning an everyday object into a toy, a tool, or a piece of art is the heart of "edutainment," where the line between playing and learning disappears.
At I'm the Chef Too!, we believe that hands-on experiences are the best way to spark a child's curiosity, whether they are mixing ingredients in the kitchen or building a rocket in the living room. This guide explores a wide variety of plastic bottle crafts for kids that blend STEM concepts with artistic flair. We will cover everything from simple sensory play for toddlers to complex engineering projects for elementary students.
By the end of this article, you will have a toolkit of ideas to keep your children engaged, screen-free, and learning through the power of upcycling. Our goal is to help you transform your recycling bin into a laboratory of fun and a gallery of imagination.
The Educational Value of Upcycling
Before we dive into the specific projects, it is helpful to understand why plastic bottle crafts for kids are so beneficial for development. When we take something meant for the trash and give it a second life, we are teaching children several high-level concepts in a very simple, tangible way.
Environmental Stewardship
The most obvious lesson is sustainability. When children see a bottle become a bird feeder or a planter, they begin to understand the concept of a circular economy. They learn that resources are valuable and that their actions can reduce waste. This builds a foundation for ecological responsibility that stays with them as they grow.
Engineering and Problem Solving
Every craft is a mini-engineering challenge. How do you get the wings to stay on the rocket? How do you make the bottle boat float upright? These questions require children to use trial and error, a key component of the scientific method. They learn to observe a problem, form a hypothesis, test a solution, and adjust based on the results.
Fine Motor Skill Development
Cutting, taping, gluing, and painting all require precise hand-eye coordination. For younger children, simply unscrewing a bottle cap or pouring rice through a funnel provides excellent practice for their developing fine motor skills. These movements are essential for later tasks like writing, typing, and even cooking.
Safety and Preparation
Safety is the first step in any successful crafting session. Since many plastic bottle crafts for kids involve cutting or heat, adult supervision is mandatory. Here are a few tips to ensure your workspace is safe and productive.
Smoothing Sharp Edges
When you cut a plastic bottle, the edges can be surprisingly sharp. Adults should handle all the cutting. Once the bottle is cut, you can smooth the edges by briefly pressing them against a medium-heat clothing iron (protected by parchment paper) for a few seconds. This rounds the plastic inward, making it smooth and safe for little hands to touch. Alternatively, covering the edges with colorful duct tape or electrical tape works just as well.
Tools and Supplies
Gather your supplies before you call the kids to the table. Having everything ready prevents the "wait time" that often leads to loss of focus. You will generally need:
- Clean, dry plastic bottles (various sizes)
- Child-safe scissors and an adult-operated utility knife
- Washable markers and acrylic paints
- Tacky glue, hot glue (for adults), and various tapes
- Recycled items like bottle caps, cardboard scraps, and old fabric
Key Takeaway: Upcycling turns waste into a "maker space" that teaches children environmental responsibility, engineering basics, and fine motor control through hands-on play.
Sensory Crafts for Young Children
For toddlers and preschoolers, the best plastic bottle crafts for kids are those that focus on observation and tactile feedback. These projects usually do not require any cutting of the plastic, making them very safe for the youngest explorers.
The Ultimate Sensory Bottle
Sensory bottles are mesmerizing tools used for focus and emotional regulation. By filling a bottle with liquids of different viscosities, you can create a slow-motion "snow globe" effect.
Step 1: Choose your base. Fill a clean bottle about three-quarters full with warm water.
Step 2: Add a thickener. Add clear school glue, glycerin, or corn syrup. The more thickener you add, the slower the objects inside will move.
Step 3: Customize. Add glitter, sequins, or small plastic beads.
Step 4: Seal it tight. This is the most important step. An adult should use a strong adhesive or hot glue to seal the cap onto the bottle so it cannot be opened.
The Learning Connection: This activity introduces the concept of viscosity. You can ask your child why the glitter falls faster in plain water than it does in the glue mixture. It is also a great "calm-down" tool; watching the glitter settle helps children practice mindfulness and deep breathing.
Plastic Bottle Bowling
If you have a group of kids with a lot of energy, a DIY bowling alley is a fantastic way to reuse a dozen water bottles.
Step 1: Prep the pins. Use 6 or 10 empty bottles. You can leave them clear or have the kids paint them like monsters, penguins, or classic bowling pins.
Step 2: Add weight. Pour a small amount of sand, rice, or water into the bottom of each bottle. This keeps them from blowing over in the wind and makes them slightly harder to knock down.
Step 3: Play. Find a soft ball and set up your pins in a hallway or on a flat patch of grass.
The Learning Connection: This simple game teaches gross motor skills and basic math. Have the kids count how many pins are standing and how many were knocked down to learn simple subtraction.
For more ideas using recycled containers, explore these creative water bottle crafts for kids.
STEM-Focused Bottle Projects
For older children, plastic bottles serve as excellent tools for demonstrating physics and chemistry. These projects move beyond simple aesthetics and into the world of functional science.
The Tornado in a Bottle
This is a classic experiment that never fails to impress. It demonstrates centrifugal force and the properties of air and water.
Step 1: Connect two bottles. You will need two empty bottles. Fill one about two-thirds full with water.
Step 2: Secure the joint. You can buy a "tornado tube" connector or simply duct tape the two bottle necks together very securely. Ensure there are no leaks.
Step 3: Create the vortex. Flip the bottles so the water is on top and give the top bottle a quick circular shake.
The Learning Connection: As the water spins, it creates a vortex. The hole in the middle of the vortex allows air to travel upward into the top bottle while the water travels downward. This is a perfect way to explain how vortices work in nature, like in tornadoes or whirlpools.
DIY Lava Lamps
You do not need a plug and a lightbulb to see the groovy effects of a lava lamp. You can recreate this using the principles of density and chemical reactions.
Step 1: Layer your liquids. Fill a bottle one-quarter full with water and a few drops of food coloring. Fill the rest of the bottle with vegetable oil.
Step 2: Observe. Notice how the oil sits on top of the water.
Step 3: The "Lava" effect. Drop a small piece of an effervescent antacid tablet into the bottle. Watch as bubbles of colored water rise through the oil and sink back down.
The Learning Connection: This project teaches density (water is heavier than oil) and intermolecular polarity (they don't mix). The chemical reaction between the tablet and the water creates carbon dioxide gas, which hitches a ride on the water droplets to make them float. This kind of "kitchen chemistry" is exactly what we love to explore at I'm the Chef Too!, where we often use similar reactions to make food "erupt" or rise.
The Erupting Volcano Base
If your child is interested in geology, a plastic bottle is the perfect structure for a homemade volcano. Instead of just making a mess on a tray, you can use a bottle to funnel the "lava" for a more realistic eruption.
Step 1: Build the mountain. Place a small plastic bottle in the center of a tray. Use playdough, clay, or even dirt to build a mountain shape around the bottle, leaving the neck exposed.
Step 2: Load the "magma." Pour a few tablespoons of baking soda into the bottle, along with a squirt of dish soap and some red food coloring.
Step 3: The eruption. When you are ready, pour white vinegar into the bottle.
The Learning Connection: This is a classic acid-base reaction. The vinegar (acid) reacts with the baking soda (base) to create carbon dioxide gas. The soap captures that gas to create "lava" foam. If your kids love these types of experiments, they might enjoy our Erupting Volcano Cakes kit, which takes this scientific principle and applies it to a delicious baking adventure.
Bottom line: STEM projects with bottles move beyond "crafting" and into "experimenting," allowing kids to see invisible forces like air pressure, density, and chemical gas in action.
Engineering and Aerodynamics
Plastic bottles are surprisingly aerodynamic and lightweight, which makes them ideal for building vehicles and flight-based projects.
The Two-Liter Rocket Ship
Turning a large soda bottle into a rocket is a rite of passage for many young makers. This can be as simple or as complex as you like.
Step 1: Create the nose cone. Cut the top off a second bottle or roll a piece of cardstock into a cone and tape it to the bottom of your main bottle (which is now the top of the rocket).
Step 2: Add fins. Cut triangles out of cardboard or stiff plastic and tape them to the sides of the rocket near the neck.
Step 3: Decorate. Use metallic paint, stickers, or markers to give it a space-age look.
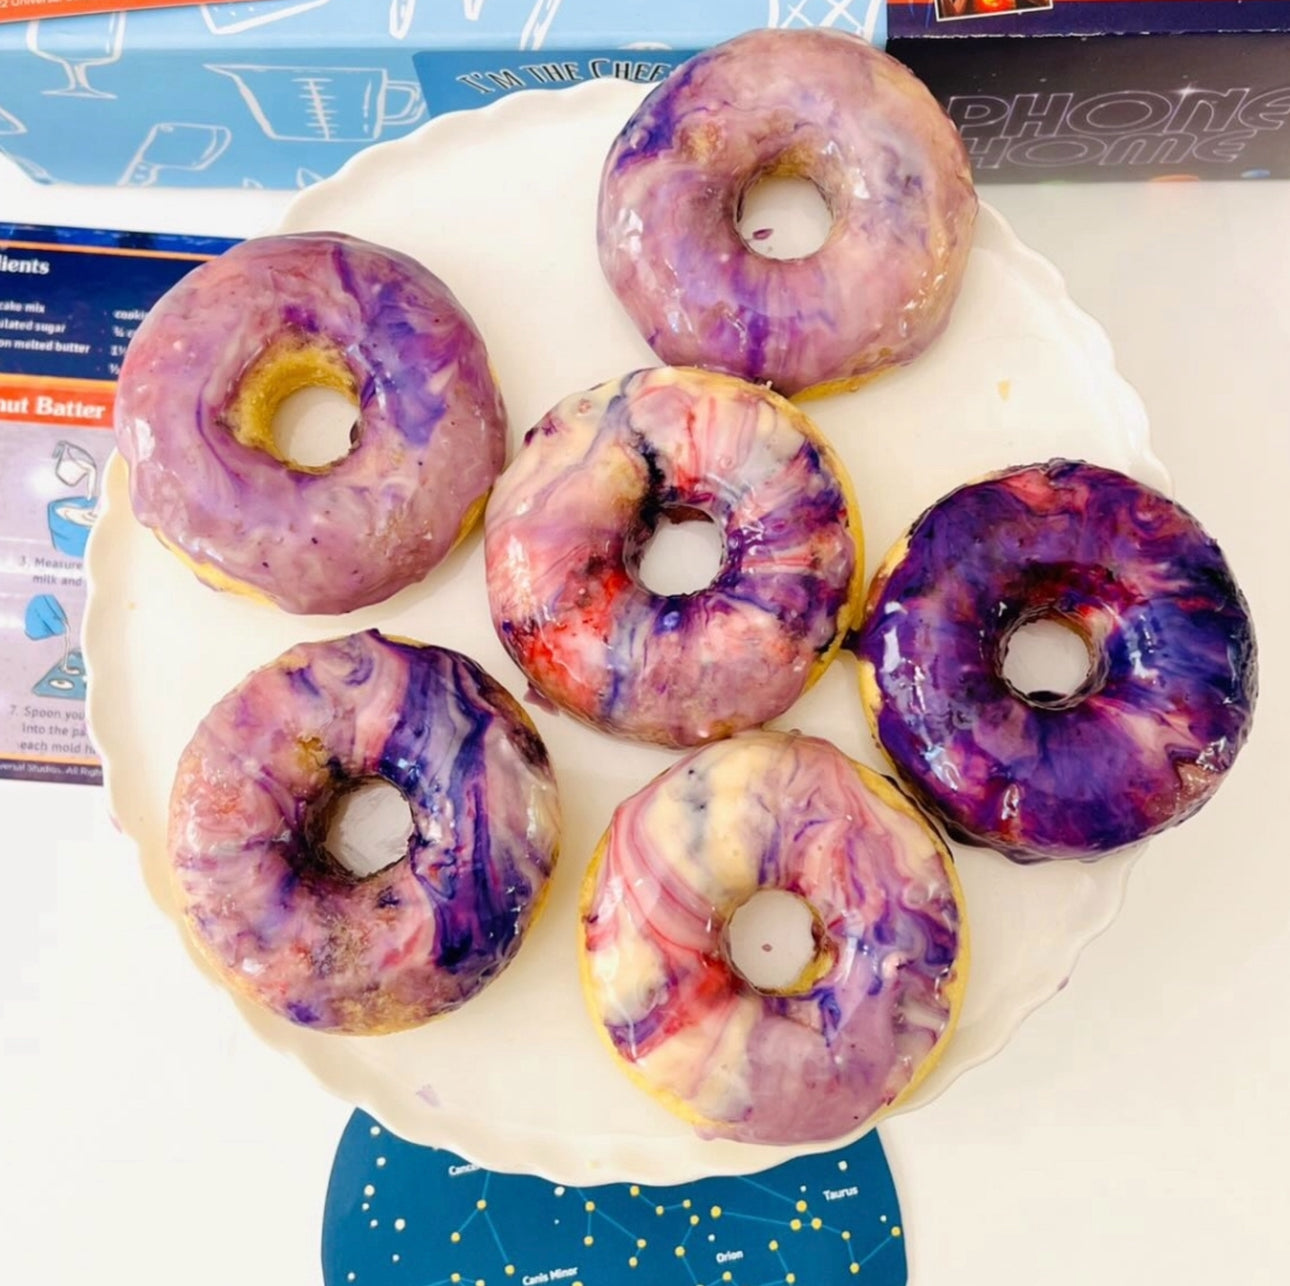
The Learning Connection: This project introduces aerodynamics. You can discuss why the nose cone is pointed (to cut through the air) and why the fins are necessary (to provide stability during flight). For a complete space-themed day, you could pair this craft with our Galaxy Donut Kit, where kids can learn about the stars while they bake a batch of treats that look like the night sky.
Balloon-Powered Bottle Cars
This project is an excellent introduction to Newton's Third Law of Motion: For every action, there is an equal and opposite reaction.
Step 1: Build the chassis. Use a small water bottle as the body of the car.
Step 2: Add axles and wheels. Poke holes through the sides of the bottle for straws (axles). Use plastic bottle caps as wheels, secured to the ends of wooden skewers fed through the straws.
Step 3: The engine. Tape a balloon to one end of a straw. Tape the straw to the top of the bottle so the balloon hangs off the back.
Step 4: Launch. Blow through the straw to inflate the balloon, pinch it shut, place the car on a flat surface, and let go.
The Learning Connection: As the air escapes the balloon in one direction, it pushes the car in the opposite direction. This is a tangible way to explain thrust and propulsion.
For more ways to turn everyday materials into hands-on STEM challenges, explore these engaging STEM challenges for kids.
Creative Art and Home Utility
Not every project needs to be an experiment. Sometimes, plastic bottle crafts for kids are about creating something beautiful or useful for the home.
Animal-Shaped Planters
These are perfect for a windowsill garden and teach kids about biology and plant life cycles.
Step 1: The cut. Have an adult cut the bottom third off a two-liter bottle. When cutting, leave two pointed "ears" sticking up.
Step 2: The character. Paint the bottle white for a bunny, yellow for a cat, or pink for a pig. Add eyes, a nose, and whiskers.
Step 3: The garden. Add small pebbles for drainage, then soil, and finally a small plant or seeds like basil or mint.
The Learning Connection: This teaches botany and responsibility. Children learn what a plant needs to survive—water, sunlight, and soil—and take pride in watching their "pet" grow "hair" (the plant).
Bottle Cap Art
Do not throw away the caps! They are excellent for creating mosaic-style art or even functional tools.
- Cap Stamps: Dip the top of a bottle cap into paint to create perfect circles. This is great for making the centers of flowers or the spots on a ladybug.
- Cap Mosaics: Glue different colored caps onto a piece of cardboard to create a large-scale image. This teaches color theory and spatial awareness.
- Math Counters: Write numbers or letters on the inside of the caps. Kids can use them to solve simple addition problems or spell out three-letter words.
For additional ideas that blend art, creativity, and learning, explore these art and craft activities for kids.
The Self-Watering Planter
If you are an educator or a busy parent, this is a brilliant way to show how water moves through a system.
Step 1: The setup. Cut a bottle in half.
Step 2: The wick. Poke a hole in the bottle cap. Thread a piece of thick cotton string or a strip of fabric through the hole.
Step 3: Assembly. Screw the cap back on. Place the top half of the bottle upside down into the bottom half.
Step 4: Filling. Fill the bottom half with water. Fill the top half with soil (the string should be buried in the soil).
Step 5: Capillary Action. The string will pull water up into the soil as the plant needs it.
The Learning Connection: This demonstrates capillary action, the same process plants use to pull water from their roots up to their leaves.
Organizing the Maker Space
Crafting with kids can get messy. To keep the experience joyful and low-stress, it helps to have a system for organizing your materials. Plastic bottles themselves can be the solution to this problem!
Desk Organizers
By cutting the bottoms off bottles of various heights and smoothing the edges, you can create a custom desk set.
- Tall bottles: For rulers and long paintbrushes.
- Medium bottles: For markers and pencils.
- Short bottles: For paperclips, erasers, and bottle caps.
Decorate them with a unified color theme, and suddenly the "trash" looks like a high-end organizational system. This encourages kids to take ownership of their workspace and clean up after themselves.
The "Bits and Bobs" Jar
Every maker space needs a place for the random items that don't have a home—extra buttons, scraps of ribbon, or interesting pebbles found on a walk. A large, clear plastic bottle with the top cut off makes a perfect "see-through" bin. When kids can see their supplies, they are more likely to be inspired to use them.
Bottom line: Using upcycled bottles to organize your craft supplies reinforces the lesson that everything has a potential use, further encouraging creative thinking.
Incorporating Art and Color Theory
While many of our favorite plastic bottle crafts for kids have a heavy STEM focus, the "A" in STEAM (Science, Technology, Engineering, Arts, and Math) is just as important.
Sunlight Catchers
Plastic bottles are naturally translucent, which makes them perfect for playing with light and color.
Step 1: Cut spirals. Have an adult cut the middle section of a bottle into a long, continuous spiral.
Step 2: Color. Use permanent markers to color the plastic. Encourage the use of primary colors to see how they "overlap" when the spiral spins.
Step 3: Hang. Tie a string to the top and hang it in a sunny window or on a porch.
The Learning Connection: This explores optics and color theory. As the sun shines through the colored plastic, it casts colorful shadows. You can discuss how the light changes depending on the time of day.
Plastic Bottle Flowers
You can make a bouquet that never wilts by using the different shapes found in the base of plastic bottles.
Step 1: Identify the shape. Many soda bottles have a five-pointed base that looks like a flower.
Step 2: Paint. Paint the "flower" on the inside of the plastic so the color stays shiny on the outside.
Step 3: Stem. Use a green pipe cleaner or a painted stick as the stem.
Step 4: Display. Place them in a vase made from another decorated bottle.
The Learning Connection: This encourages observation of patterns in nature. Discuss how the human-made design of the bottle base mimics the natural symmetry found in real flowers.
Tips for Educators and Homeschoolers
If you are using plastic bottle crafts for kids in a classroom or a homeschool co-op, you can easily tie these activities to your curriculum.
For additional hands-on learning in group settings, explore school and group programmes.
Lesson Integration
- History: Build "Message in a Bottle" projects when learning about explorers or the postal system.
- Biology: Use the self-watering planters to track the growth of different seeds and keep a "plant diary."
- Physics: Host a "Bottle Grand Prix" where students must build a balloon-powered car that can travel a specific distance.
- Ecology: Create a "Recycling Wall" where kids must find a new use for every piece of plastic they bring into the classroom for a week.
Managing Large Groups
Crafting with 20 children at once can be a challenge. To keep it smooth:
- Prep in advance: Do all the sharp cutting before the kids arrive.
- Station rotations: Have a "Painting Station," a "Building Station," and a "Testing Station" (like a ramp for cars or a window for suncatchers).
- Collaborative projects: Instead of 20 small rockets, have the class work together to build one giant "space station" out of dozens of bottles.
Connecting Crafts to the Kitchen
At I'm the Chef Too!, we love how the skills learned in crafting translate directly to the kitchen. When a child follows a series of steps to build a bottle car, they are practicing the same sequential thinking required to follow a recipe.
For more ideas about connecting hands-on activities with cooking and STEM, explore these STEM challenges for kids.
Measurement and Estimation
Many bottle crafts involve filling containers to a certain level. This is the perfect time to practice measurement. Ask your child: "How many smaller bottles of water do you think it will take to fill this two-liter bottle?" This builds an intuitive sense of volume and estimation—skills they will use every time they measure flour for cookies or water for pasta.
Organization and "Mise en Place"
In cooking, "mise en place" means having everything in its place. When you set up a craft station with pre-organized bottle containers, you are modeling this essential culinary habit. Children who learn to keep their "bits and bobs" organized are much more likely to keep their kitchen counter clean when they start helping you cook.
The Art of the Experiment
Cooking is the only science experiment you get to eat. If a craft fails—the rocket won't fly or the glue won't stick—it is a learning moment. The same applies to the kitchen. If the cake doesn't rise, we look at the "data" (the recipe) and try to figure out why. This resilience is one of the most important traits a young learner can develop.
When you are ready for a structured hands-on experience, join The Chef's Club for a new adventure delivered every month.
Cleaning and Prepping Your Bottles
To get the best results from your plastic bottle crafts for kids, the bottles need to be properly prepared. This is a great task to involve the children in, as it teaches them about hygiene and material properties.
- Remove the labels: Most labels can be peeled off, but the sticky residue can be stubborn. A little bit of vegetable oil rubbed onto the glue will usually break it down so it can be wiped away.
- The deep clean: Rinse the bottles with warm, soapy water. If the bottle held something sugary like soda or juice, make sure it is completely clean to avoid attracting ants.
- Dry completely: For many crafts, especially those involving glue or paint, the bottle must be bone-dry. Invert them in a dish rack or on a towel and let them air dry overnight.
- Flattening (Optional): For some art projects, you might want flat sheets of plastic. You can cut the top and bottom off a bottle, slit the middle section down the side, and place it under a heavy book for a few days to flatten it out.
Final Thoughts on Upcycled Creativity
The beauty of plastic bottle crafts for kids lies in their accessibility. You do not need expensive kits or specialized equipment to turn an afternoon into an adventure. Every bottle is an opportunity to talk about the world, from the way light travels through a suncatcher to the way gas expands to launch a rocket.
By encouraging our children to look at "trash" as a resource, we are helping them develop a creative mindset that will serve them in every area of their lives. Whether they grow up to be engineers, artists, chefs, or scientists, the ability to see potential where others see waste is a true gift.
At I'm the Chef Too!, we are passionate about these moments of discovery. We know that when you combine a little bit of science with a lot of imagination, magic happens. Whether you are building a bottle planter or baking one of our themed kits, the goal is always the same: to create joyful memories and spark a lifelong love of learning.
You can also explore our full kit collection when you are ready to continue the adventure.
Bottom line: Plastic bottle crafts are the ultimate "edutainment" tool, proving that some of the best learning happens when we're just having fun with what we have on hand.
FAQ
What is the best way to cut plastic bottles safely?
Adults should always handle the cutting of plastic bottles. Use a sharp utility knife to make the initial puncture and then use heavy-duty scissors to complete the cut. To make the edges safe for children, you can smooth them with a medium-heat iron protected by parchment paper or simply cover the edges with a layer of colorful duct tape.
How can I get paint to stick to smooth plastic bottles?
Acrylic paint works best, but it can still peel off very smooth plastic. To help it stick, you can lightly sand the surface of the bottle with fine-grit sandpaper first. Alternatively, you can mix a little bit of white school glue into your paint, or use permanent markers for smaller details that won't rub off.
Are there plastic bottle crafts that don't involve cutting?
Yes! Many of the best sensory and STEM activities require the bottle to be intact. Sensory bottles, tornado tubes, lava lamps, and bowling sets all use whole bottles. These are ideal for younger children or for situations where you want to keep the activity as safe and mess-managed as possible.
How do I make a sensory bottle leak-proof?
To ensure a sensory bottle stays closed, an adult should apply a generous amount of super glue or hot glue to the threads of the bottle neck before screwing the cap on tightly. For extra security, you can wrap a layer of decorative duct tape around the base of the cap after the glue has dried. Always supervise young children with sensory bottles to ensure they are used safely.